Would you like to save this recipe?
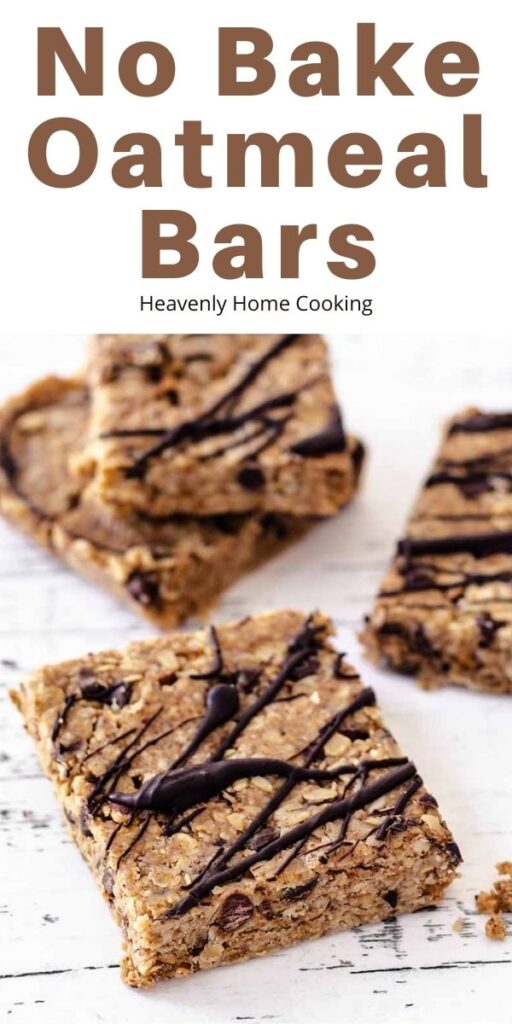
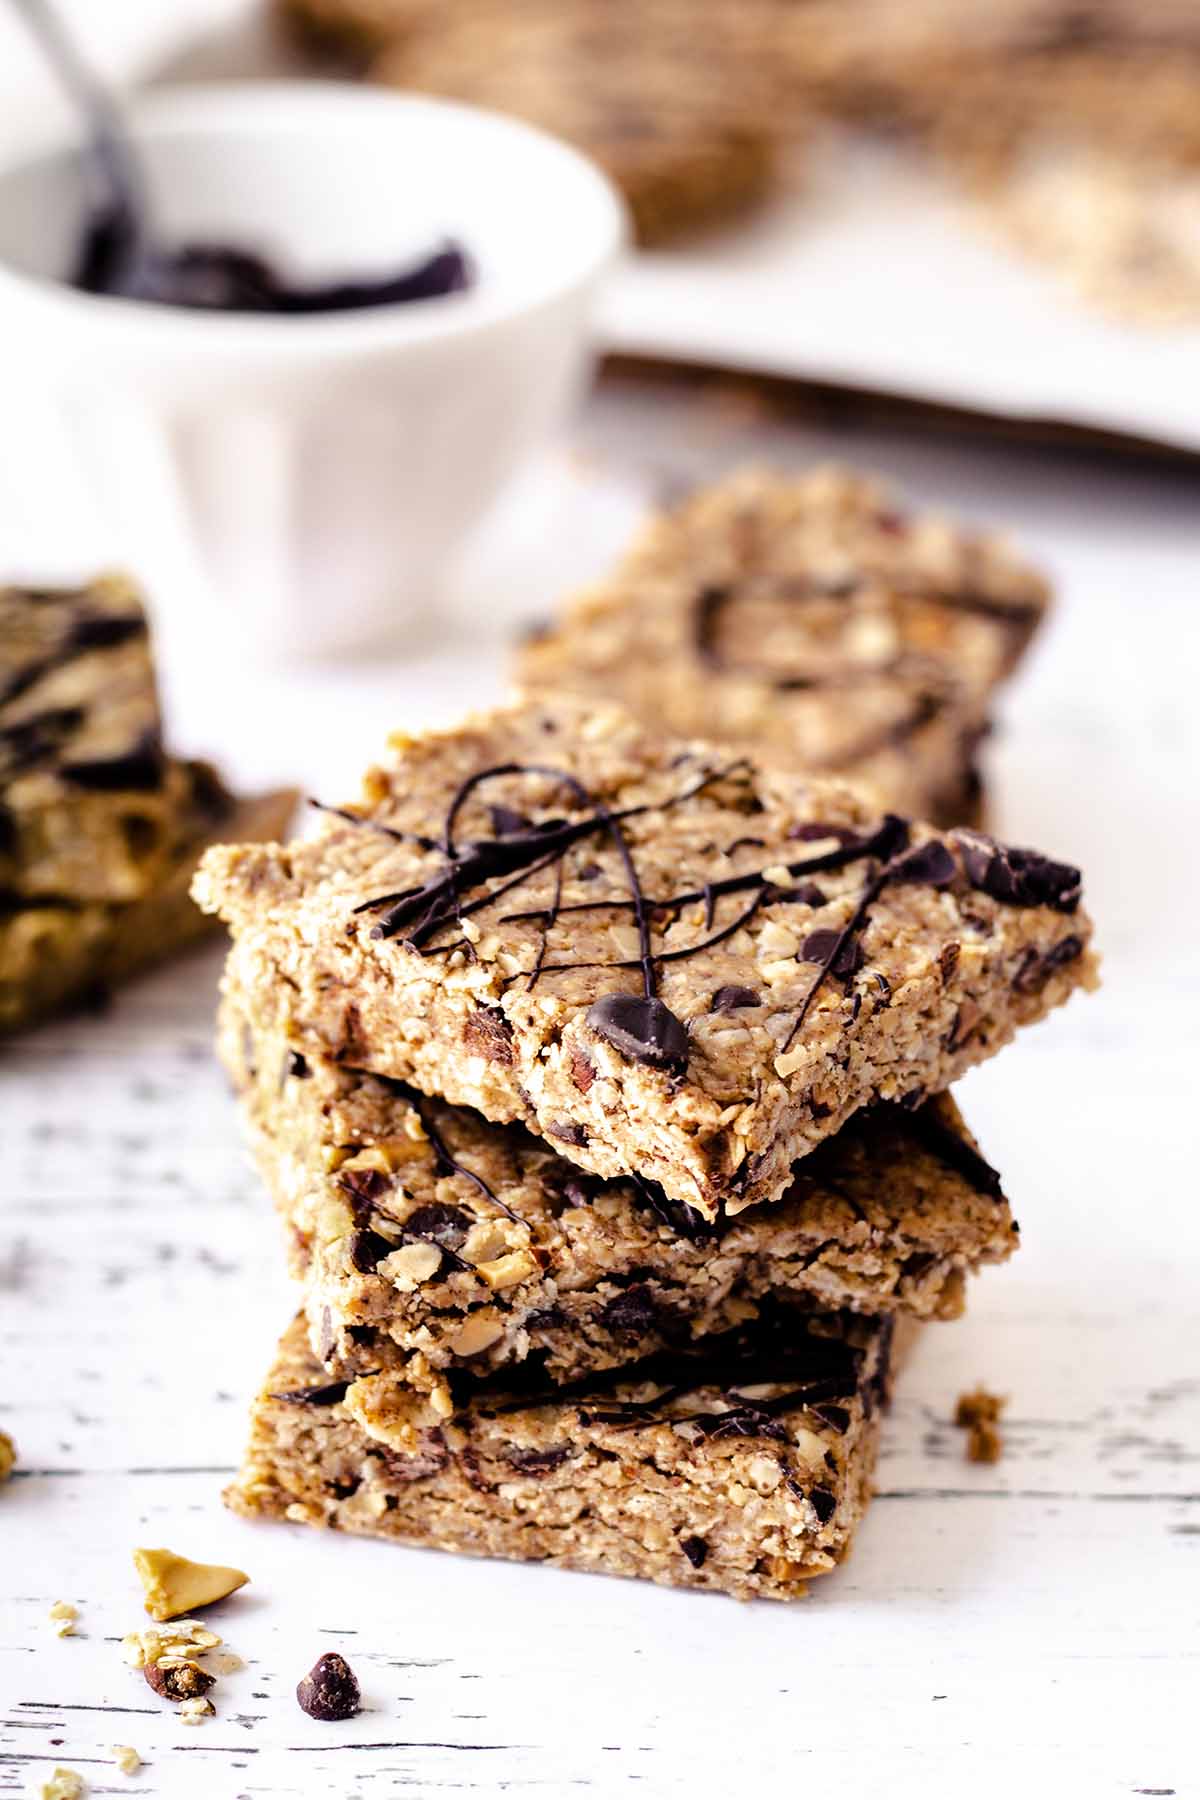
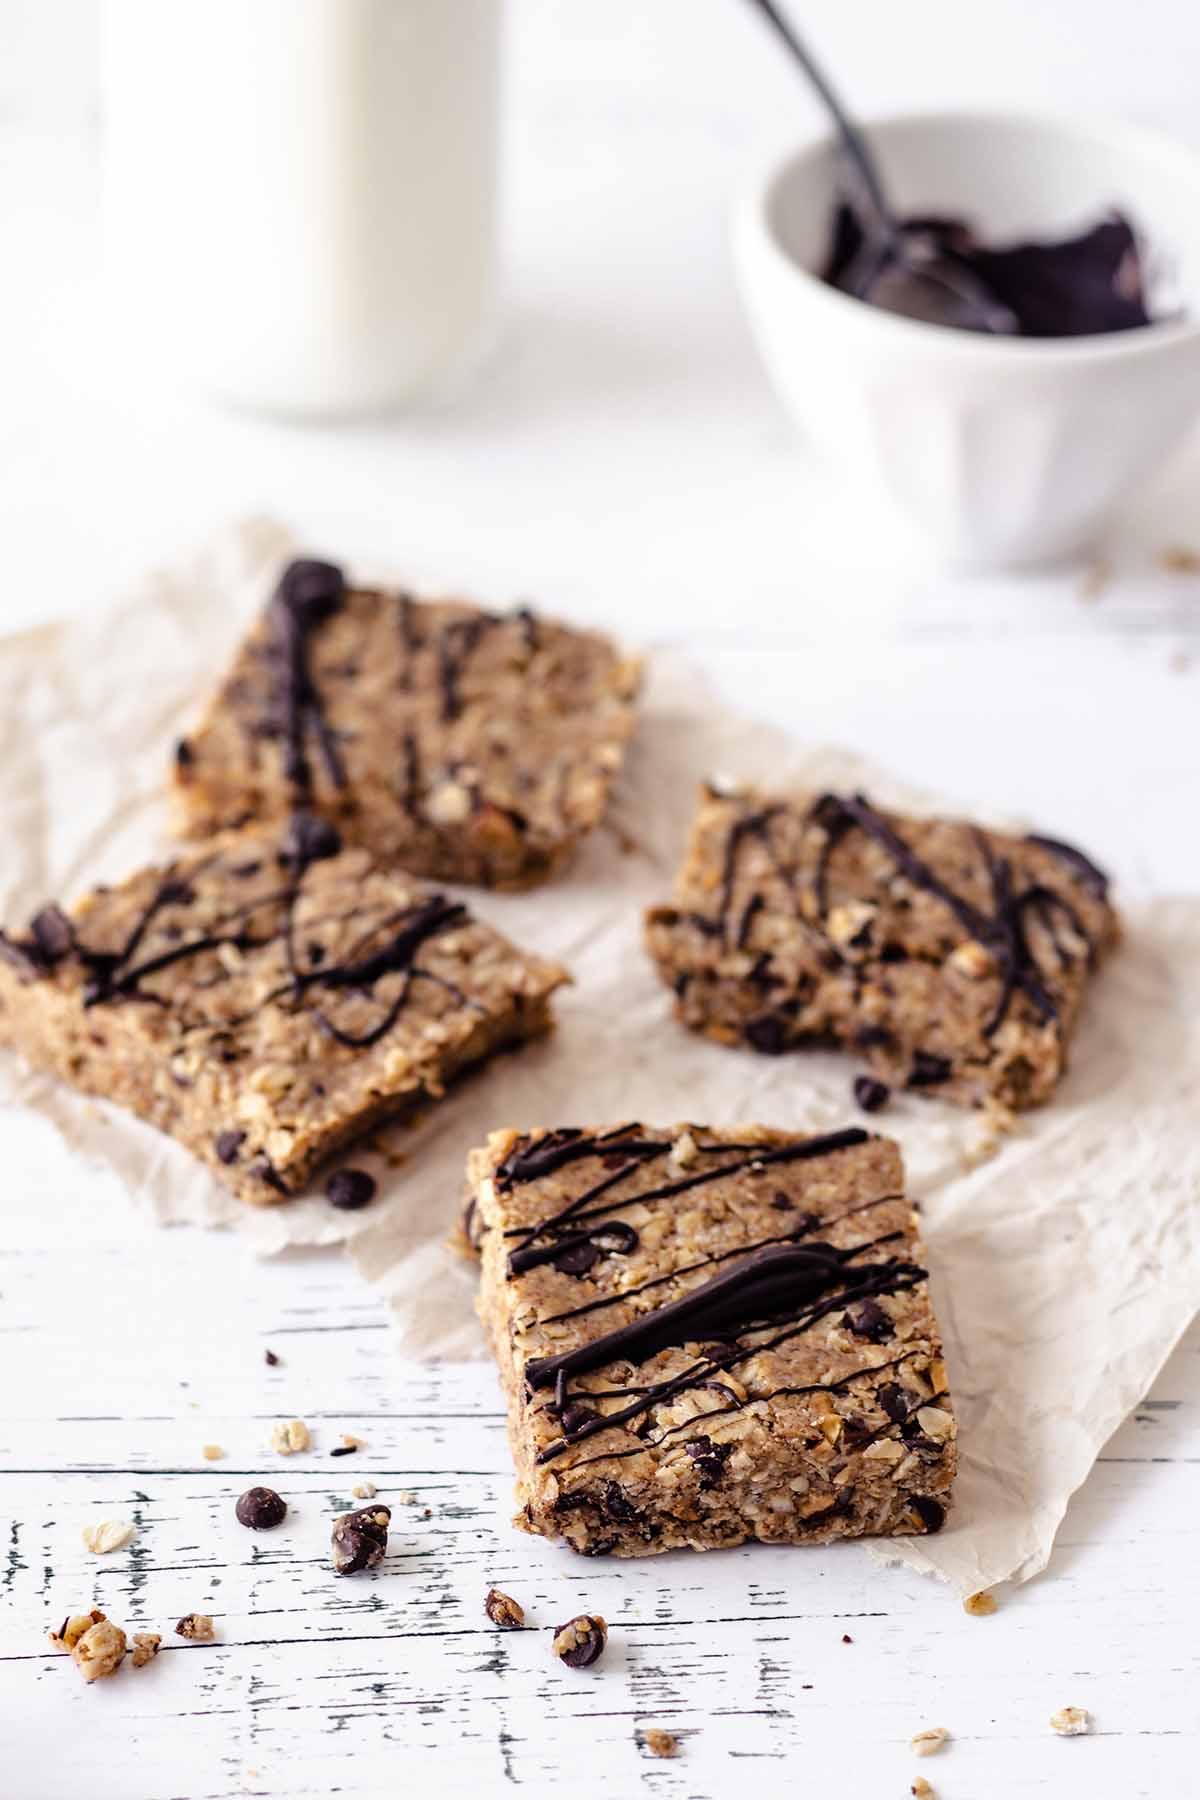
If you’re looking to make some easy no bake oatmeal peanut butter bars, look no further! These tasty treats are just what you’re looking for! They come together easily and use just a few simple ingredients. The peanut butter, chocolate, spices, and honey combine perfectly to make an addictive and irresistible breakfast treat or pre-workout snack. They’re chewy, sweet, and chocolaty. You will feel like you’re eating candy for breakfast, rather than a healthy oatmeal bar. We love them just as much as these oat and honey granola bars and peanut butter and jelly breakfast bars. If you love chocolate chips and oats in the morning, you might want to give this chocolate chip baked oatmeal a try as well!
This recipe is featured in our lineup of easy sweet breakfast recipes. Check them out!
What You’ll Love About This Recipe
Ingredients
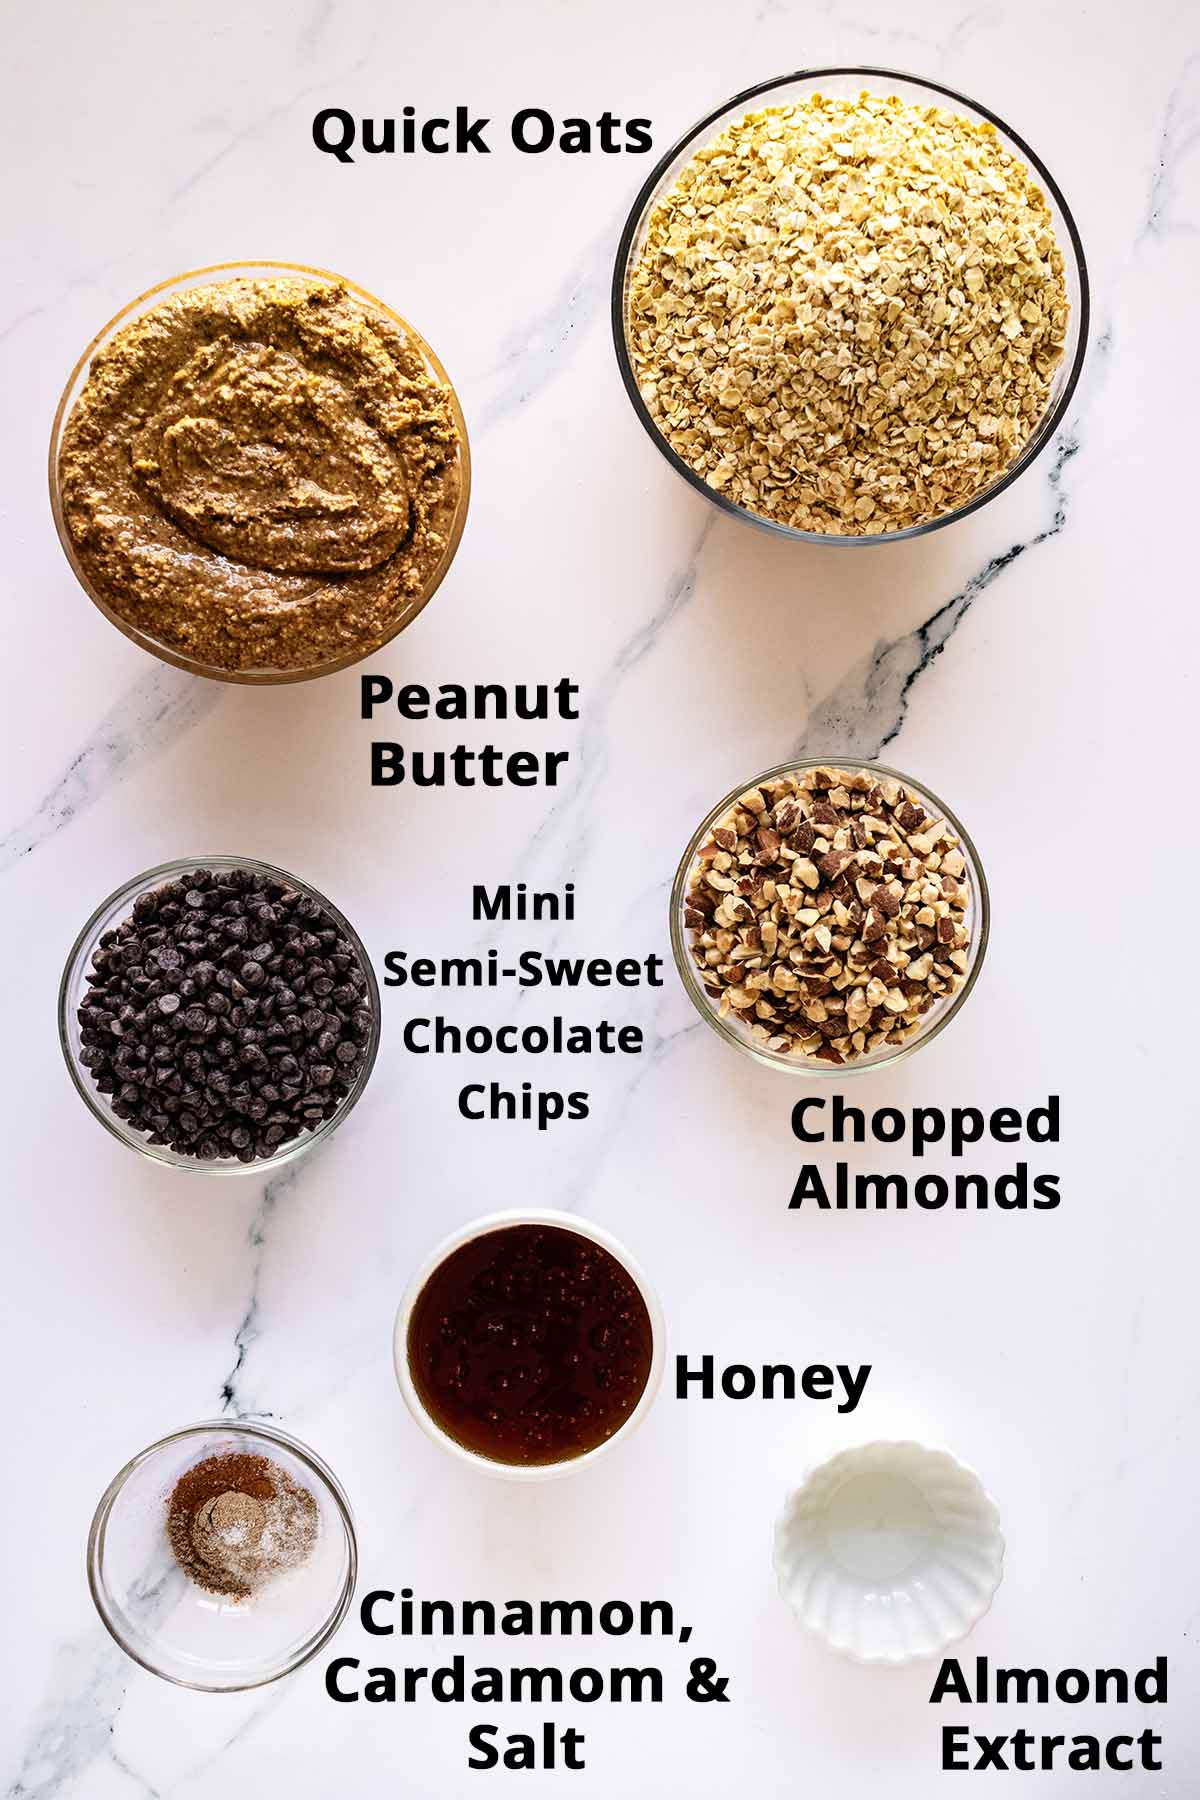
- 3½ cups quick oats. Be sure to use quick oats and not old fashioned rolled or steel cut oats.
- 1 cup mini semi-sweet chocolate chips.
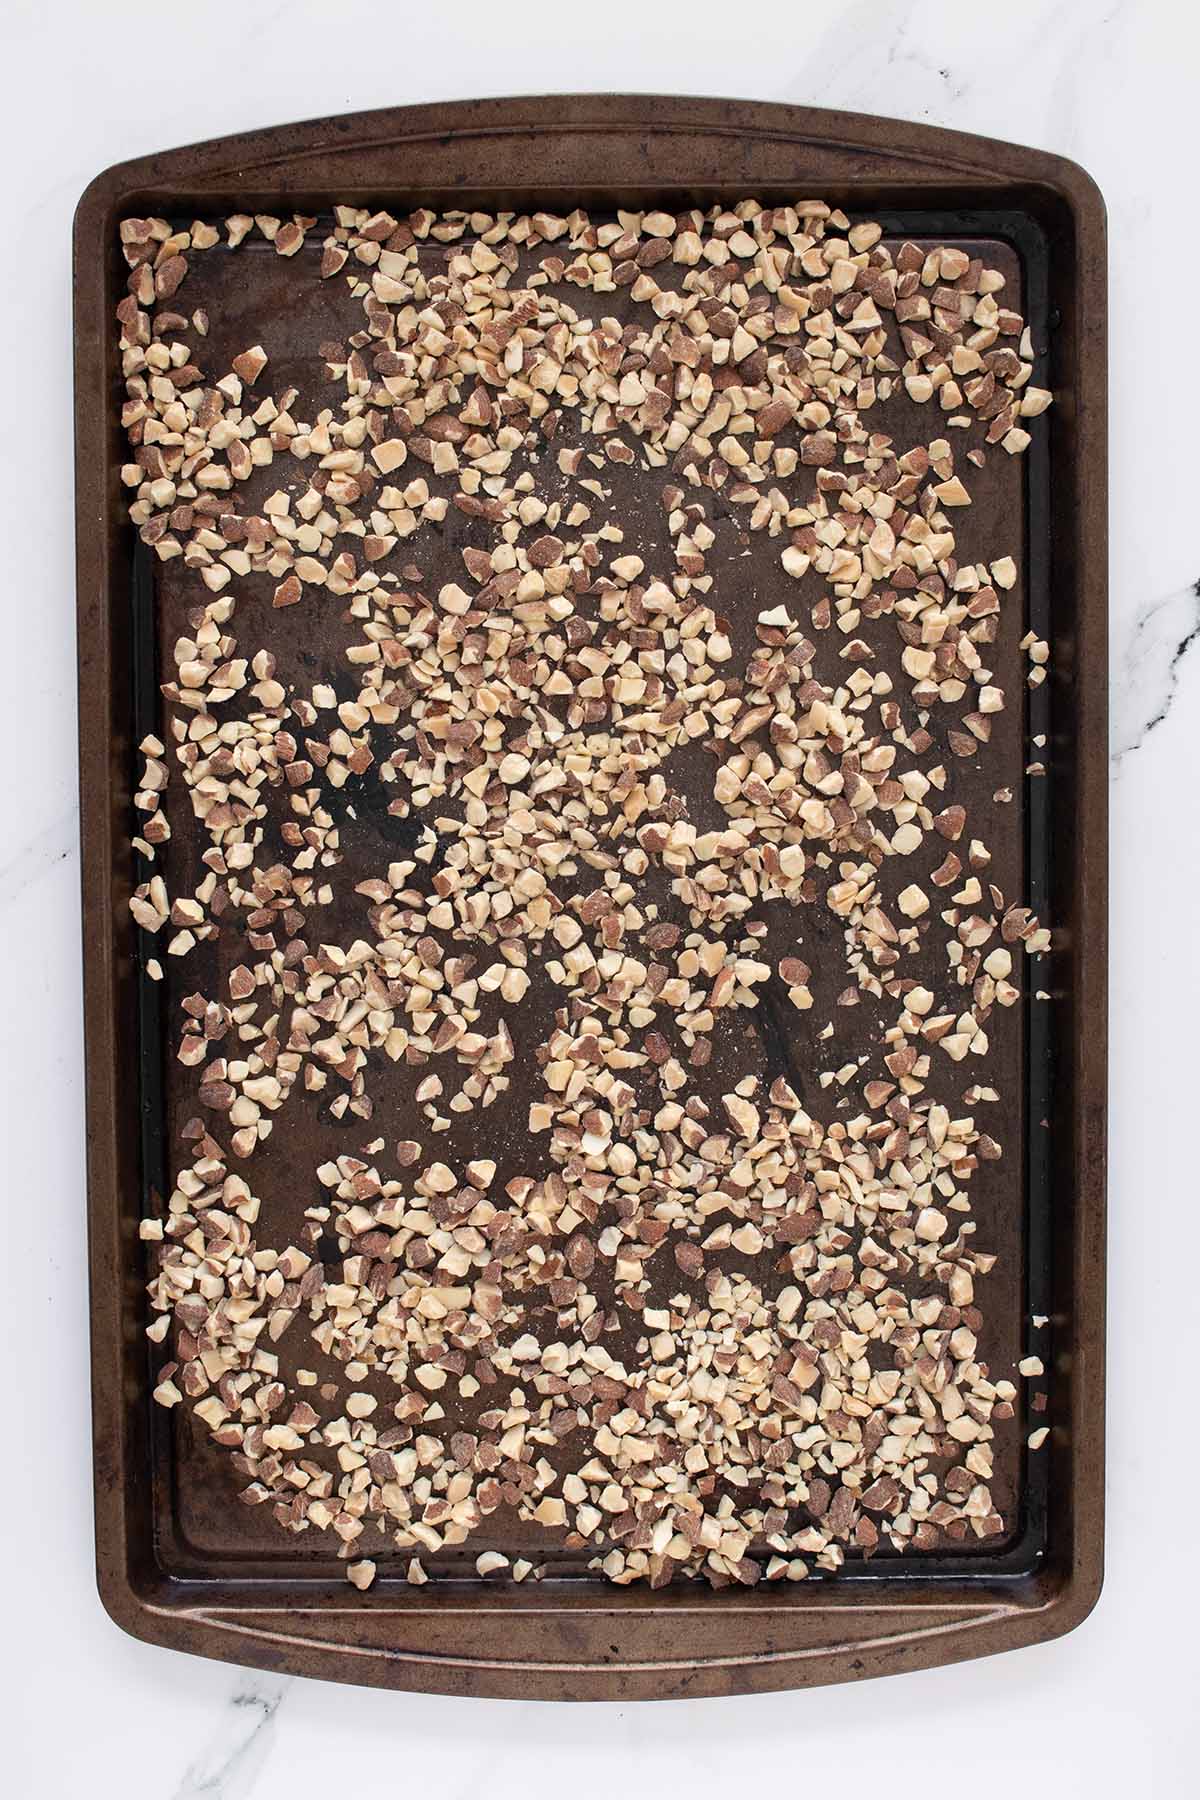
- 1 cup chopped almonds. Toasted, if desired. You can sub chopped peanuts.
- 1 teaspoon ground cinnamon. Adds flavor.
- 1 teaspoon ground cardamom. Adds flavor. If you don’t have cardamom you can substitute 1/2 teaspoon and 1/2 teaspoon allspice.
- ¼ teaspoon salt. Enhances flavor.
- 2½ cups peanut butter. We like to use all natural, unsweetened peanut butter. If your local grocery store has a fresh peanut butter grinder, even better. You can grind your own from fresh peanuts following this recipe for walnut butter. Just substitute peanuts for the walnuts. You can sub almond butter as well. We have tried it both ways and it’s equally delicious!
- ¾ cup honey. Adds sweetness.
- ½ teaspoon almond extract. Adds flavor.
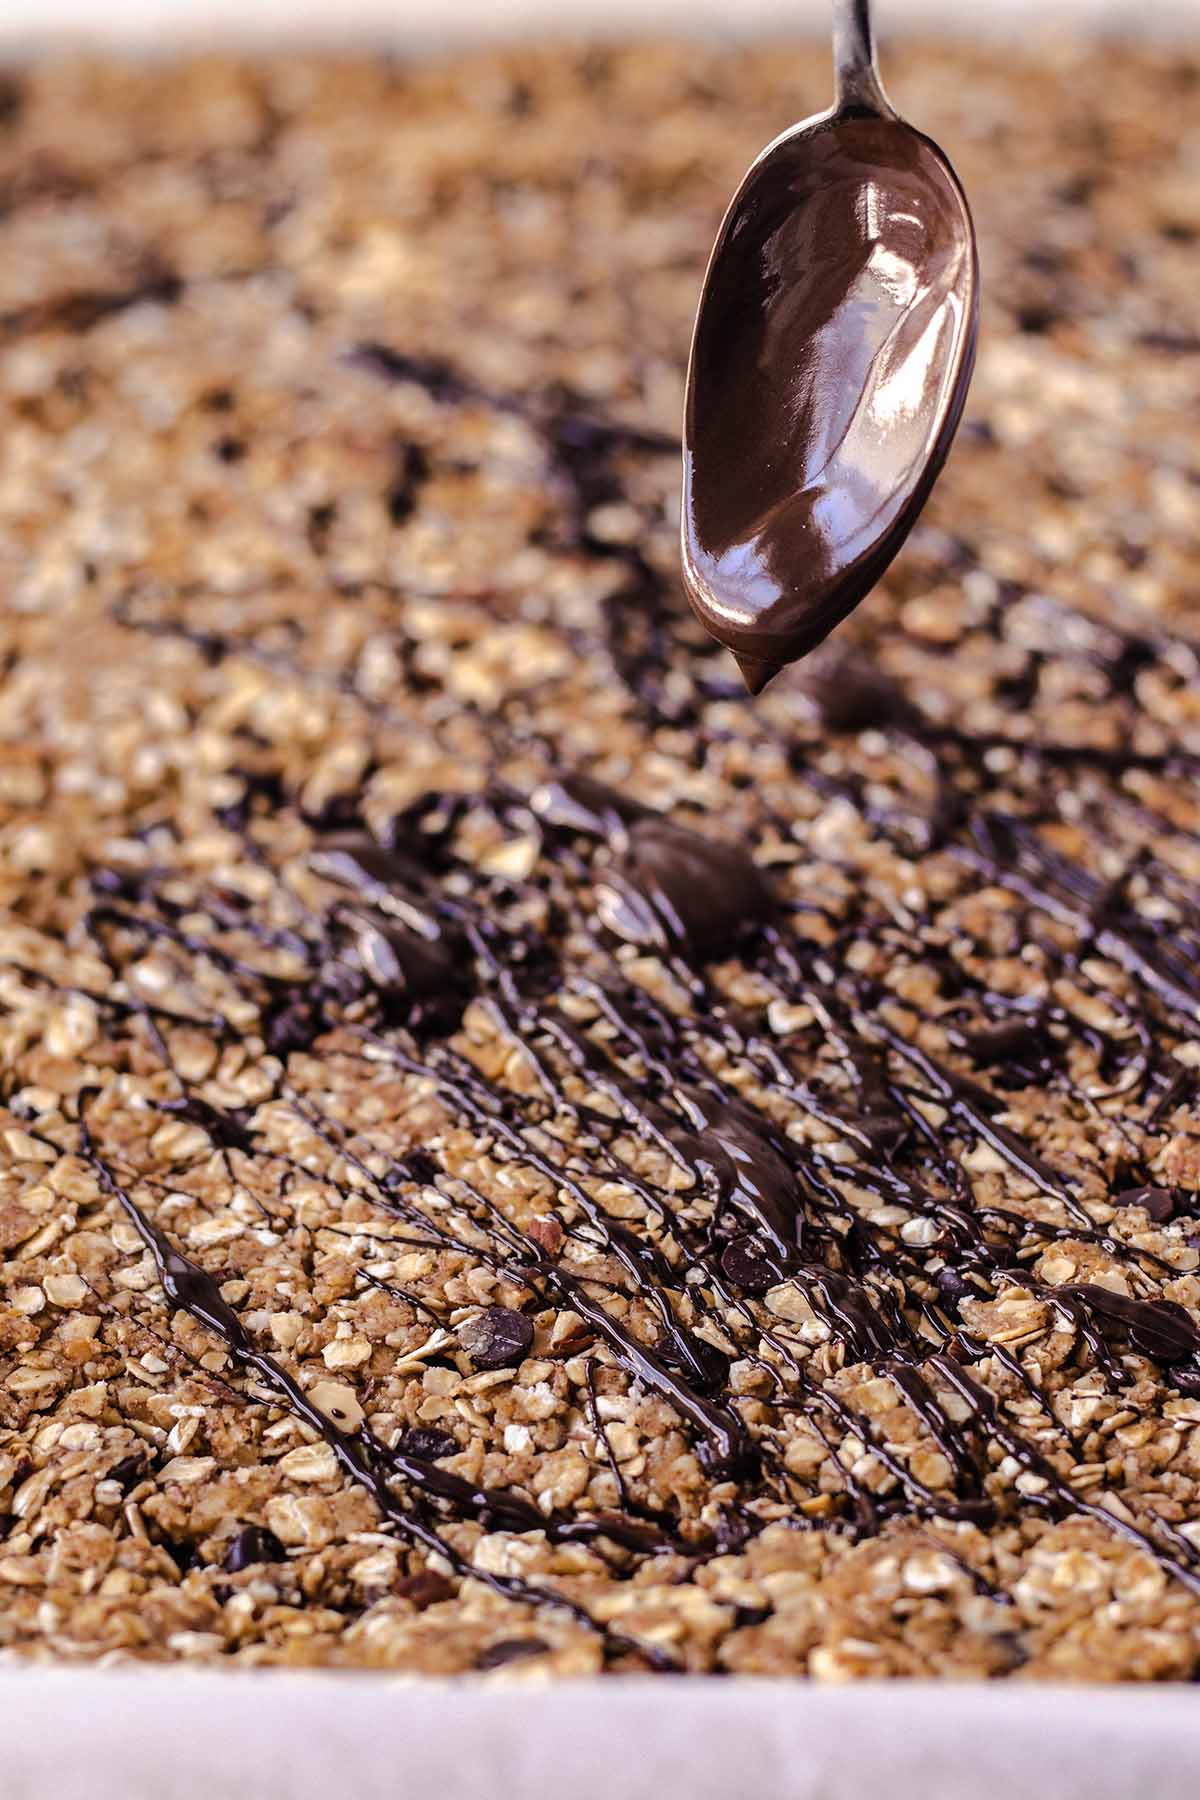
- Dark melting chocolate wafers. For drizzling. This is an optional step. I did find that the chocolate drizzle helped the bars to hold together better since they are no bake. If you do decide to add the drizzle, be sure to purchase wafers or chocolate bars that are designed for melting. Semi-sweet chocolate chips, like the ones we used for this chocolate chip peanut butter bread and the mini chocolate chips we are using in this recipe, are not designed for melting and drizzling so they will not work very well for this purpose. We found the melting chocolate wafers in the bulk section of our grocery store. If you store doesn’t carry them, this product by Merckens will work well.
How to Make Them

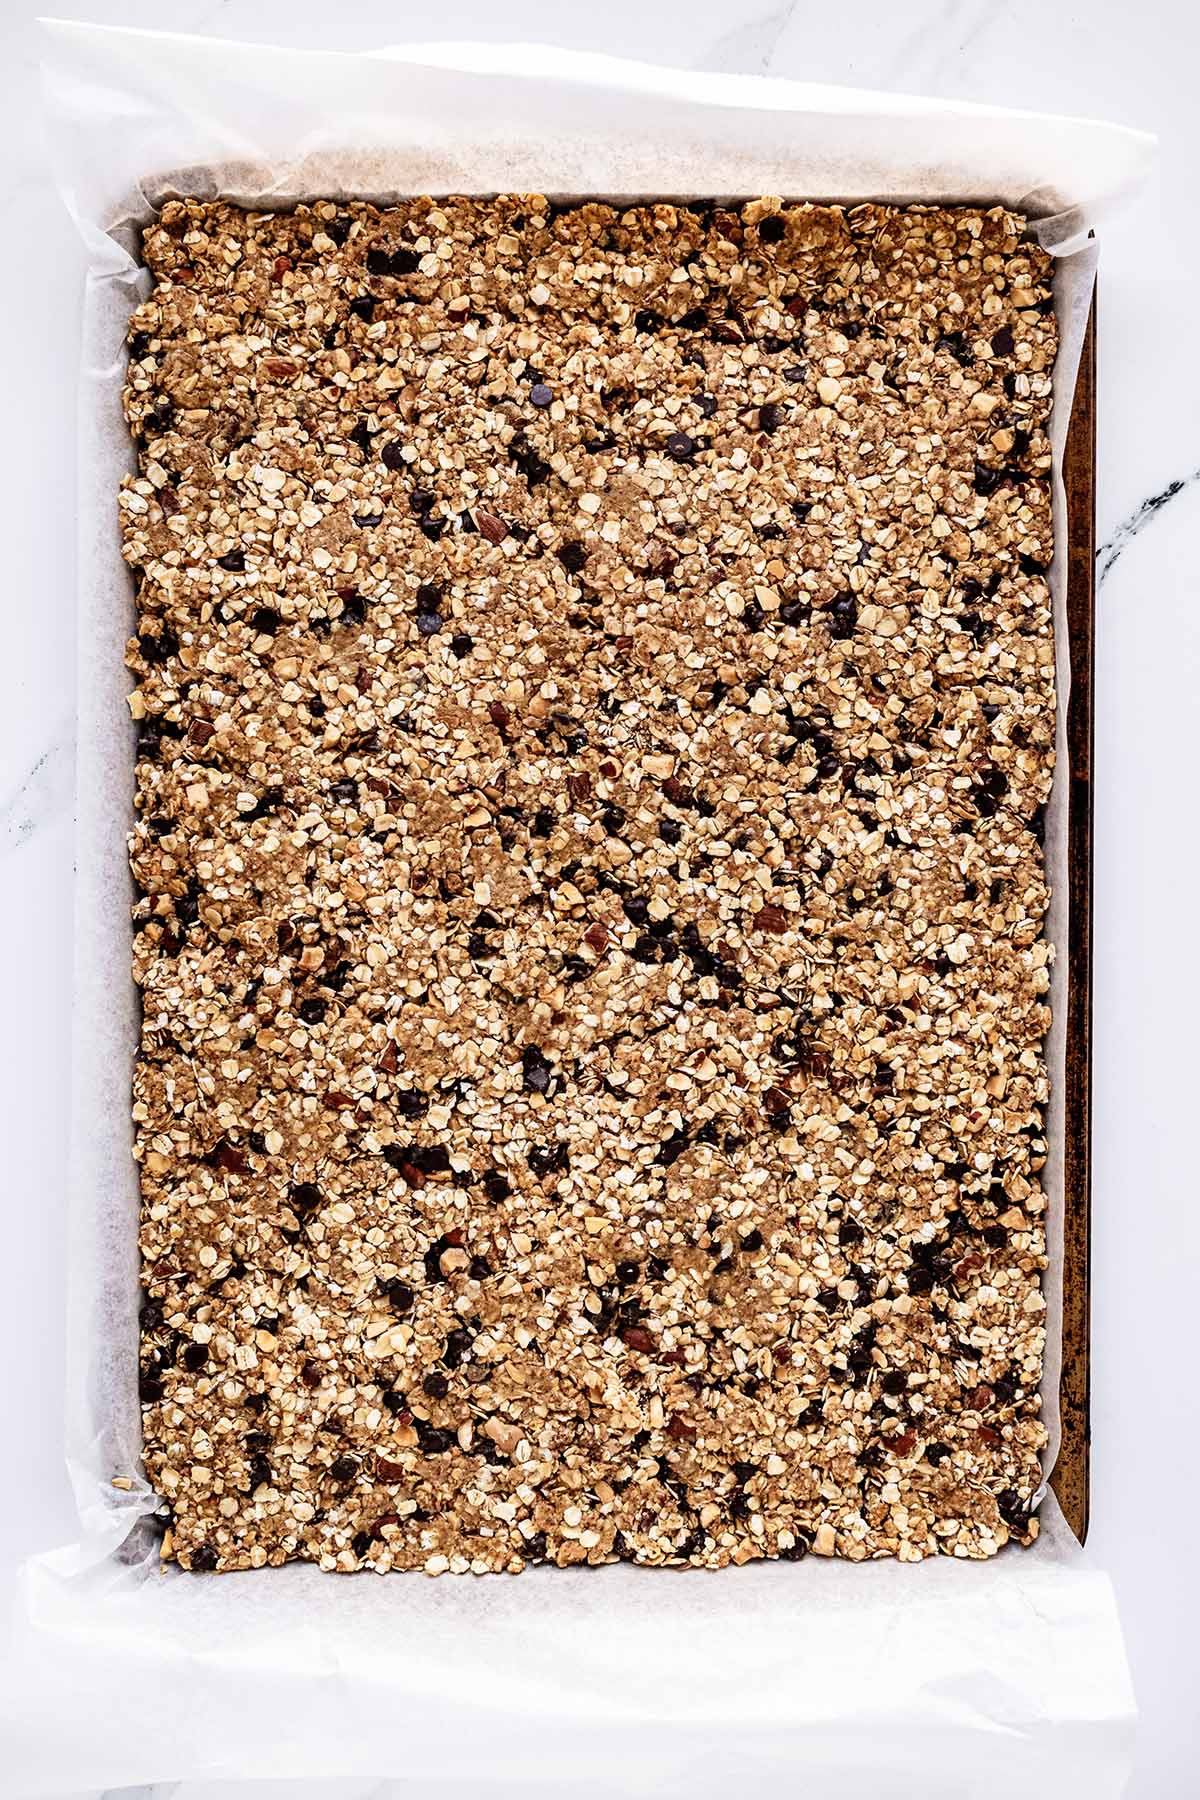
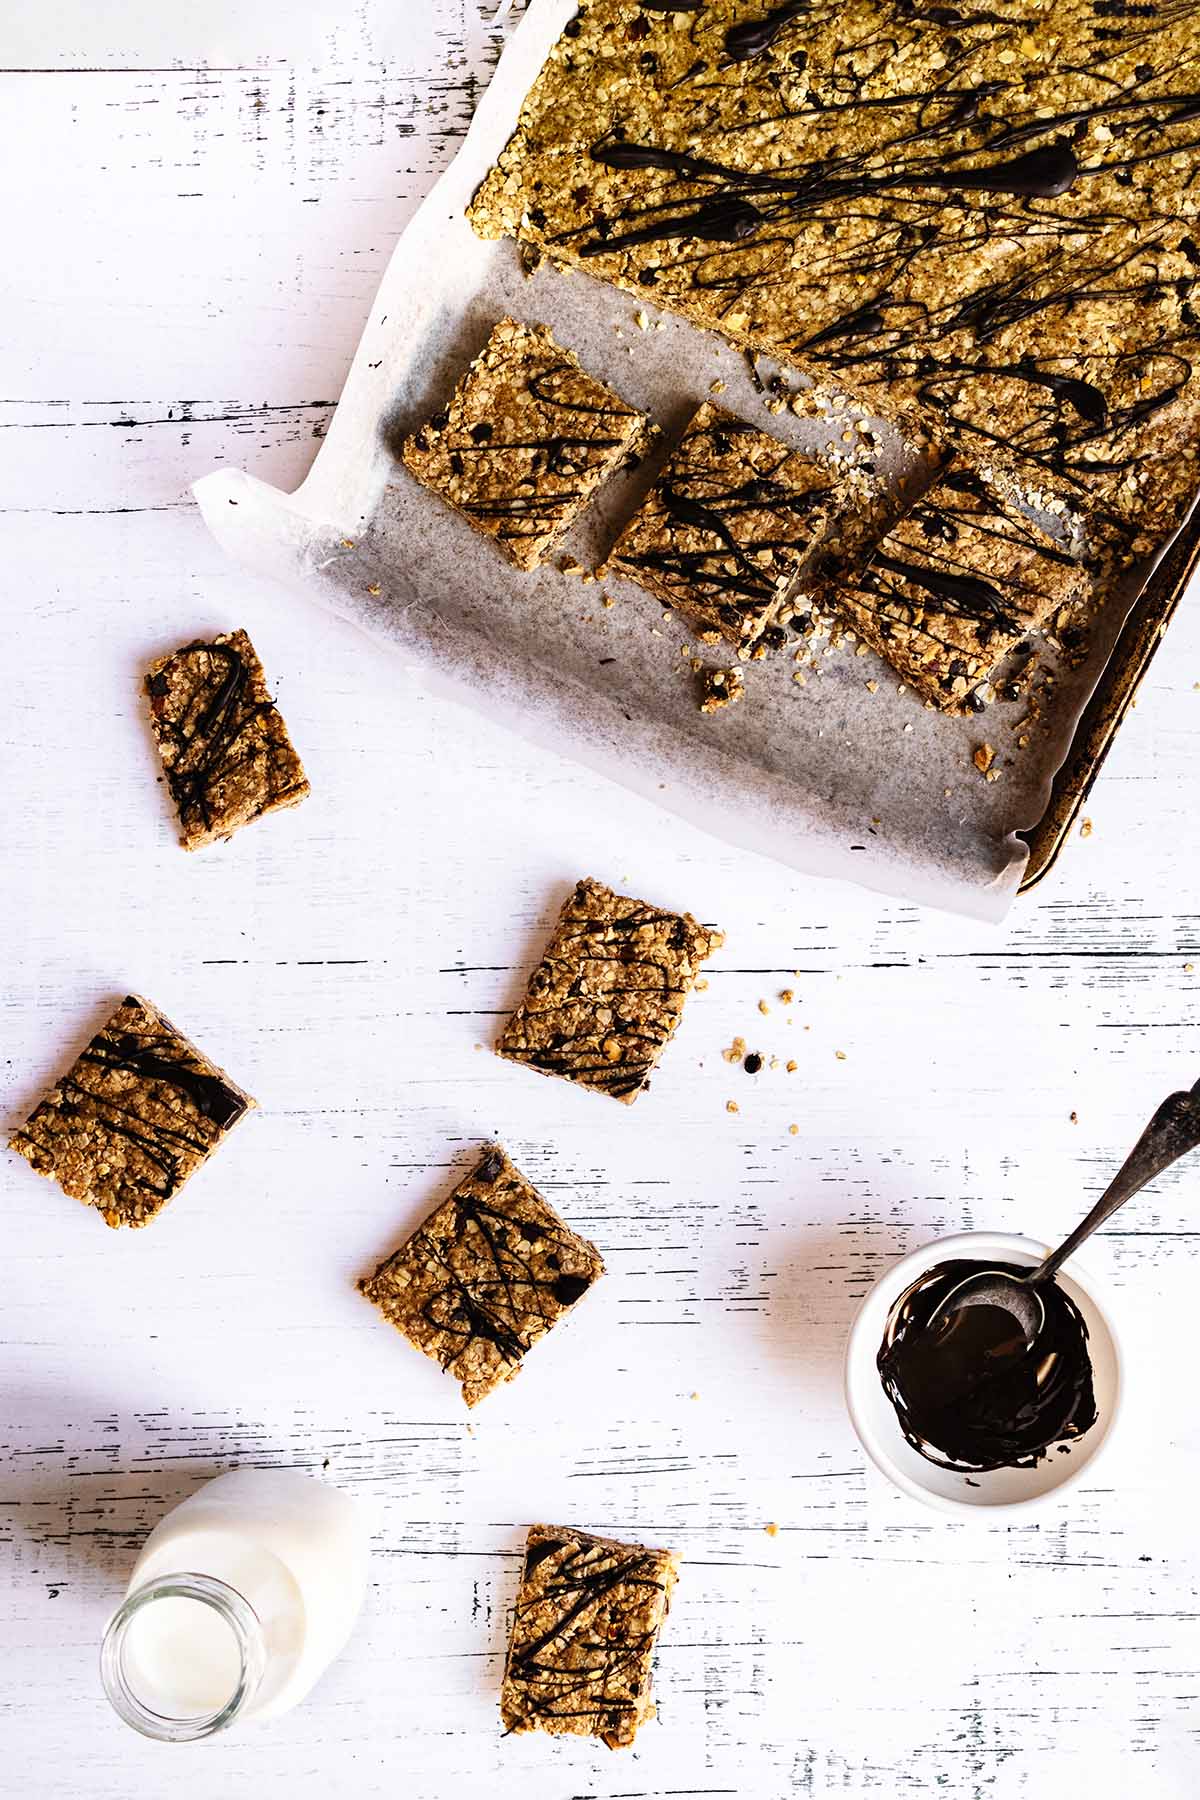
Step 6. Line a 10 inch by 15 inch baking sheet with wax paper. Allow the paper to hang over the side to make handles so that it’s easy to remove the mixture from the baking sheet after it sets.
Step 8. Press another piece of wax paper onto the top of oat mixture and cover with a second baking sheet to weigh it down. Refrigerate until set, at least 1 hour. For best results, refrigerate overnight.
Cut into 20 (2 inch by 3.5 inch) bars.
Click here to learn how to make these no bake oatmeal peanut butter bars in a visual story.
Get our free breakfast ebook
When you join our newsletter
Tips and Storage
- We used a liquid measuring cup to measure the honey. To help prevent the honey from sticking to the side of the measuring cup, we rubbed a little bit of liquified coconut oil on the sides of the cup before pouring the honey in. You can also use a little bit of vegetable oil. It doesn’t take much. The oil makes the honey easier to pour.
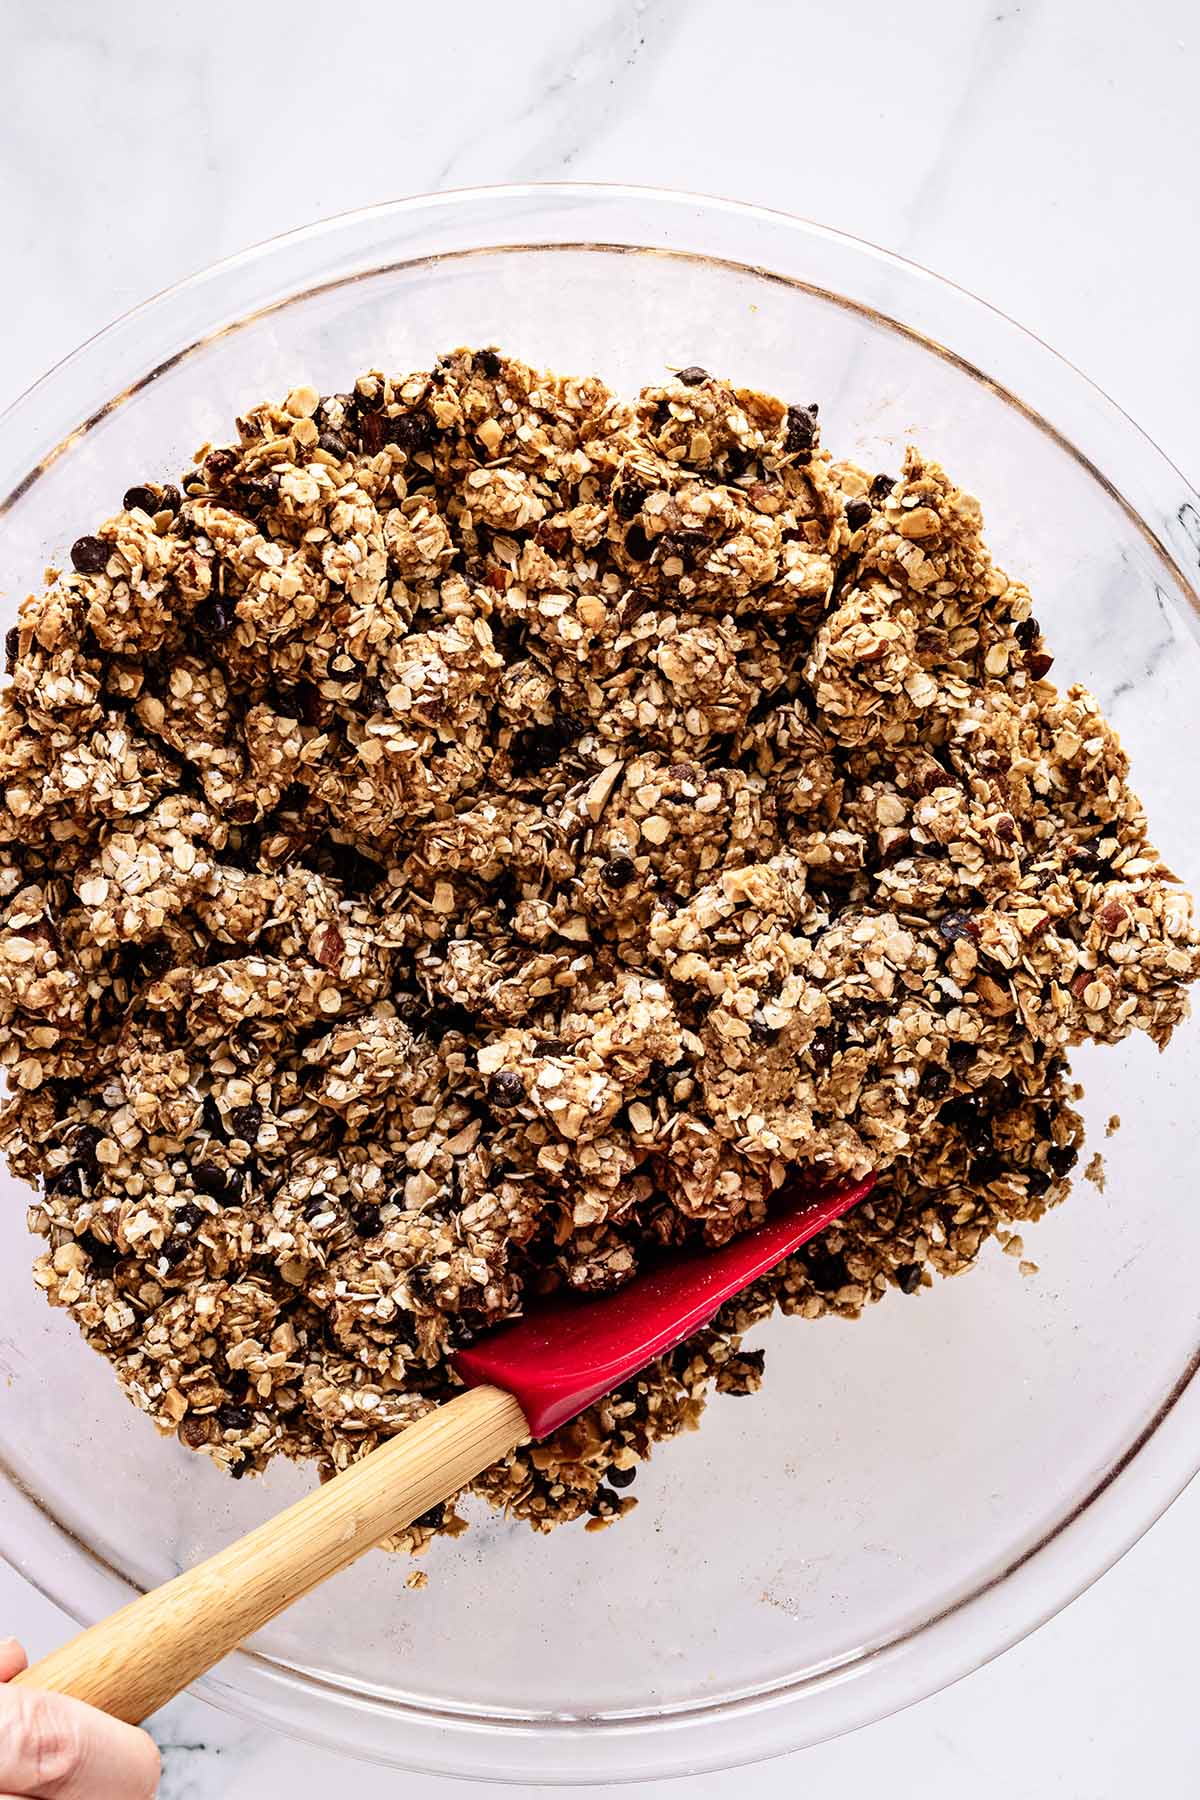
- Be sure to mix the oat bar mixture very well. Make sure that no dry oats remain. I found it helpful to fold the dry oat mixture into the wet peanut butter/honey mixture and eventually used clean hands to knead the mixture until all of the dry oat mixture was fully incorporated.
- When you press the mixture into the baking sheet, be sure to press very firmly with the bottom of a glass jar or glass. This step is the key to making sure your bars hold together when you remove them from the baking sheet.
- After pressing the mixture into the baking sheet, cover it with a piece of wax paper and then cover that with a second baking sheet. The second baking sheet will weigh it down and help to compact the mixture.
- The chocolate drizzle on top is optional, but I think it does help hold the bars together. If you decide to include the drizzle, be sure to use the chocolate wafers or chocolate bars that are designed for melting. Chocolate chips, like the ones we are using in this recipe or that you would use for a chocolate chip pancake recipe, are not designed for this purpose and will not melt nor drizzle very well.
- These chocolate peanut butter bars will keep in your fridge for up to two weeks. I haven’t tried freezing them. They get eaten too fast at my house to even think about freezing them!
Variations
- Almond Butter Bars. Simply substitute the peanut butter with almond butter. The almond butter is equally delicious!
- Vegan Peanut Butter Bars. Substitute maple or agave syrup for the honey.
Related Recipes
Please enjoy these related recipes from our kitchen to yours!
- Peanut Butter and Jelly Breakfast Bars
- Oat and Honey Granola Bars
- Gluten-Free Coconut Breakfast Cookies
- Blueberry Granola
- Cinnamon Granola
- Cherry Vanilla Granola
Made this recipe? We would love it if you could leave a rating. Tap the rate button in the recipe card or leave a comment below. Don’t forget to subscribe to our newsletter to receive a free e-cookbook of quick and easy breakfast recipes. Thanks!
No Bake Oatmeal Peanut Butter Bars
Ingredients
- 3½ cups quick oats
- 1 cup mini semi-sweet chocolate chips
- 1 cup chopped almonds Toasted.
- 1 teaspoon ground cinnamon
- 1 teaspoon ground cardamom
- ¼ teaspoon salt
- 2½ cups peanut butter
- ¾ cup honey
- ½ teaspoon almond extract
- dark melting chocolate wafers For drizzling. Optional.
Instructions
- Optional step: Preheat oven to 350°F (177°C). Scatter chopped almonds on a baking sheet and toast for 10 minutes. Remove from oven and allow to cool completely.
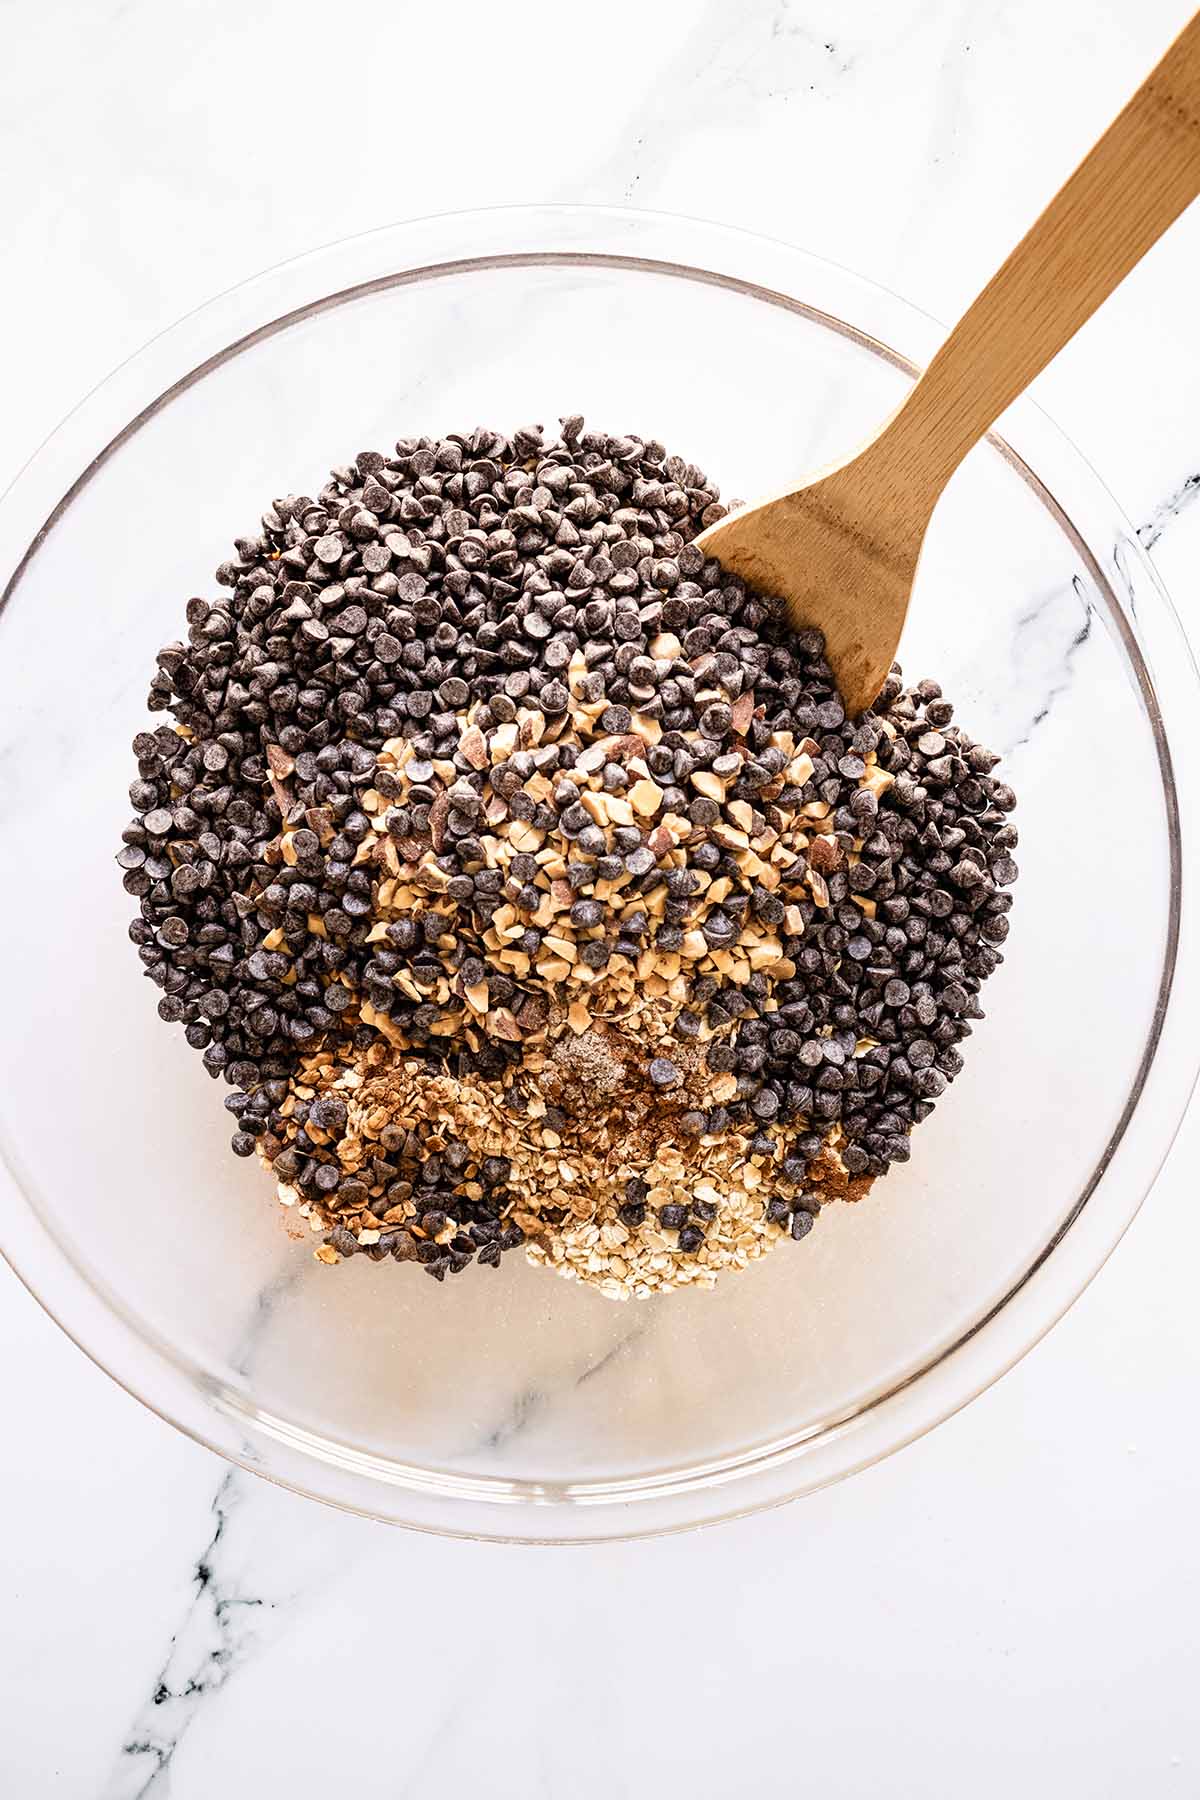
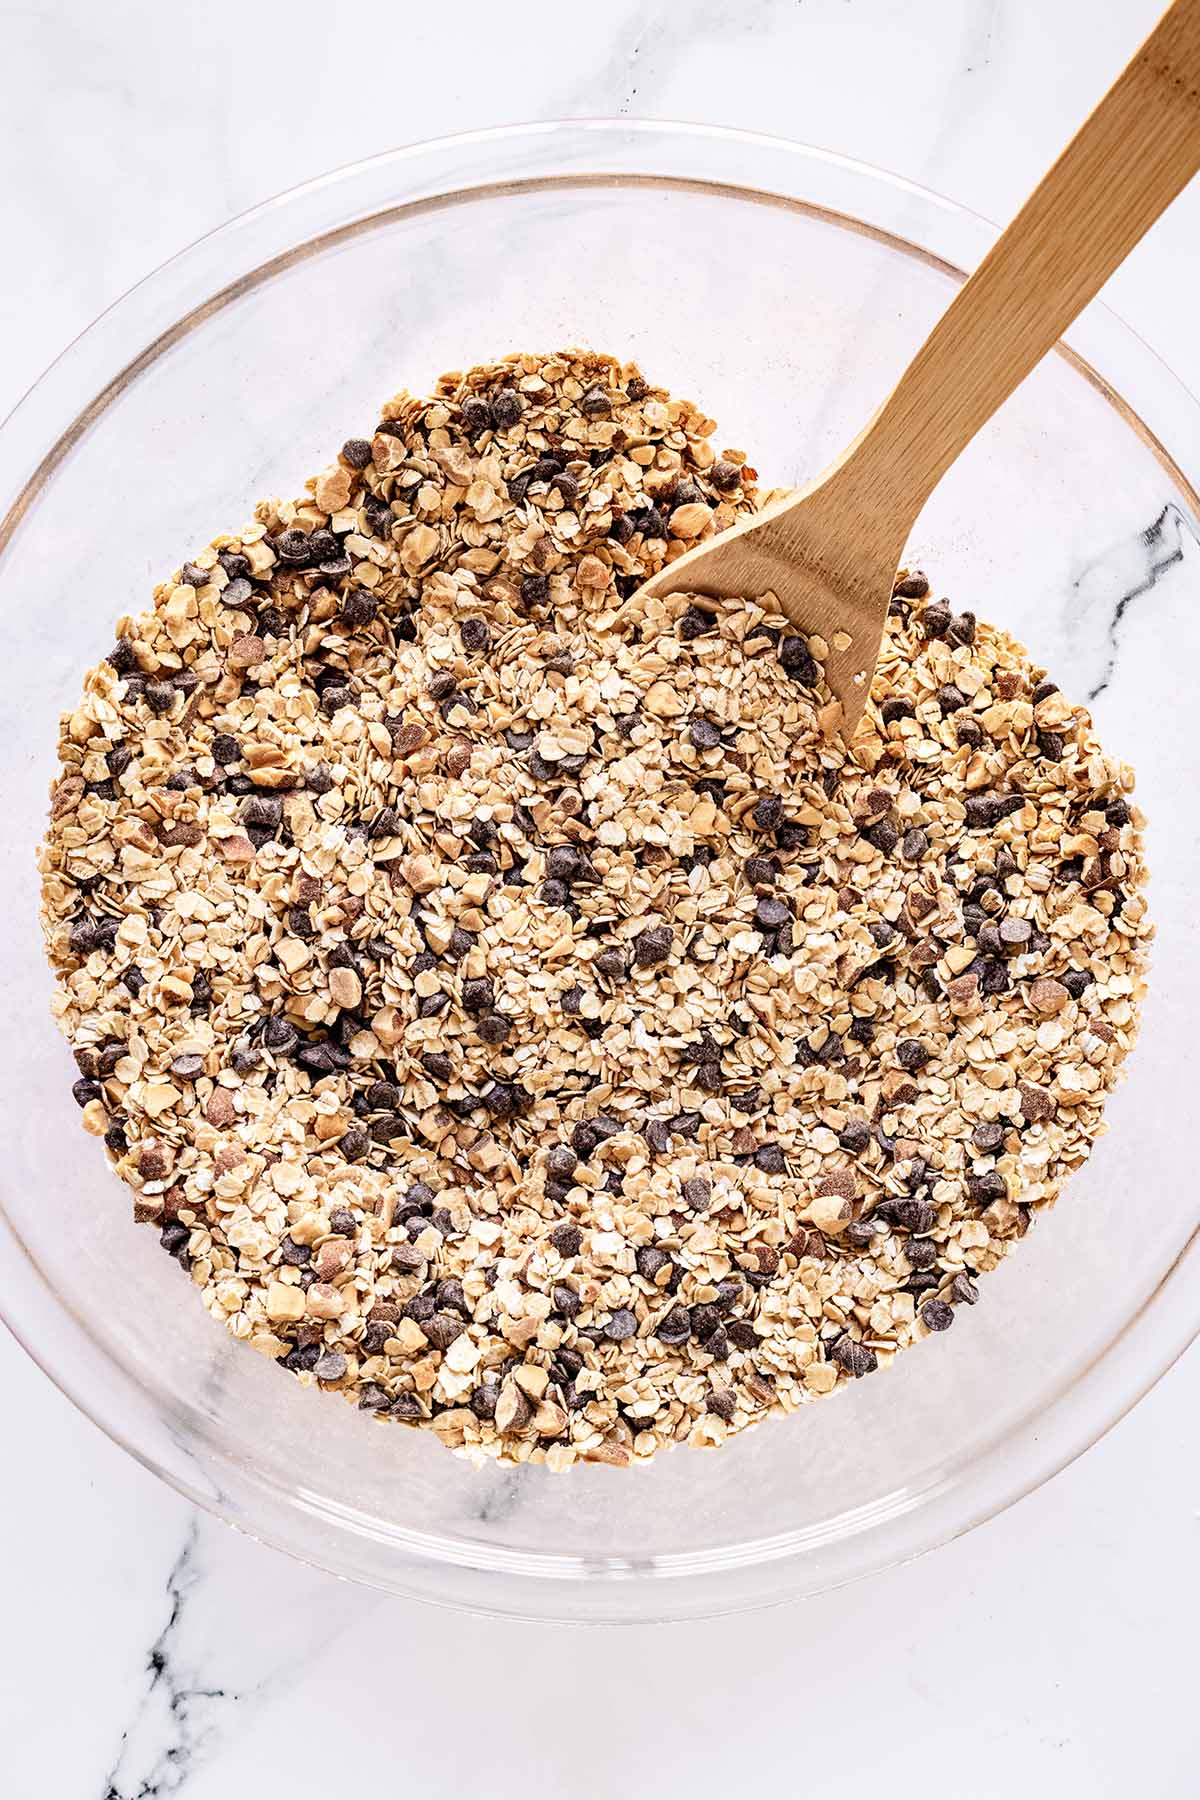
- Add oats, chocolate chips, chopped almonds, cinnamon, cardamom and salt to a large bowl.Stir with a sturdy spatula until well combined.
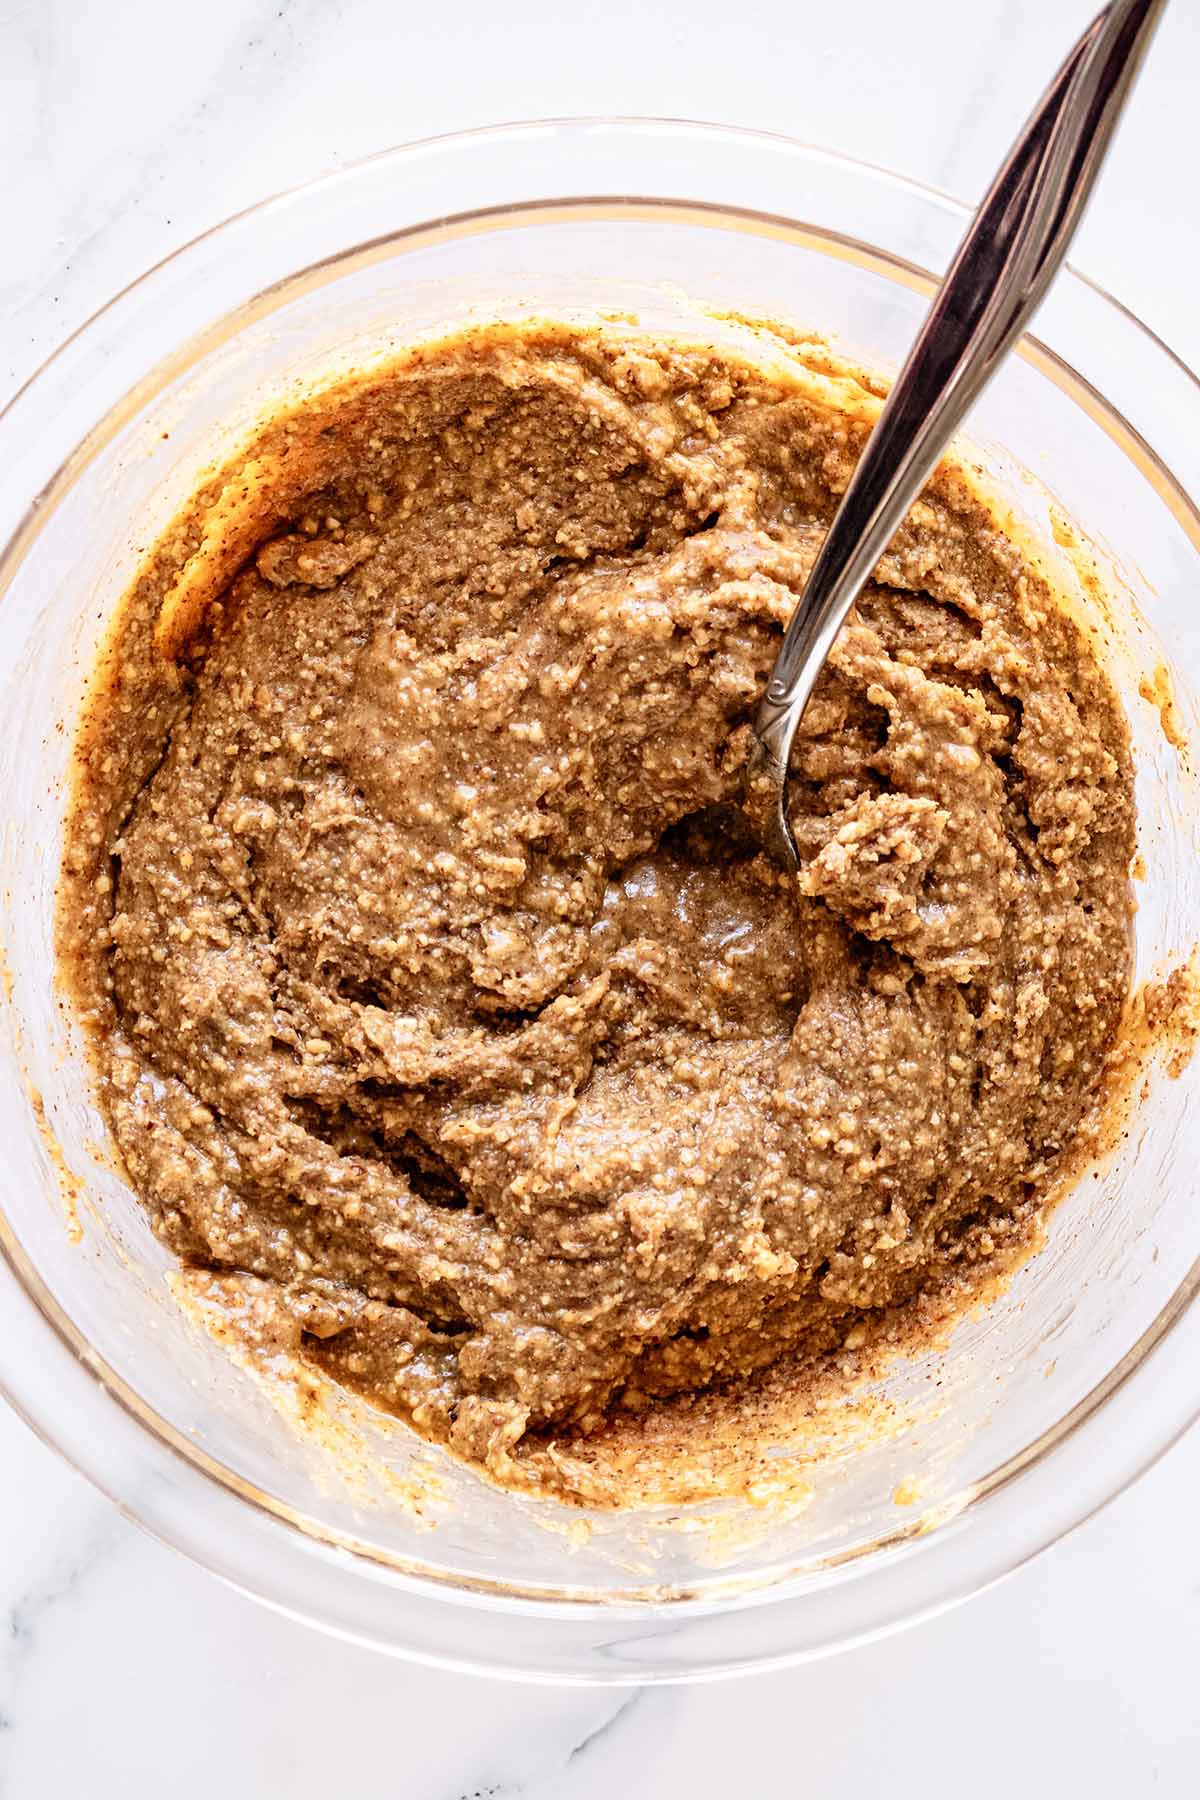
- Add peanut butter, honey and almond extract to a medium bowl and stir to combine.
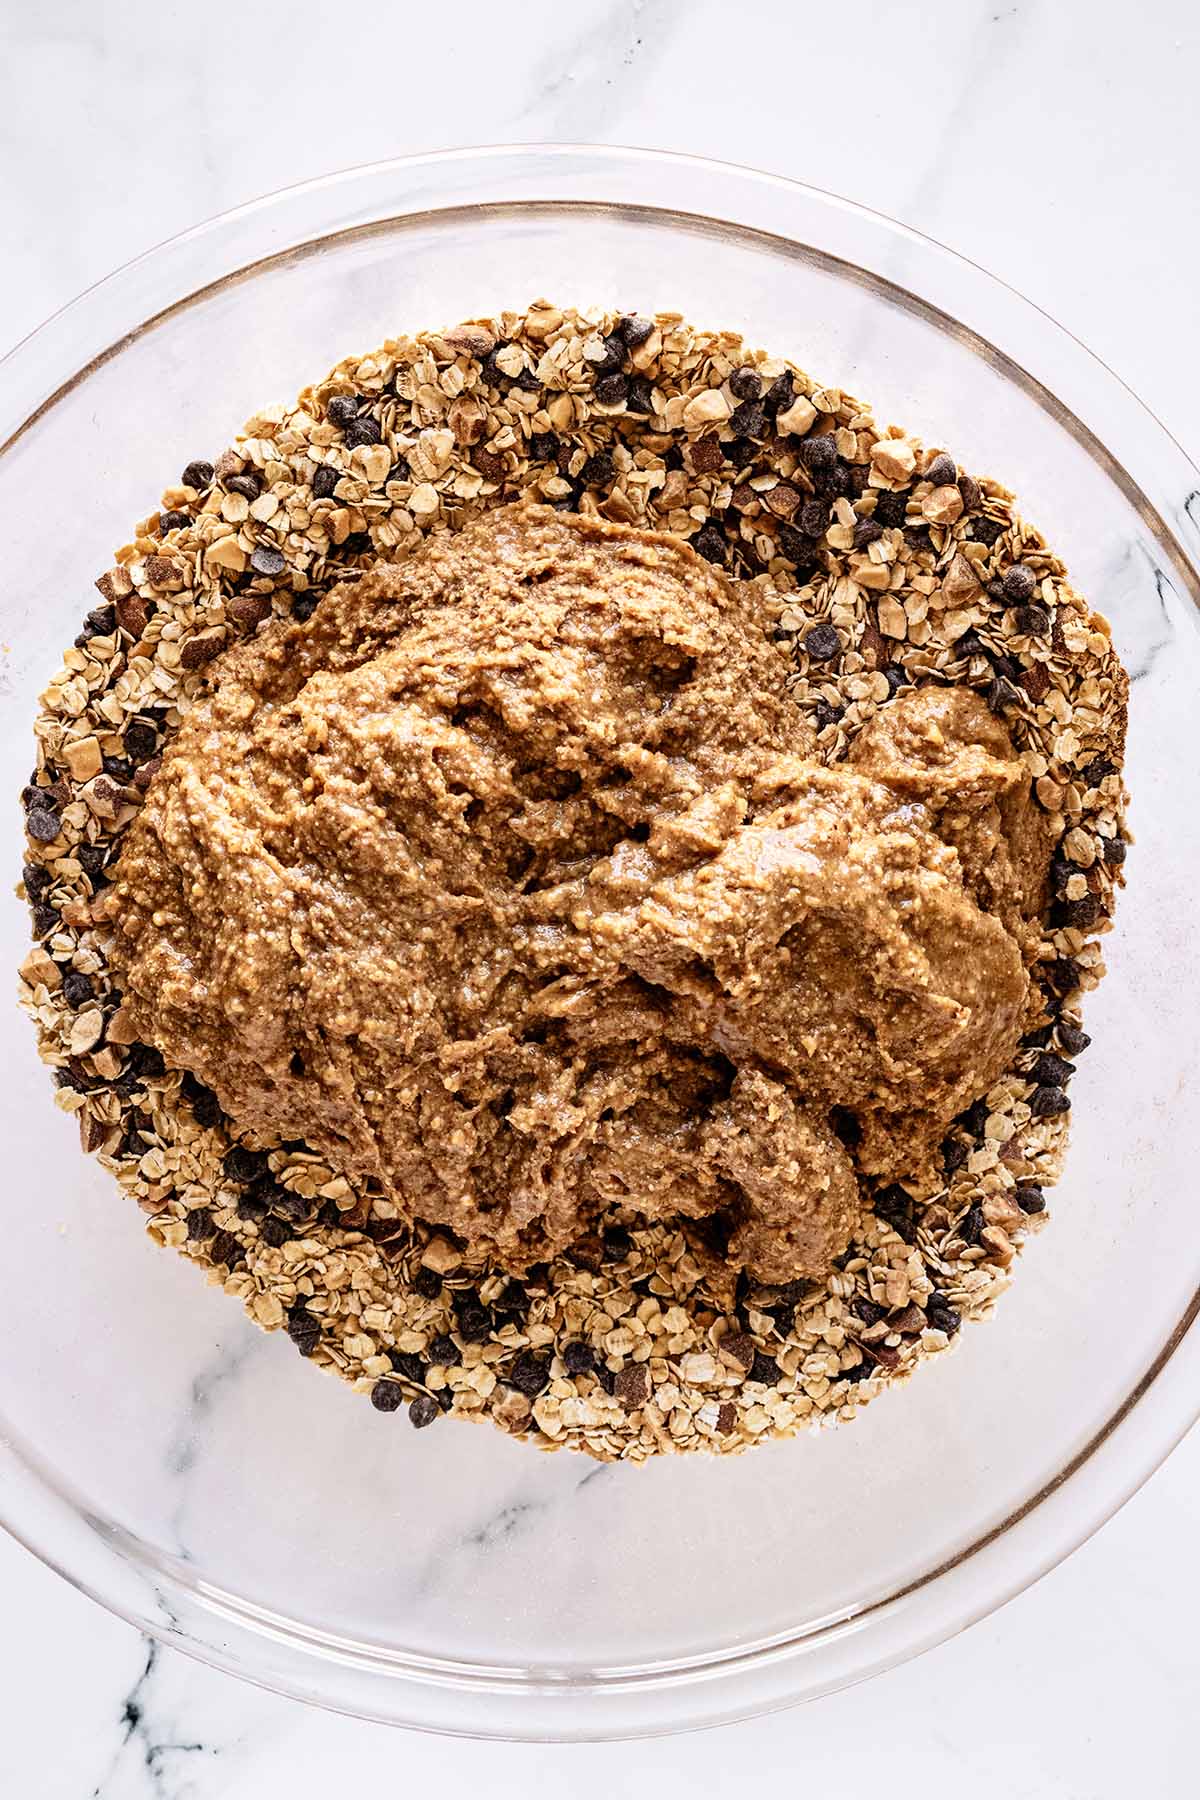
- Pour peanut butter/honey mixture into oat mixture.
- Stir to combine thoroughly. No dry oat streaks should remain. I found it easier to fold the oat mixture into the peanut butter/honey mixture and eventually used clean hands to knead the mixture until all dry oats are incorporated.
- Line a 10 inch by 15 inch baking sheet with wax paper. Allow the paper to hang over the side to make handles so that it's easy to remove the mixture from the baking sheet after it sets.
- Use the bottom of a glass or jar to firmly press the oat mixture into the baking sheet. It's important to press very firmly. Otherwise the bars may crumble and fall apart when you cut them.
- Press another piece of wax paper onto the top of oat mixture. Refrigerate until set, at least 1 hour. It's best to refrigerate overnight.
- Remove wax paper from the top and drizzle with melted dark chocolate, if desired. Place back in the refrigerator for a minute or two until the chocolate sets.Cut into 20 (2 inch by 3.5 inch) bars.
Notes
Tips and Storage
- We used a liquid measuring cup to measure the honey. To help prevent the honey from sticking to the side of the measuring cup, we rubbed a little bit of liquified coconut oil on the sides of the cup before pouring the honey in. You can also use a little bit of vegetable oil. It doesn’t take much. The oil makes the honey easier to pour.
- Be sure to mix the oat bar mixture very well. Make sure that no dry oats remain. I found it helpful to fold the dry oat mixture into the wet peanut butter/honey mixture and eventually used clean hands to knead the mixture until all of the dry oat mixture was fully incorporated.
- When you press the mixture into the baking sheet, be sure to press very firmly with the bottom of a glass jar or glass. This step is the key to making sure your bars hold together when you remove them from the baking sheet.
- After pressing the mixture into the baking sheet, cover it with a piece of wax paper and then cover that with a second baking sheet. The second baking sheet will weigh it down and help to compact the mixture.
- The chocolate drizzle on top is optional, but it does help hold the bars together. If you decide to include the drizzle, be sure to use the chocolate wafers or chocolate bars that are designed for melting. Chocolate chips, like the ones we are using in this recipe or that you would use for a chocolate chip pancake recipe, are not designed for this purpose and will not melt nor drizzle very well.
- These chocolate peanut butter bars will keep in your fridge for up to two weeks. I haven’t tried freezing them. They get eaten too fast at my house to even think about freezing them!
Would these not hold as well using rolled oats instead of quick? I would blend the rolled oats to make quick but I am sans blender and food processor at the moment. Thank you!
Hi Erica,
I have never tried this recipe with rolled oats, but I still think it could work. The texture may be a little different (chewier perhaps?) than what you would get with quick oats, but I think they will hold together just fine so long as you press the mixture firmly into a baking sheet (this step is key), cover with wax or parchment paper, and top with another baking sheet to weigh the mixture down.
The mixture will have to set for at least an hour, but overnight is best. The idea is to give the oats plenty of time to absorb the wet ingredients that were added, so that everything holds together. I would think that it would take more time for rolled oats than quick, so I would make this recipe the day before you want to serve it.
I hope this helps!
Hello,
I wanted to say thank you for your amazing recipe. These bars are so good & healthy. The flavors really jump out with every bit.
Honestly, these oatmeal bars are so much better than the store bought versions.
I am so glad you enjoy them! Thank you for your kind comment. 🙂