Would you like to save this recipe?
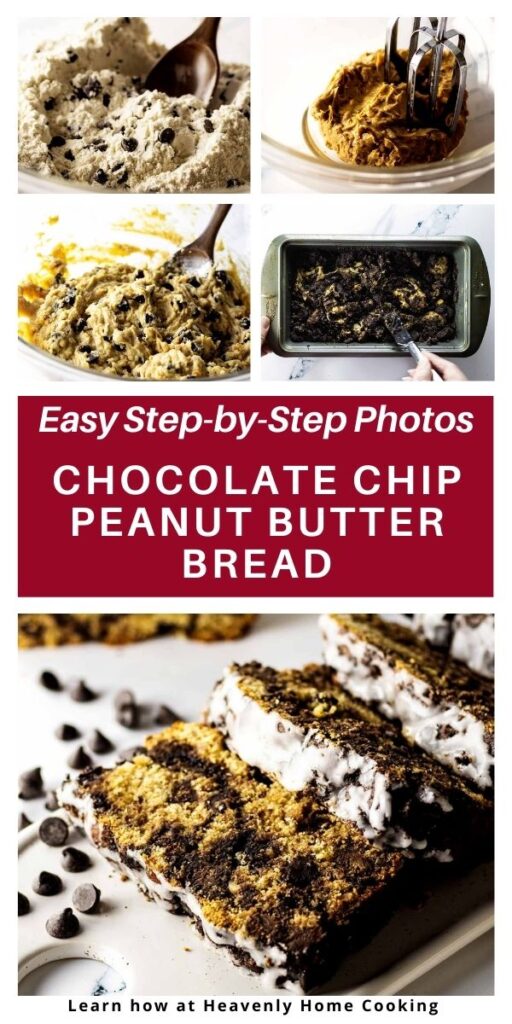
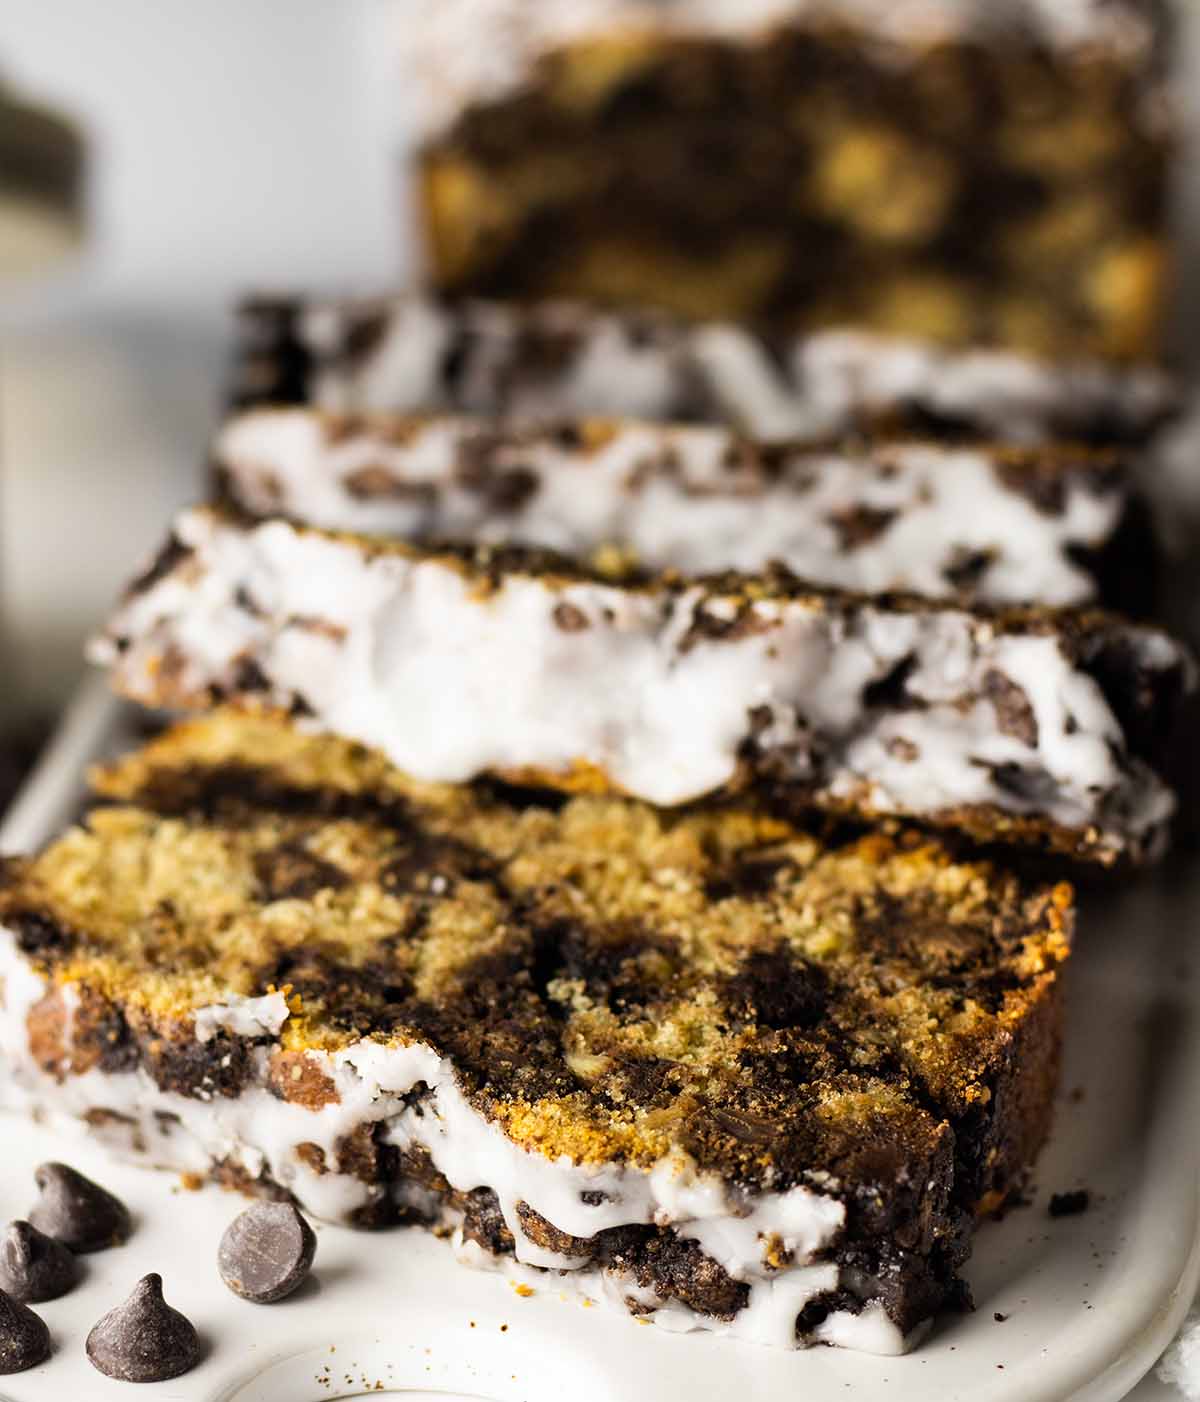
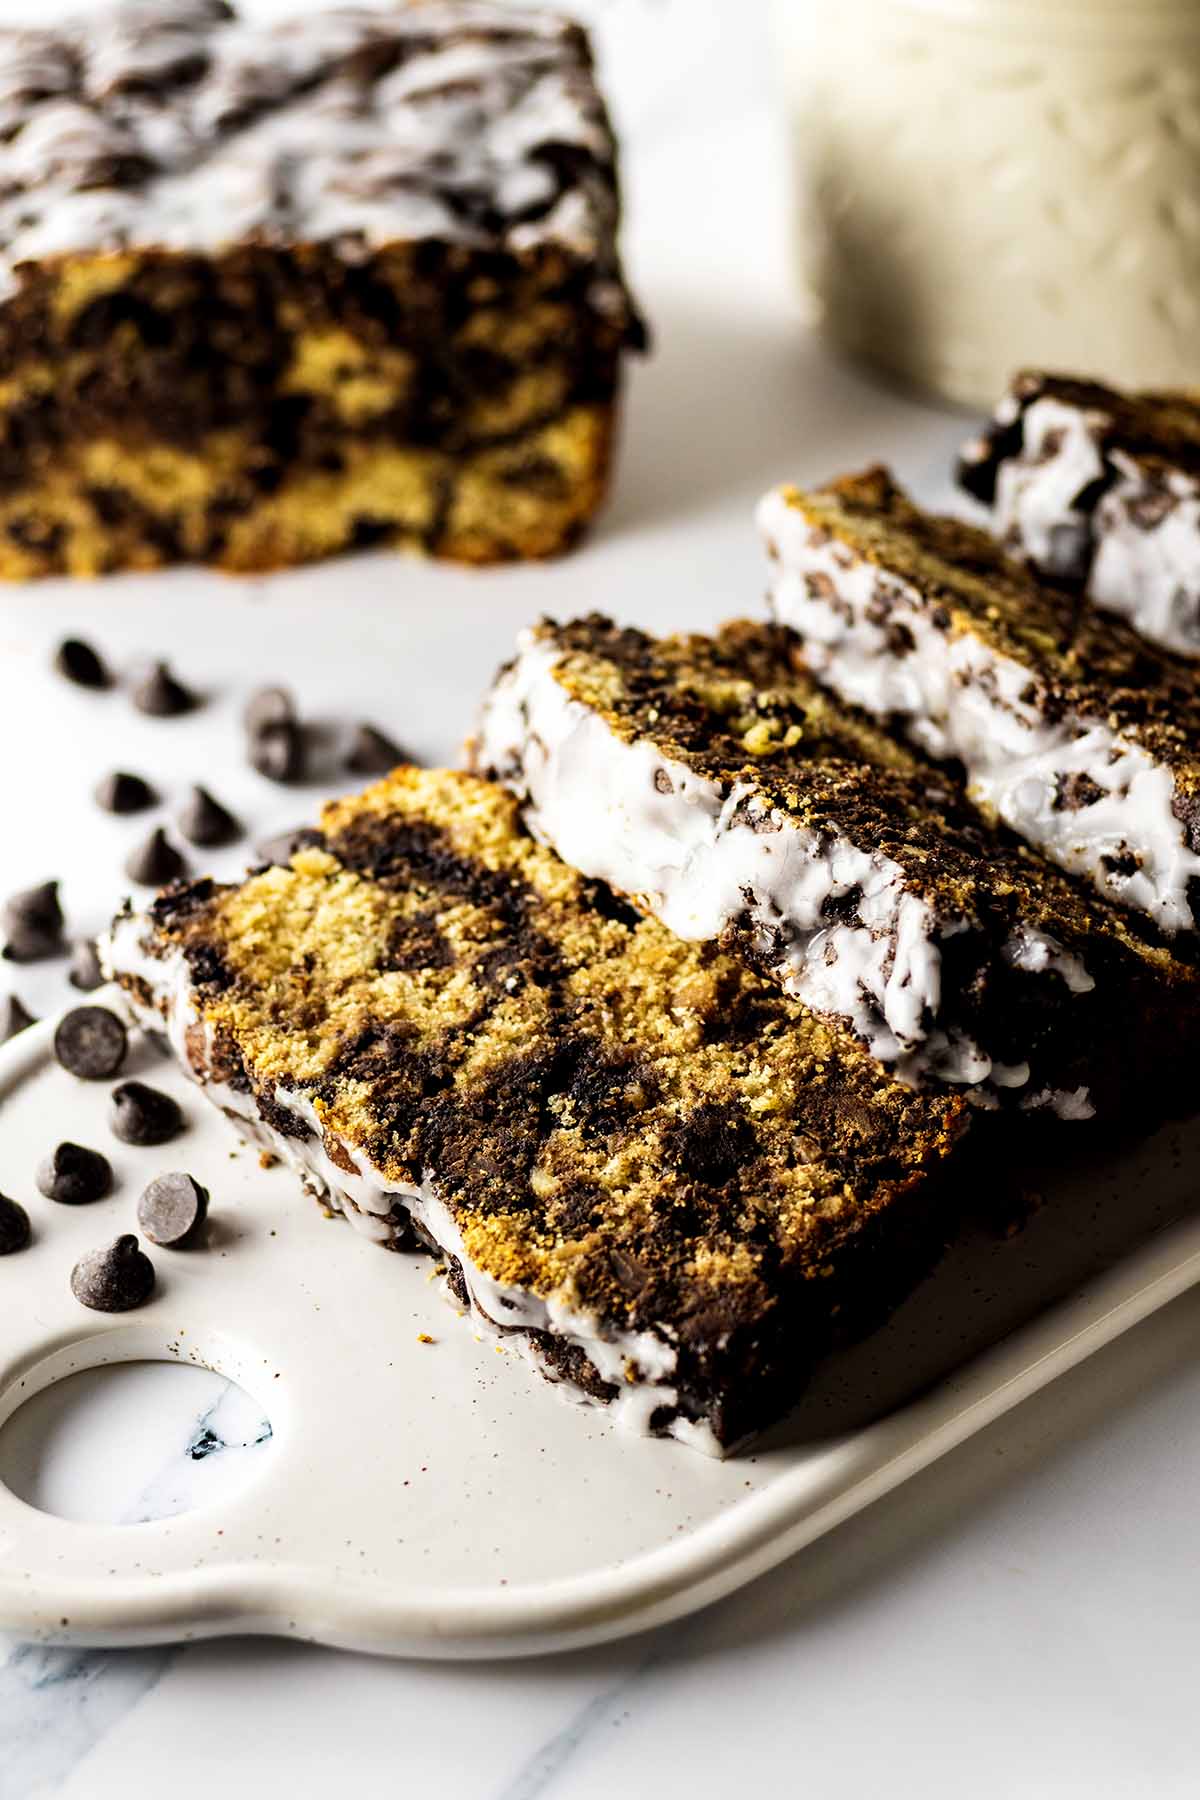
This chocolate chip peanut butter bread is so rich and chocolatey it’s like having dessert for breakfast. In fact, I’ve been enjoying it as a sweet after dinner treat for many nights now. We have a few breakfast recipes that can do double duty as dessert, like our cream cheese breakfast pastry, orange craisin muffins, mascarpone crepes with Nutella filling, strawberry compote, lime curd, chocolate chip baked oatmeal, and raisin bread pudding.
This quick bread freezes well, just like our maple syrup bread, banana raisin bread, cardamon quick bread and maple syrup bread, so you might want to make an extra loaf to enjoy later. It also makes a great holiday gift or potluck offering. Read on to learn how to make it.
What You’ll Love About This Recipe
Tools You’ll Need
The below links are affiliate links. As an Amazon Associate I earn from qualifying purchases with no additional cost to you.
Ingredients
Bread Batter
- White all-purpose flour (2 cups). Be sure to measure this correctly. Spoon the flour into your measuring cup and then level it off with the back of a butter knife. Avoid using the measuring cup to directly scoop it out from the flour container. This will compact the flour, and you may end up with more than you need.
- Double acting baking powder (2 teaspoons). This gives your bread its rise. “Double acting” means that it is initially activated when liquid is added and then is activated again in the oven. That second activation is really helpful if you have accidentally overmixed your batter or allowed it to sit too long before baking.
- Salt (¼ teaspoon). Use regular table salt. Do not substitute kosher salt or sea salt.
- Semisweet chocolate chips (1 cup). Chocolate chips that are made for baking are best for this recipe. They are designed to hold their shape in baked goods. You can substitute a regular chopped up chocolate bar, but it may melt and spread throughout your batter. It’s also much sweeter. For more chocolate chip recipes, check out these chocolate chip scones, chocolate chip waffles, chocolate chip baked oatmeal, banana chocolate chip pancakes, and oat and honey granola bars.
- Peanut butter, (¾ cup). You can use either chunky or smooth. I used chunky. Make sure it is at room temperature. You need this not only for flavor, but it adds some of the fat that this bread needs to avoid being dry and crumbly.
- Granulated sugar (½ cup). Superfine baker’s sugar is also fine. No pun intended. 😉
- Safflower oil (⅓ cup). Necessary for a moist loaf. I know many of us are concerned about fat and calories, but “diet” fat substitutes won’t work in this recipe. Trust me. I’ve tried it. Bleh. If you don’t have safflower oil, you can substitute canola oil.
- One large egg. Needs to be at room temperature. This also helps give the loaf its rise.
- Milk (1 cup). I used 1%. 2% or whole milk is fine too. I didn’t test this recipe with buttermilk. If you want to try it, it may give your bread a tangy flavor. It will also add additional rise.
- Vanilla extract (1 teaspoon). For flavor.
Chocolate Crumb Topping/Filling
- Granulated sugar (½ cup). The cocoa powder is bitter on its own so you need a good amount of sugar to balance it out.
- Unsweetened cocoa powder (¼ cup). This provides an extra layer of rich and delicious chocolate flavor!
- Unsalted butter (3 tablespoons), cut into ¼-inch pieces. Because you are already adding salt to your bread batter the butter should be unsalted.
- Finely chopped, dry-roasted peanuts (2 tablespoons). I used my food processor (affiliate link) to chop the nuts. It makes life so much easier! Chop the nuts first, then measure.
Instructions
Bread Batter
Step 1. Preheat oven to 350 F (176 C). Grease and flour or lightly spray a 9 x 5 inch loaf pan. Set aside.
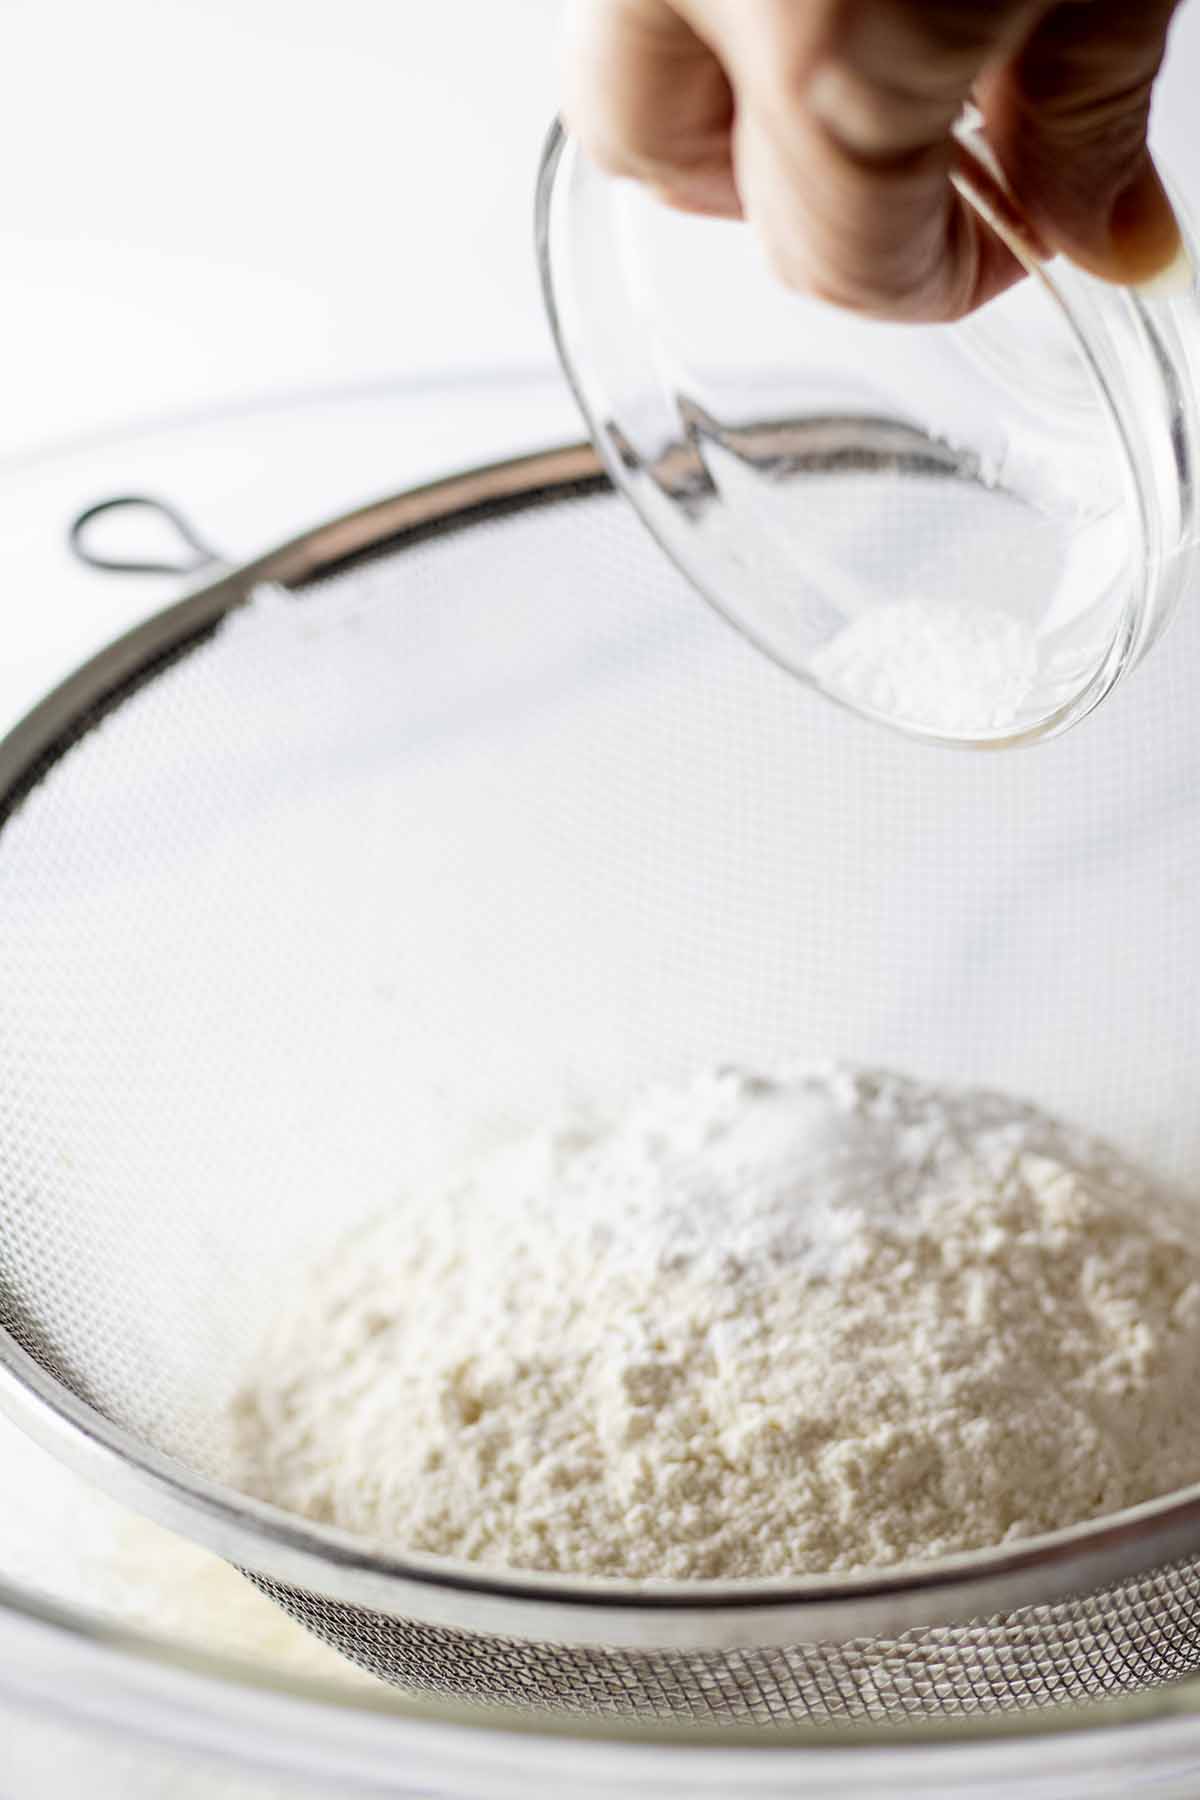
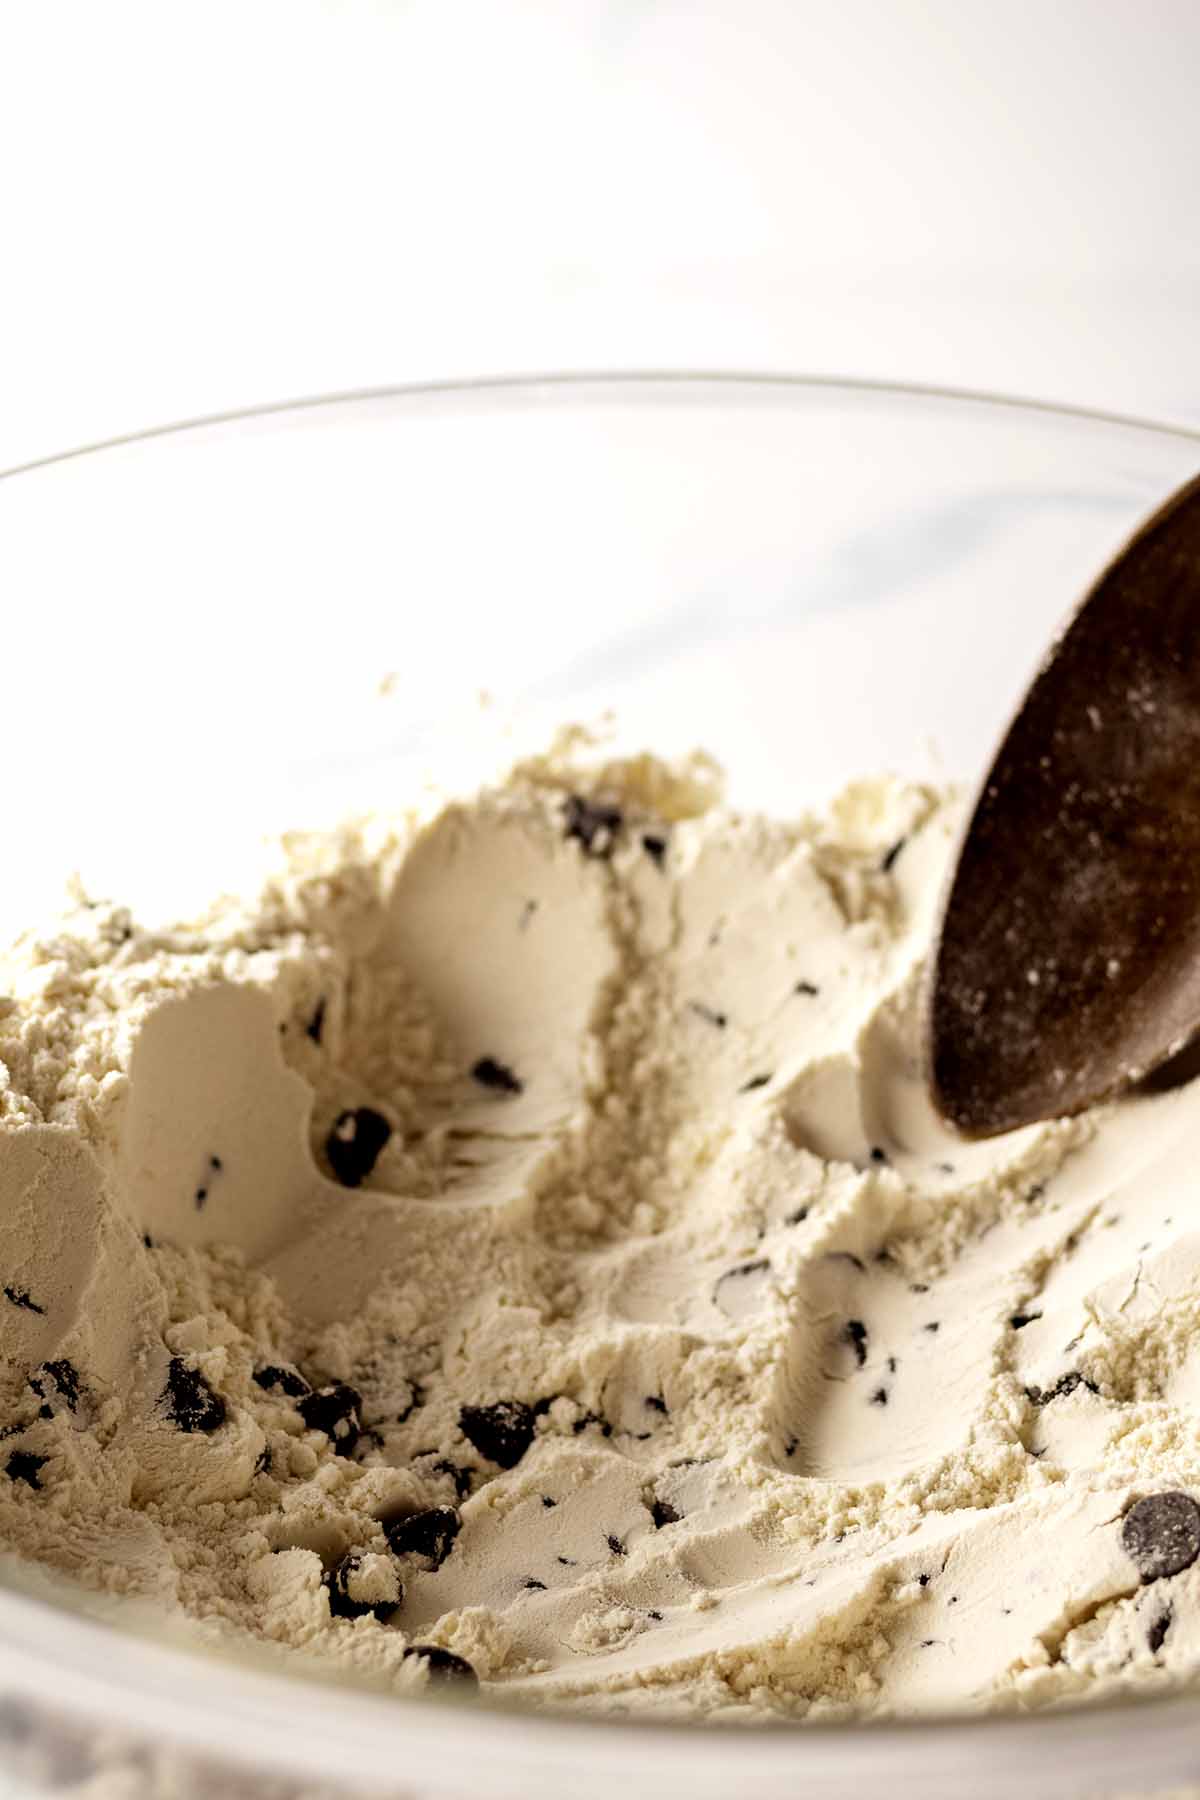
With a mesh strainer over a large bowl, sift flour, baking powder, and salt. Then stir in the chocolate chips.
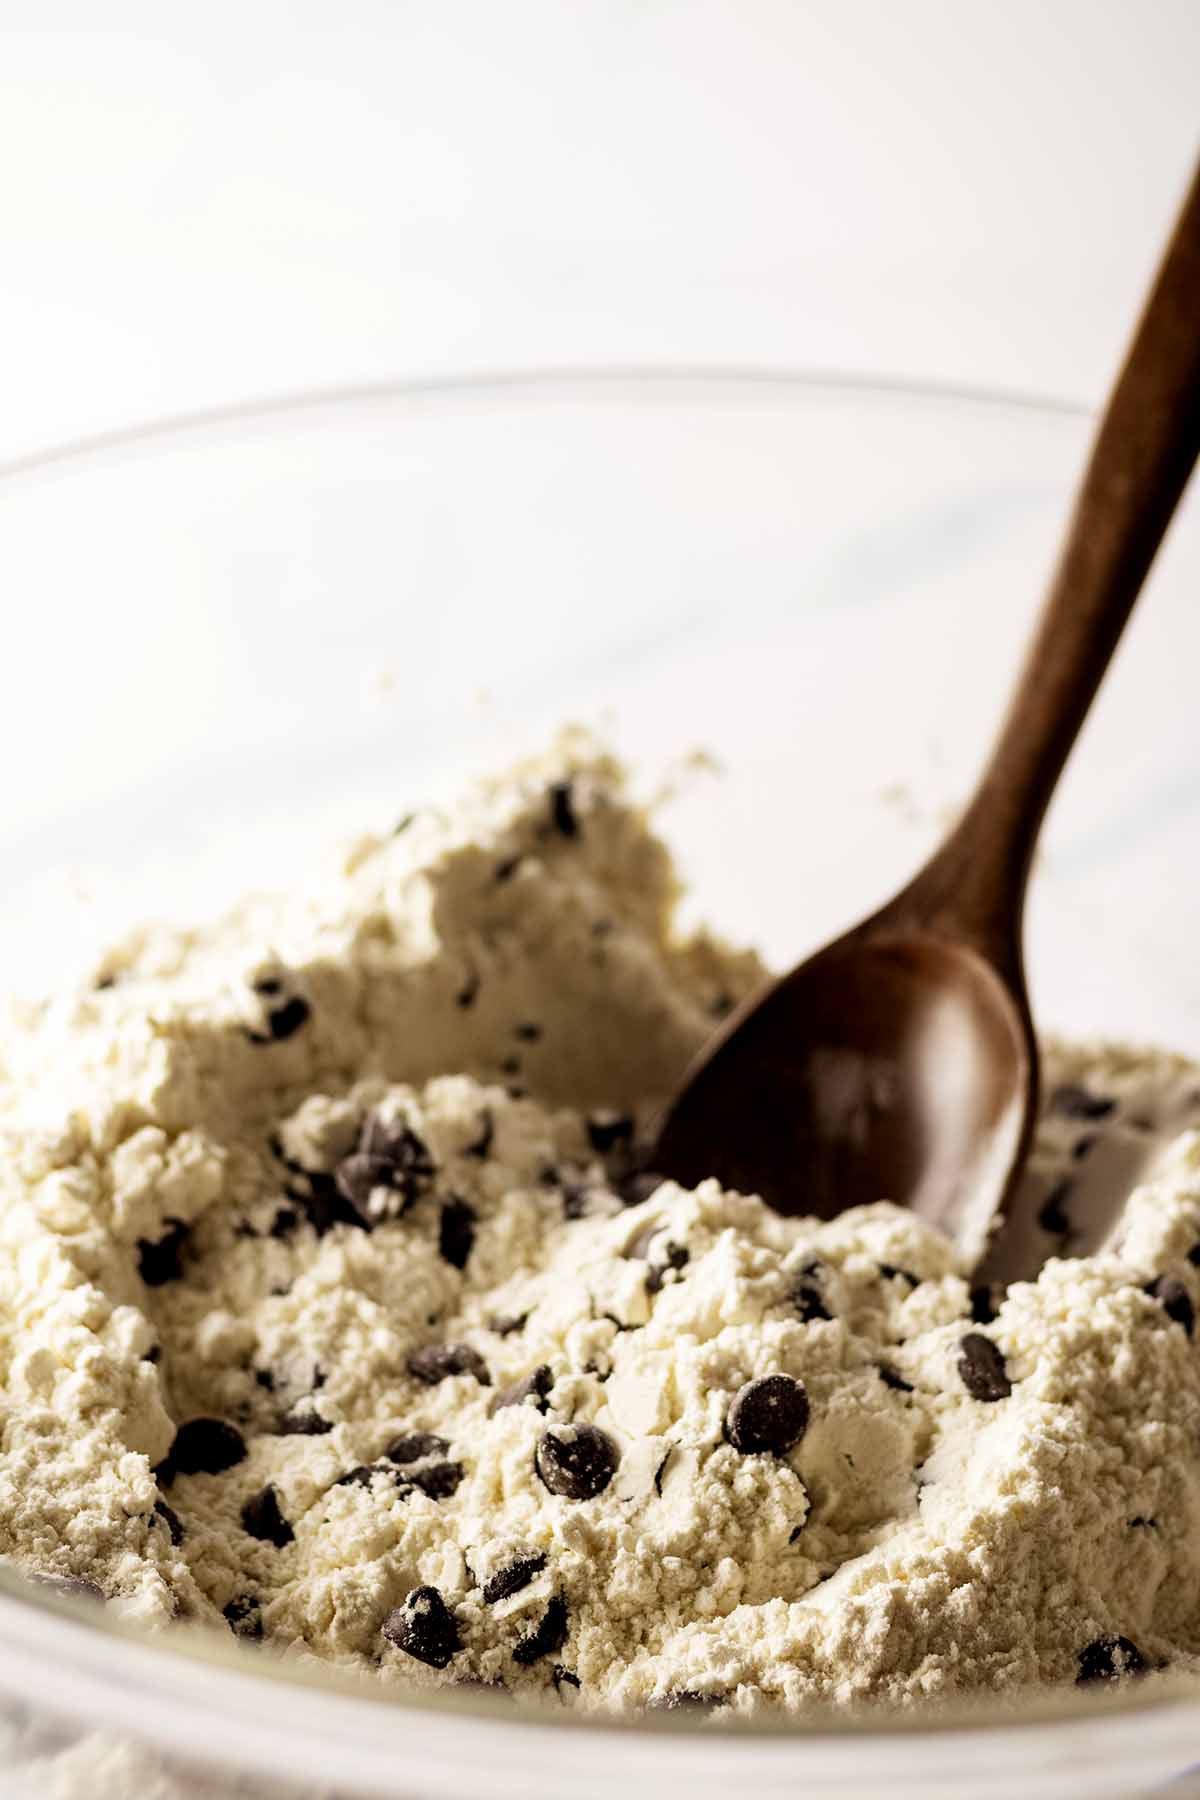
Step 2. Make a well in the center of your dry ingredients and set the bowl aside.
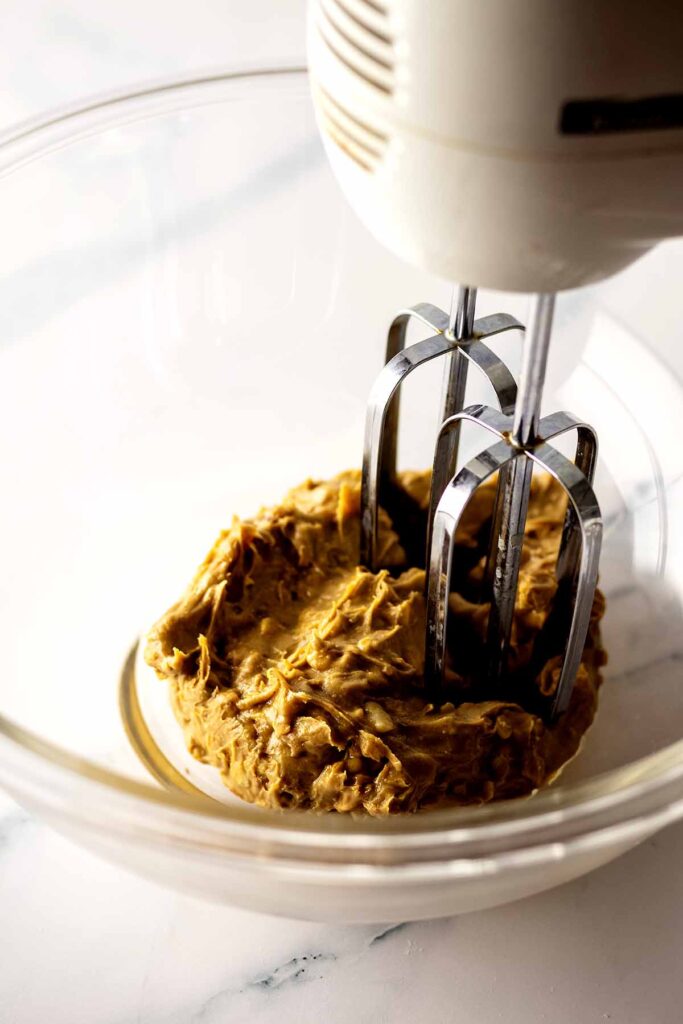
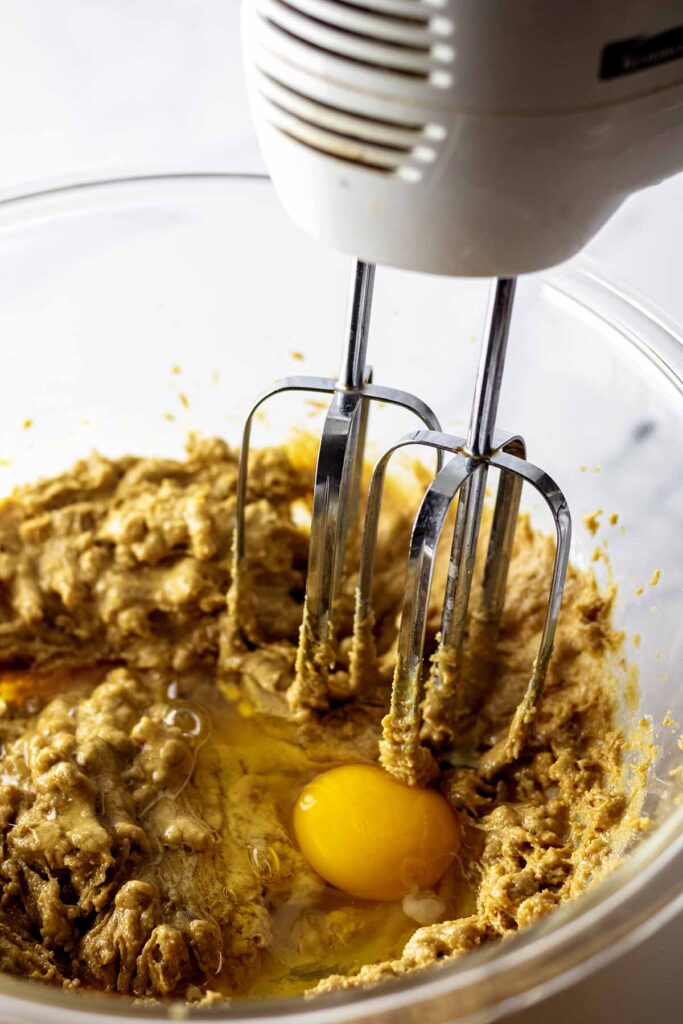
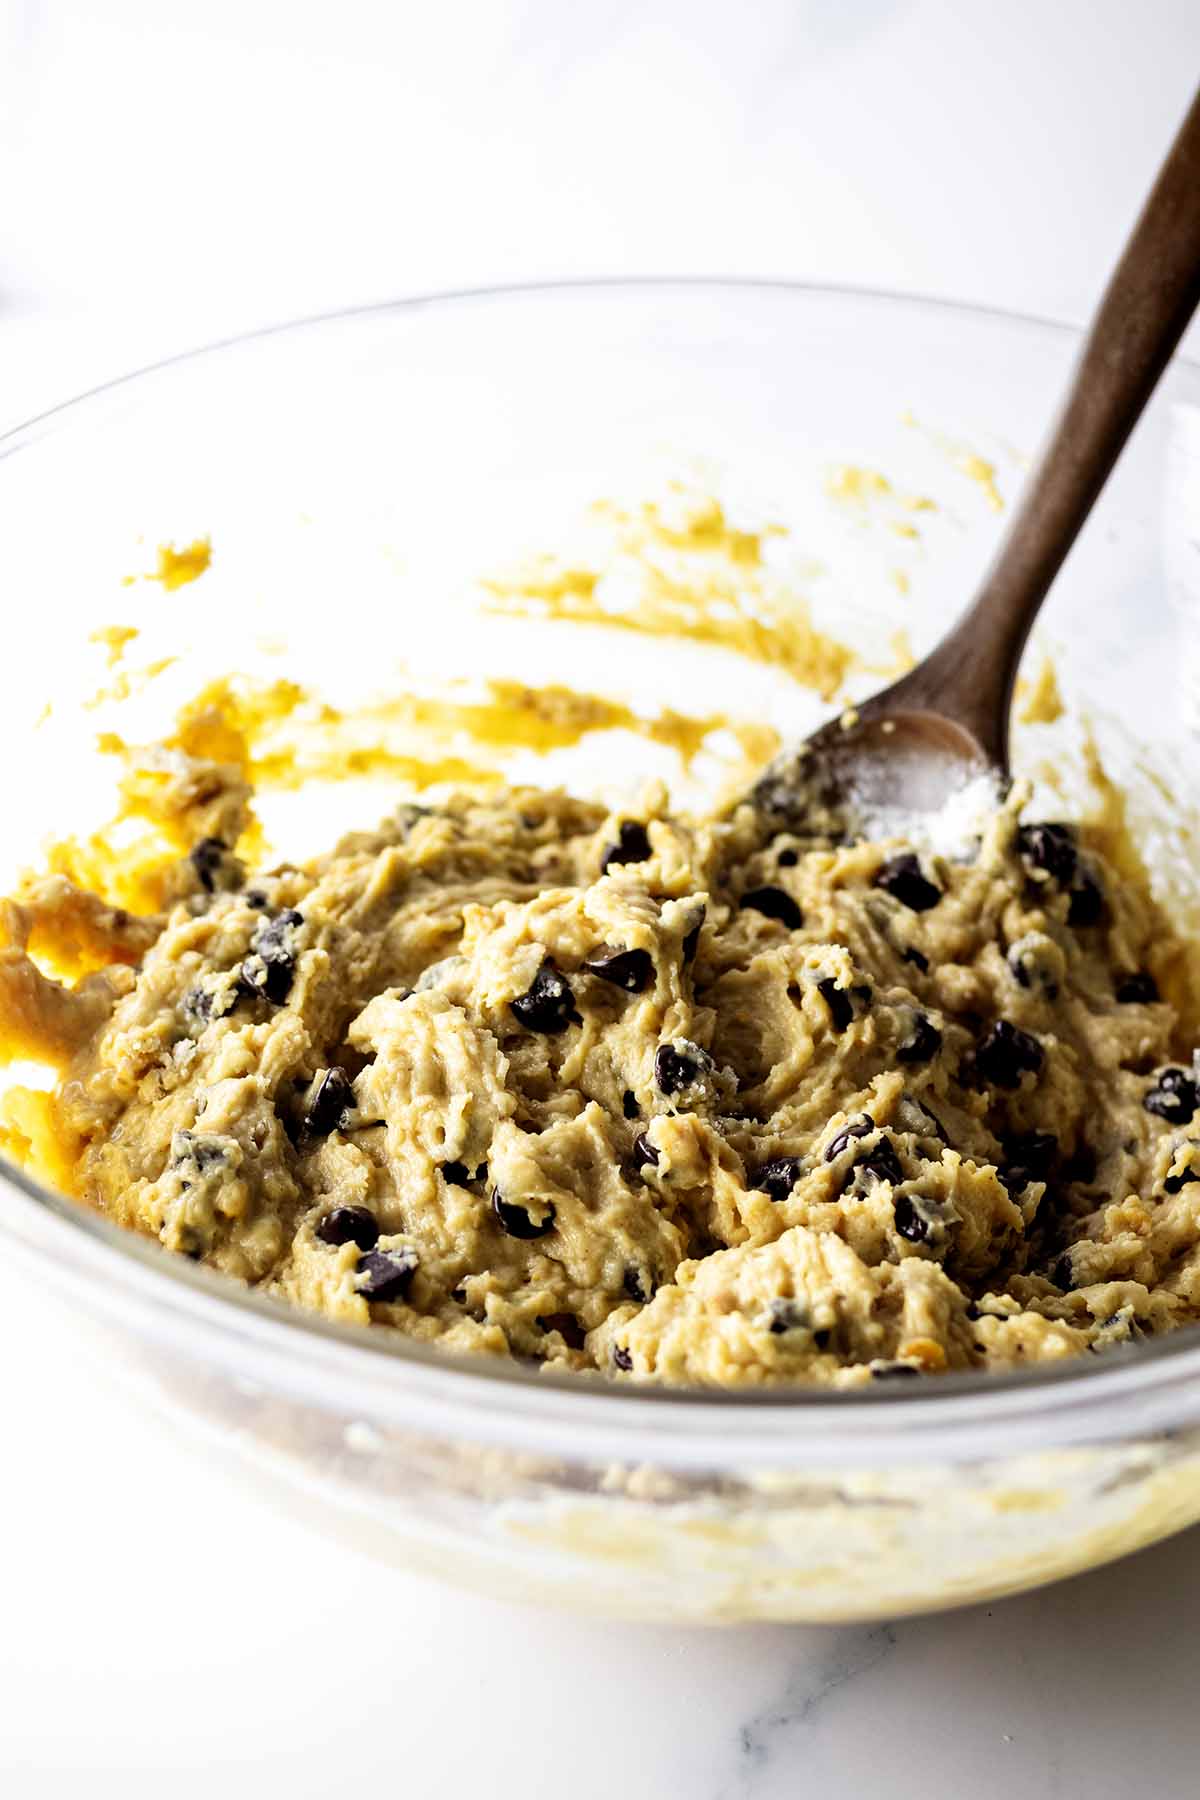
Step 3. Add peanut butter to a separate medium bowl, and beat with an electric mixer to break up and soften. Gradually beat in the sugar, egg, oil, milk and vanilla extract.
Step 4. Pour wet ingredients into the well in the dry ingredients and stir until just combined. Do not overstir.
Crumb Topping
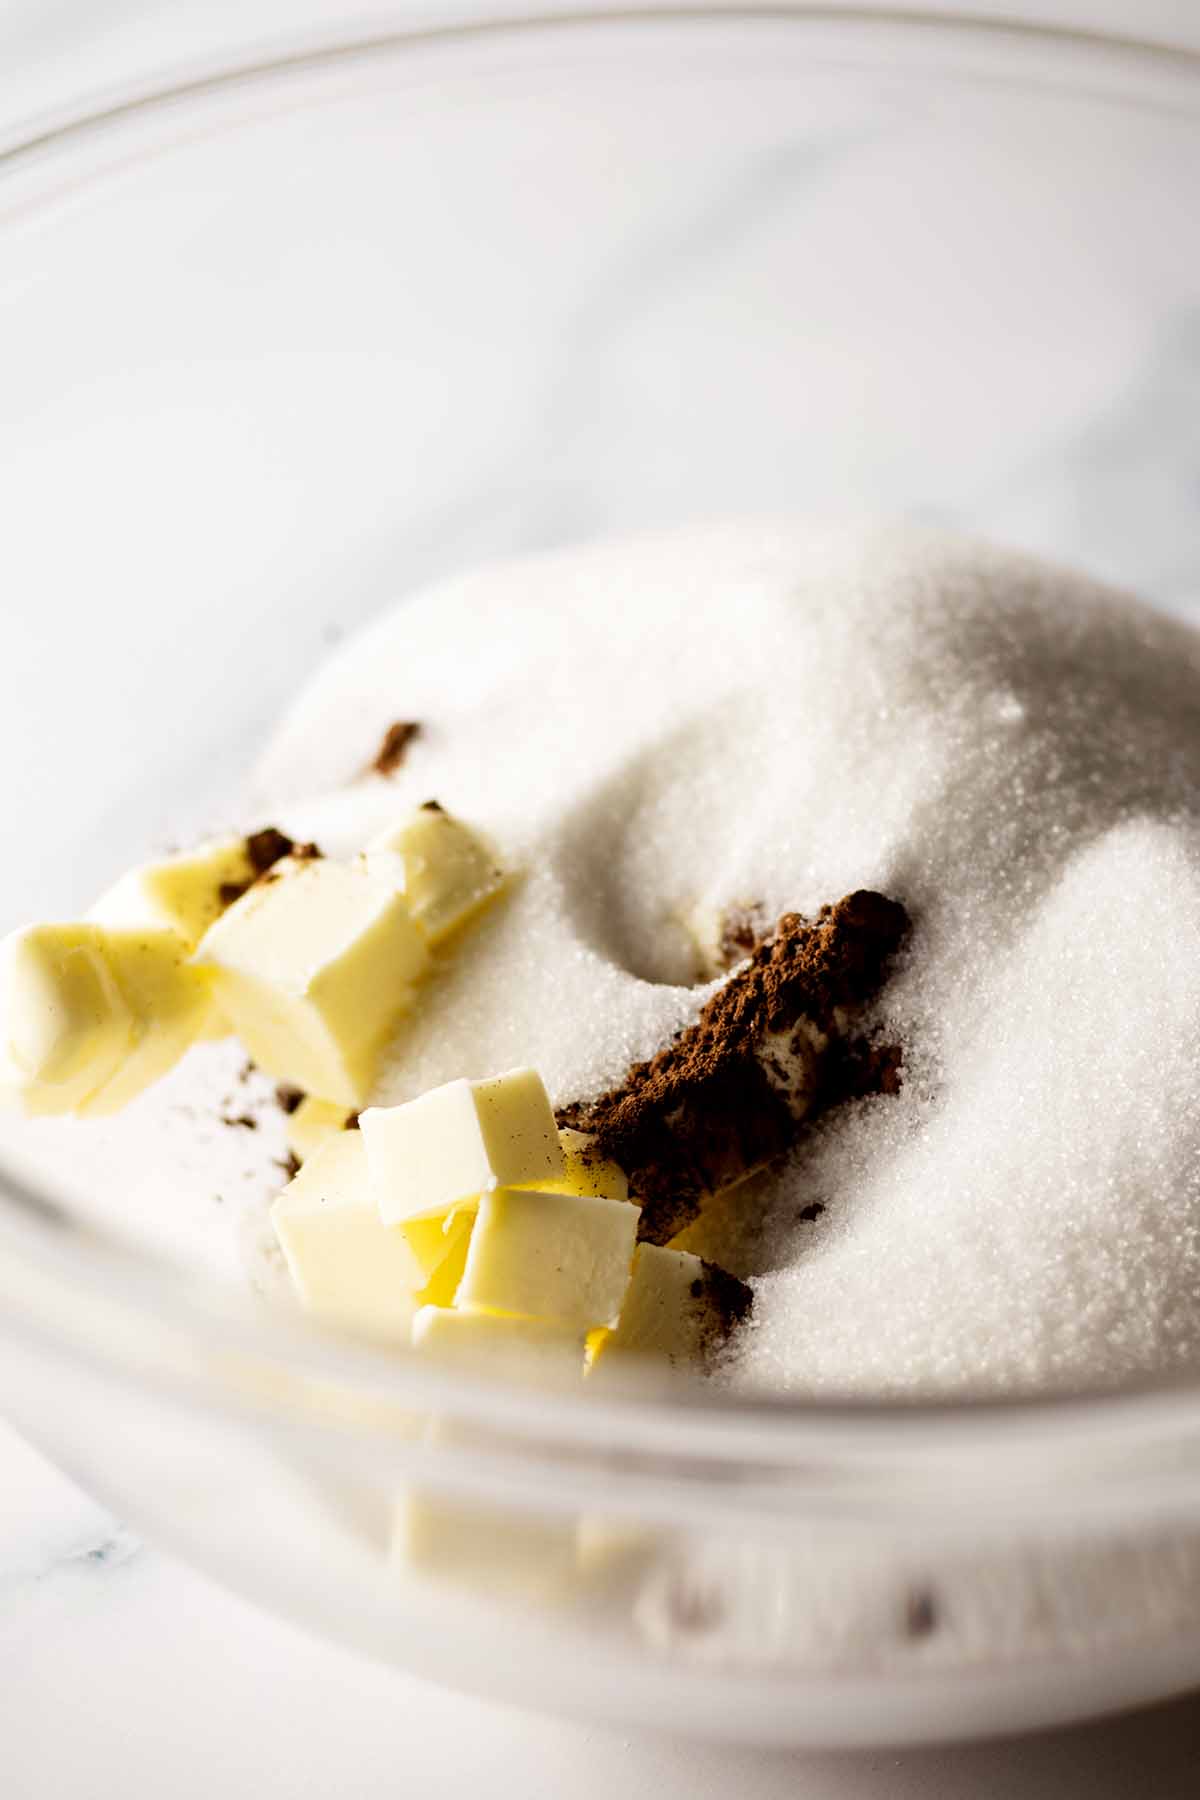
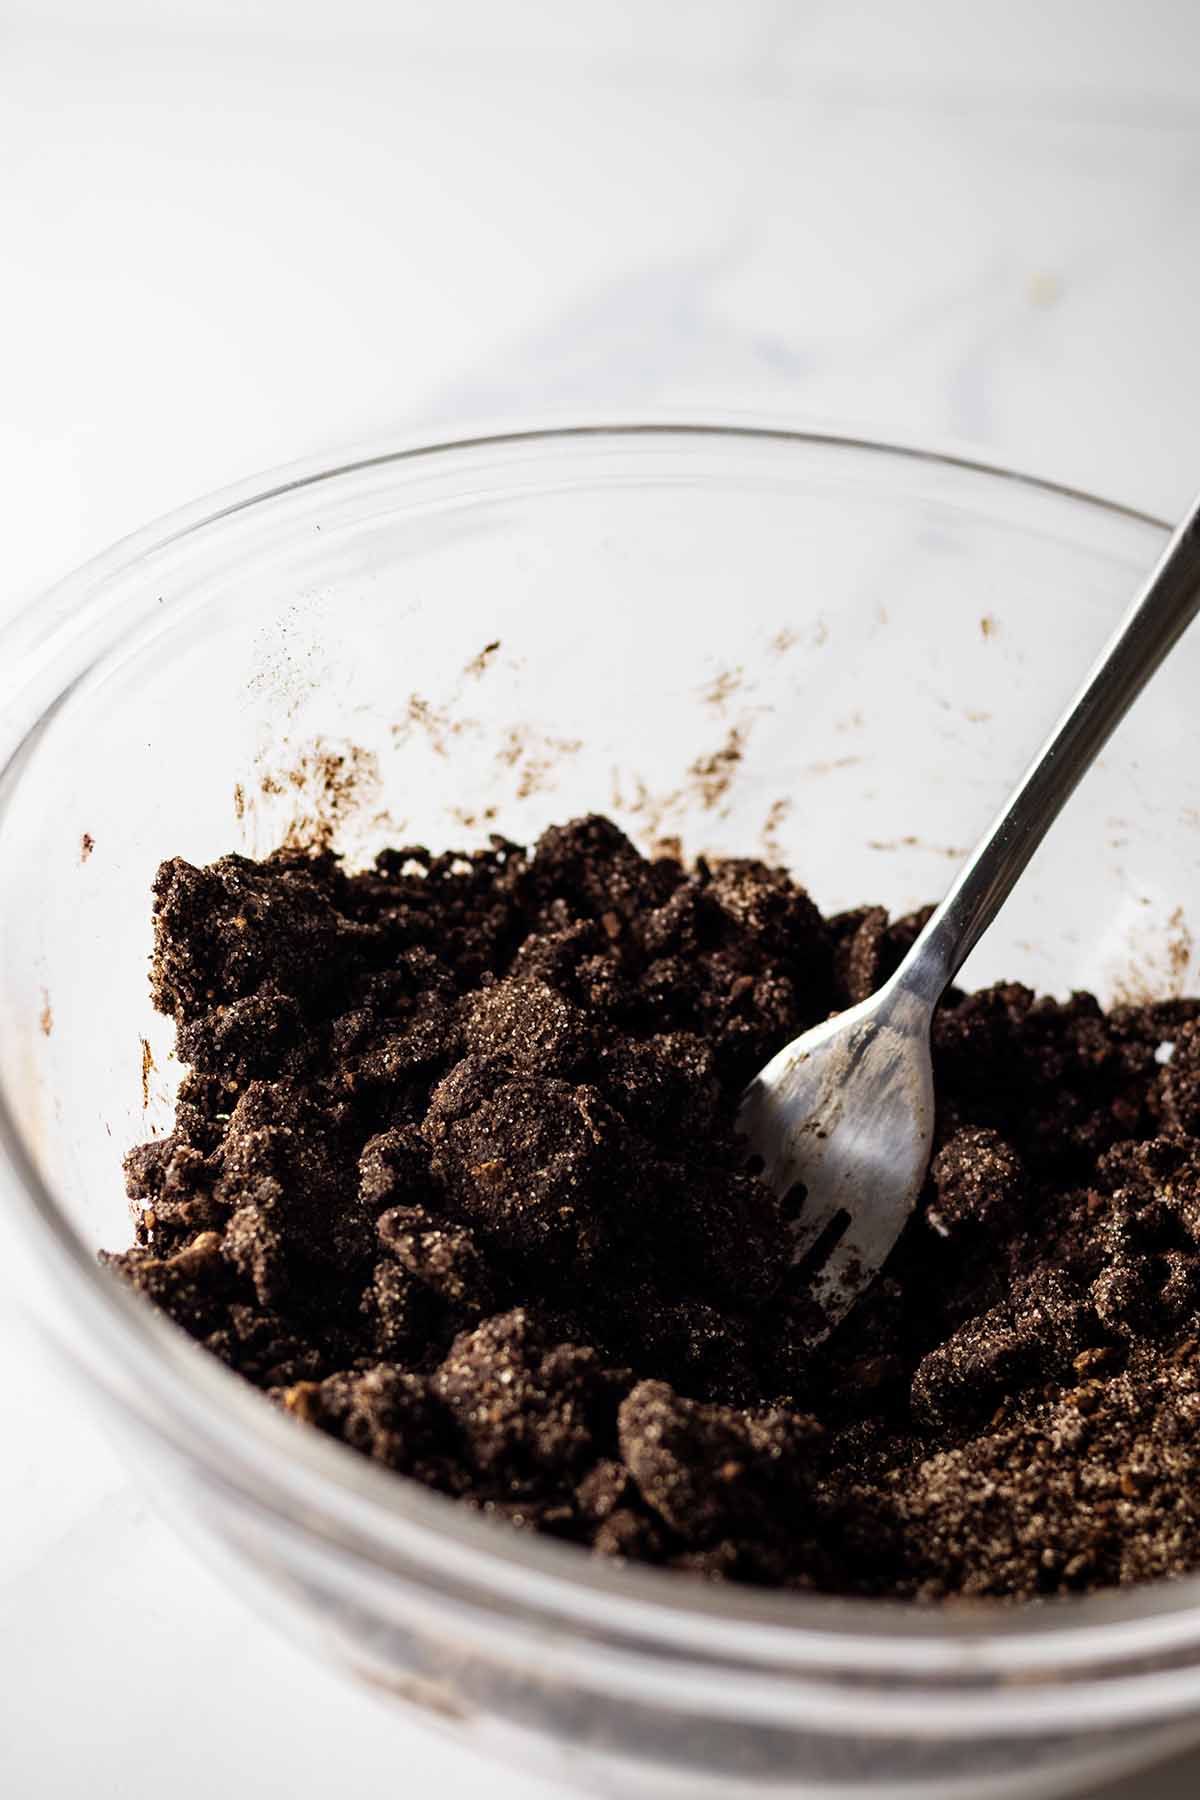
In a separate small bowl, add all ingredients for the crumb topping and stir with a fork until combined.
Combine the Batter and Crumb Mixture
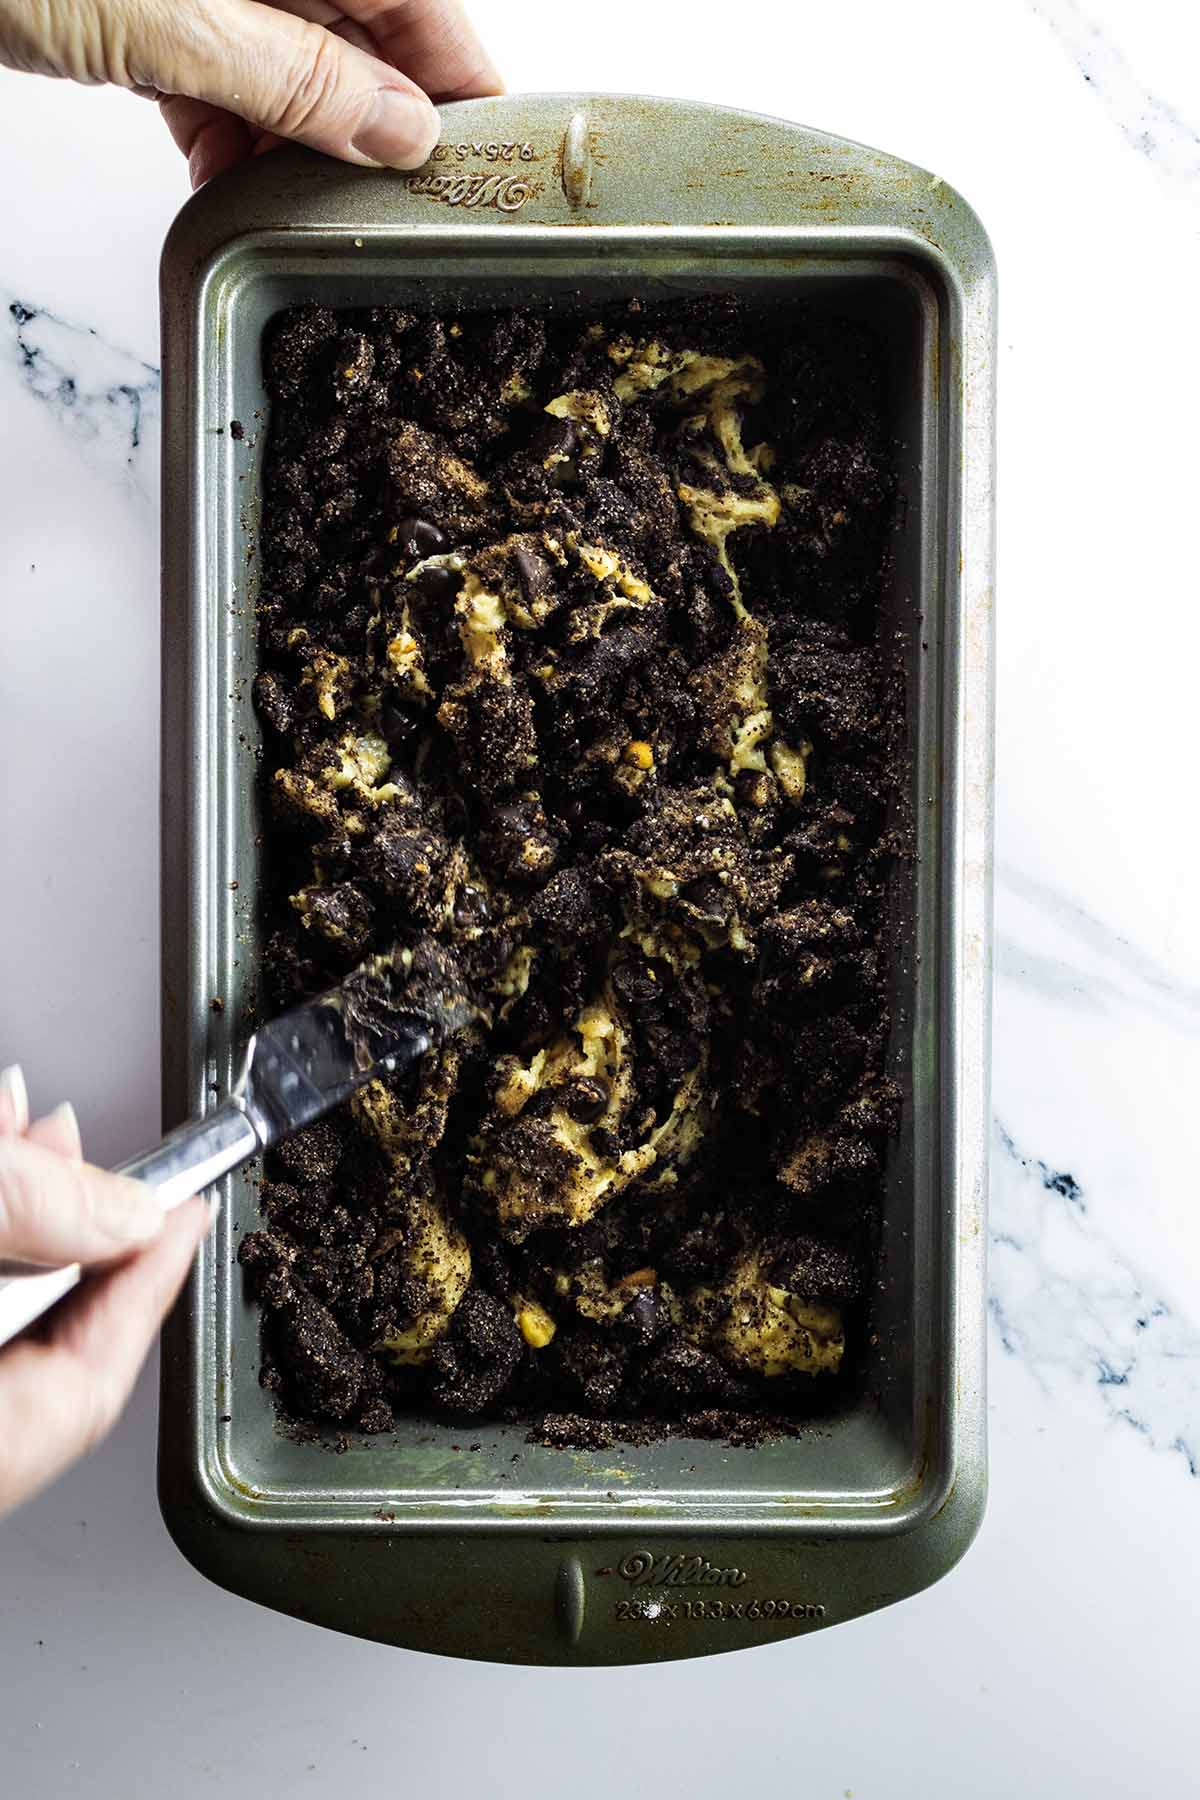
To create the beautiful marbling effect in the chocolate chip peanut butter bread, you will layer the batter and the crumb mixture and then draw a butter knife through the batter before baking.
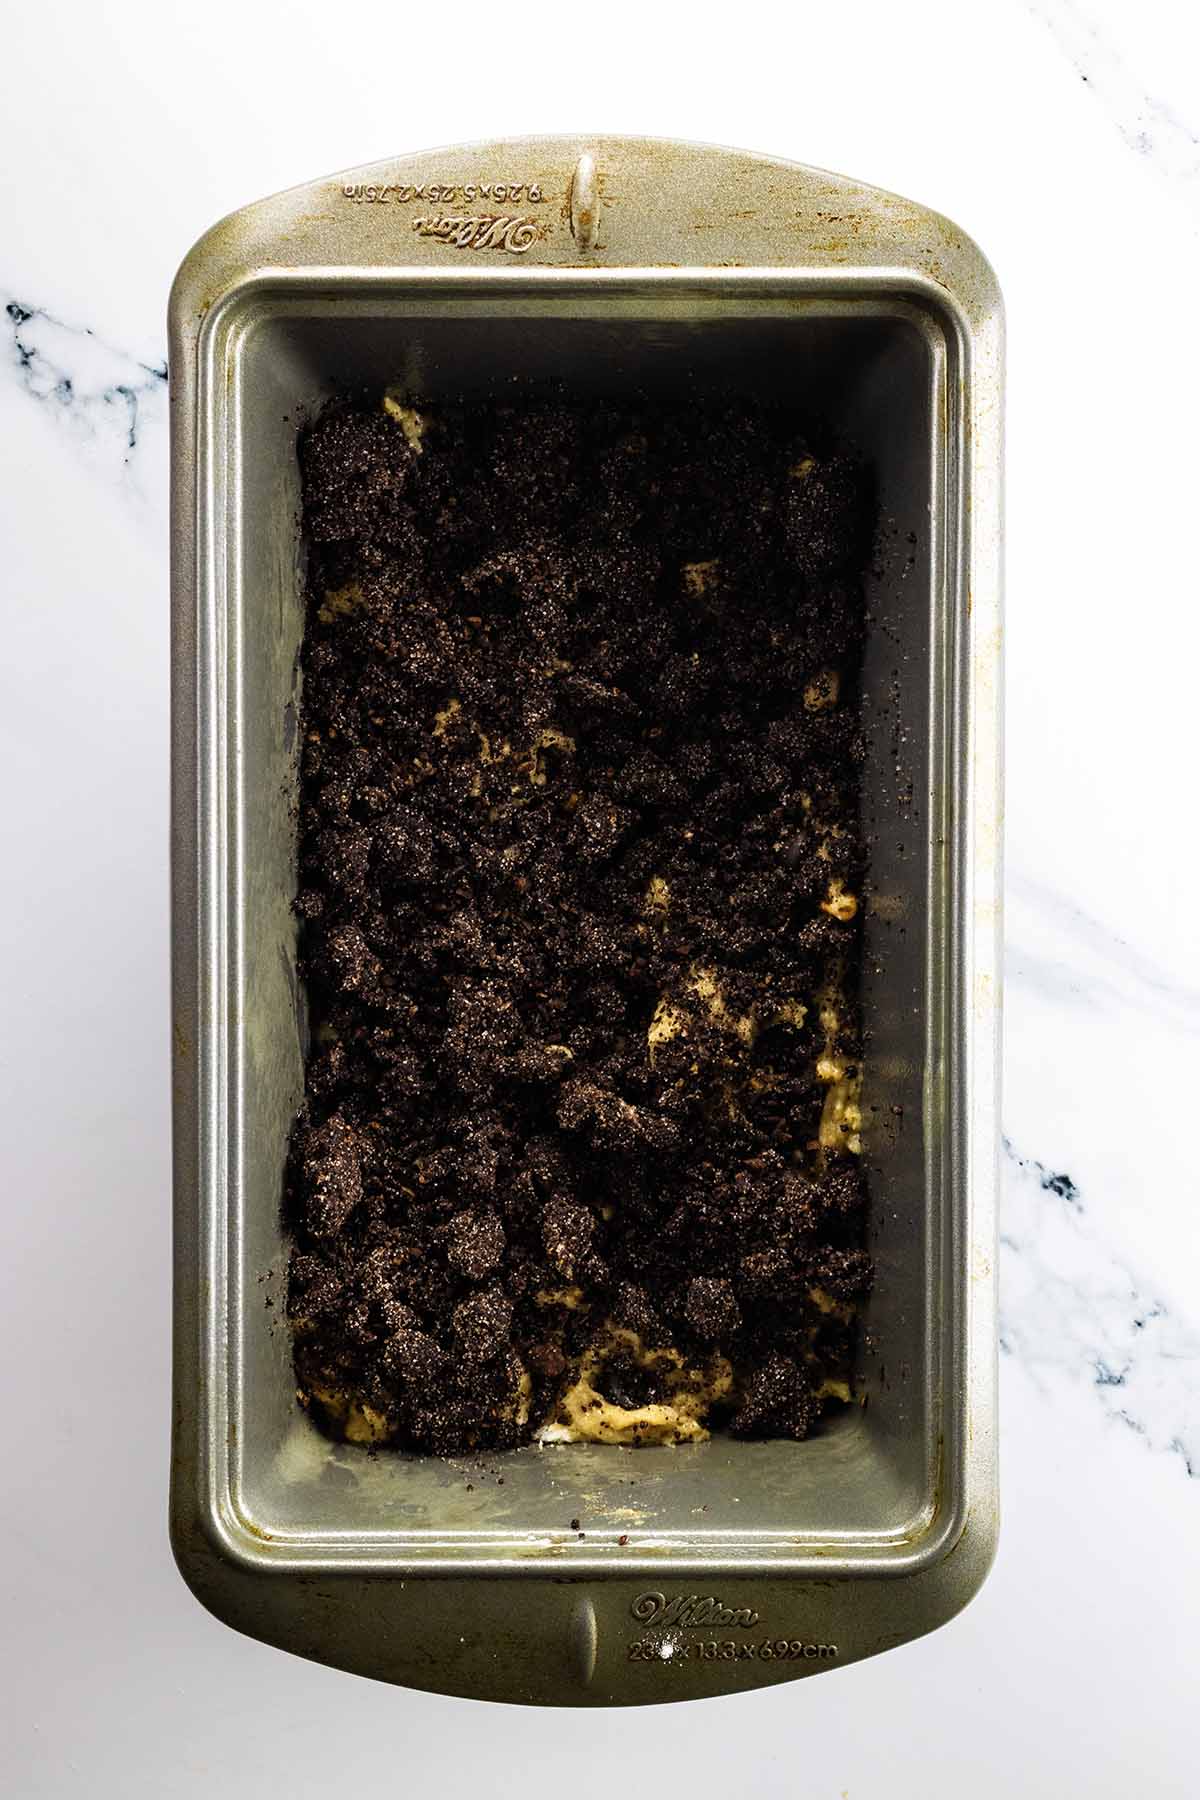
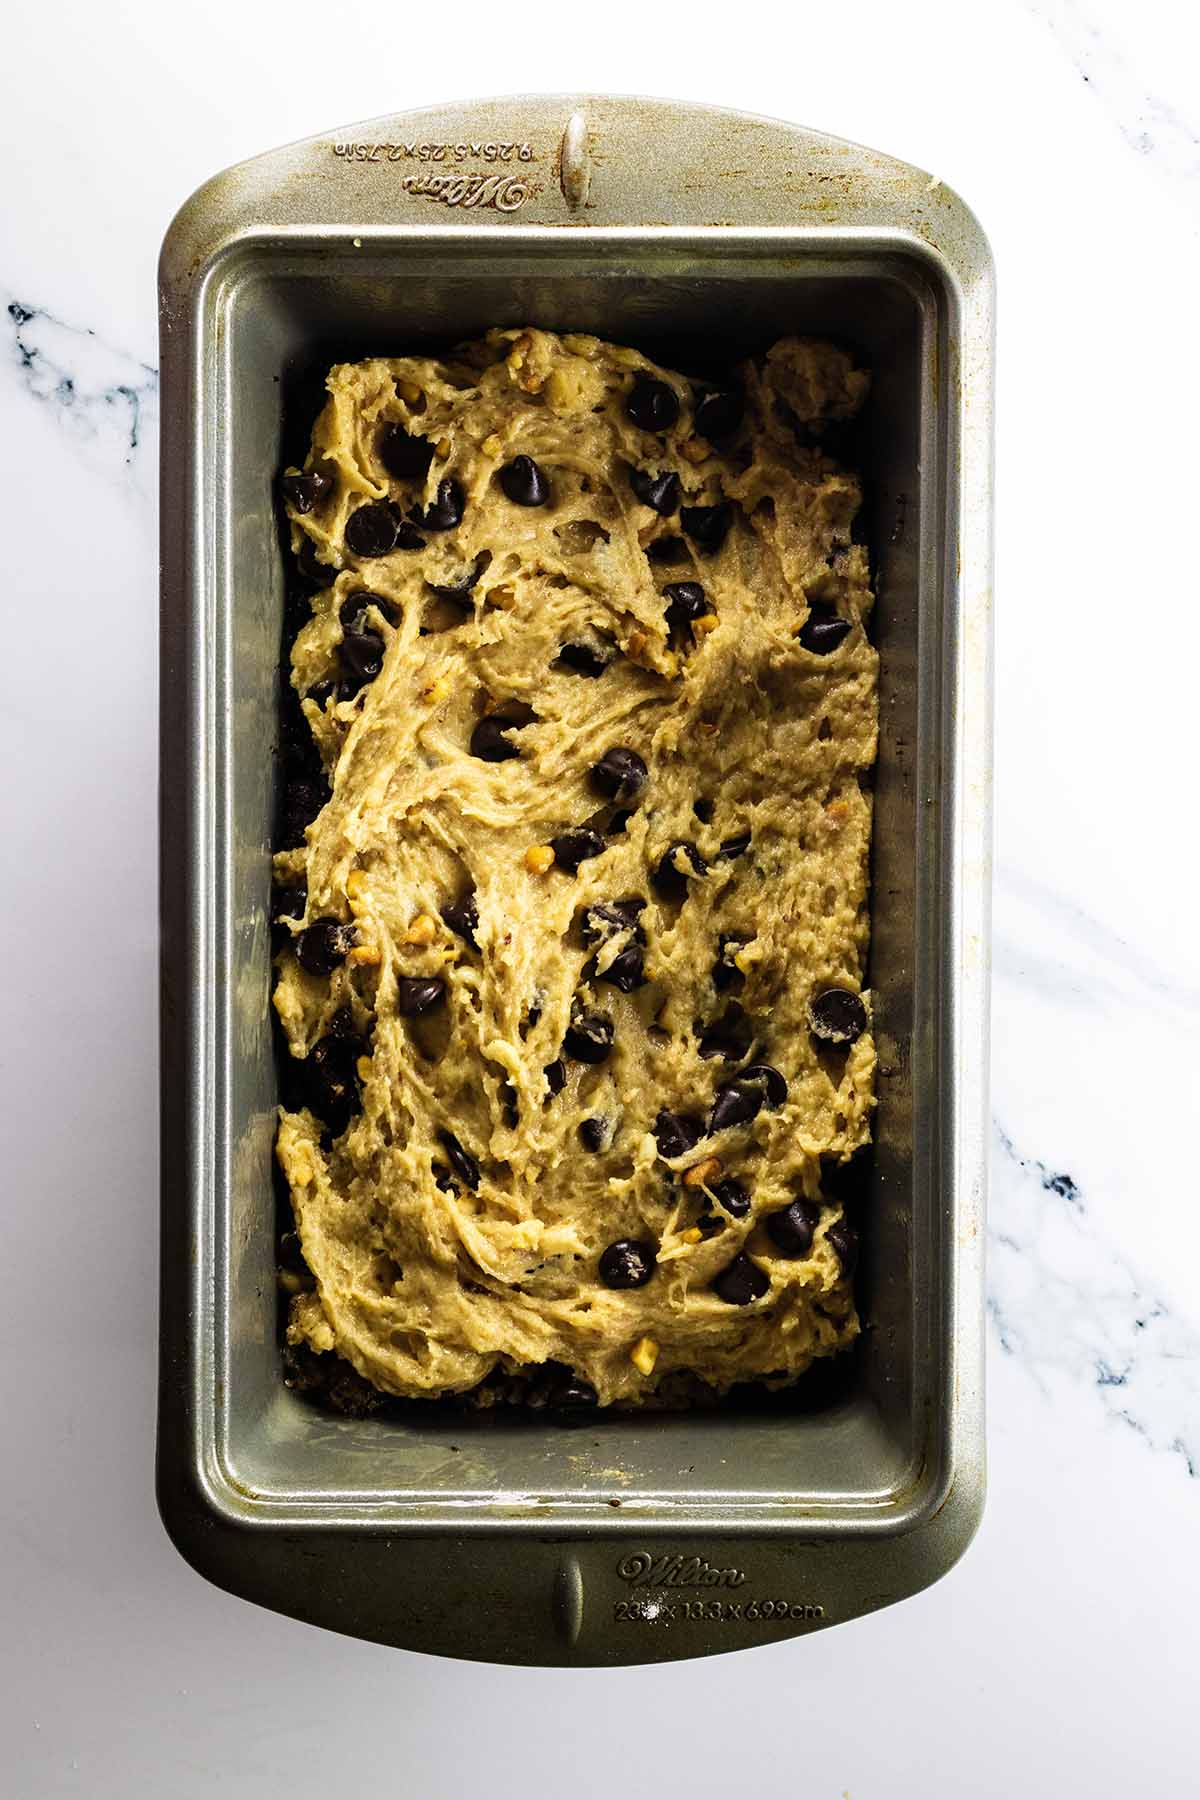
Step 1. Spoon half of the bread batter into the prepared pan.
Step 2. Sprinkle half of the crumb mixture on the top of batter.
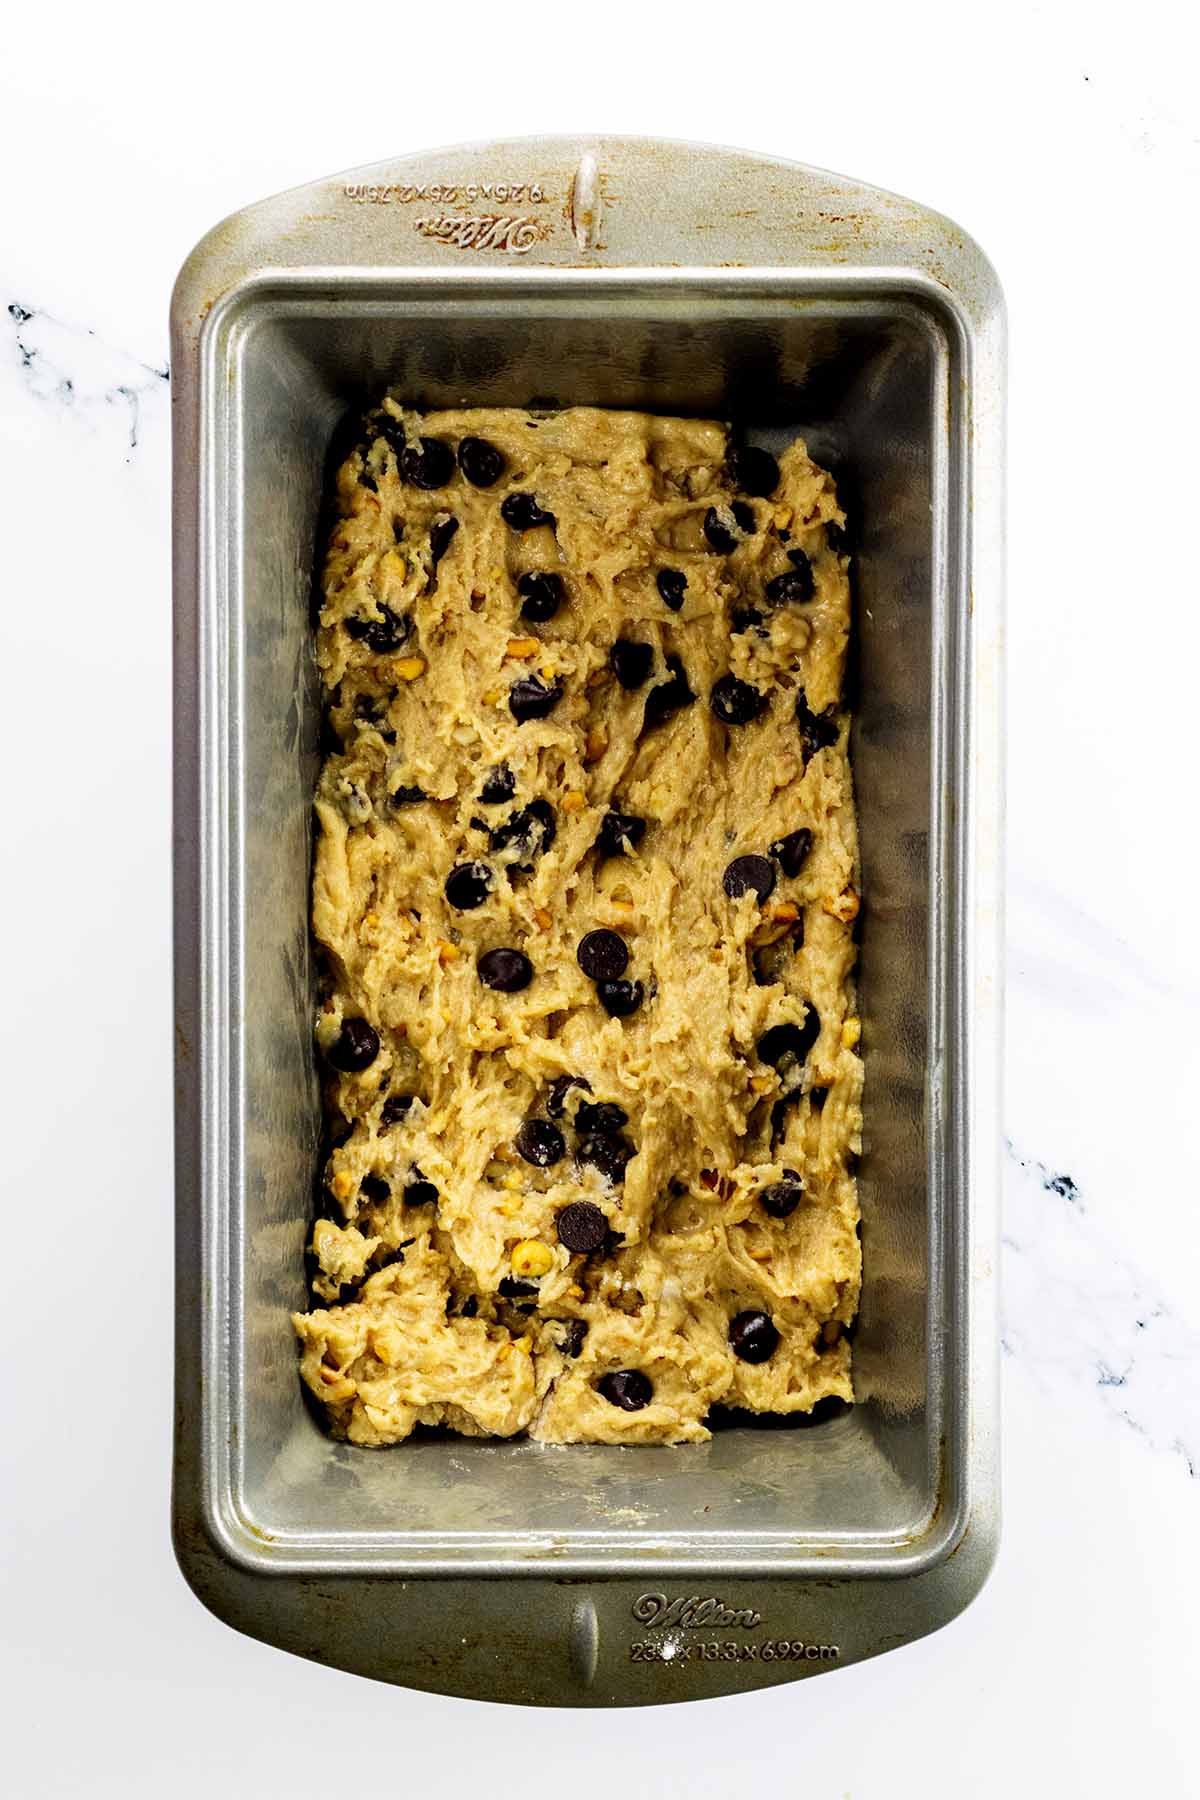
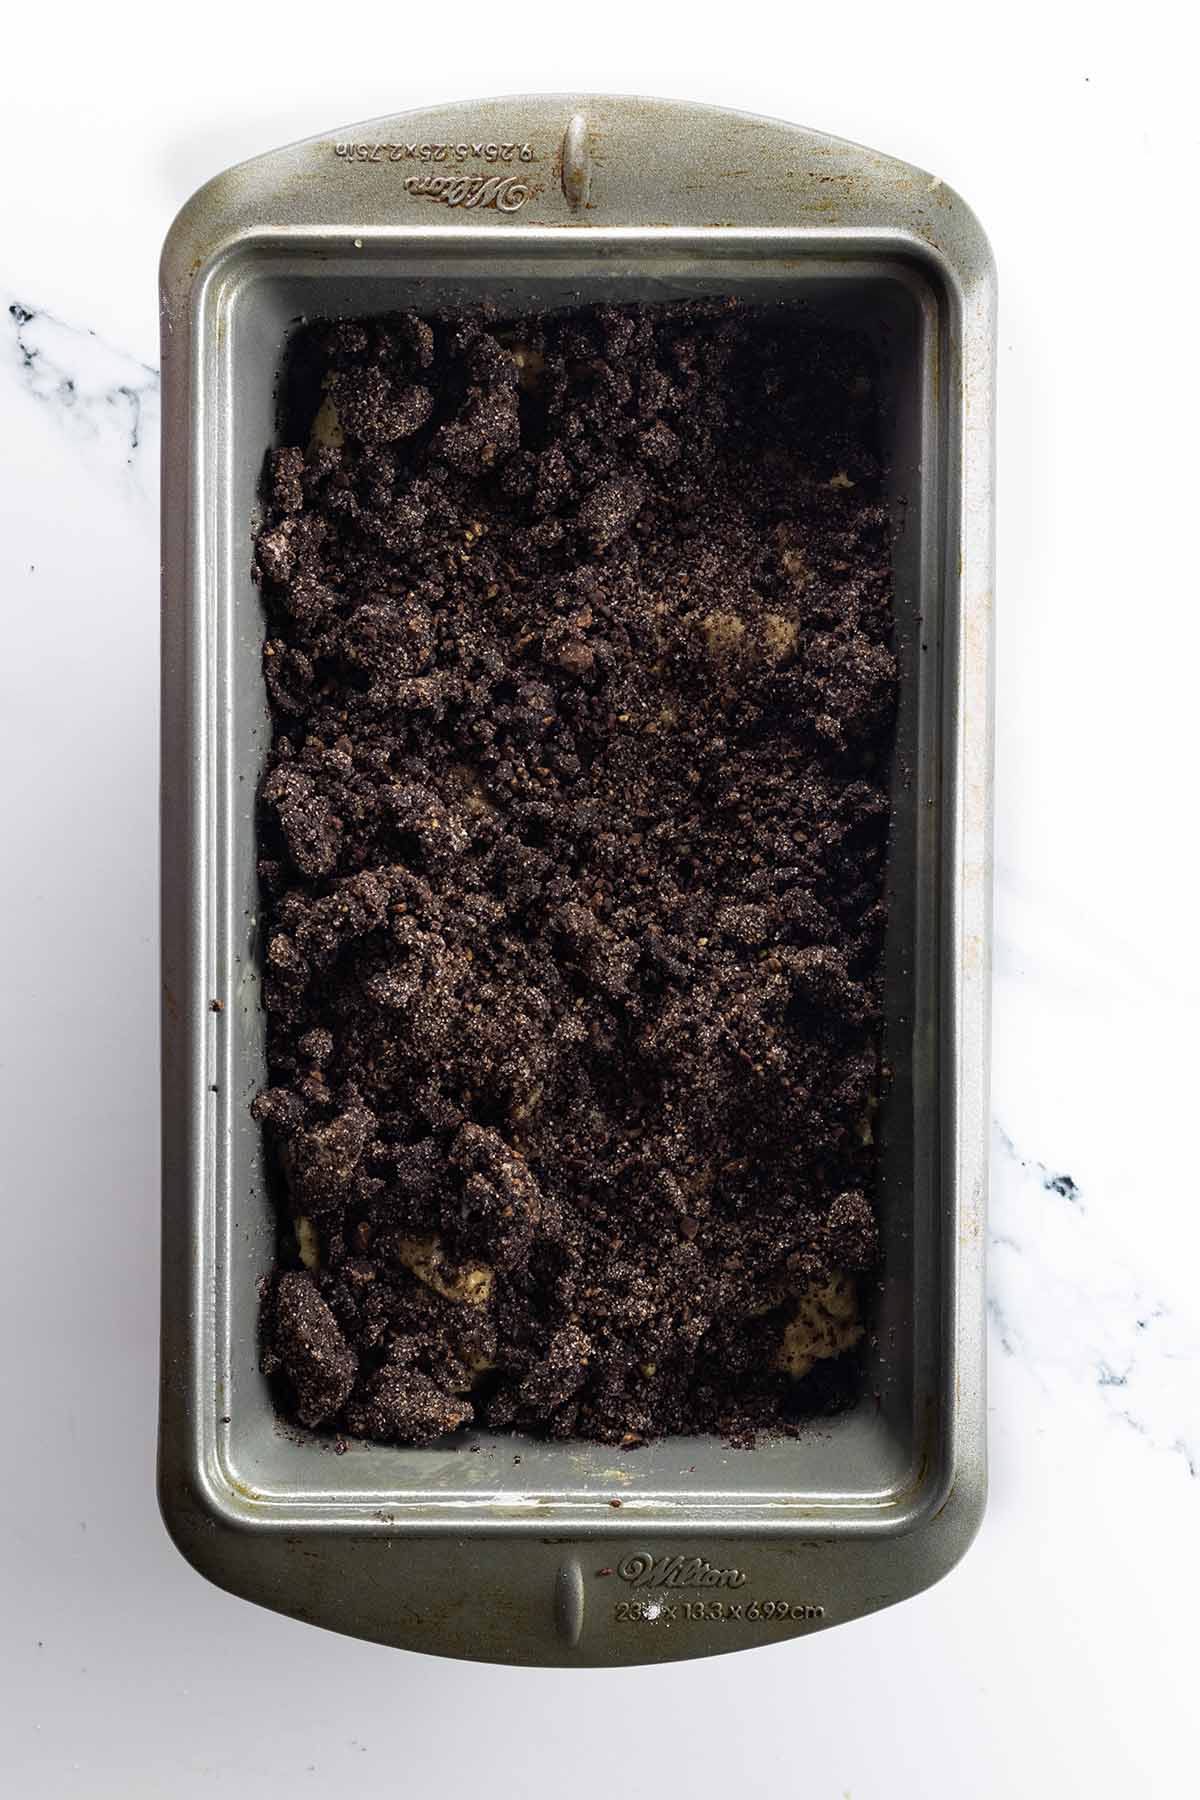
Step 3. Spoon the remaining batter over the top of the crumb mixture.
Step 4. Sprinkle remaining crumb mixture over the top of batter.
Step 5. Using a butter knife or spoon handle, gently draw through the batter in a zigzag or swirling pattern to slightly marbelize the mixture.
Step 6. Bake until risen and golden on top or until a toothpick inserted in the center comes out clean with no raw batter, about 50-55 minutes.
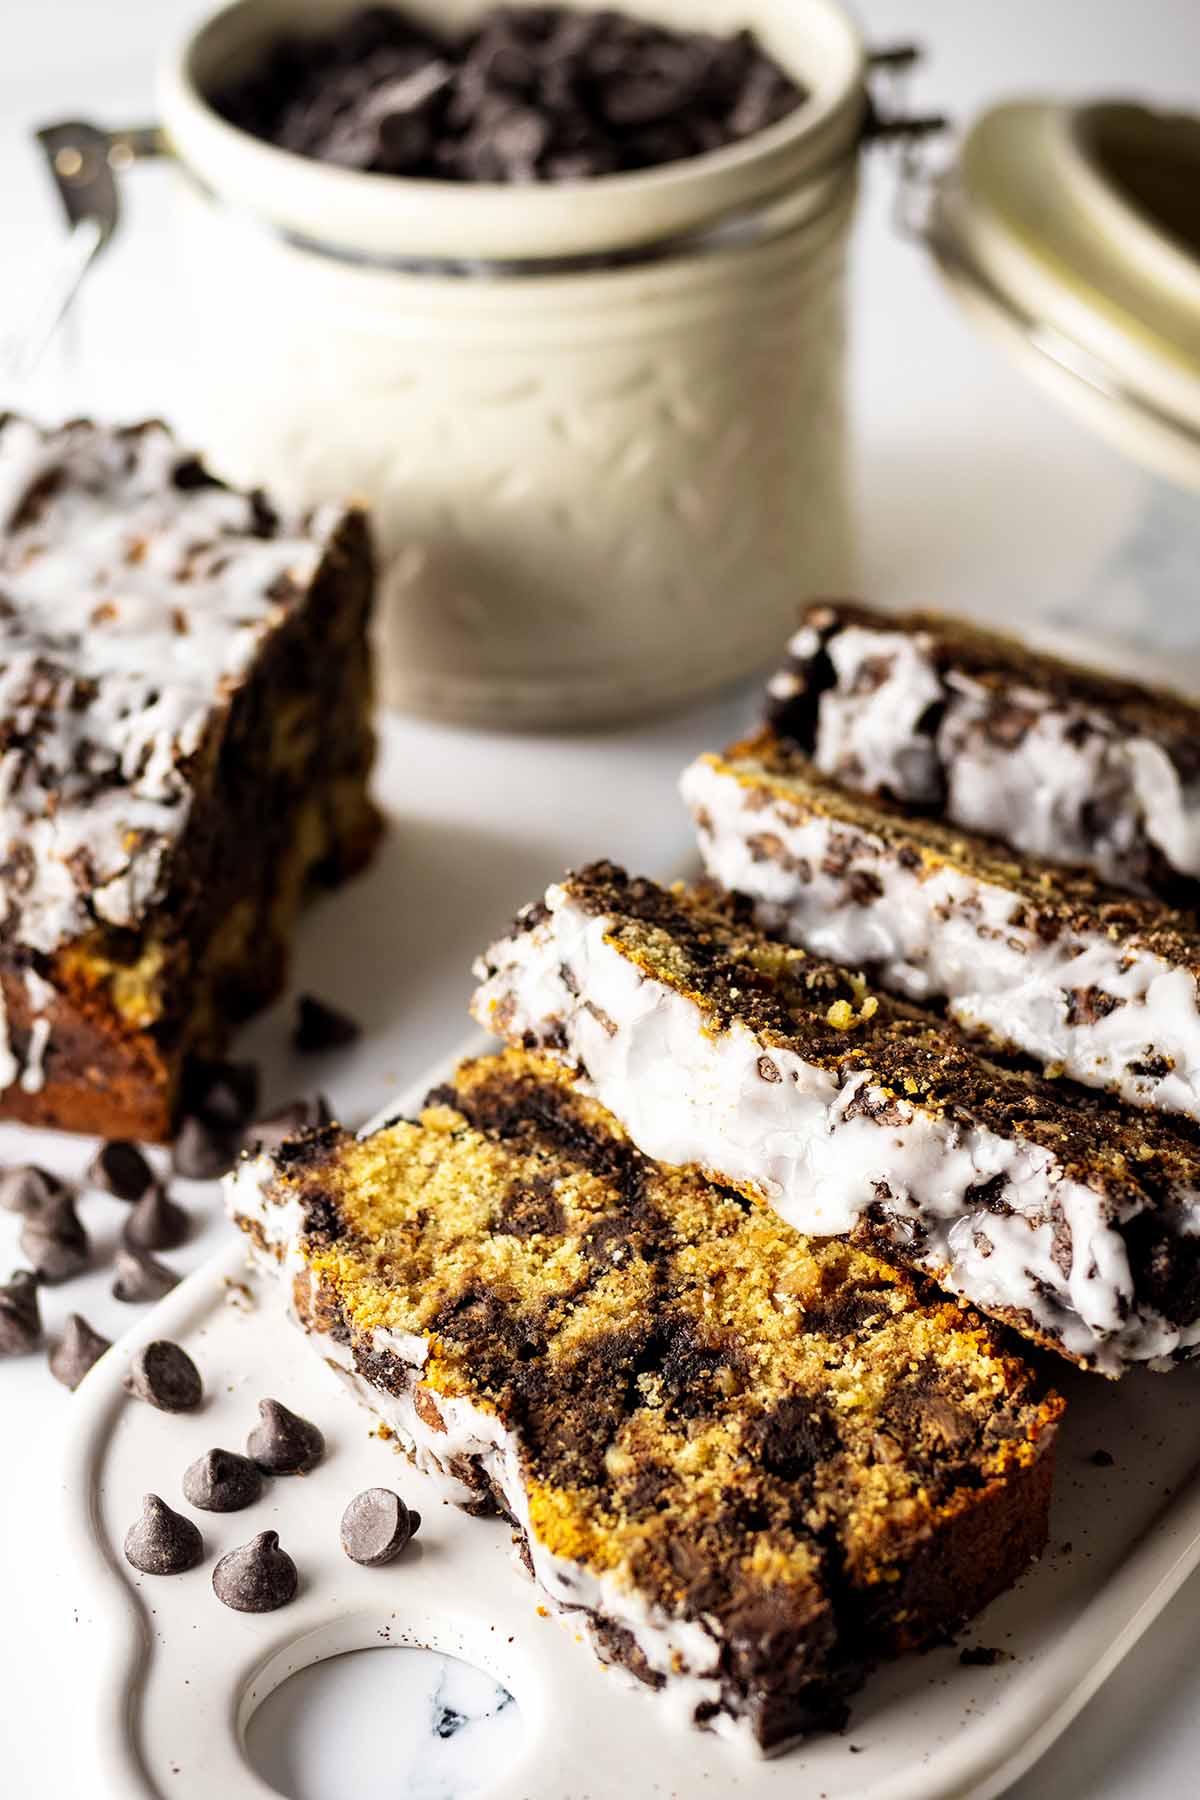
Remove to a wire rack to cool, about 25 minutes. Carefully unmold onto wire rack, top-side up. Cool completely and cut into 9 one-inch slices.
Tips for Success
- Don’t Use Low Fat Ingredients. For the fats used in this recipe (peanut butter, butter and oil) use full fat ingredients. Do not opt for low-fat versions. The fat is necessary for a moist loaf.
- Use the Right Chocolate Chips. Use semisweet chocolate chips that are designed for baked goods. They hold their shape better in the oven.
- Room Temperature Ingredients. Make sure your peanut butter, egg, and milk are at room temperature before mixing. This helps them blend more easily and results in a smoother batter.
- Use Fresh Baking Powder. So that the bread rises properly, make sure your baking powder is fresh and hasn’t expired.
- Sift Dry Ingredients. Sifting the flour, baking powder, and salt helps remove any lumps and provides even distribution of the baking powder, which promotes a consistent rise.
- Don’t Overmix. When combining the wet and dry ingredients, mix until just combined. Overmixing can make the bread dense and tough.
- Preheat Your Oven. Make sure your oven is fully preheated before baking.
- Check for Doneness. Start checking for doneness a few minutes before the recommended baking time. The bread is done when it’s golden on top and a toothpick inserted in the center comes out clean.
- Cool Properly. Let the bread cool in the pan for about 25 minutes before transferring it to a wire rack. This helps it set properly and makes it easier to slice without falling apart.
- Marble Effect. When marbling the batter with the crumb topping, use a gentle hand to create a nice swirl pattern without overdoing it. This adds a lovely visual and textural element.
- Grease the Pan Well. Make sure to grease and flour the pan thoroughly to prevent the bread from sticking. Alternatively, you can line it with parchment paper for easy removal.
FAQs
Related Recipes
Did you love this quick bread recipe? We have even more baked breakfast goodies for your baking pleasure!
- Maple Syrup Bread
- Cardamom Quick Bread
- Banana Raisin Bread
- Chocolate Chip Waffles
- Easy Mocha Muffins with Chocolate Chips by Coffeewise
Made this recipe? We would love it if you could leave a rating. Tap the rate button in the recipe card or leave a comment below. Don’t forget to subscribe to our newsletter to receive a free e-cookbook of quick and easy breakfast recipes. Thanks!
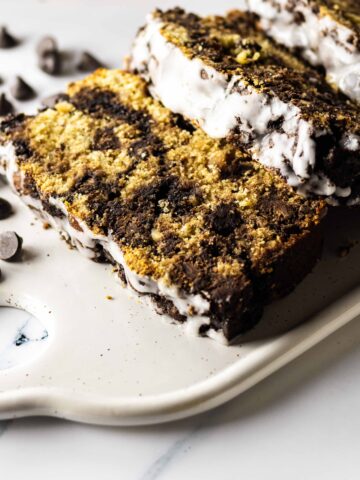
Chocolate Chip Peanut Butter Bread
Ingredients
Bread
- 2 cups white all-purpose flour
- 2 teaspoons baking powder double acting
- 1/4 teaspoon salt
- 1 cup semisweet chocolate chips
- 3/4 cup peanut butter chunky or smooth. I used chunky. Room temperature.
- 1/2 cup granulated sugar
- 1/3 cup safflower oil
- 1 large egg room temperature
- 1 cup milk
- 1 teaspoon vanilla extract
Chocolate Crumb Topping
- 1/2 cup sugar
- 1/4 cup unsweetened cocoa powder
- 3 tablespoons unsalted butter cut into ¼-inch pieces
- 2 tablespoons finely chopped, dry-roasted peanuts
Instructions
Bread Batter
- Preheat oven to 350° (176°C). Grease and flour or lightly spray a 9 x 5 inch loaf pan. Set aside.With a mesh strainer over a large bowl, sift flour, baking powder, and salt.
- Stir in the chocolate chips and make a well in the center. Set aside.
- Add peanut butter to a separate medium bowl, and beat with an electric mixer to break up and soften. Gradually beat in the sugar, egg, oil, milk and vanilla extract.
- Pour wet ingredients into the well in the dry ingredients and stir until just combined. Do not overstir.
Crumb Topping
- In a separate small bowl, add all ingredients for the crumb topping and stir until combined.
Combine Batter and Crumb Mixture
- Spoon half of the bread batter into the prepared pan.
- Sprinkle half of the crumb mixture on the top of batter.
- Spoon the remaining batter over the top of the crumb mixture.
- Sprinkle remaining crumb mixture over the top of batter.
- Using a butter knife or spoon handle, gently draw through the batter in a zigzag pattern to slightly marbelize the mixture.
- Bake until risen and golden on top or until a toothpick inserted in the center comes out clean with no raw batter, about 50-55 minutes.Remove to a wire rack to cool, about 25 minutes. Carefully unmold onto wire rack, top-side up. Cool completely and cut into 9 one-inch slices.
Notes
Nutrition
Get our free breakfast ebook
When you join our newsletter
References and Further Reading
- “How to Convert a Loaf Recipe Into Muffins (and Vice Versa)” by The Spruce Eats.
- “Baking 101 Quick Breads; Dry & Crumbly” by Quaker Oats.
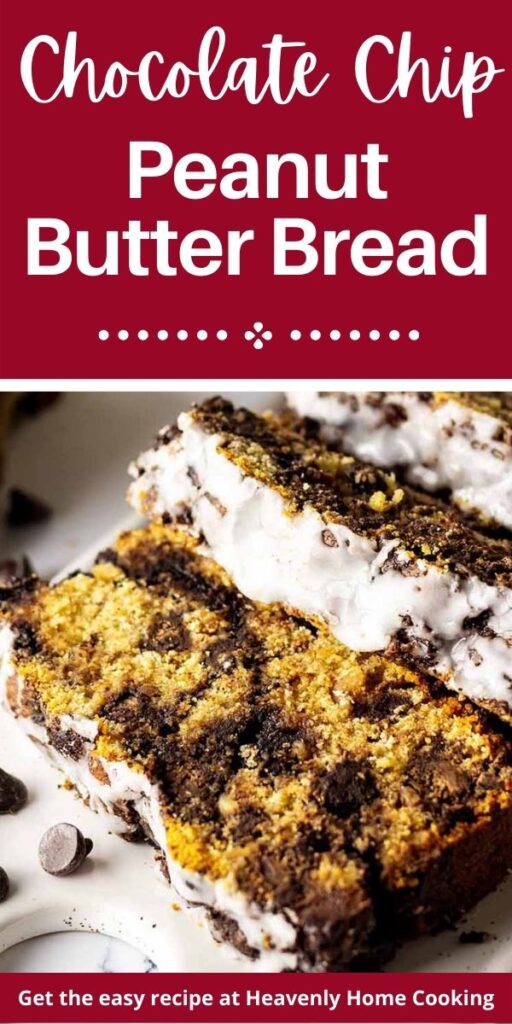
I can truly say this peanut butter bread is as good as the pictures look.
I highly recommend this one for its really great flavor!
I’m so glad you enjoyed the bread!