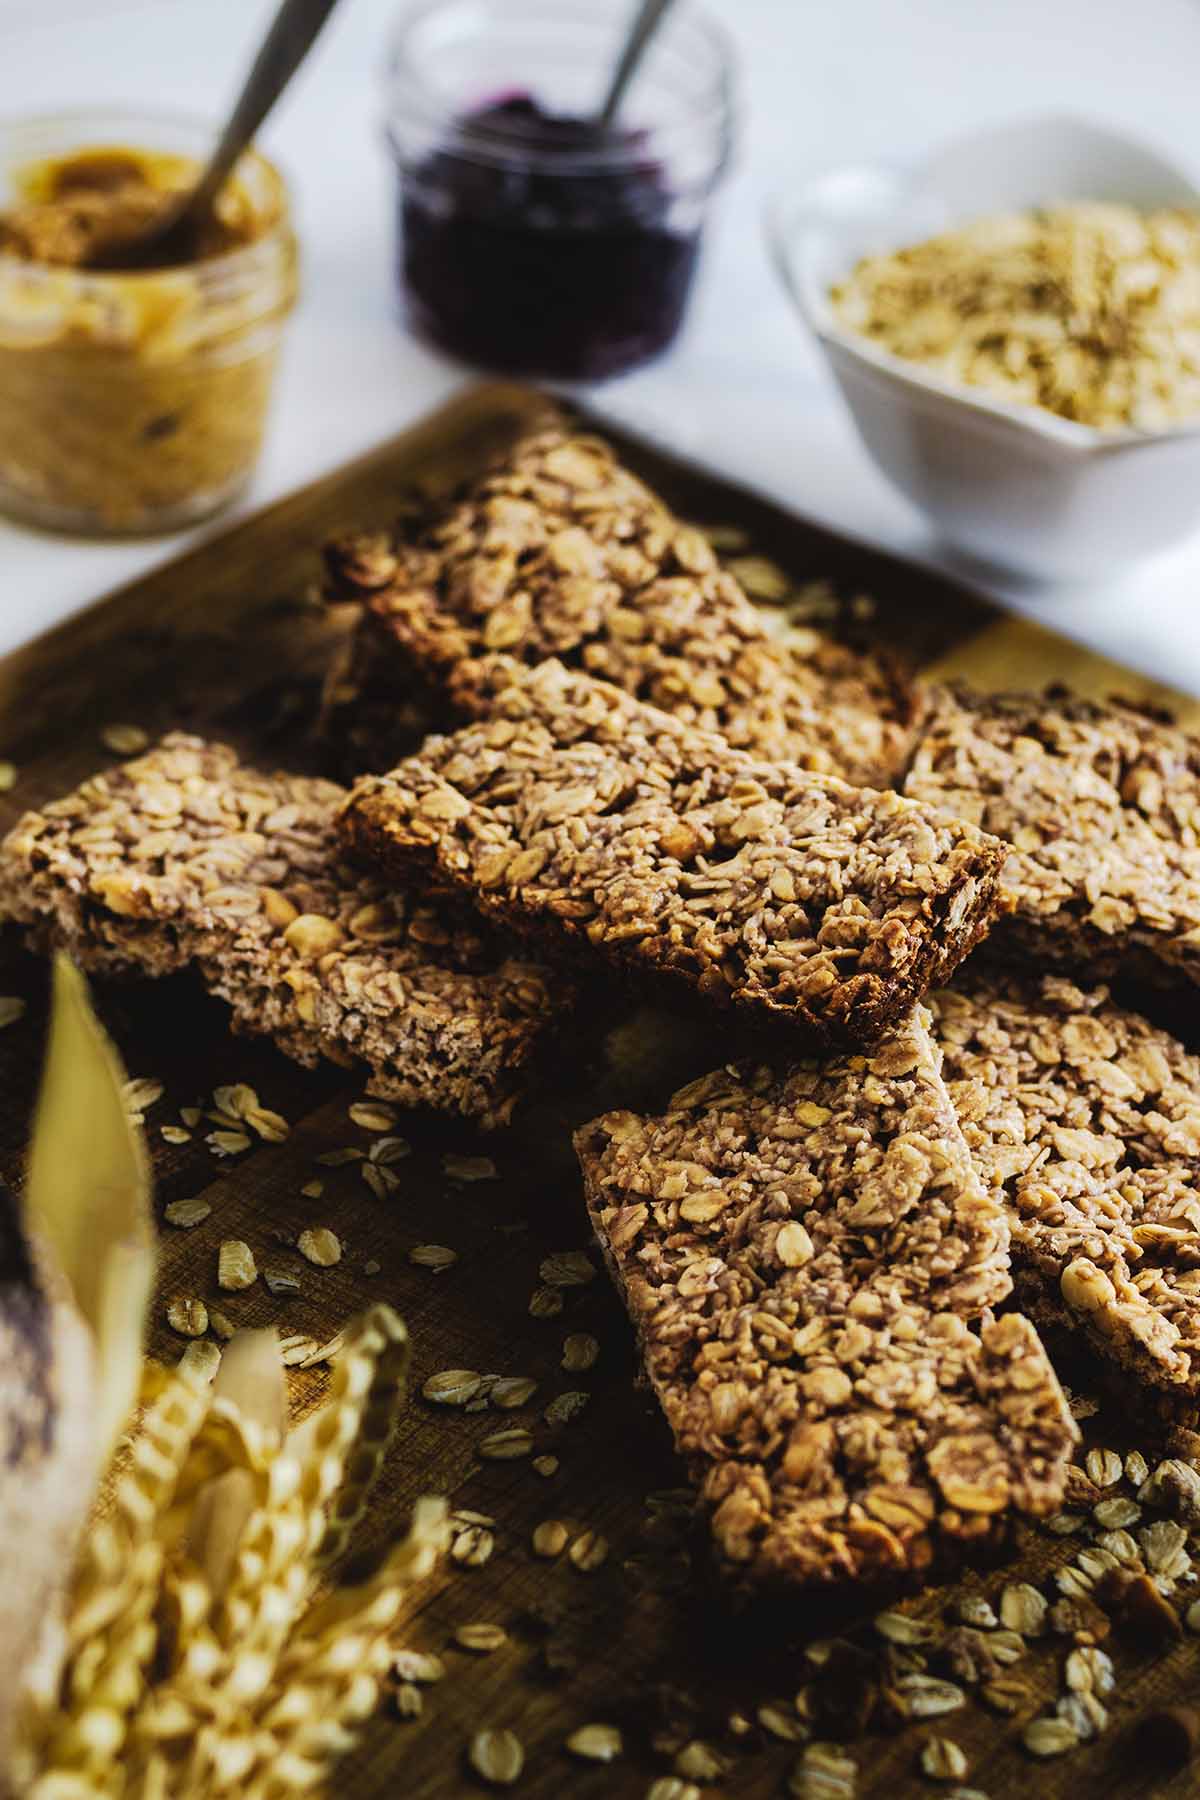
Even though I love to cook. I also love a quick and easy recipe. These peanut butter and jelly breakfast bars don’t get any easier. Plus, did I mention that they use only three ingredients? I did? Well, it’s worth repeating!
This is the kind of recipe that you will want to make over and over. It’s also the kind of recipe that you will memorize and pass down to the next generation. Kids love these breakfast bars and they will love helping you make them! ❤️
This recipe is featured in our lineup of easy sweet breakfast recipes and quick and easy breakfast recipes. Check them out for more breakfast goodness!
What You’ll Love About This Recipe
Ingredients
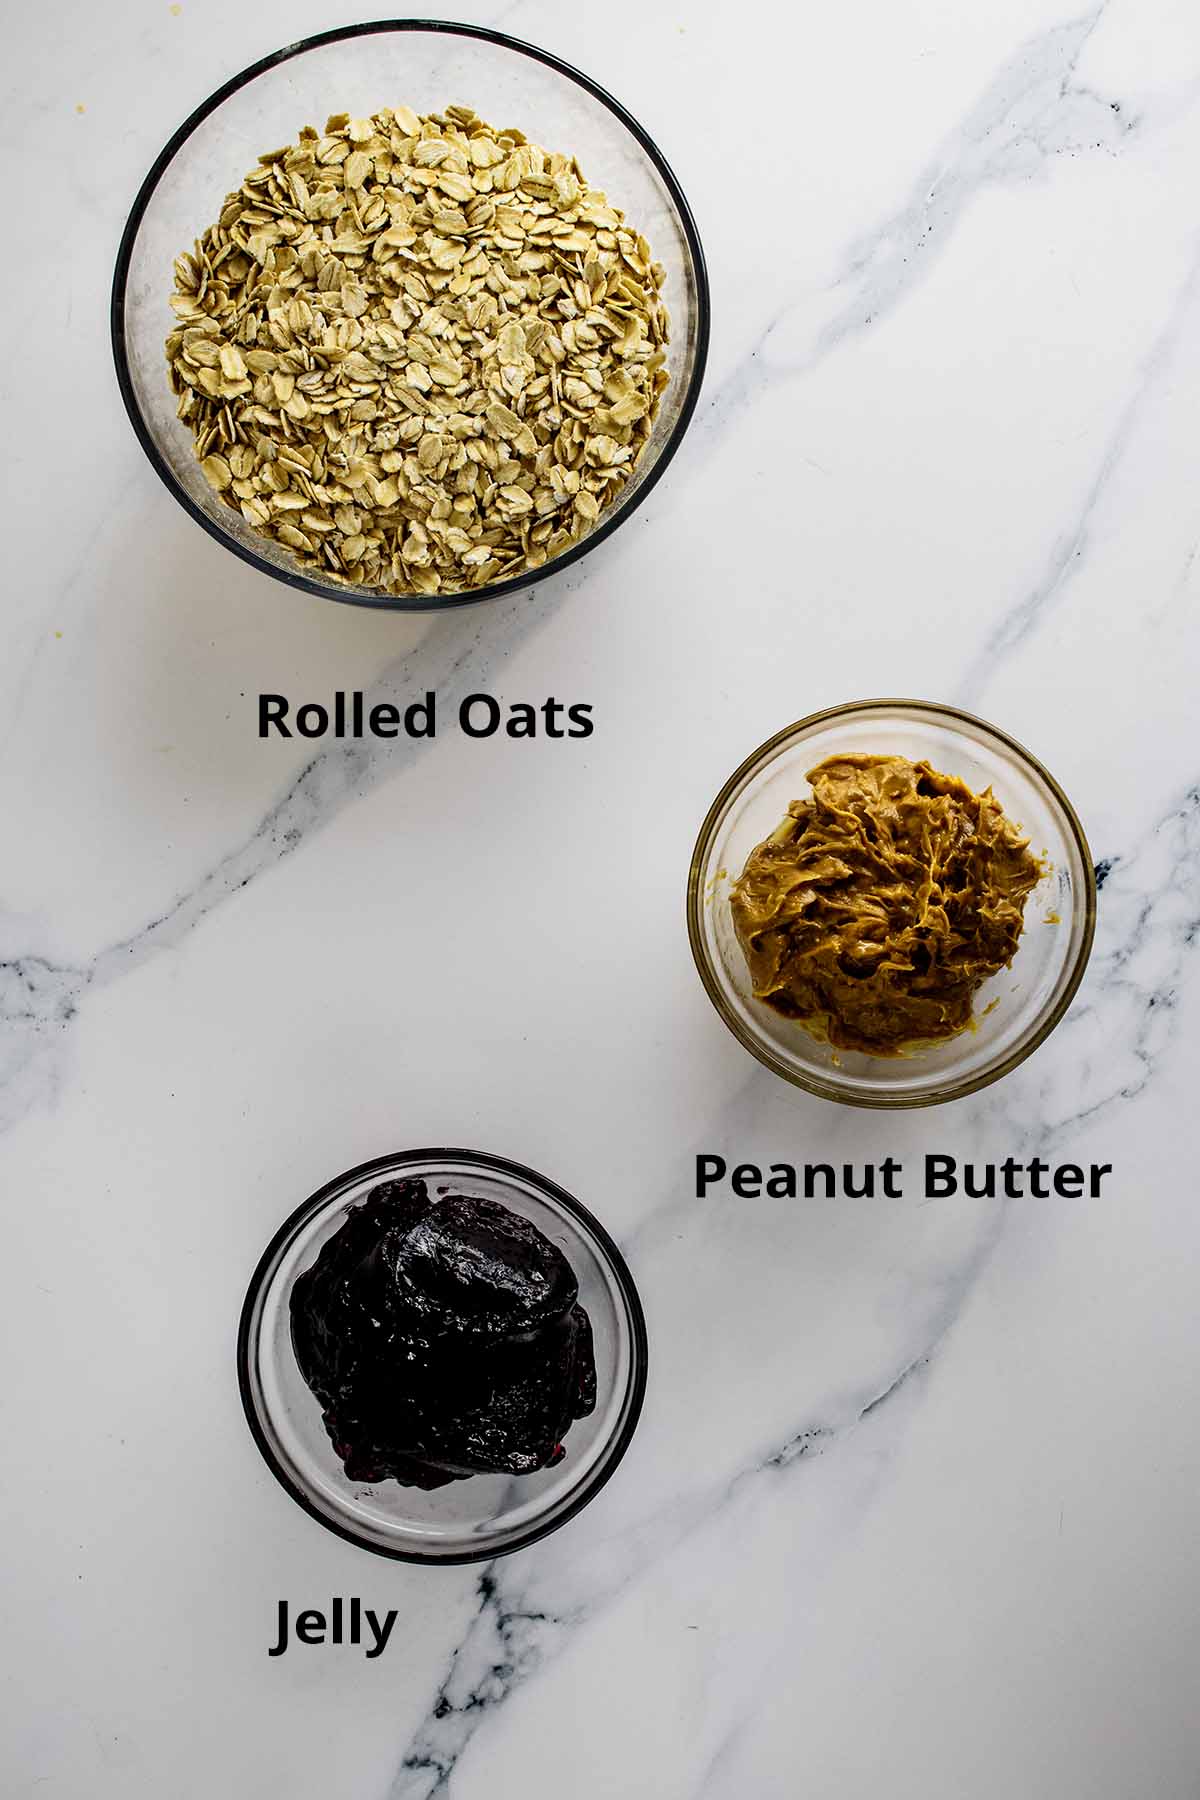
- Rolled oats uncooked (2 cups). Be sure to use rolled uncooked oats (also known as old fashioned oats). Do not use steel cut or quick oats.
- Peanut butter (⅓ cup). You can use either creamy or chunky. I have not tried this with a different nut butter, like almond or cashew, but they would probably be equally delicious.
- Grape jelly (½ cup). You can substitute your favorite jelly or jam here.
Instructions
Step 1. Preheat oven to 350°F (176°C). Spray an 8″ square baking pan with cooking spray. Set aside.
Would you like to save this recipe?
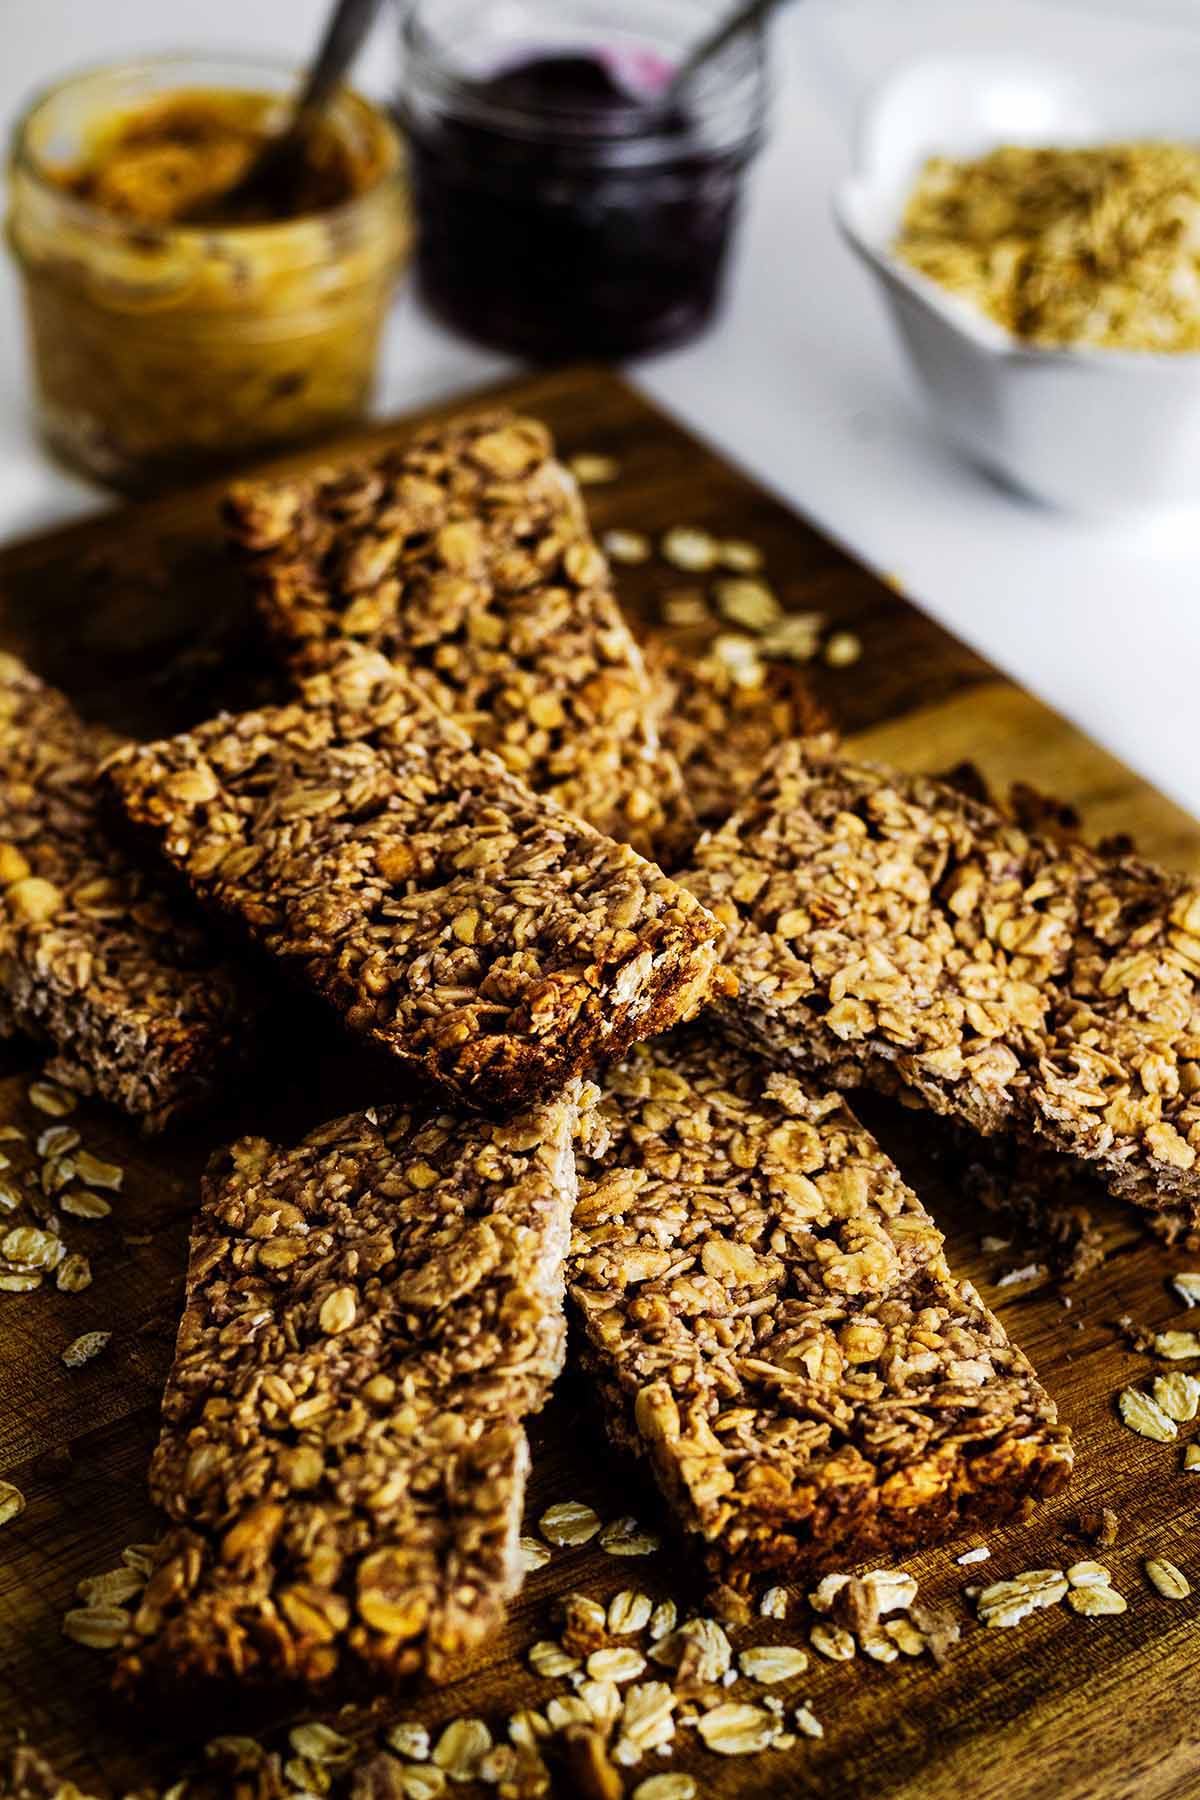
Storage Instructions
Store the bars in an airtight container. They will keep at room temperature for a day or two. For a longer shelf life, store them in the refrigerator for up to two weeks. See below for more storage tips:
- Cool completely. Allow the oat bars to cool completely after baking. This helps them set properly and prevents excess moisture inside the storage container.
- Cut into bars. Once the bars are cooled, cut them into 8 equal portions or the desired size. This makes it easier to grab a serving when you want to enjoy one.
- Layer with parchment paper. If stacking the bars in the container, consider placing parchment paper between the layers. This helps prevent the bars from sticking together and maintains their individual shapes.
- Label and date. To keep track of freshness, label the container with the contents and the date you made the bars. This is especially helpful if you plan to store them for an extended period.
- Avoid moisture. Keep the oat bars away from excessive moisture. Moisture can lead to a change in texture and may cause the bars to become soggy.
- Freezing (optional). If you want to store the oat bars for an extended period, consider freezing them. Wrap individual bars or place them in a freezer-safe container. Thaw in the refrigerator before serving.
- Bring to room temperature before serving. If the oat bars have been refrigerated or frozen, bring them to room temperature before serving. This helps restore their chewy and flavorful consistency.
- Check for freshness. Periodically check the stored bars for freshness. If you notice any signs of spoilage or a change in flavor, it’s best to discard them.
Tips for Success
- Choose quality ingredients. Opt for high-quality peanut butter, jelly, and oats to enhance the flavor and texture of the bars.
- Mix the ingredients thoroughly. When combining the rolled oats, peanut butter, and jelly, make sure to mix the ingredients thoroughly to ensure an even distribution of flavors.
- Use creamy or chunky peanut butter. Choose either creamy or chunky peanut butter based on your preference. Chunky peanut butter adds extra texture to the bars.
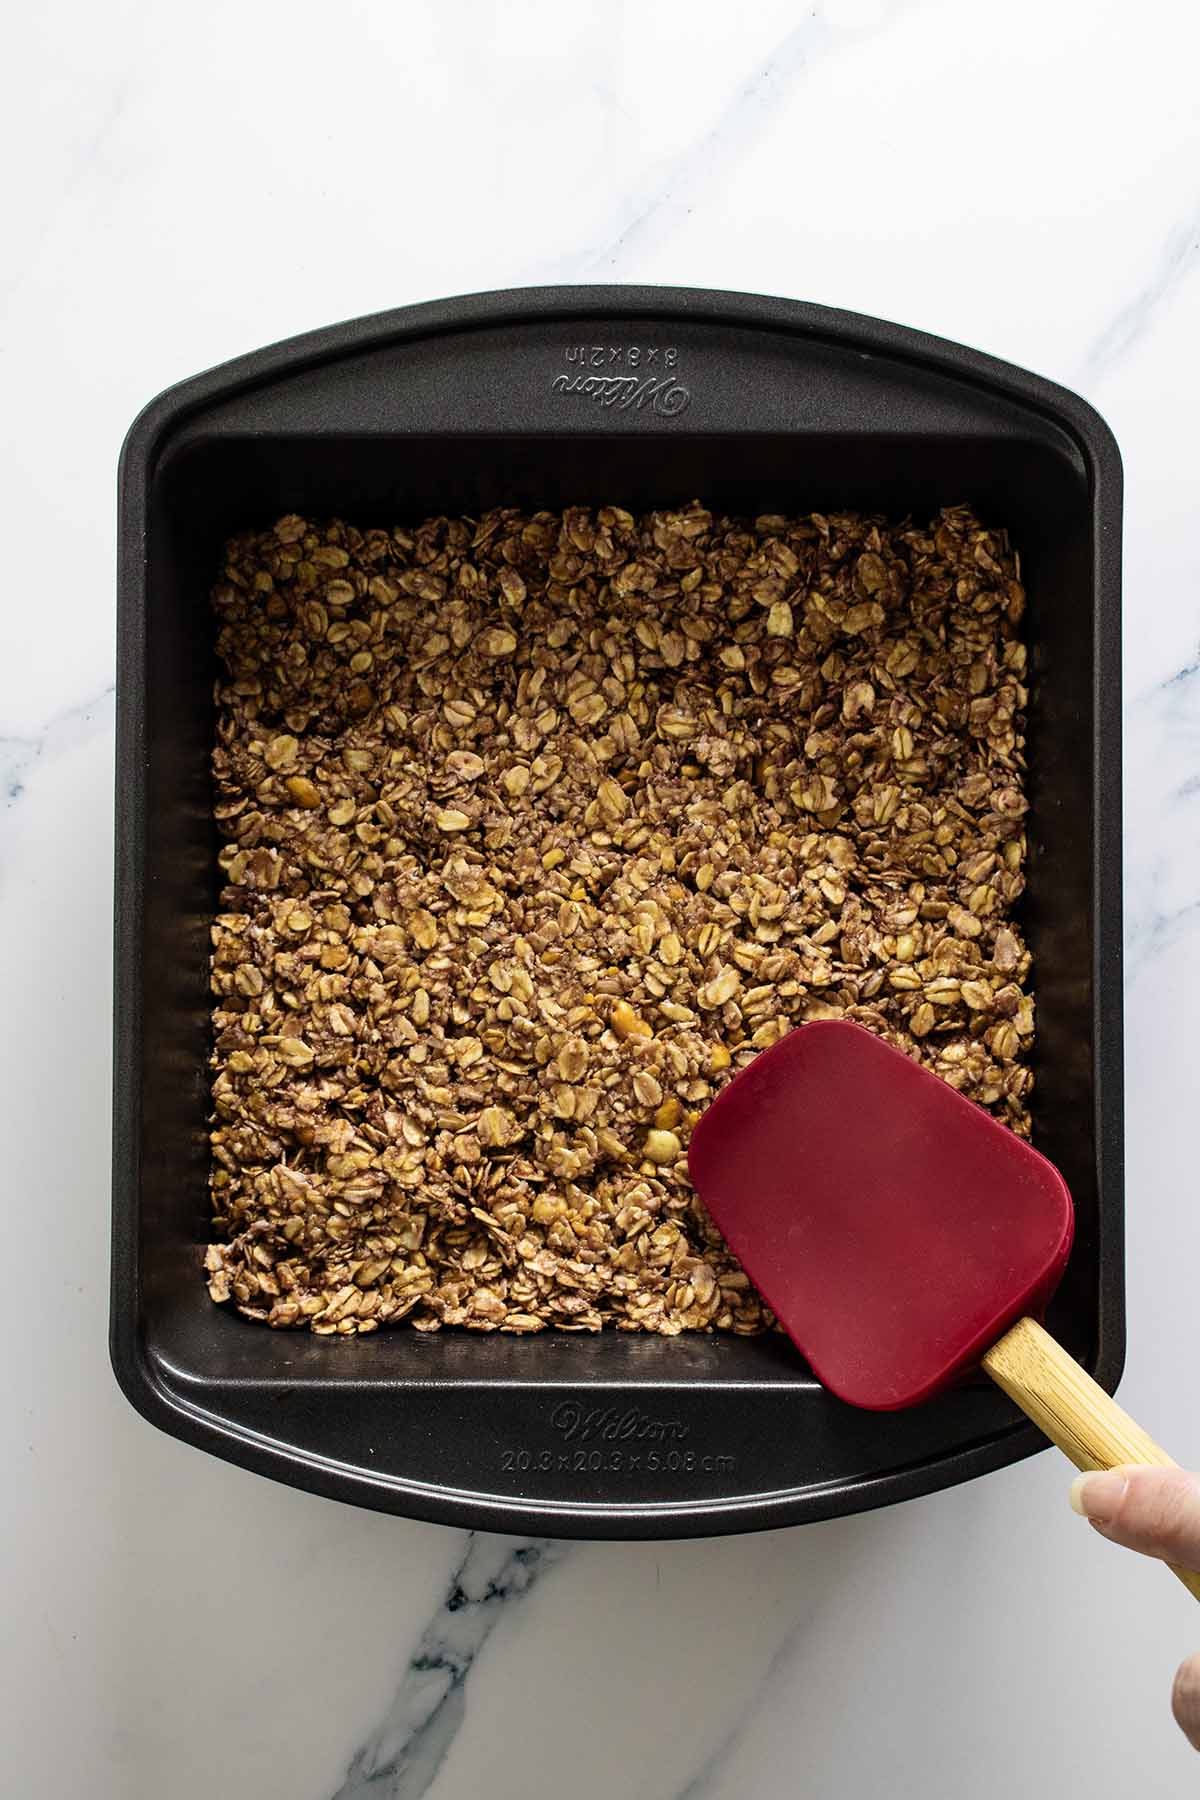
- Press the mixture firmly. When spreading the mixture in the baking pan, press it down firmly to create a compact and cohesive layer. This helps the bars hold together better.
- Watch the baking time. Keep a close eye on the bars during baking to prevent overcooking. Overbaking can result in dry bars, so follow the recommended baking time and check for doneness.
- Allow sufficient cooling time. Allow the bars to cool completely in the pan before cutting. This helps them set properly, and they will hold their shape better when sliced.
- Use parchment paper. Consider lining the baking pan with parchment paper, leaving some overhang on the sides. This makes it easier to lift the bars out of the pan for cutting.
- Experiment with add-ins. Feel free to customize the bars by adding extras like chocolate chips, chopped nuts, or dried fruits to the mixture for added flavor and texture.
- Store properly. Store the bars in an airtight container in the refrigerator for longer shelf life. If freezing, wrap individual bars in plastic wrap or place them in a freezer-safe container.
- Cutting tip. Use a sharp knife dipped in hot water for smoother and cleaner cuts when slicing the bars. Wipe the knife between cuts for neater edges.
- Check oat consistency. If you prefer a chewier texture, you can briefly pulse the rolled oats in a food processor before incorporating them into the mixture.

FAQs
Related Recipes
- Gluten-Free Coconut Breakfast Cookies.
- Cherry Vanilla Granola.
- Blueberry Granola.
- Chocolate Puffed Amaranth Bars by Cook with Renu.
- Jam Bars with Oat Crumble Topping by Striped Spatula.
Made this recipe? We would love it if you could leave a rating. Tap the rate button in the recipe card or leave a comment below. Don’t forget to subscribe to our newsletter to receive a free e-cookbook of quick and easy breakfast recipes. Thanks!
Peanut Butter and Jelly Breakfast Bars
Equipment
Ingredients
- 2 cups rolled oats uncooked
- ⅓ cup peanut butter creamy or chunky
- ½ cup grape jelly
Instructions
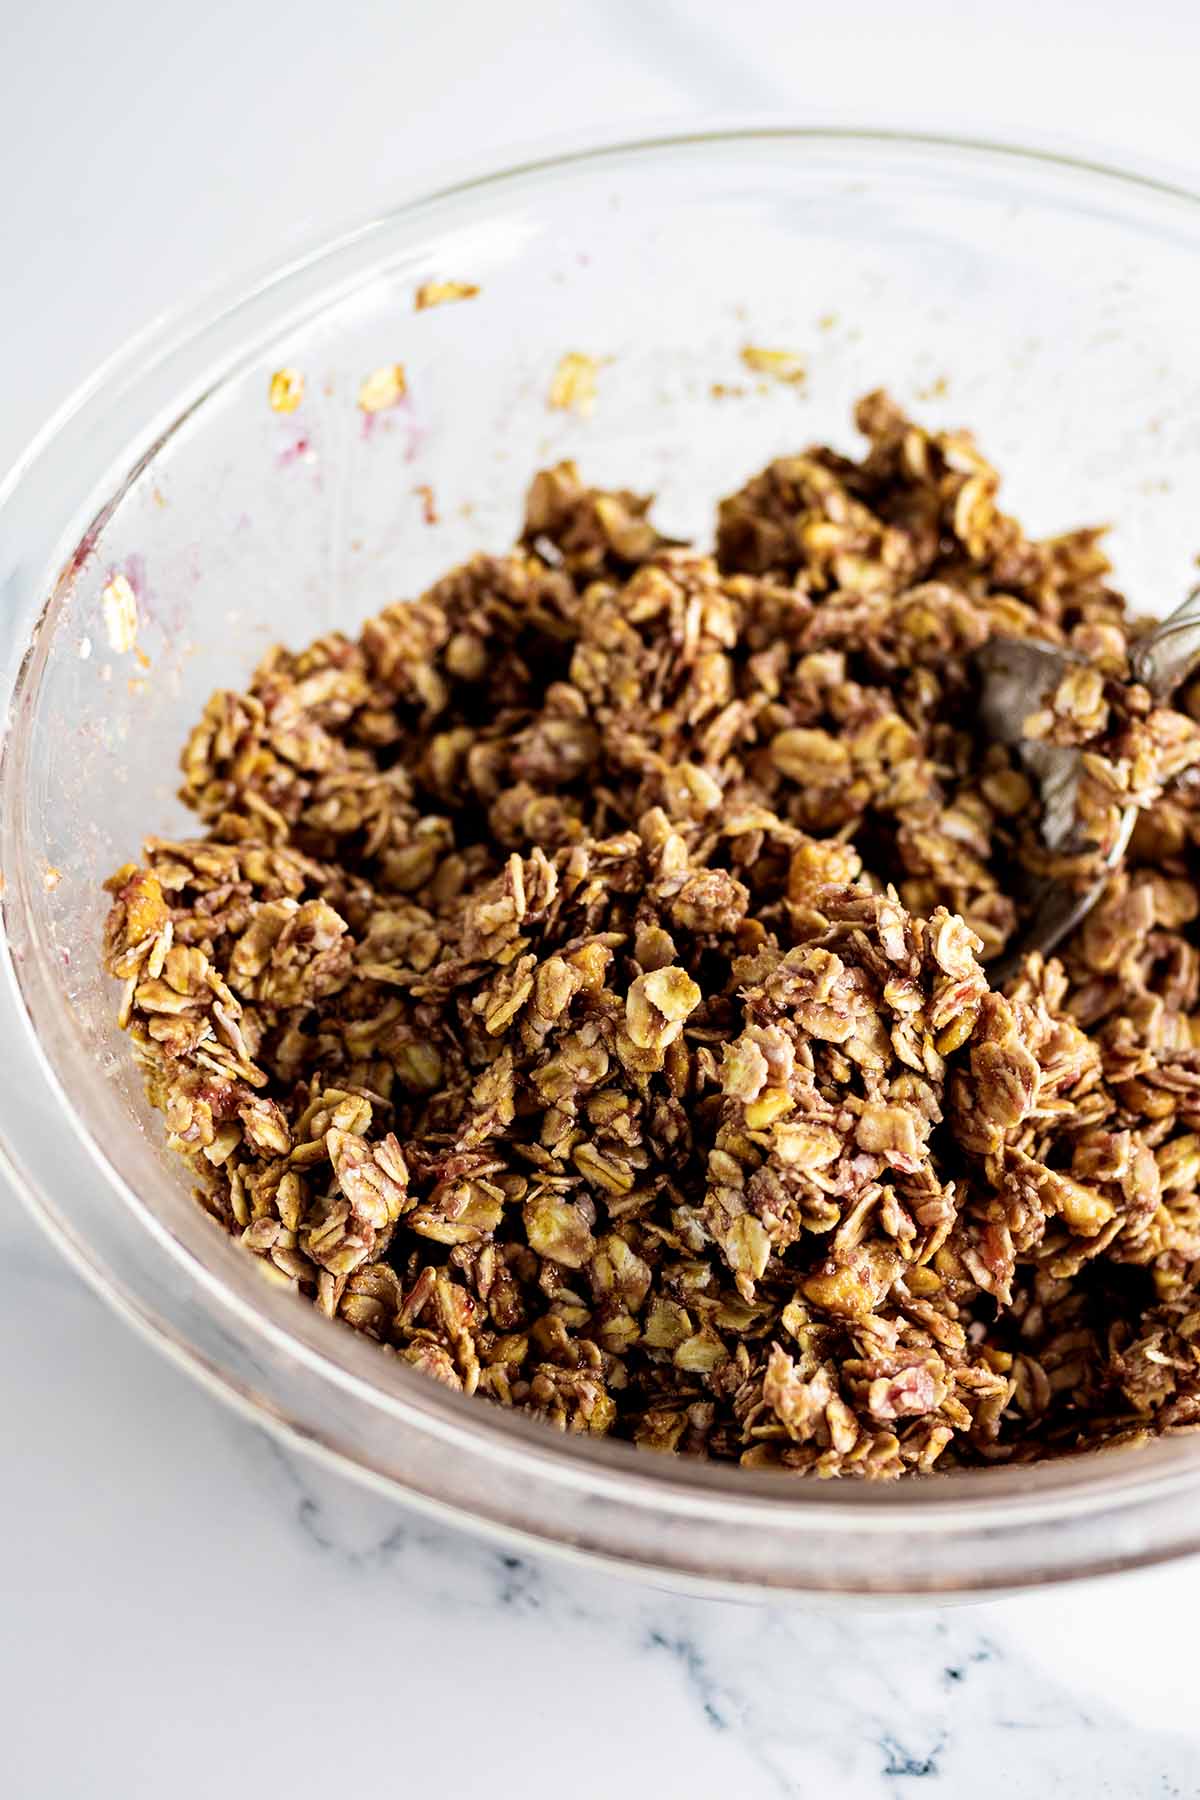
- Preheat oven to 350°F (176°C). Spray an 8" square baking pan with cooking spray. Set aside.In a medium bowl, combine all ingredients.
- Spread the mixture evenly in the prepared baking pan and bake for 20-25 minutes. Allow to cool.Once cool, cut into 8 bars.
Nutrition

Can’t wait to try these. I love the Bobos ones and I have actually been looking for a recipe that has the right measurements of each thing. Thank you! One question though, how is the storage or shelf life of these?
Hi Kristina,
Ours never seem to last very long at our house, but if you keep them in an airtight container, I think you can store them for at least a week. Enjoy!
Just attempted this recipe, and it’s as advertised.
Truly are easy to make, and they really taste great.
I can taste each ingredient. Using these as a quick healthy snack.
Honestly, they taste much better than the regular store brands.
Great idea to make them as a snack! They’re also great to take along on a hike. 🙂