
Would you like to save this recipe?
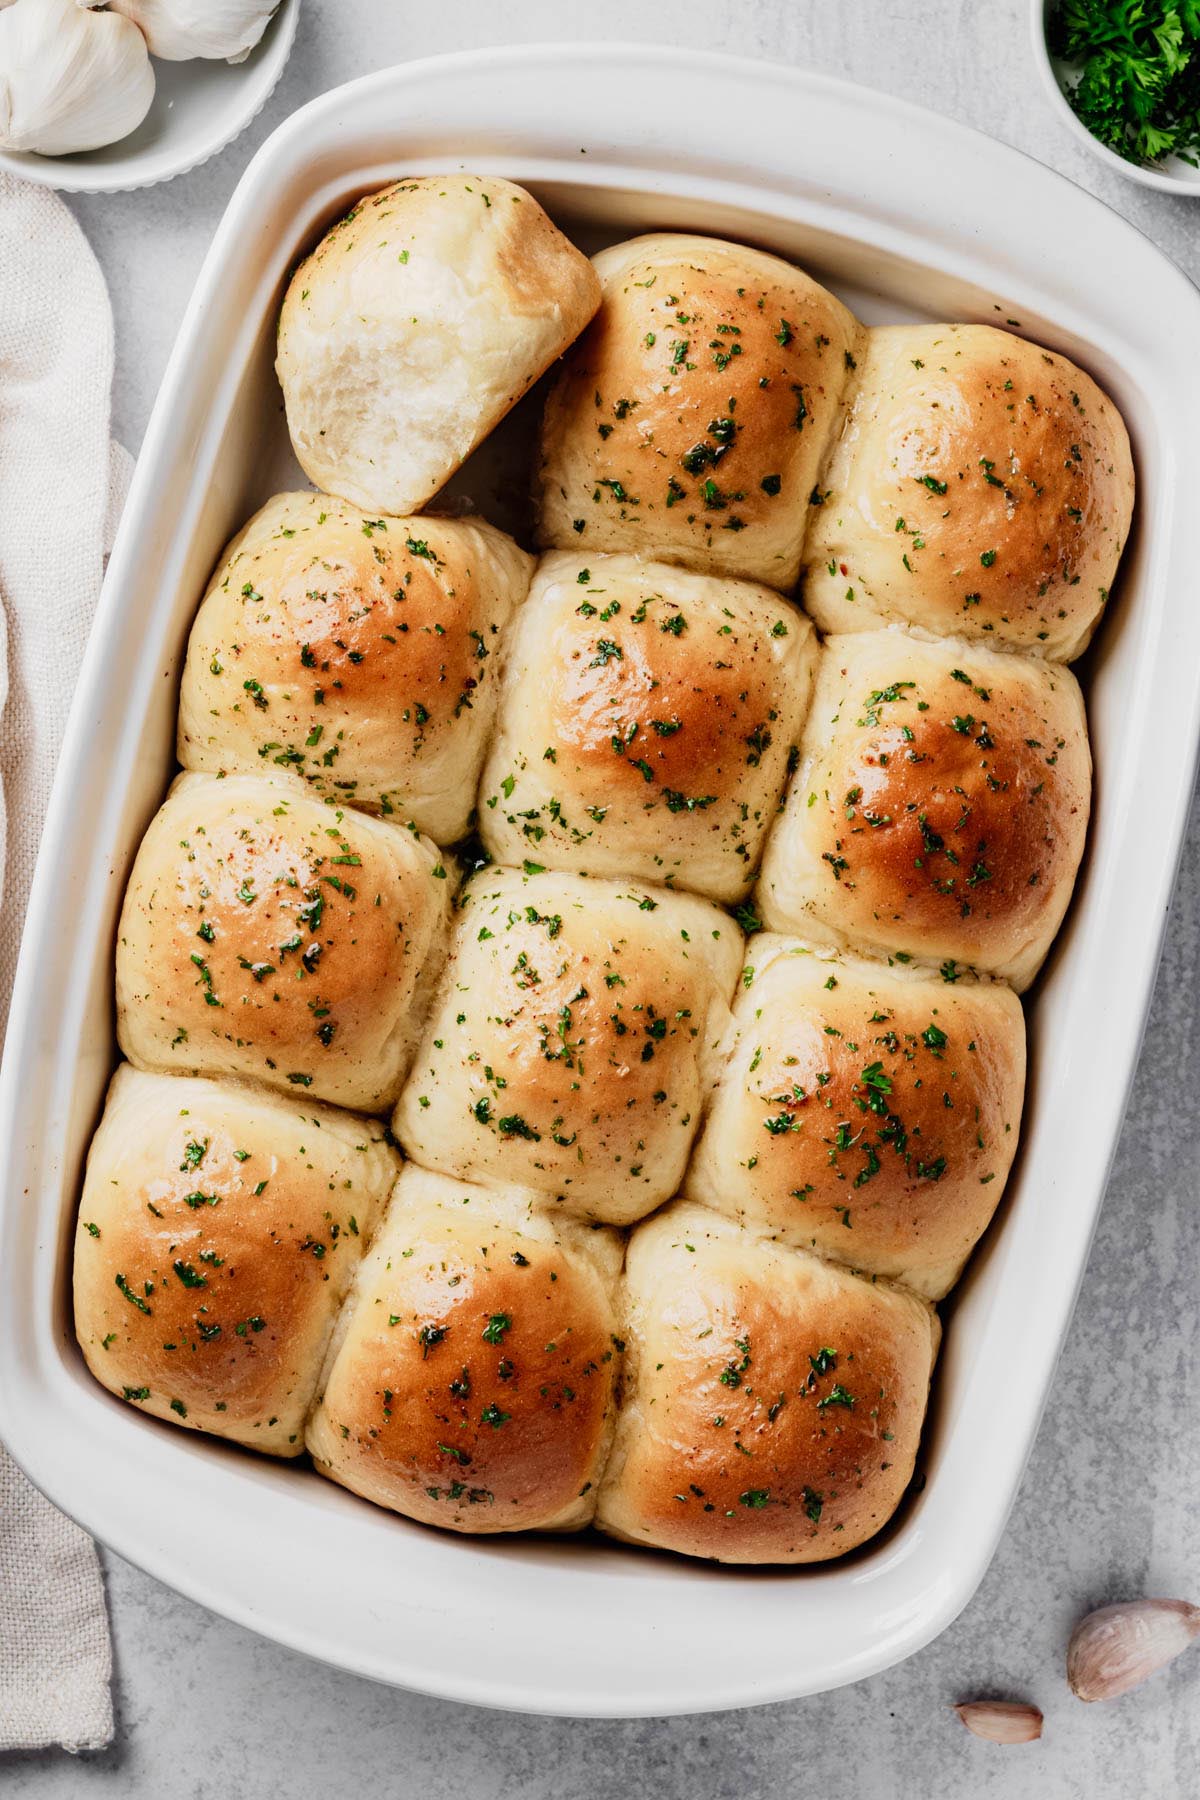
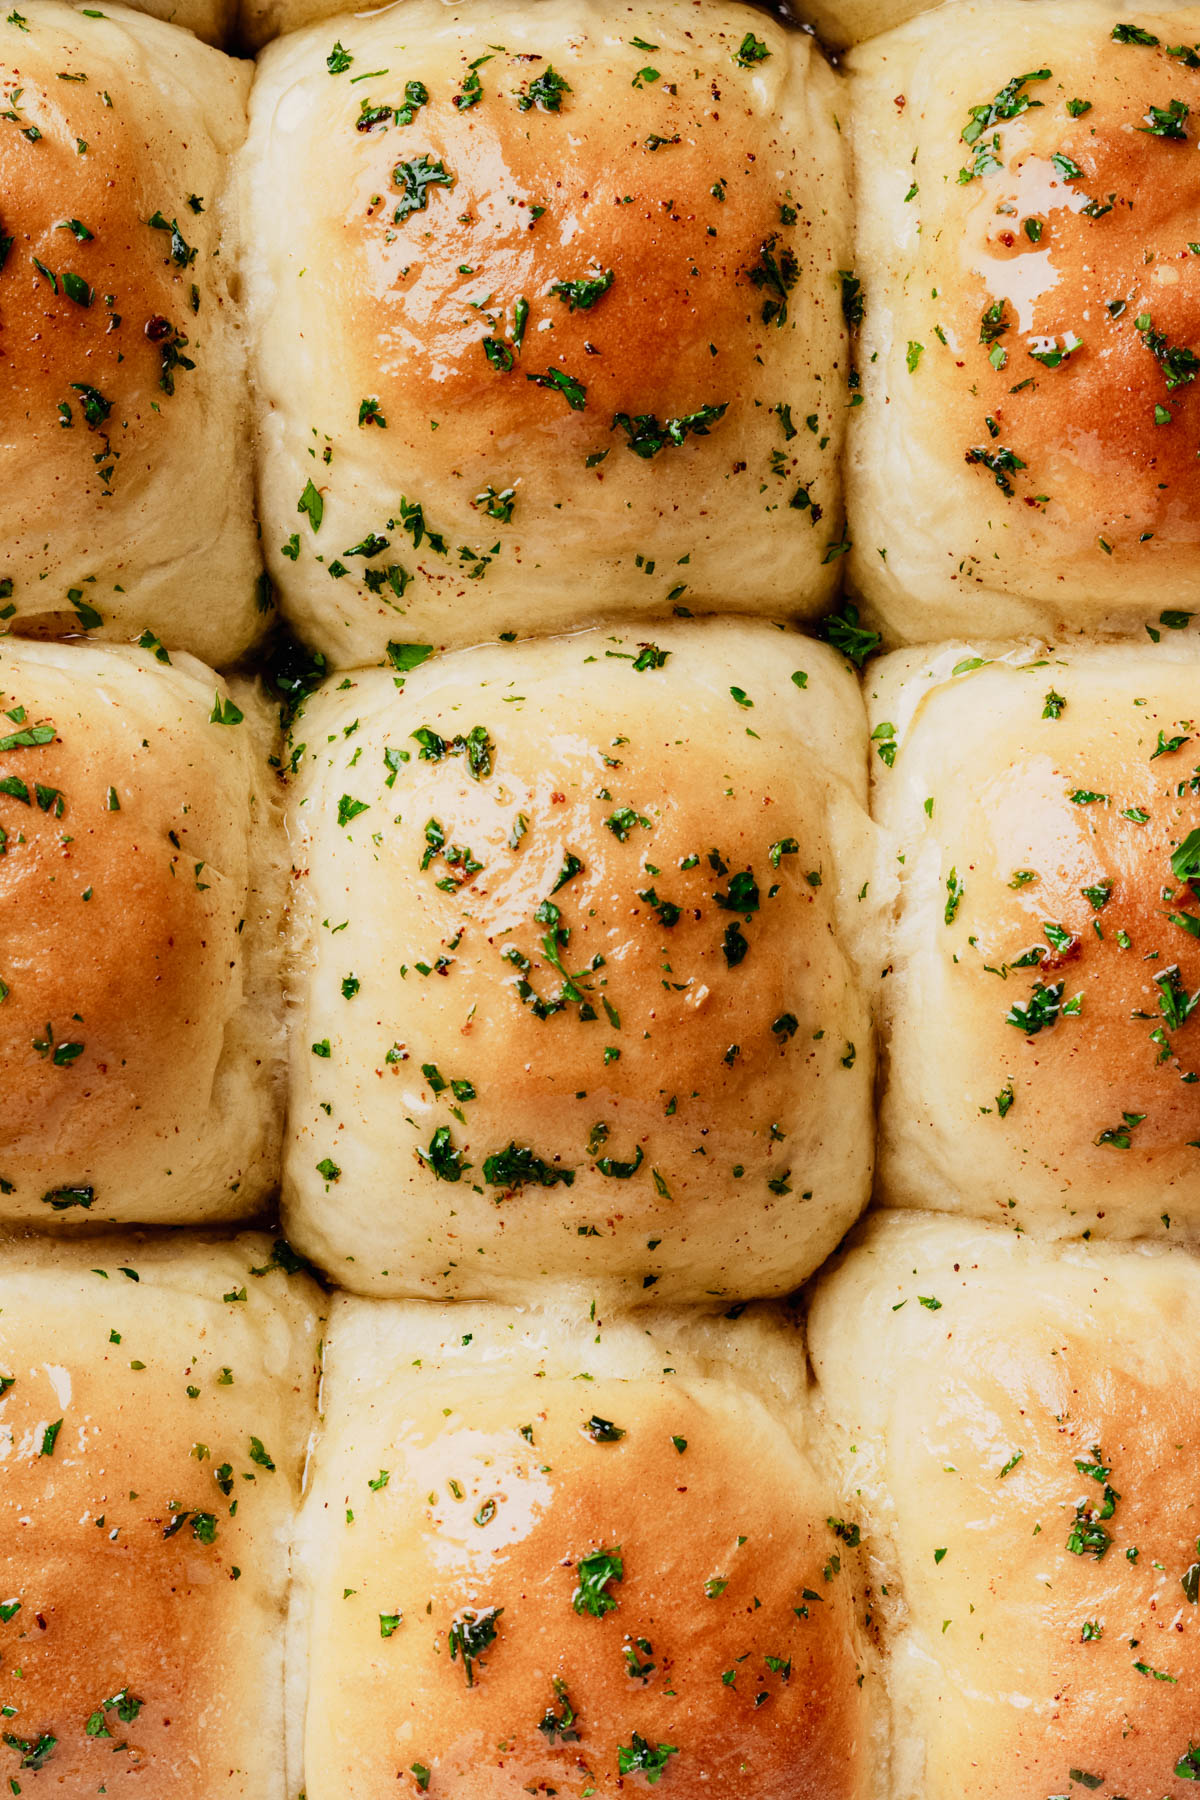
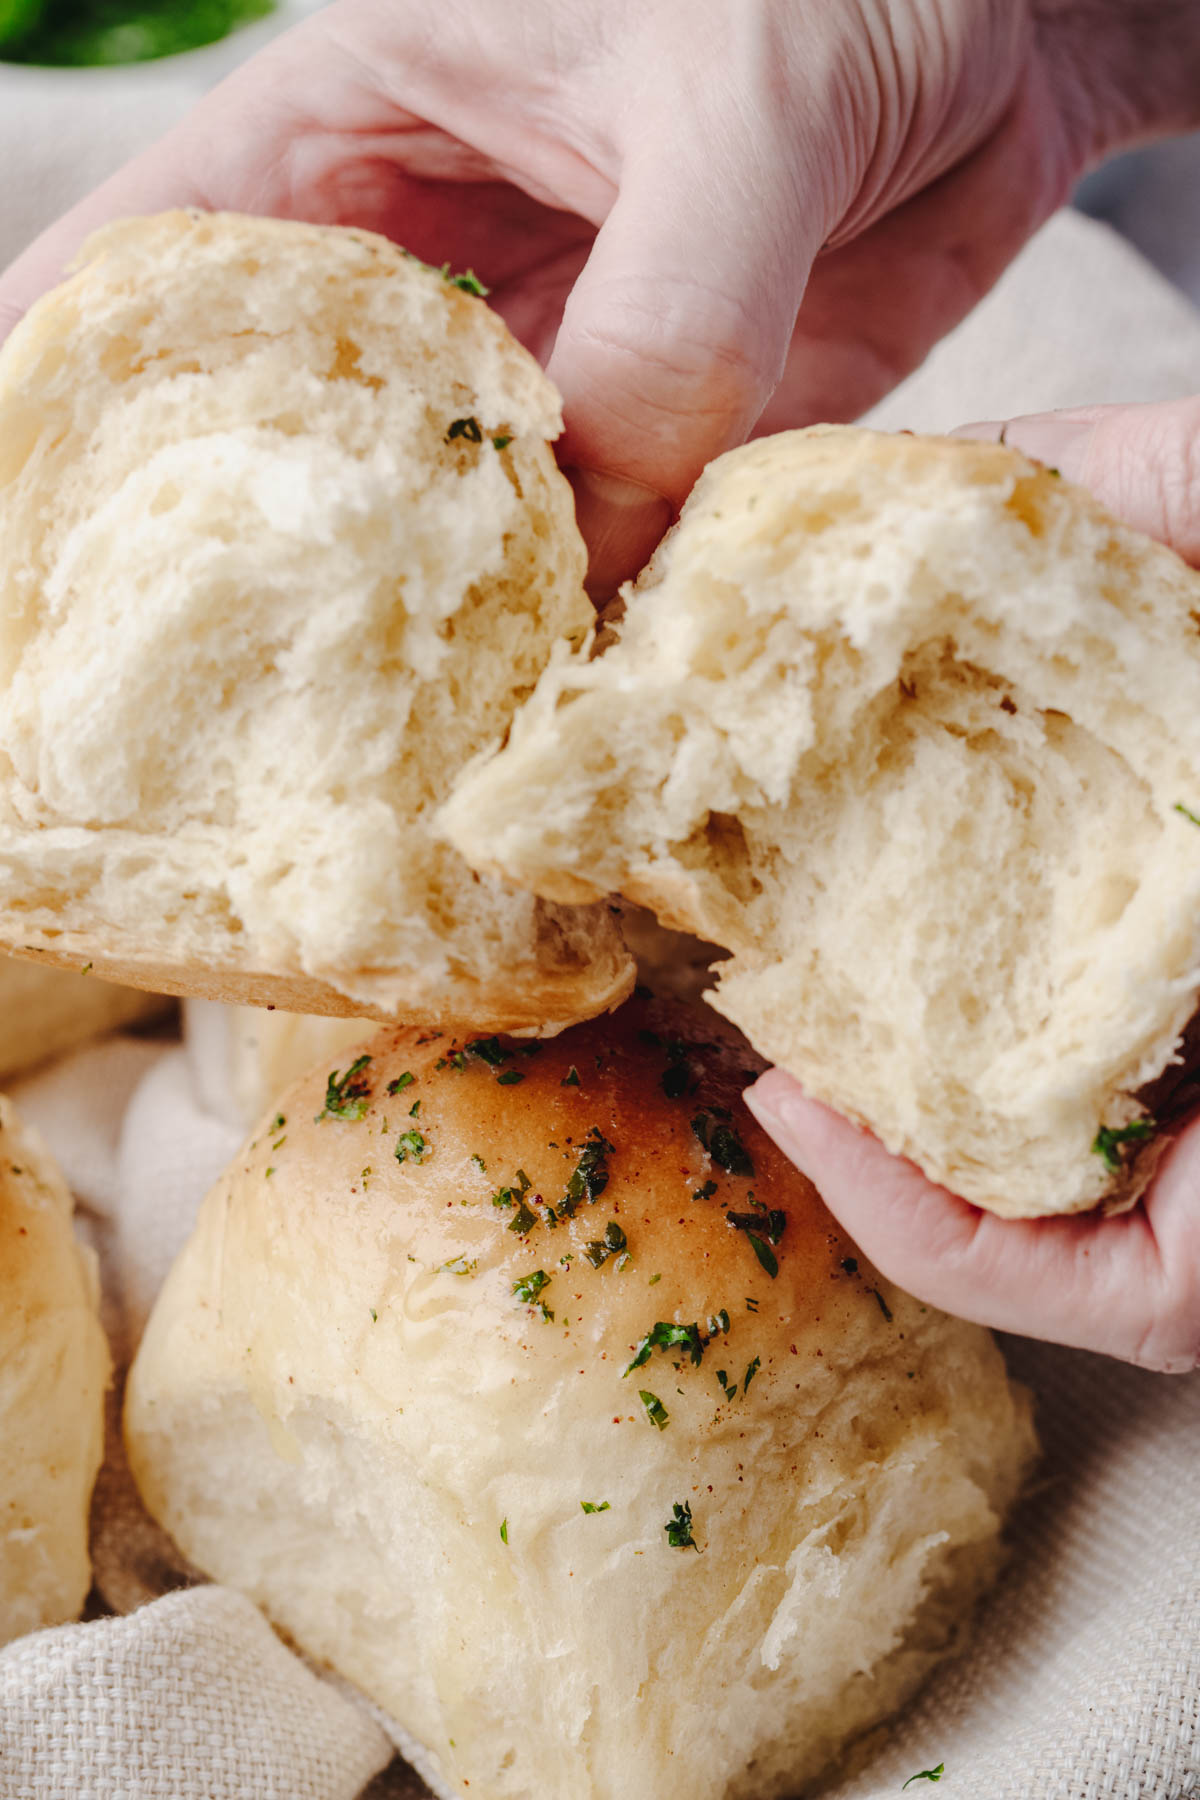
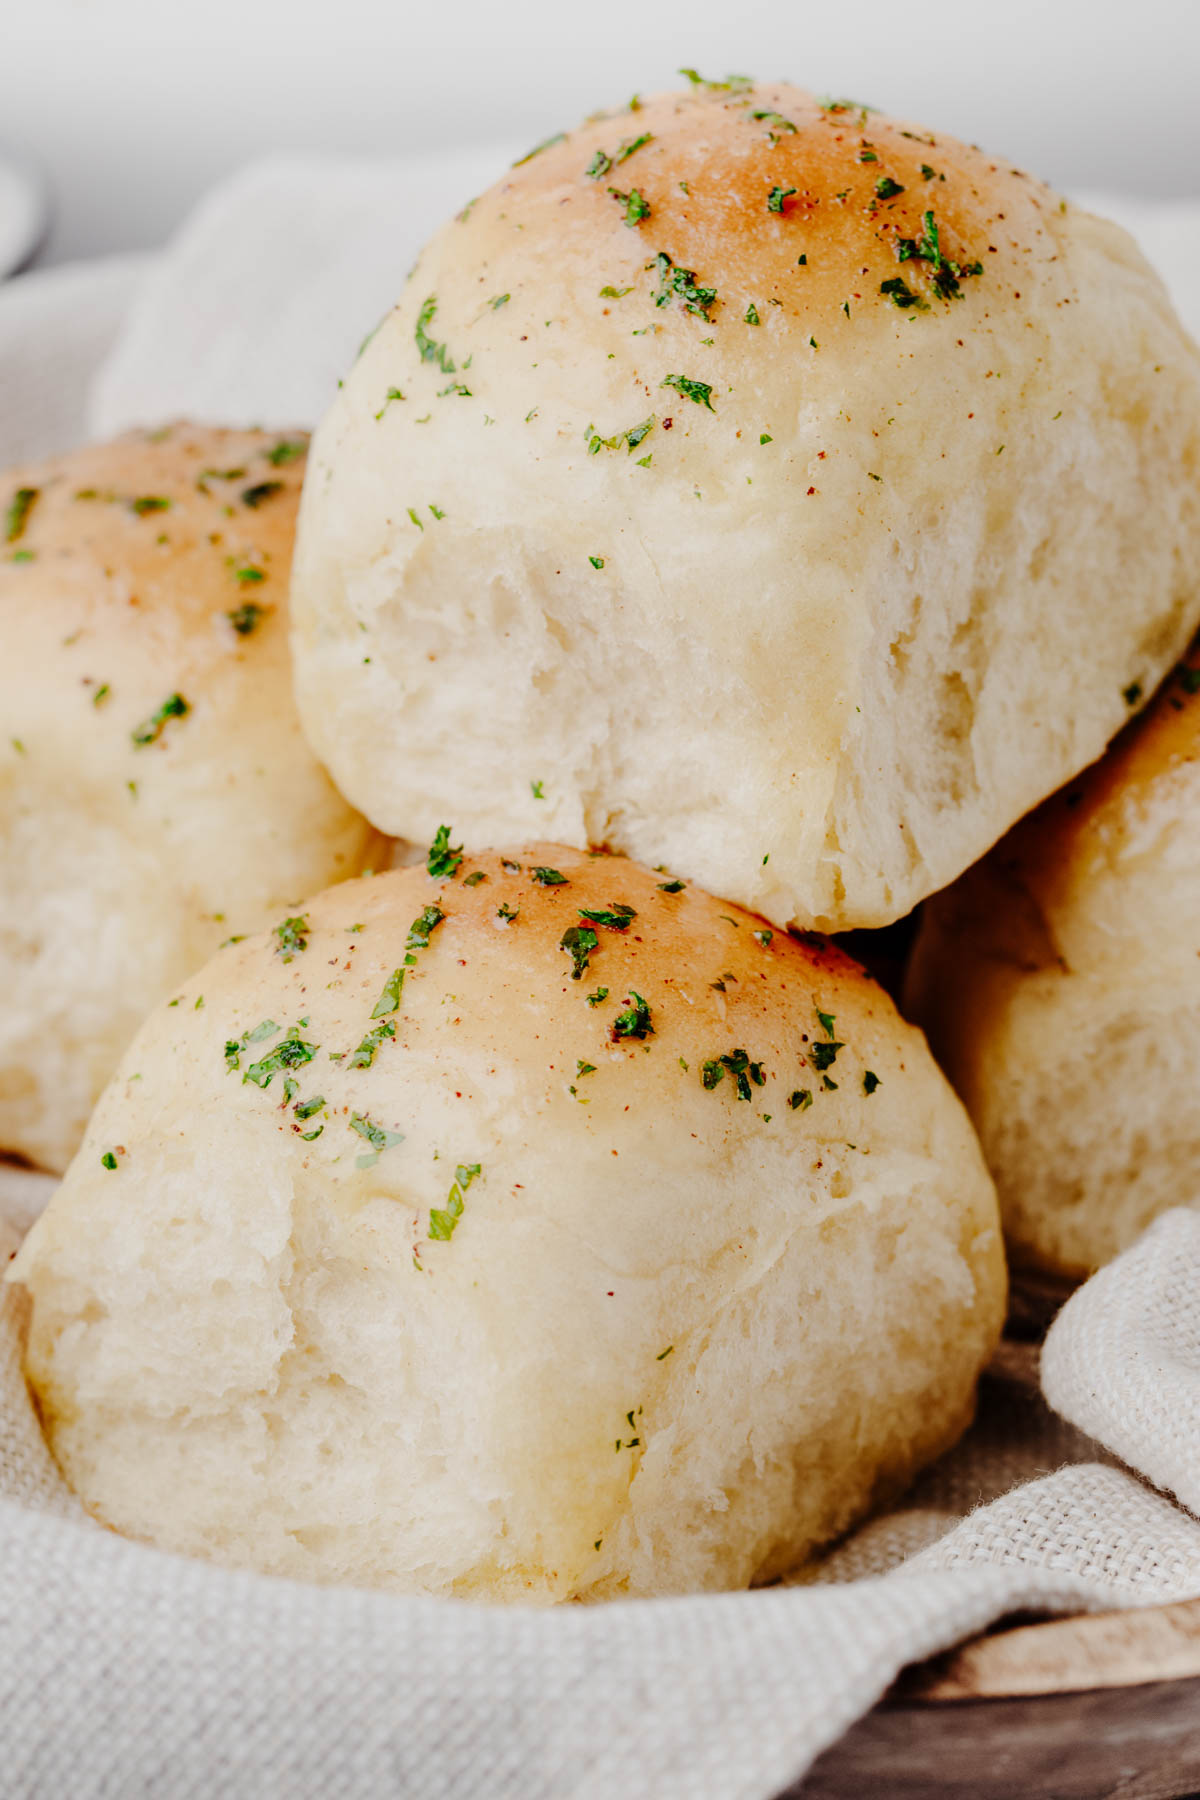
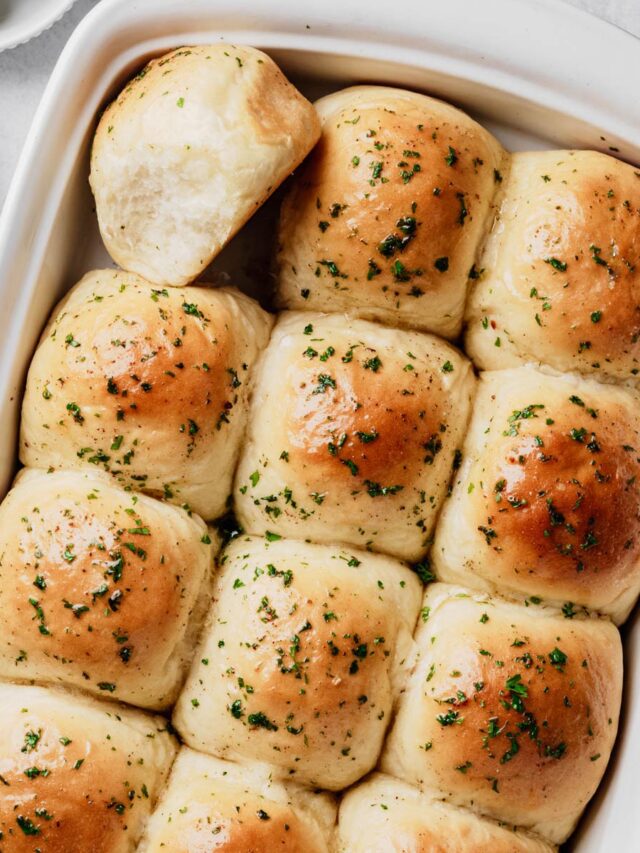
There’s nothing quite like pulling a pan of warm homemade rolls from the oven, especially when they’re brushed with buttery garlic herb butter and served fresh with dinner. These garlic dinner rolls aren’t your average dinner roll. They’re soft, fluffy, and rich with buttery flavor, with just enough chew to give them the satisfying texture of a bakery roll.
The garlic flavor is built into the dough, then finished with a simple garlic butter that makes every bite even more flavorful. During recipe testing, Preston kept saying these reminded him of the garlic breadsticks served at Olive Garden, but with the flavor and texture you’d expect from homemade bread.
If you’ve never baked with yeast before, don’t let that stop you. We developed this recipe to be approachable for beginners, with clear visual cues that help you know what the dough should look and feel like every step of the way. By the time these rolls come out of the oven, you’ll have a pan of homemade bread that’s worthy of everything from weeknight pasta dinners to your Thanksgiving table.
Why You’ll Love This Recipe
Ingredients at a Glance
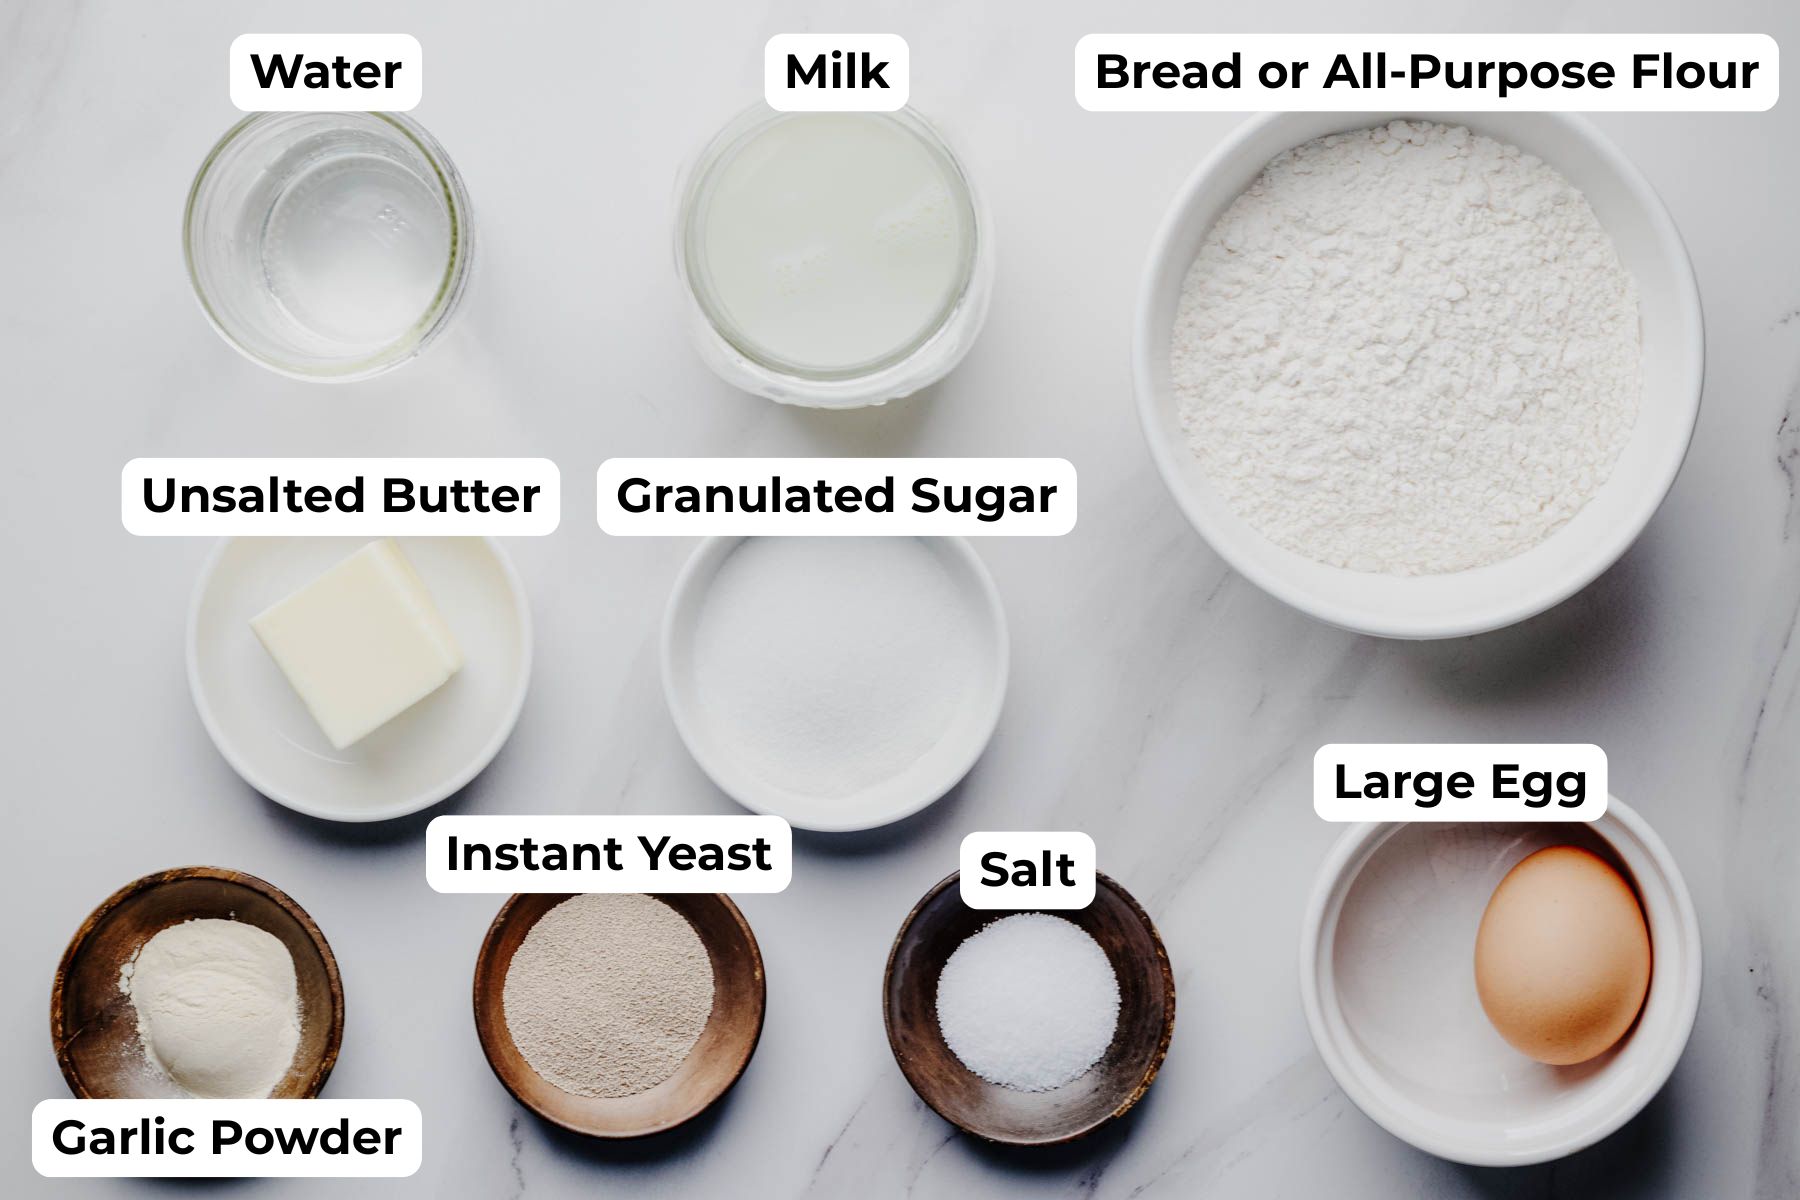
Dough
- Bread Flour. Bread flour gives the rolls their soft, bakery-style texture with just a little chew. We tested both bread flour and all-purpose flour and preferred the bread flour version for its richer texture. All-purpose flour does work well and is a suitable substitute.
- Instant Yeast. Instant yeast creates a reliable rise without needing to proof first. Active dry yeast may be substituted but it will need to be proofed. Expect the dough to rise a little more slowly. See Note 2 in the recipe card below for more information.
- Granulated Sugar. Granulated sugar adds a touch of sweetness while helping feed the yeast.
- Table Salt. Salt enhances the overall flavor and strengthens the dough.
- Garlic Powder. Garlic powder evenly distributes garlic flavor throughout every roll.
- Whole Milk. Warm whole milk adds richness and tenderness. You can substitute two percent milk.
- Water. Warm water helps hydrate the dough.
- Unsalted Butter. Unsalted butter contributes buttery flavor and a tender crumb. Unsalted butter is used to control the amount of salt in the recipe. If using salted butter, reduce the added salt slightly.
- Egg. One large egg enriches the dough and helps create its soft interior.
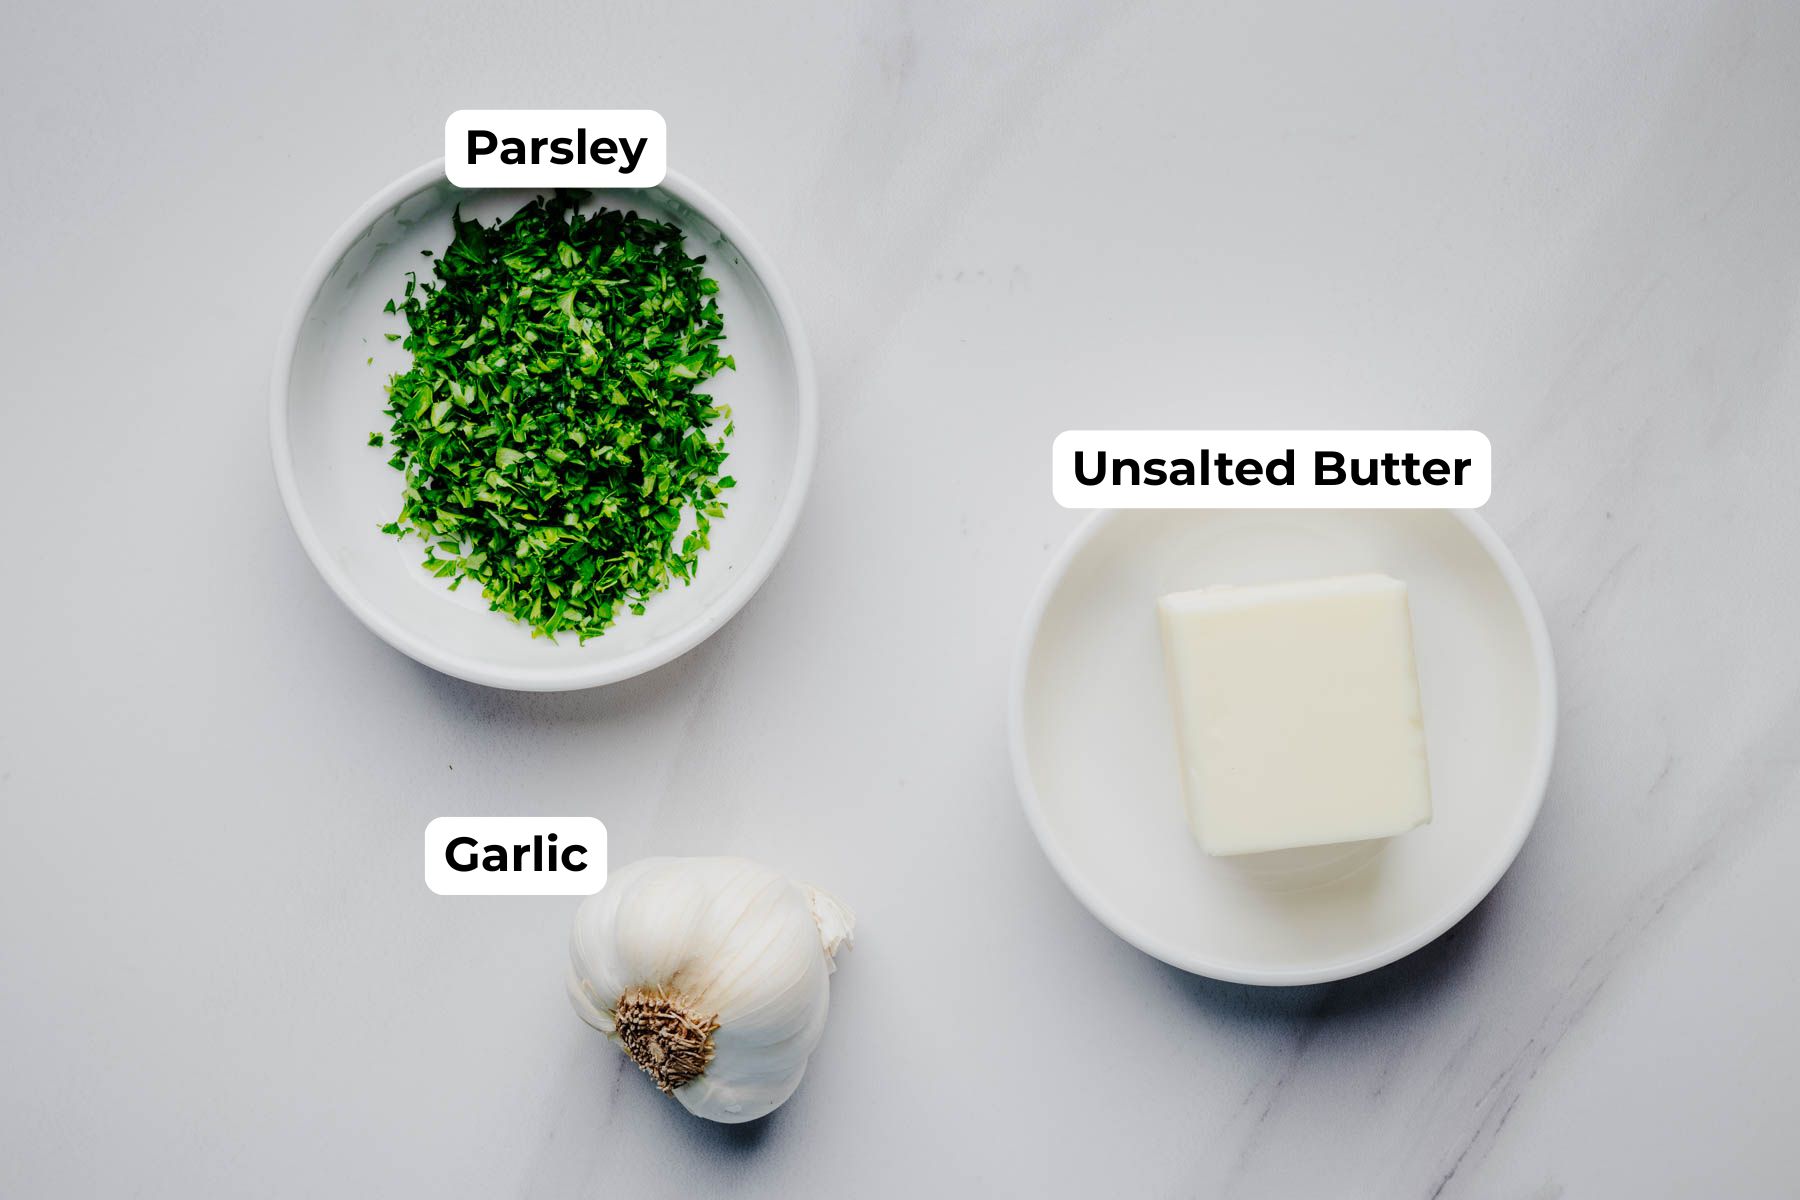
Garlic Butter Topping
- Unsalted Butter. Unsalted butter creates a rich, buttery finish.
- Fresh Garlic. Fresh garlic infuses the butter with mellow garlic flavor without overpowering the rolls.
- Fresh Parsley. Parsley adds flavor and color. Dried parsley works if that’s what you have on hand.
- Table Salt. Salt brings all of the flavors together.
How to Make Them (Photo Tutorial)
Tips for Success
- Don’t rush the rise. Rise times are only estimates. The temperature of your kitchen, the freshness of your yeast, and even the humidity can affect how quickly the dough rises. Watch for the visual cues in the recipe instead of relying solely on the clock.
- Don’t add too much flour. This is the most common mistake. The dough will look sticky at first, but it becomes smoother as it’s kneaded. Adding too much flour too early can make the rolls heavier and less tender.
- Pay attention while proofing. Avoid over- or under-proofing. Under-proofed rolls will be dense, while over-proofed rolls may collapse or bake up with a coarse texture. The poke test described in the instructions is the most reliable way to know when the dough is ready.
- Use an instant-read thermometer. Baking the rolls to 190 F (88 C) ensures they’re fully baked without drying them out.
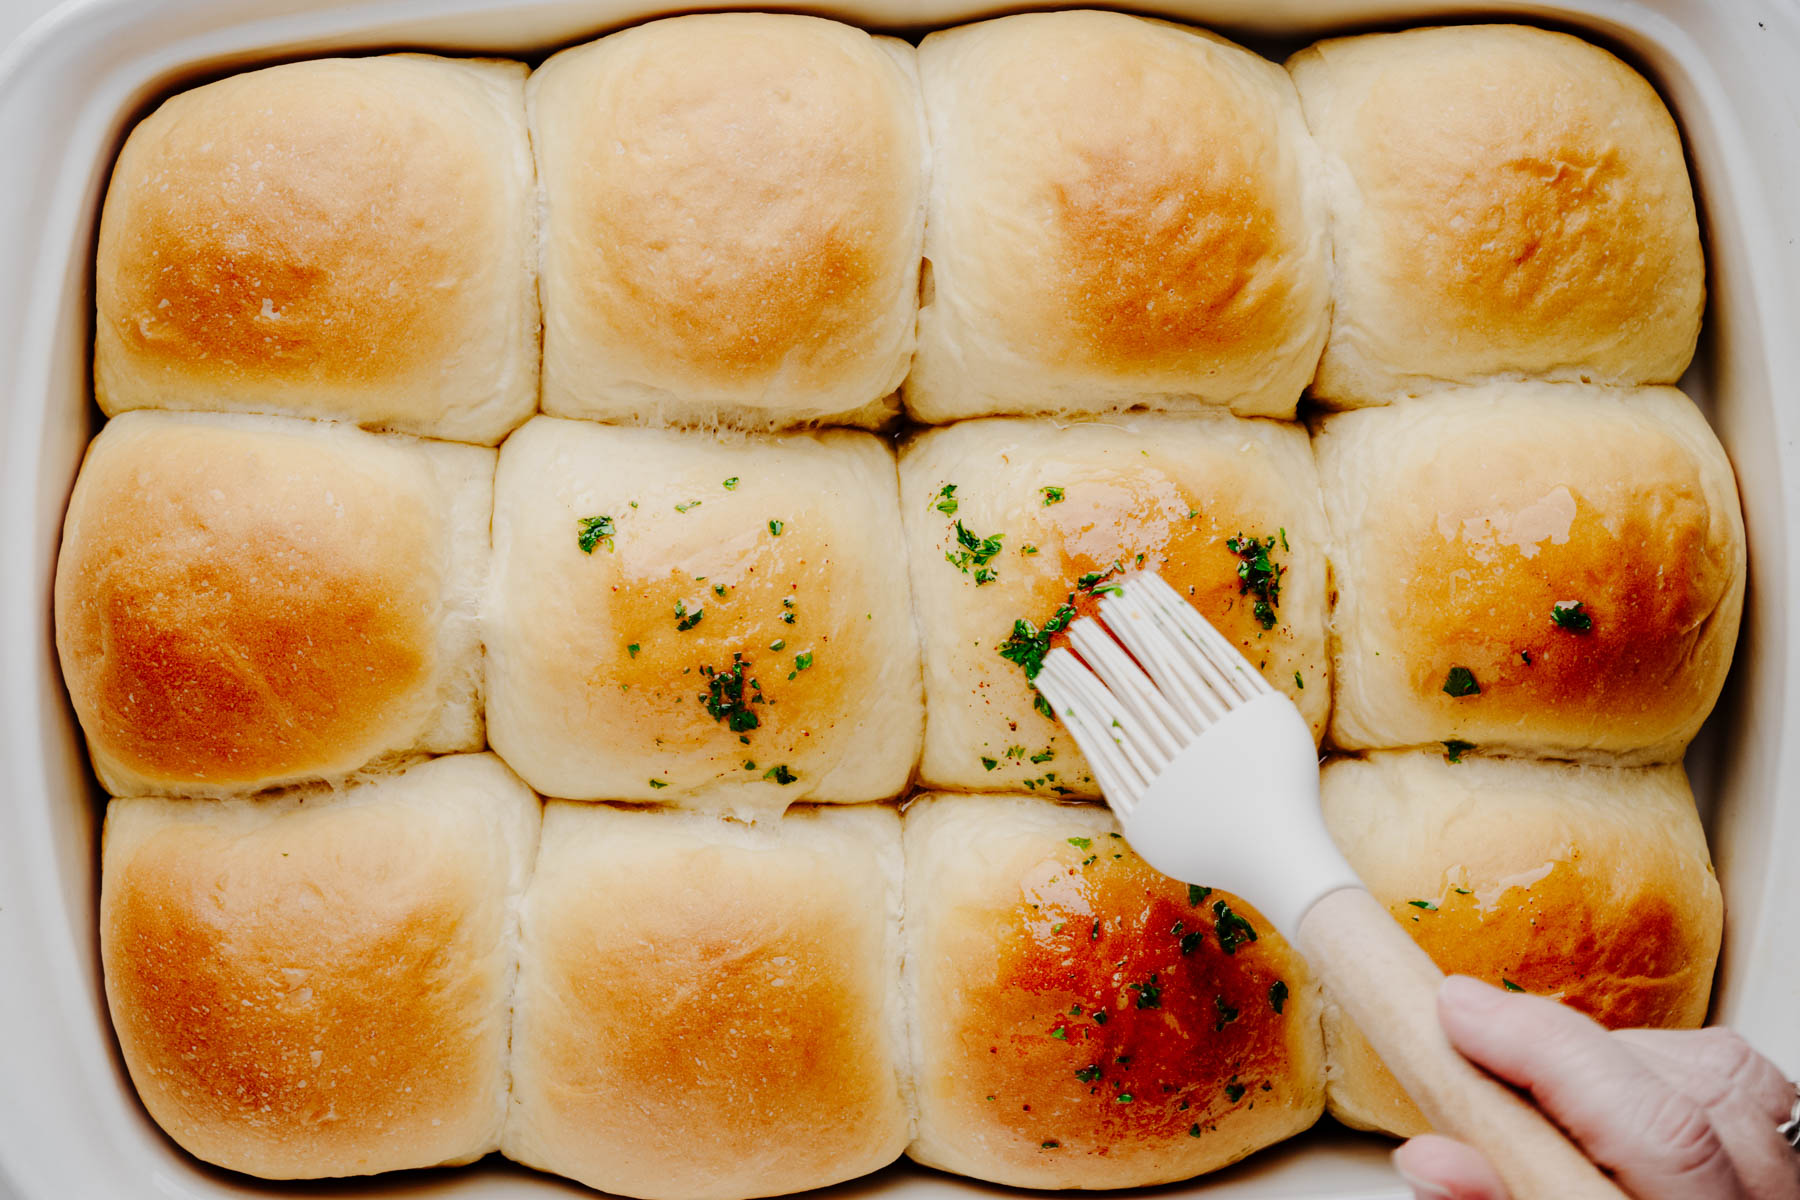
- Brush with garlic butter while warm. The warm rolls absorb the butter beautifully, creating a richer flavor and helping keep the tops soft and tender.
Variations Suggestions
- Classic Dinner Rolls. Omit the garlic powder from the dough and brush the baked rolls with melted butter instead of garlic butter.
- Extra Herby. Add chopped fresh rosemary, thyme, or chives to the garlic butter for additional flavor.
- Parmesan Garlic Rolls. Sprinkle freshly grated Parmesan cheese over the buttered rolls while they’re still warm.
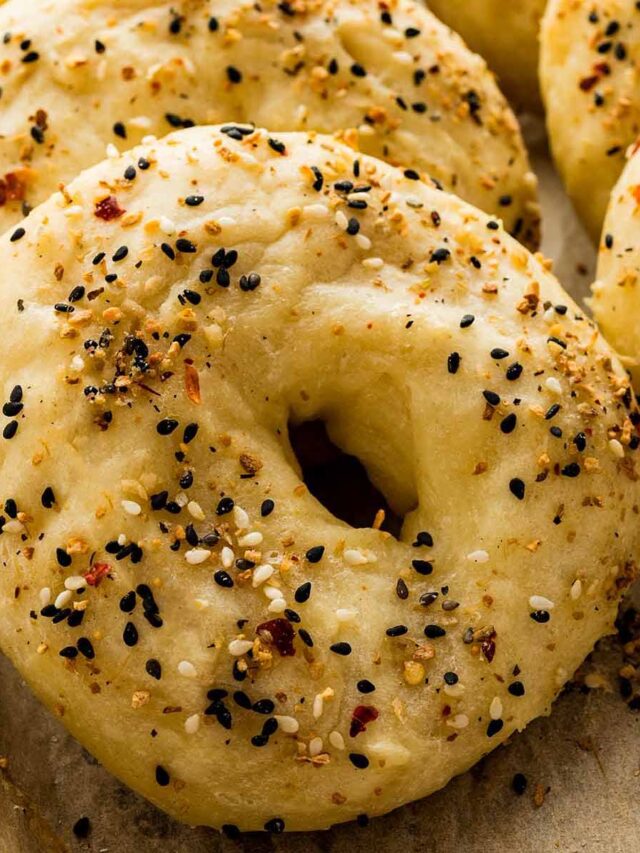
- Everything Dinner Rolls. Sprinkle everything bagel seasoning (see our recipe for high protein bagels for a homemade recipe for everything bagel seasoning) over the garlic butter before serving for extra crunch and flavor.
Make Ahead Information
These garlic dinner rolls are at their very best served fresh from the oven, but they can be made ahead.
- Bake Up to 1 Day Ahead. Allow the rolls to cool completely, then store them in an airtight container at room temperature. Before serving, warm them in a 300 F (150 C) oven for 5–10 minutes.
- Freeze Baked Rolls. Let the baked rolls cool completely, then place them in a freezer-safe bag or airtight container and freeze for up to 3 months. Thaw at room temperature, then warm in a 300 F (150 C) oven for 5–10 minutes, or until heated through.
Ways to Serve Them
These dinner rolls are versatile enough for holiday celebrations and simple weeknight dinners alike. Here are a few of our favorite ways to serve them.
- Holiday dinners. Serve them alongside roast turkey, glazed ham, prime rib, or roast beef with plenty of butter for the table.
- Italian favorites. Pair them with lasagna, baked ziti, chicken Parmesan, spaghetti, sheet pan Tuscan chicken, or creamy pasta dishes. Their buttery garlic flavor makes them a natural substitute for garlic bread.
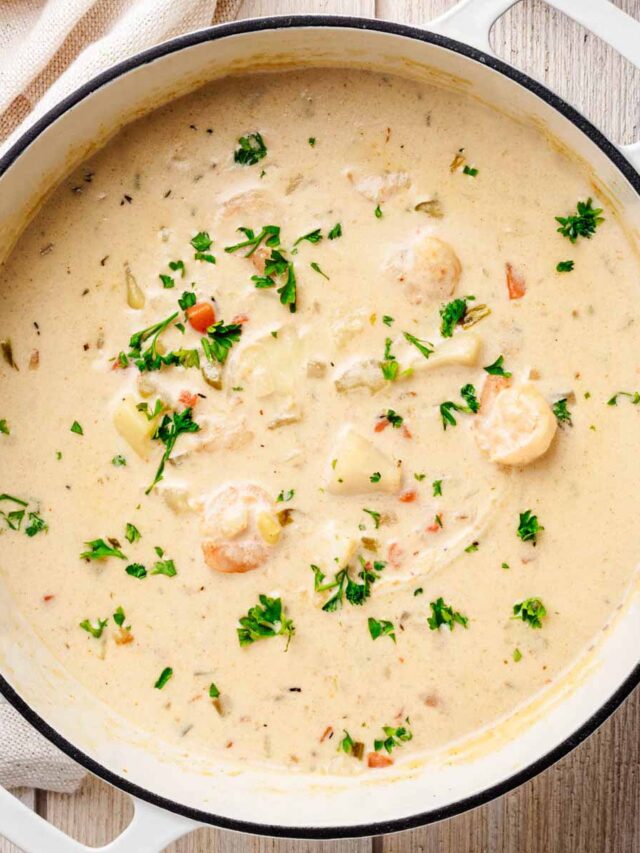
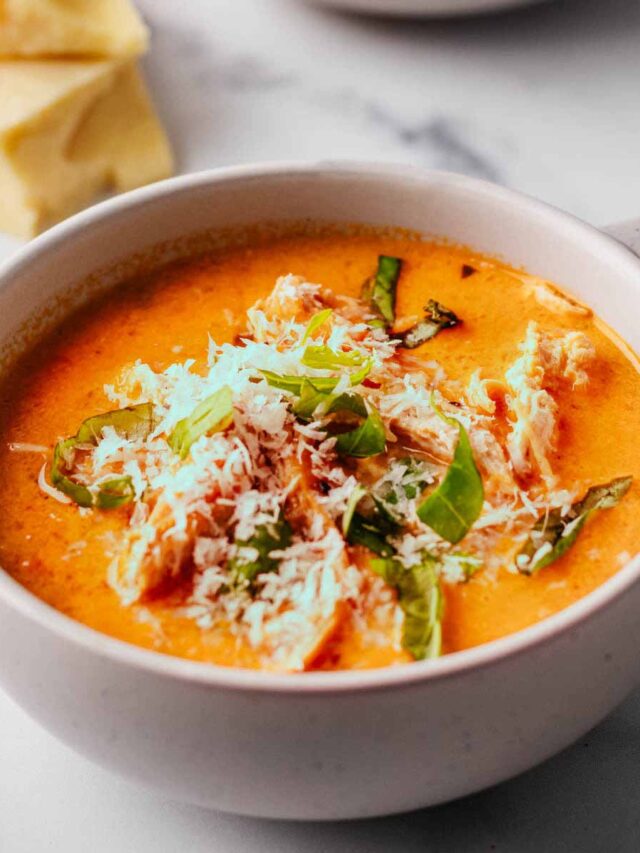
- Soups and stews. They’re perfect for soaking up the last spoonful of hearty soups, chowders, beef stew, or creamy tomato soup.
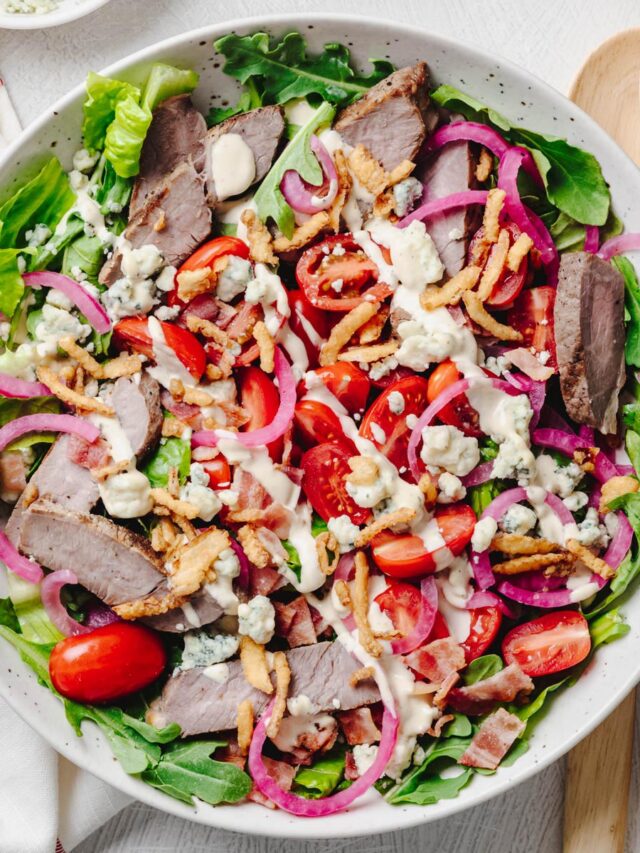
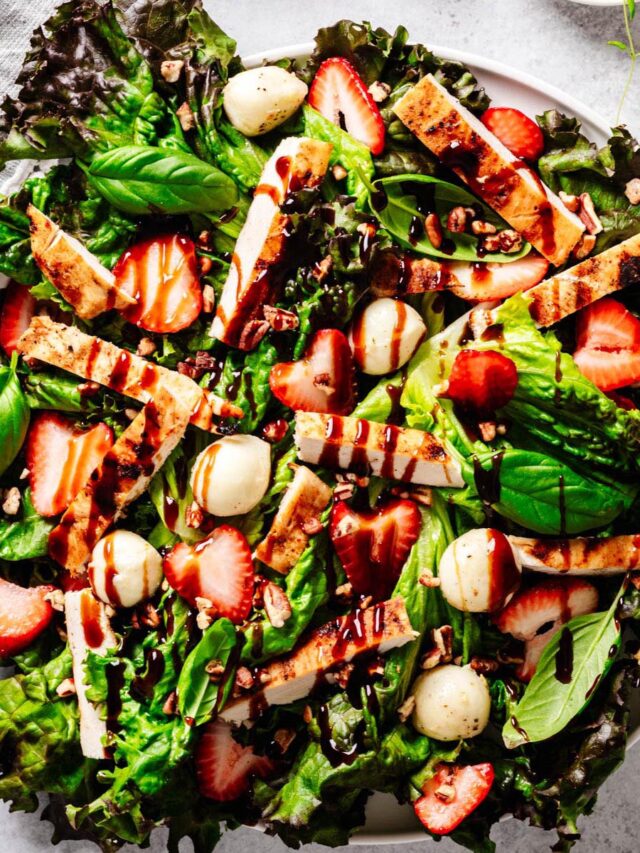
- Fresh salads. Add them to a meal with a hearty dinner salad like our steakhouse salad or harvest cobb salad for an easy restaurant-style dinner at home.
- Holiday leftovers. Use them to make turkey or ham sliders the day after Thanksgiving or Christmas.
Storage and Reheating
Store leftover rolls in an airtight container at room temperature for up to 3 days.
For longer storage, freeze the cooled rolls in a freezer-safe bag or airtight container for up to 3 months.
To reheat:
- Room temperature rolls: Warm in a 300 F (150 C) oven for 5–10 minutes, or microwave for about 15 seconds.
- Frozen rolls: Thaw at room temperature, then warm in a 300 F (150 C) oven until heated through.
Related Recipes
Complete the Meal
More Bread Recipes
Perfect with Soup
Tried this recipe? I’d love to hear how it turned out! Leaving a quick rating and comment helps other readers and supports Heavenly Home Cooking more than you know.
Garlic Dinner Rolls Recipe
Equipment
Ingredients
Dough
- 4 ¼ cups bread flour 510 g (Note 1)
- 2 ¼ teaspoons instant yeast or active dry yeast (Note 2)
- 2 tablespoons granulated sugar
- 1 ½ teaspoons table salt
- 2 teaspoons garlic powder
- 1 cup whole milk 240 ml. Warmed to 110–115 F (43–46 C)
- ½ cup water 120 ml. Warmed to 110–115 F (43–46 C)
- ¼ cup unsalted butter 57 g. Softened.
- 1 large egg room temperature
Garlic Butter Topping
- 4 tablespoons unsalted butter 57 g
- 3 garlic cloves smashed
- 1 tablespoon chopped fresh parsley or 1 teaspoon Dried Parsley (Note 3)
- pinch table salt
Instructions
Dough
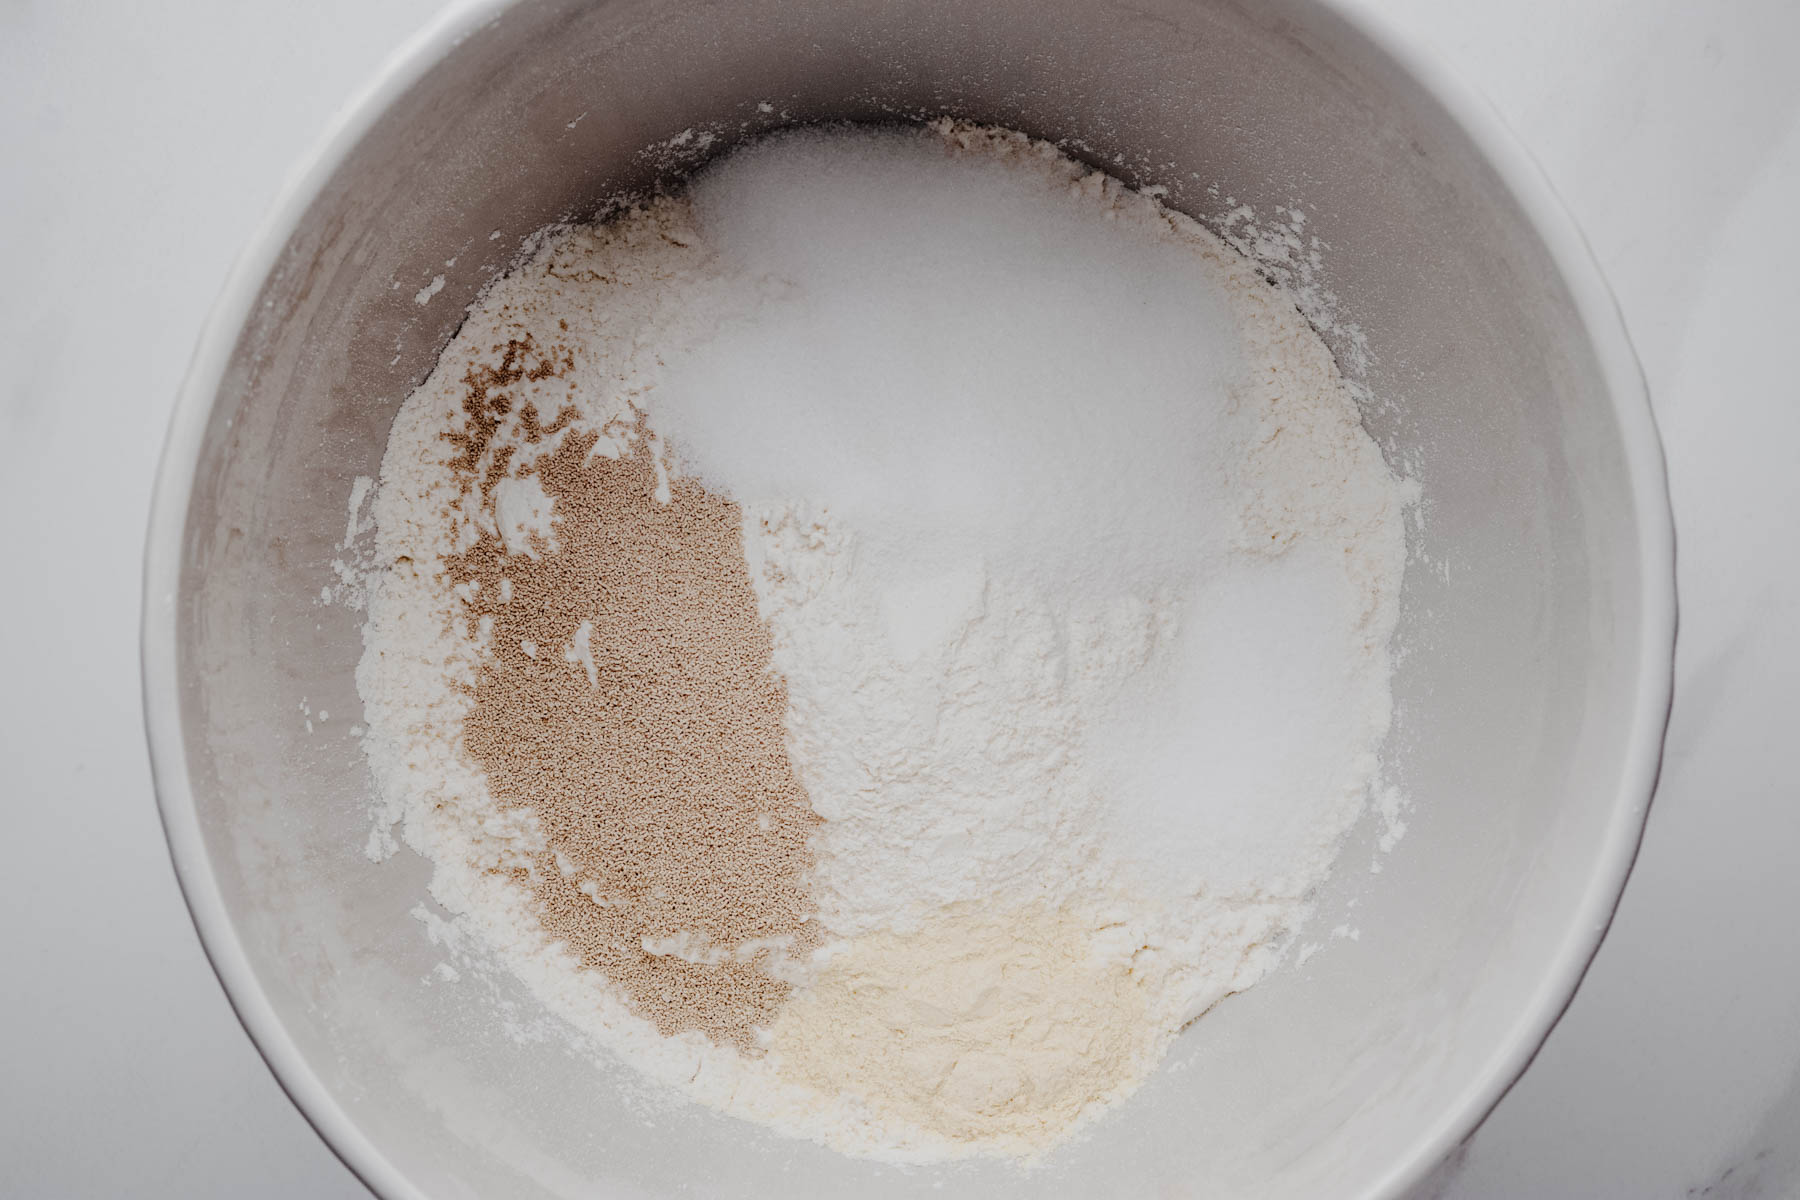
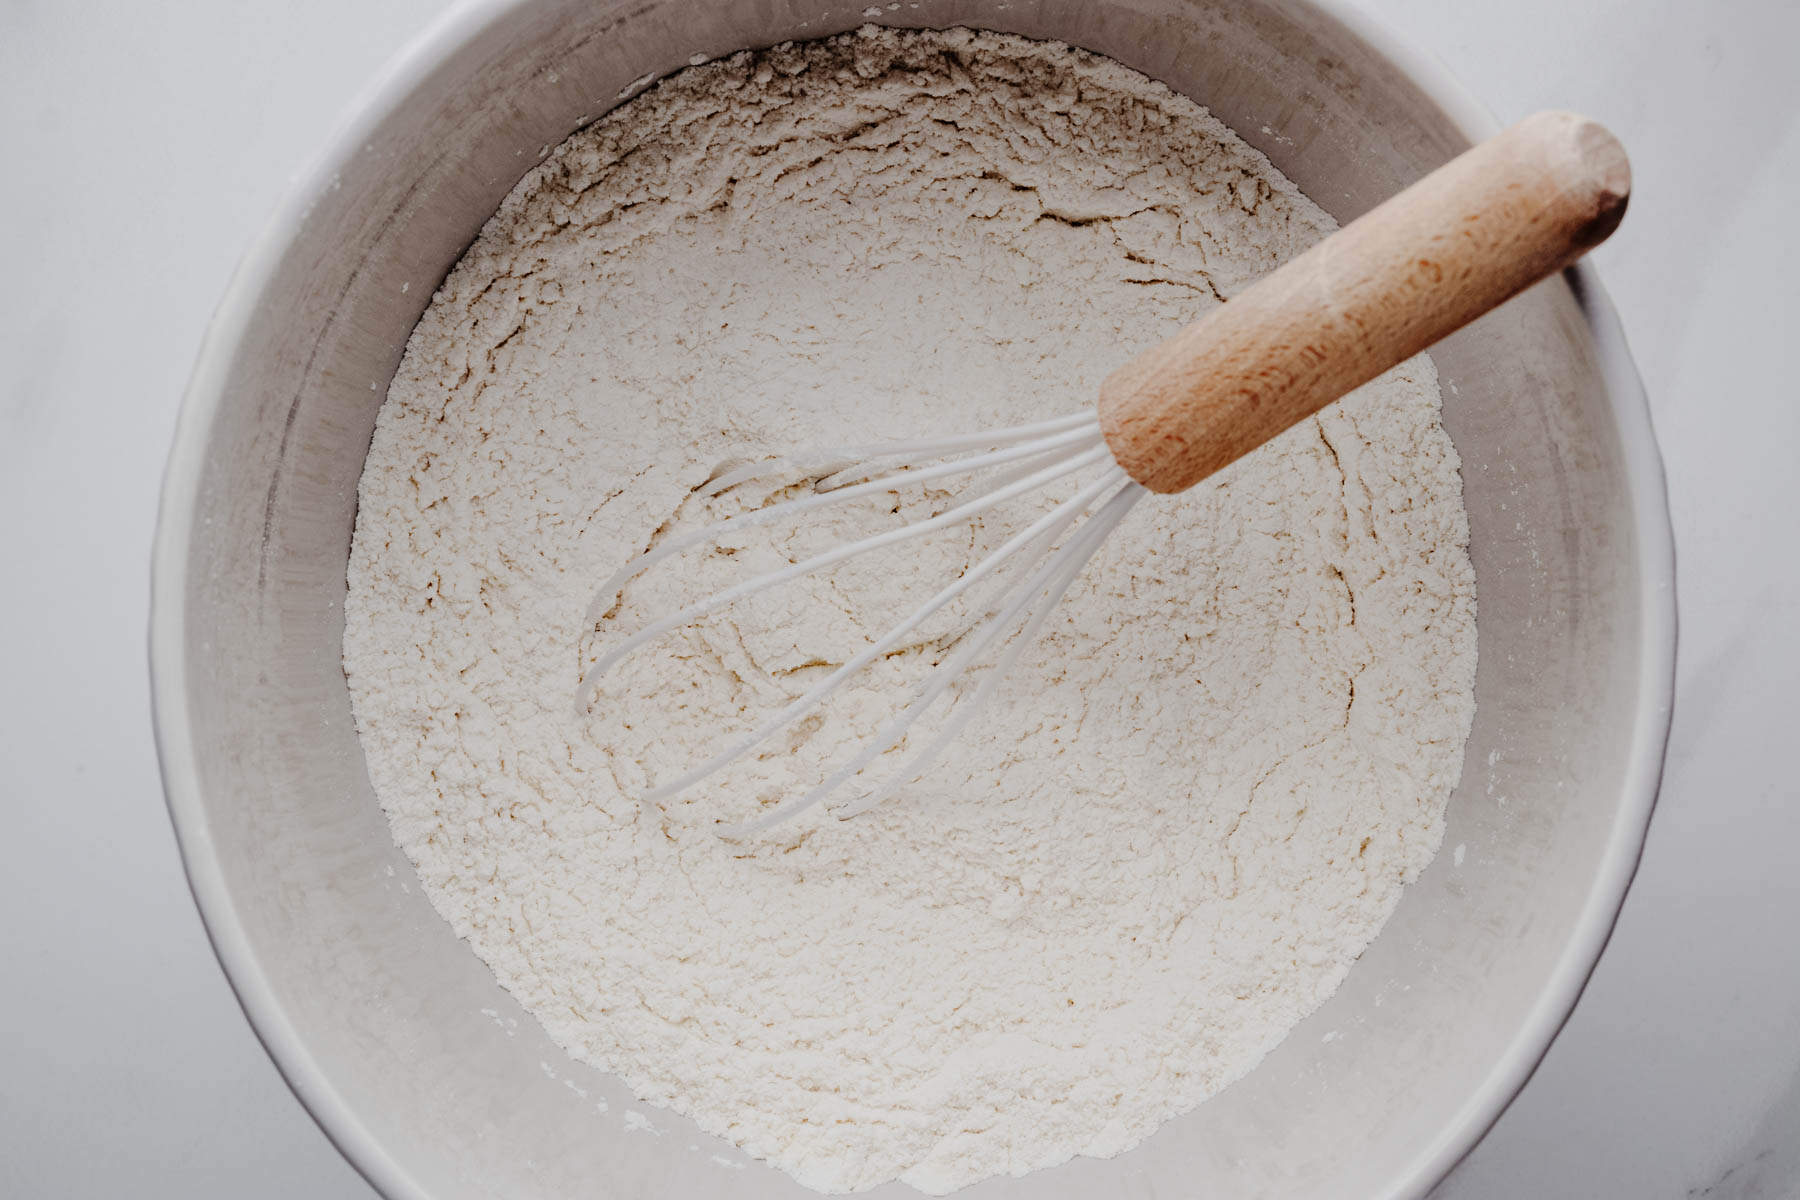
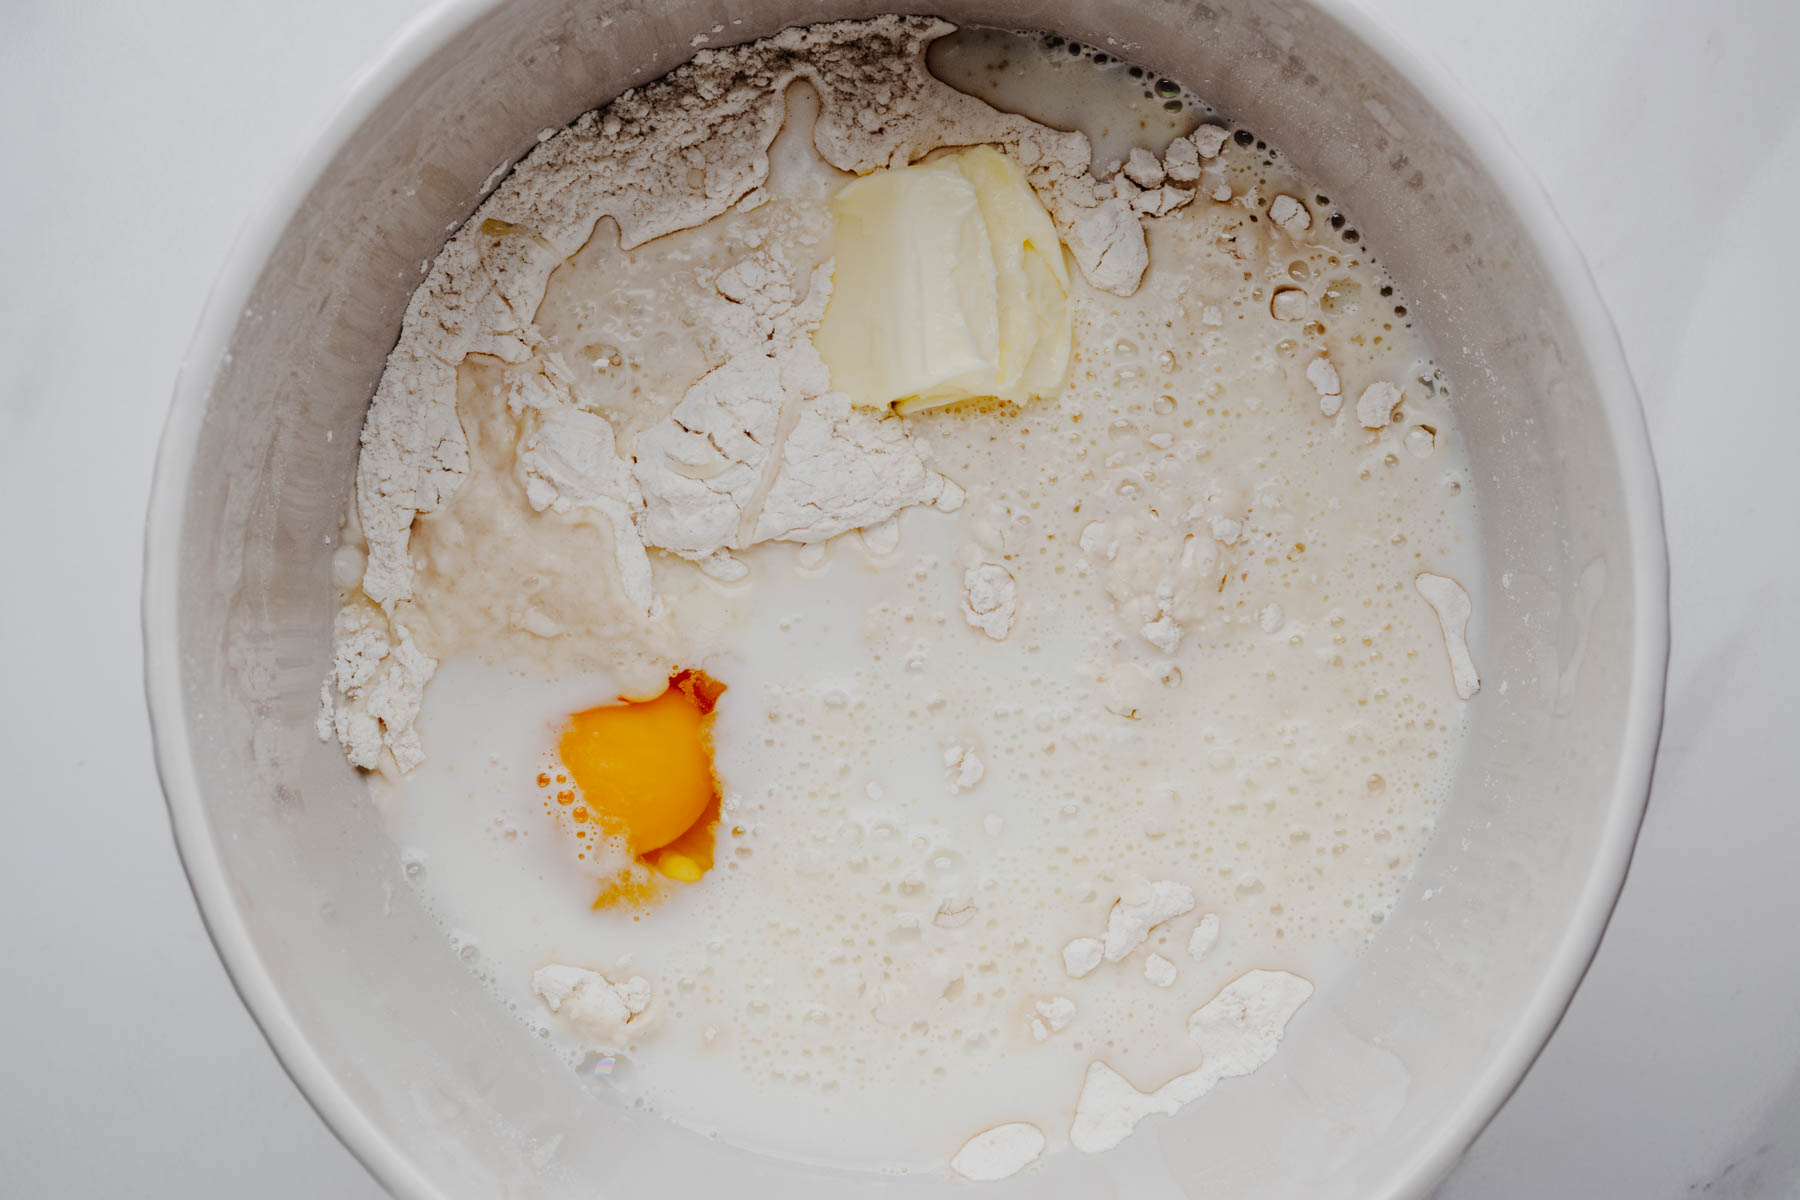
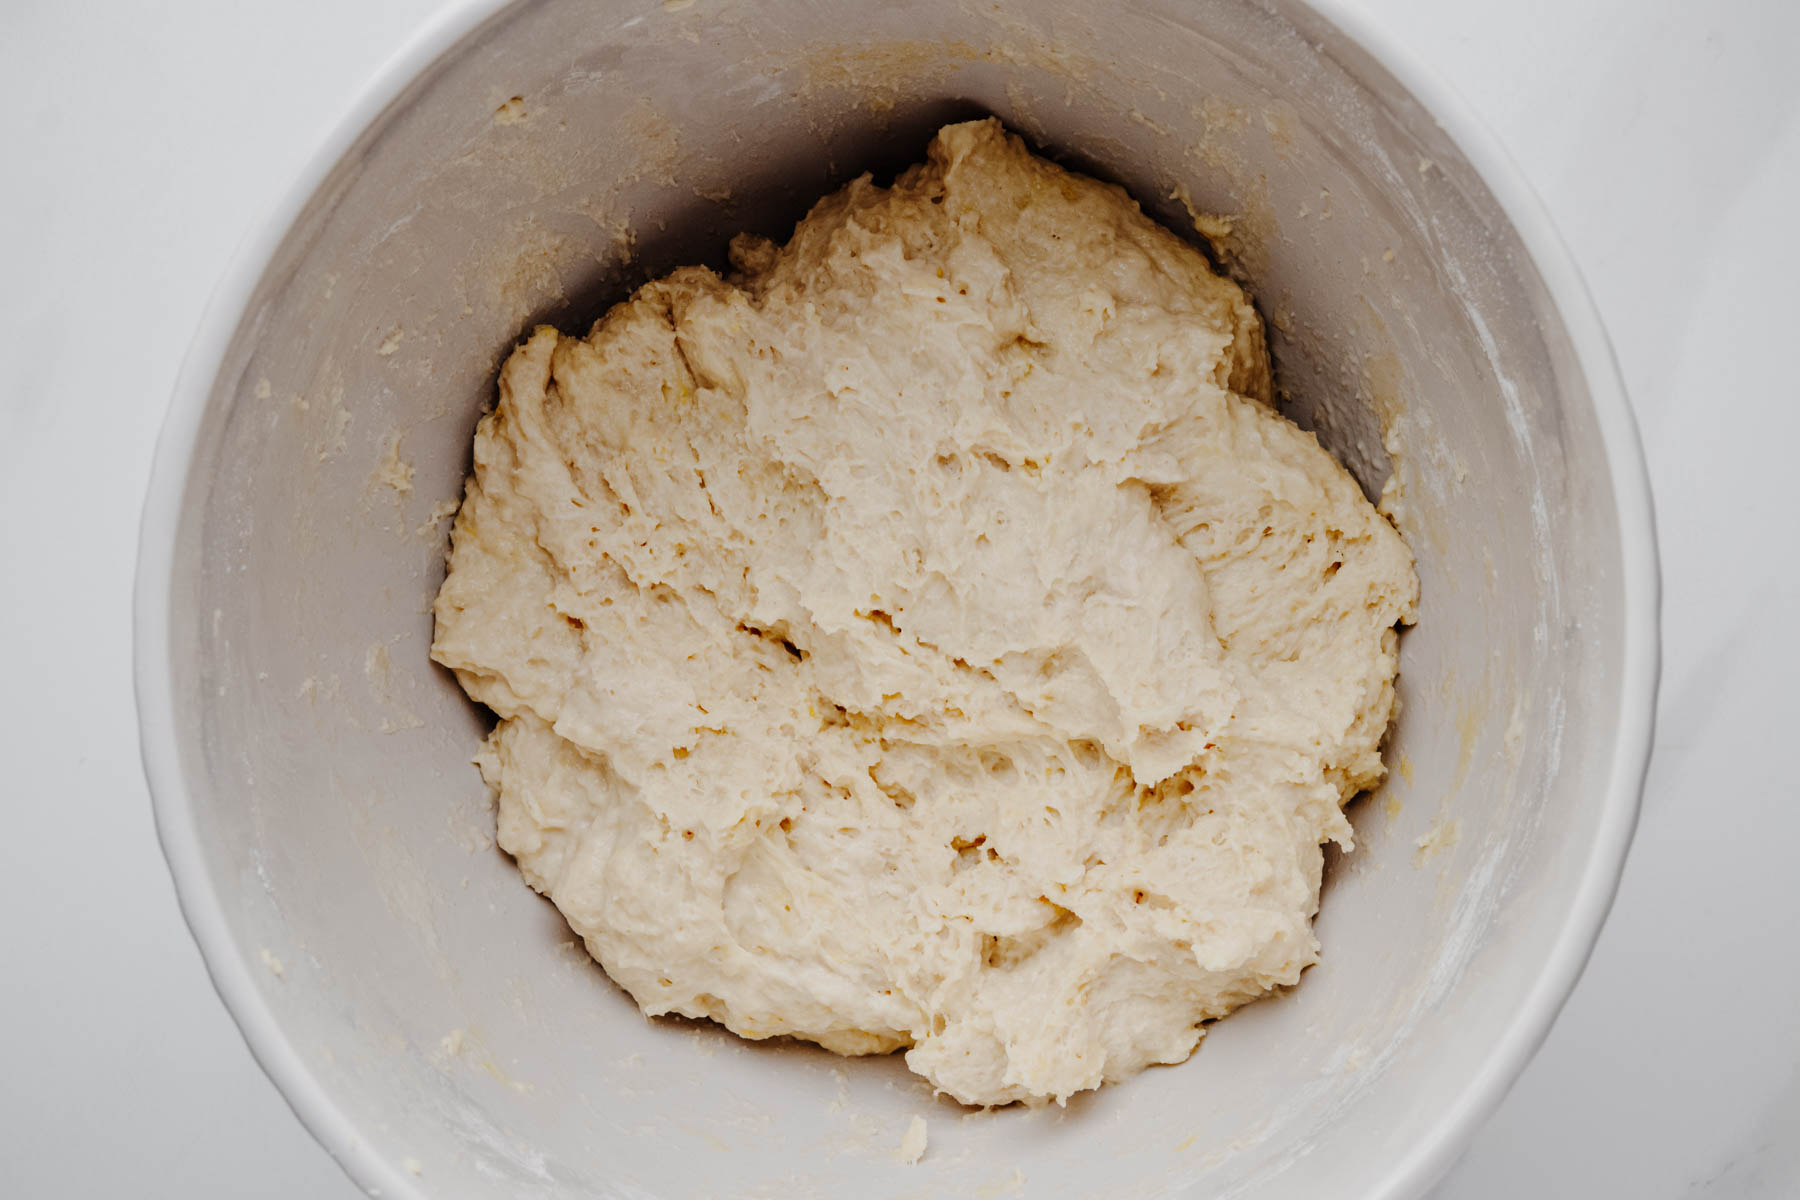
- Add the 4 ¼ cups bread flour, 2 ¼ teaspoons instant yeast, 2 tablespoons granulated sugar, 1 ½ teaspoons table salt, and 2 teaspoons garlic powder to the bowl of a stand mixer fitted with the dough hook. Mix briefly to combine. (If you don't have a stand mixer, see Note 4 below for hand-mixing instructions).Add the 1 cup whole milk, ½ cup warm water, ¼ cup softened unsalted butter, and 1 large egg. Mix on low speed until no dry flour remains and a shaggy, uneven dough forms.Let the dough rest for 5 minutes to allow the flour to fully hydrate. (Note 4)
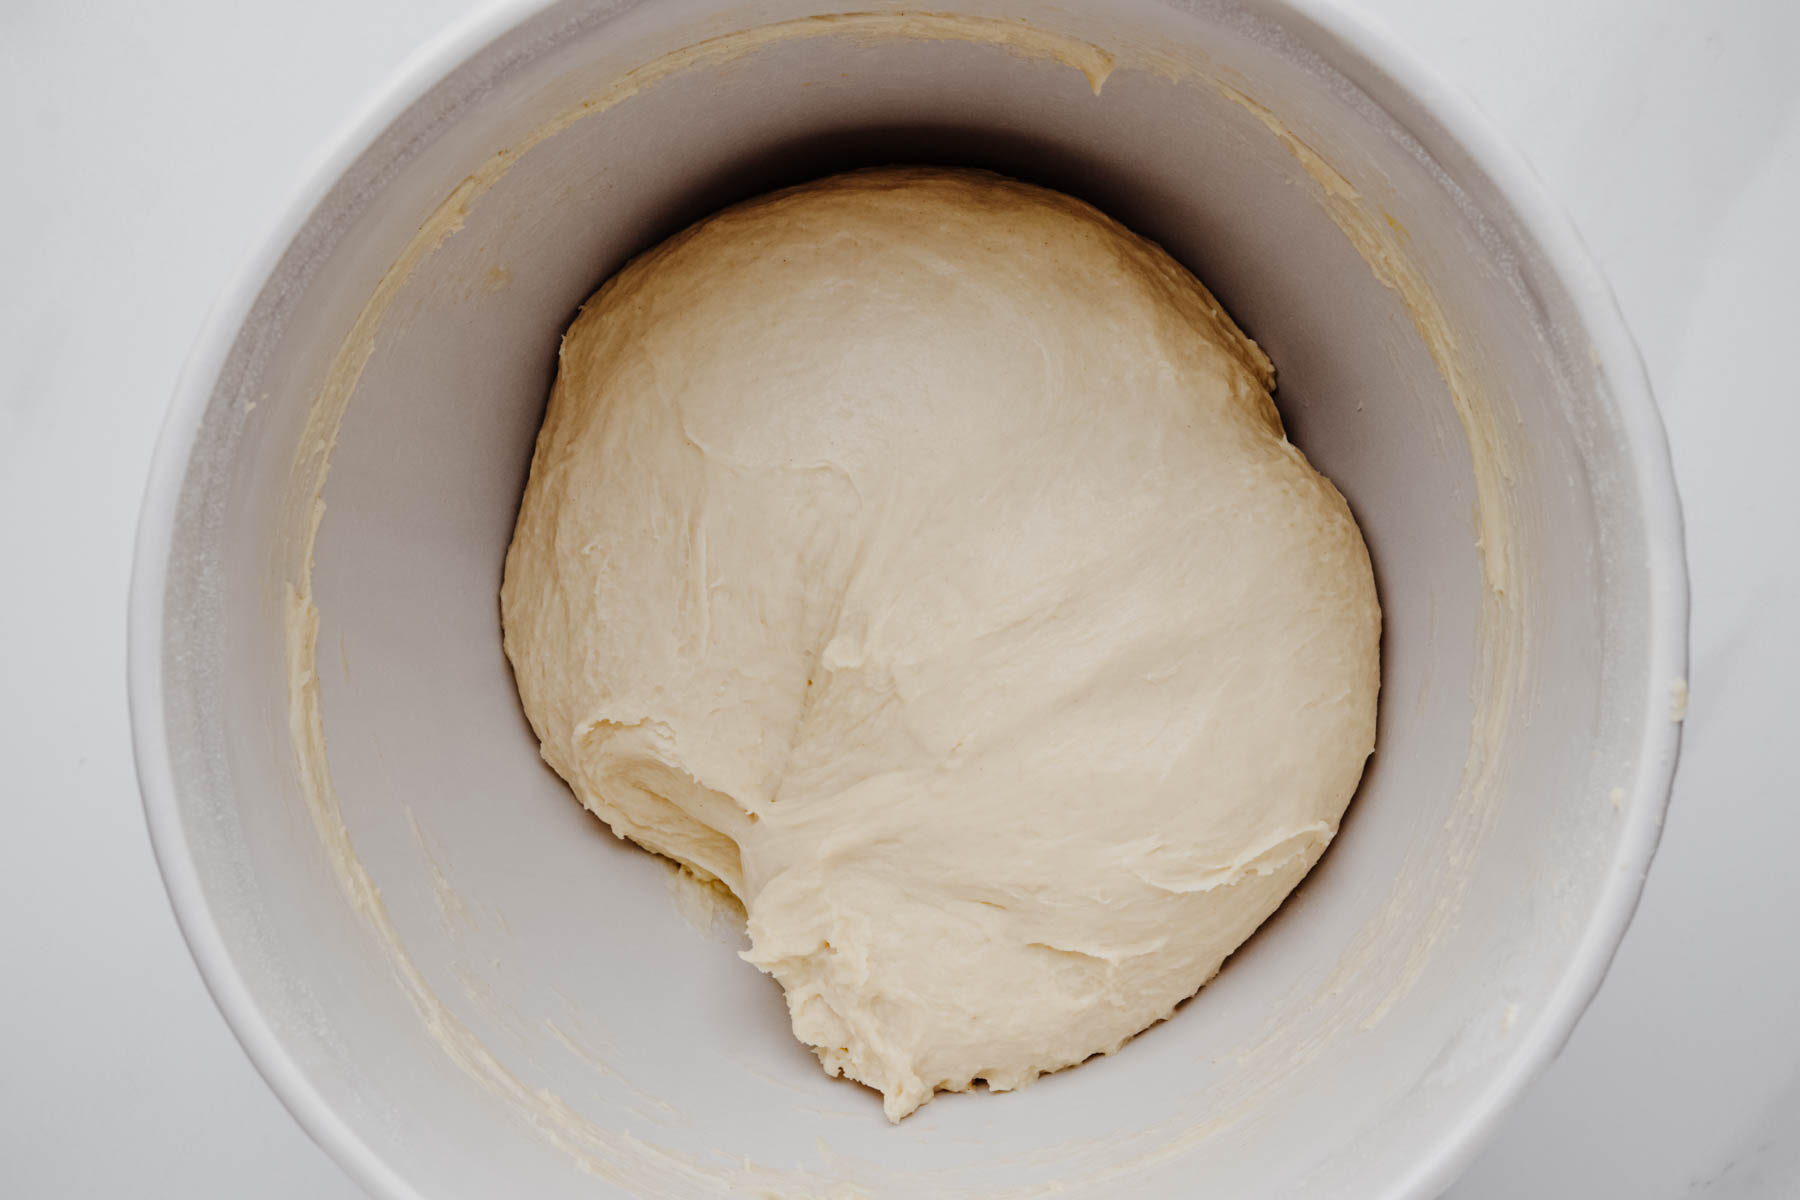
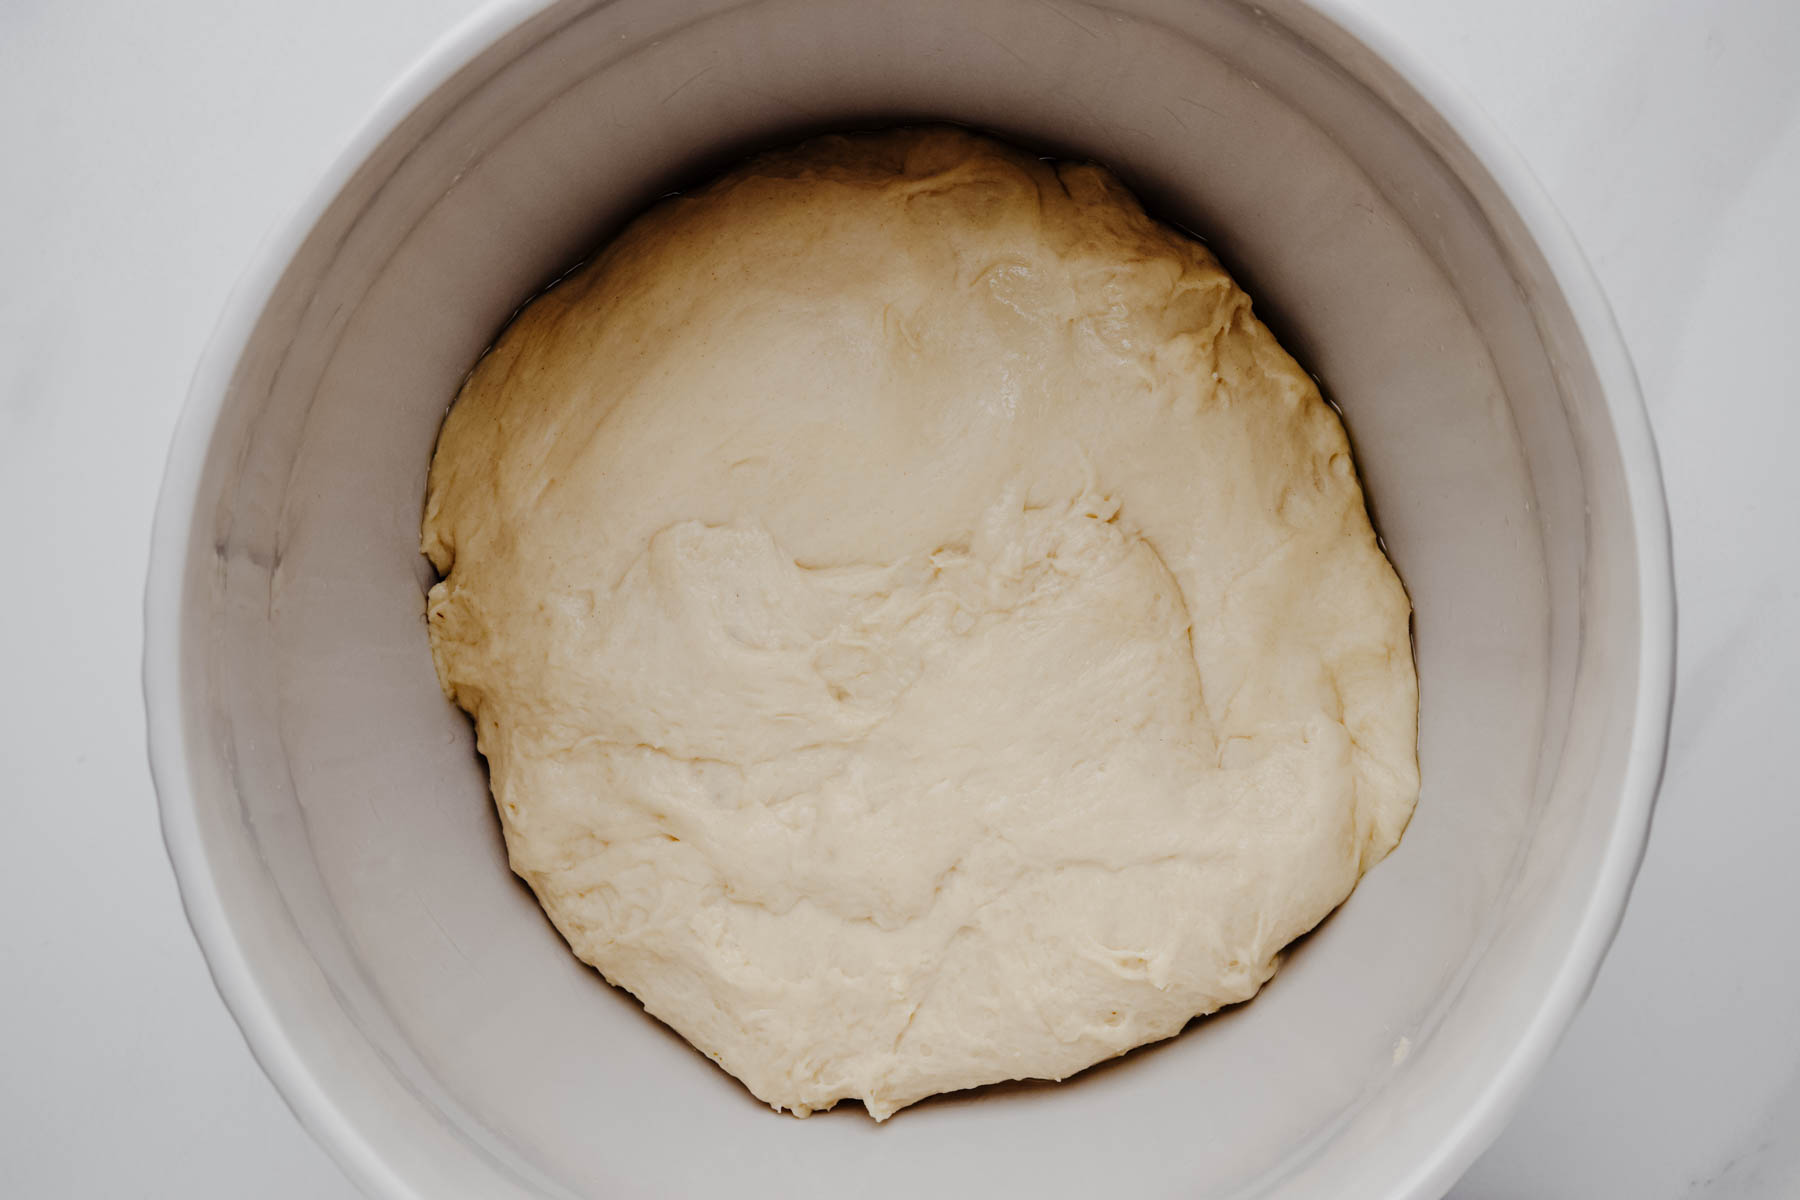
- Knead on low to medium-low speed for 8–10 minutes. Stop once or twice to scrape down the bowl if needed. The dough may stick to the bottom of the bowl but should begin pulling away from the sides.The finished dough should feel soft, smooth, and slightly tacky. It may lightly stick to your finger when touched but should release cleanly without leaving dough behind. Avoid adding extra flour during the first few minutes of kneading. If the dough still clings heavily to the sides of the bowl after several minutes, add bread flour 1 tablespoon at a time. If it feels dry or stiff, add water 1 teaspoon at a time.
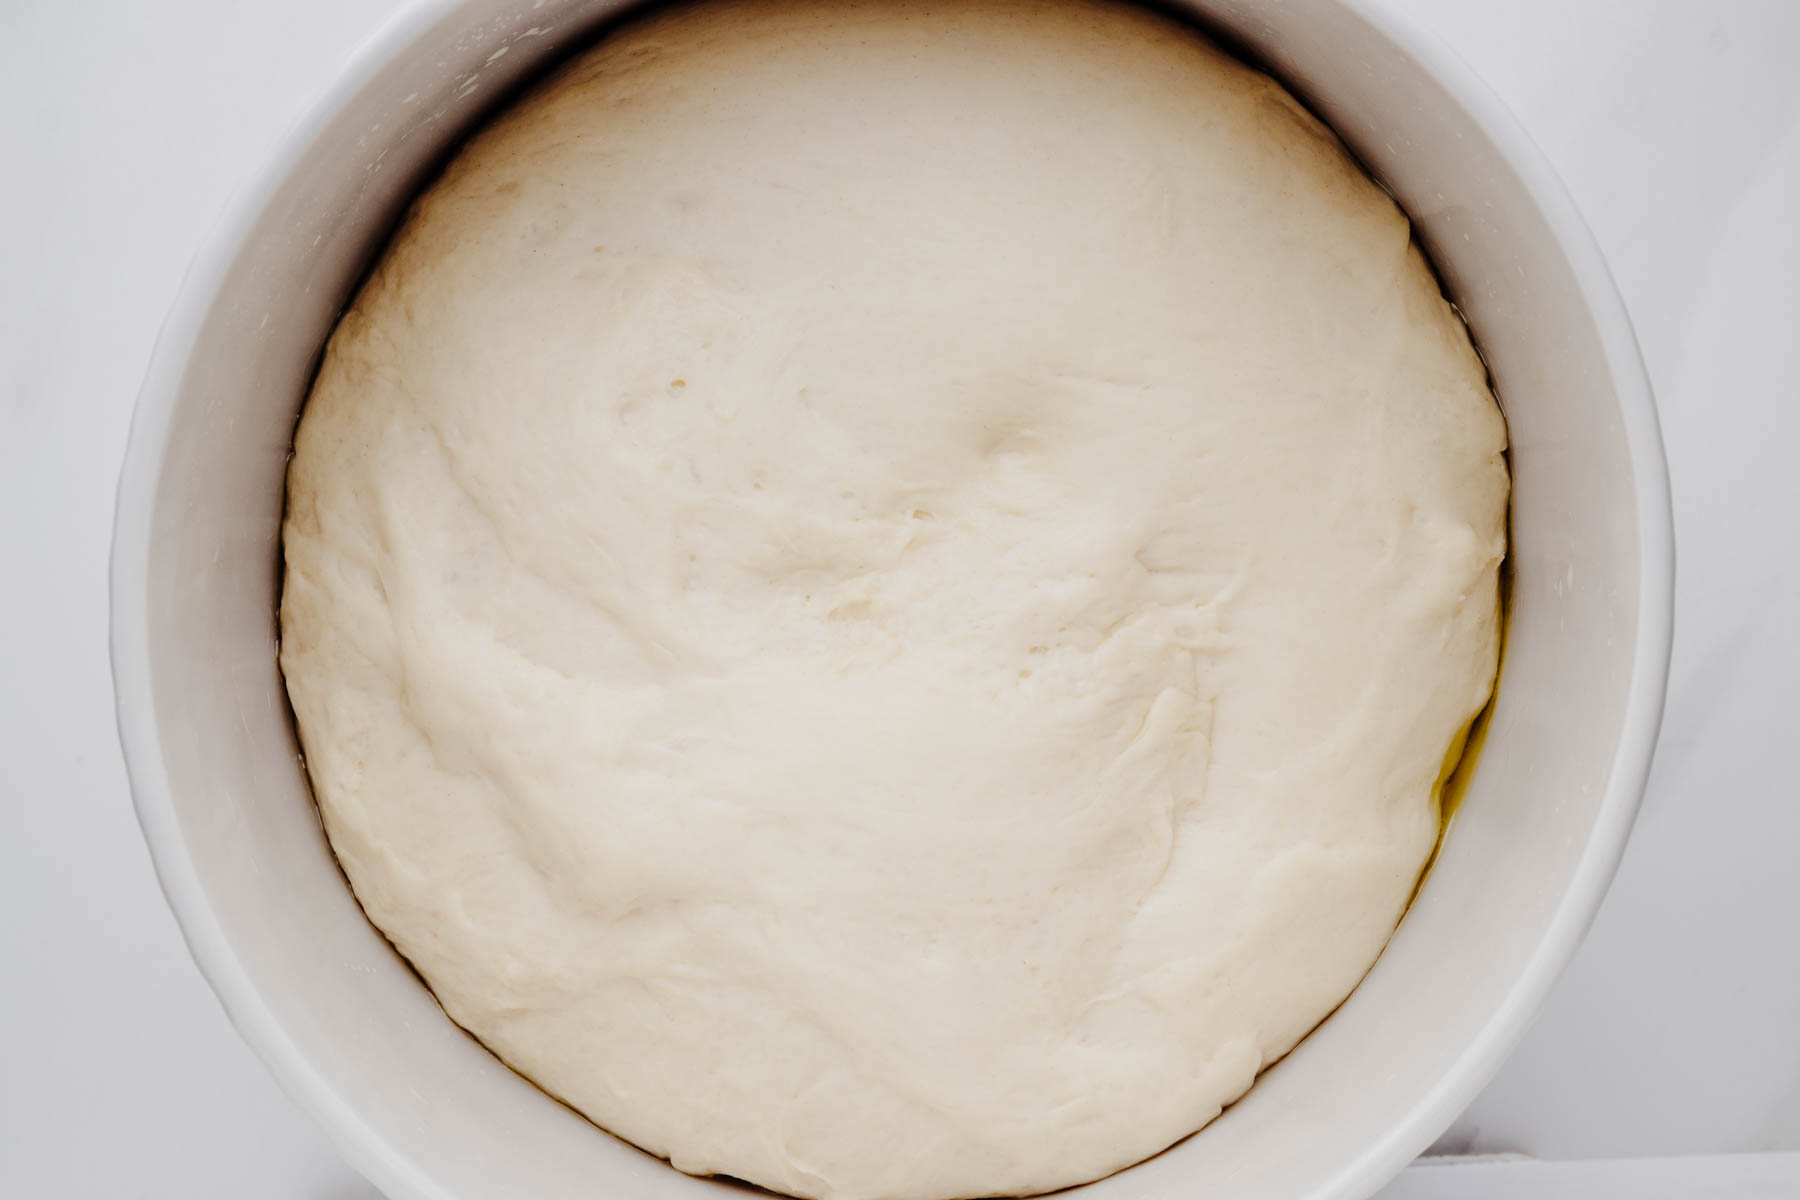
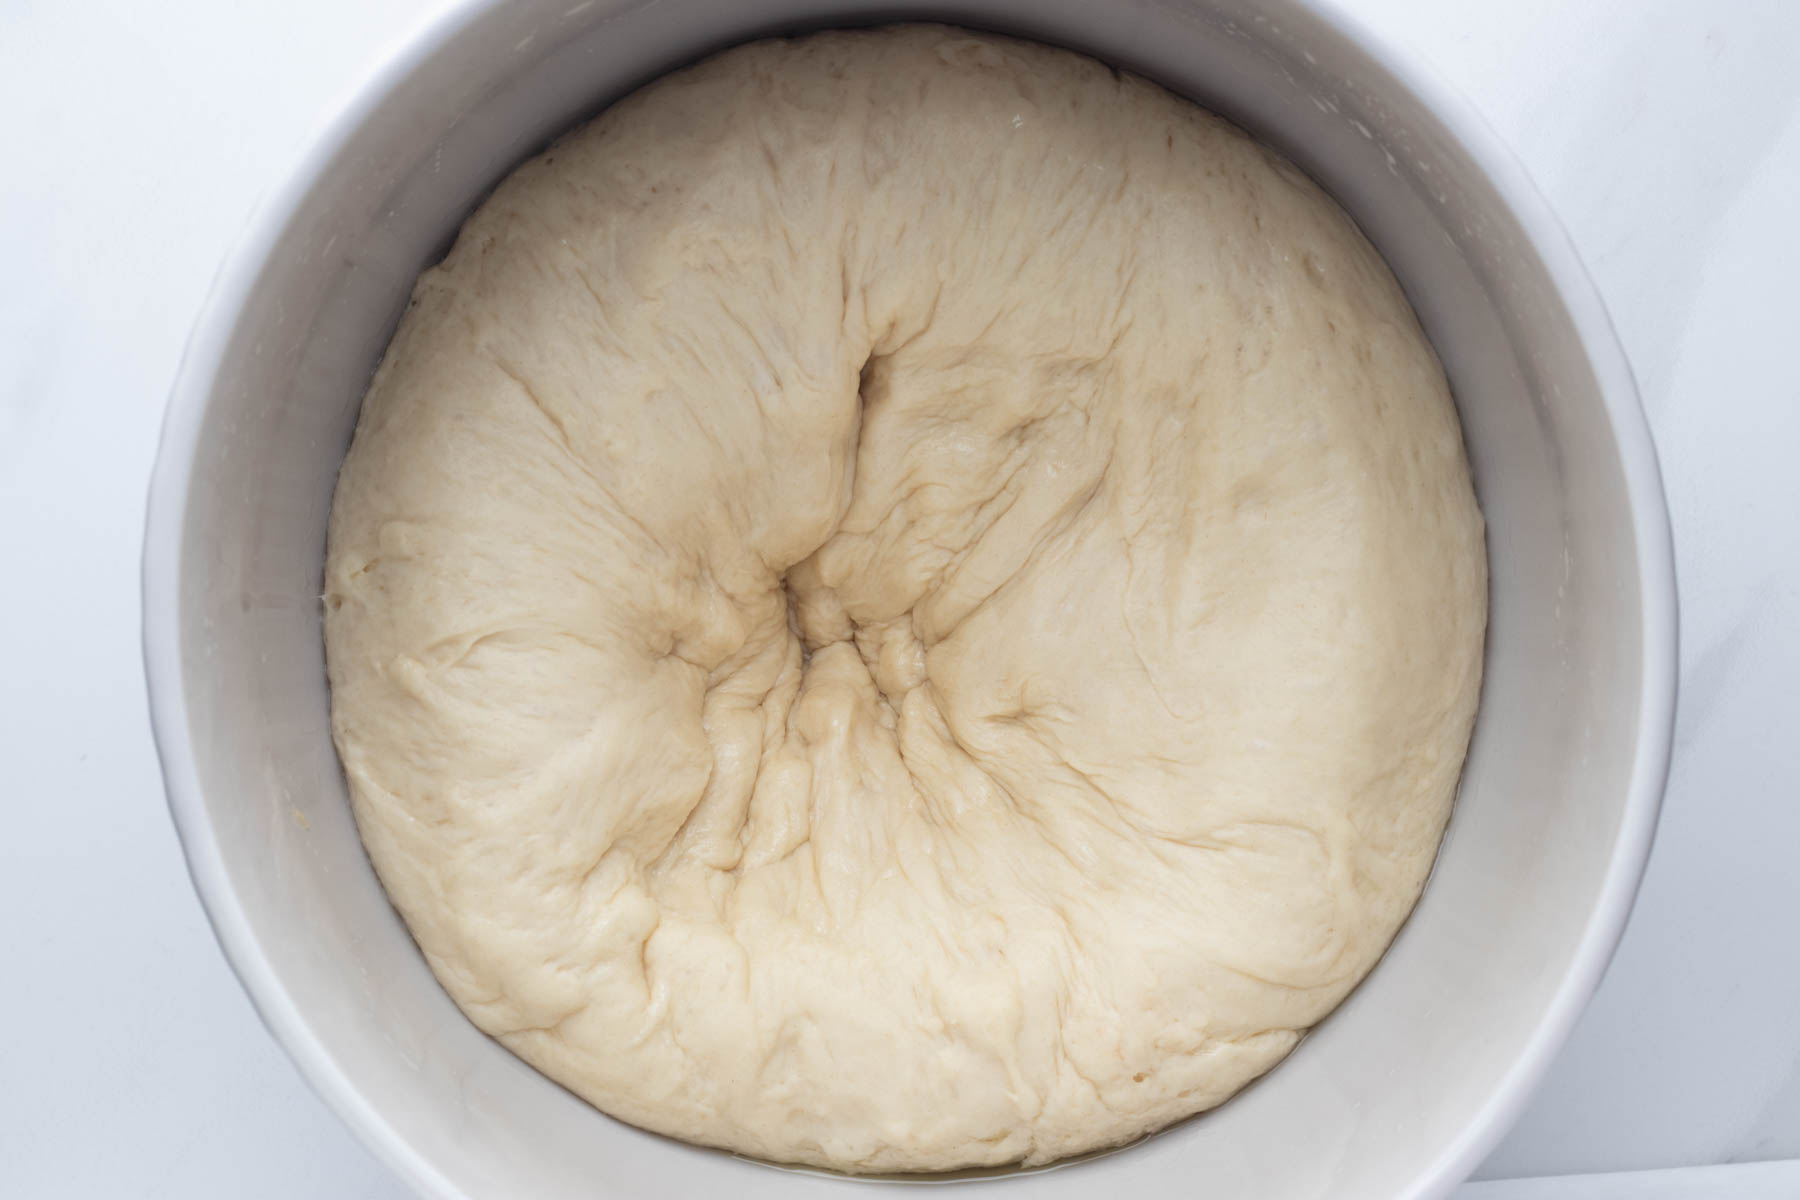
- Transfer the dough to a lightly greased bowl, turning once to coat. Cover and let rise in a warm place until doubled in size, about 60–90 minutes. Because this is an enriched dough, it may take longer in a cool kitchen. The dough is ready when it looks noticeably expanded and a lightly floured fingertip pressed about ½ inch into the dough leaves an indentation that slowly springs back.
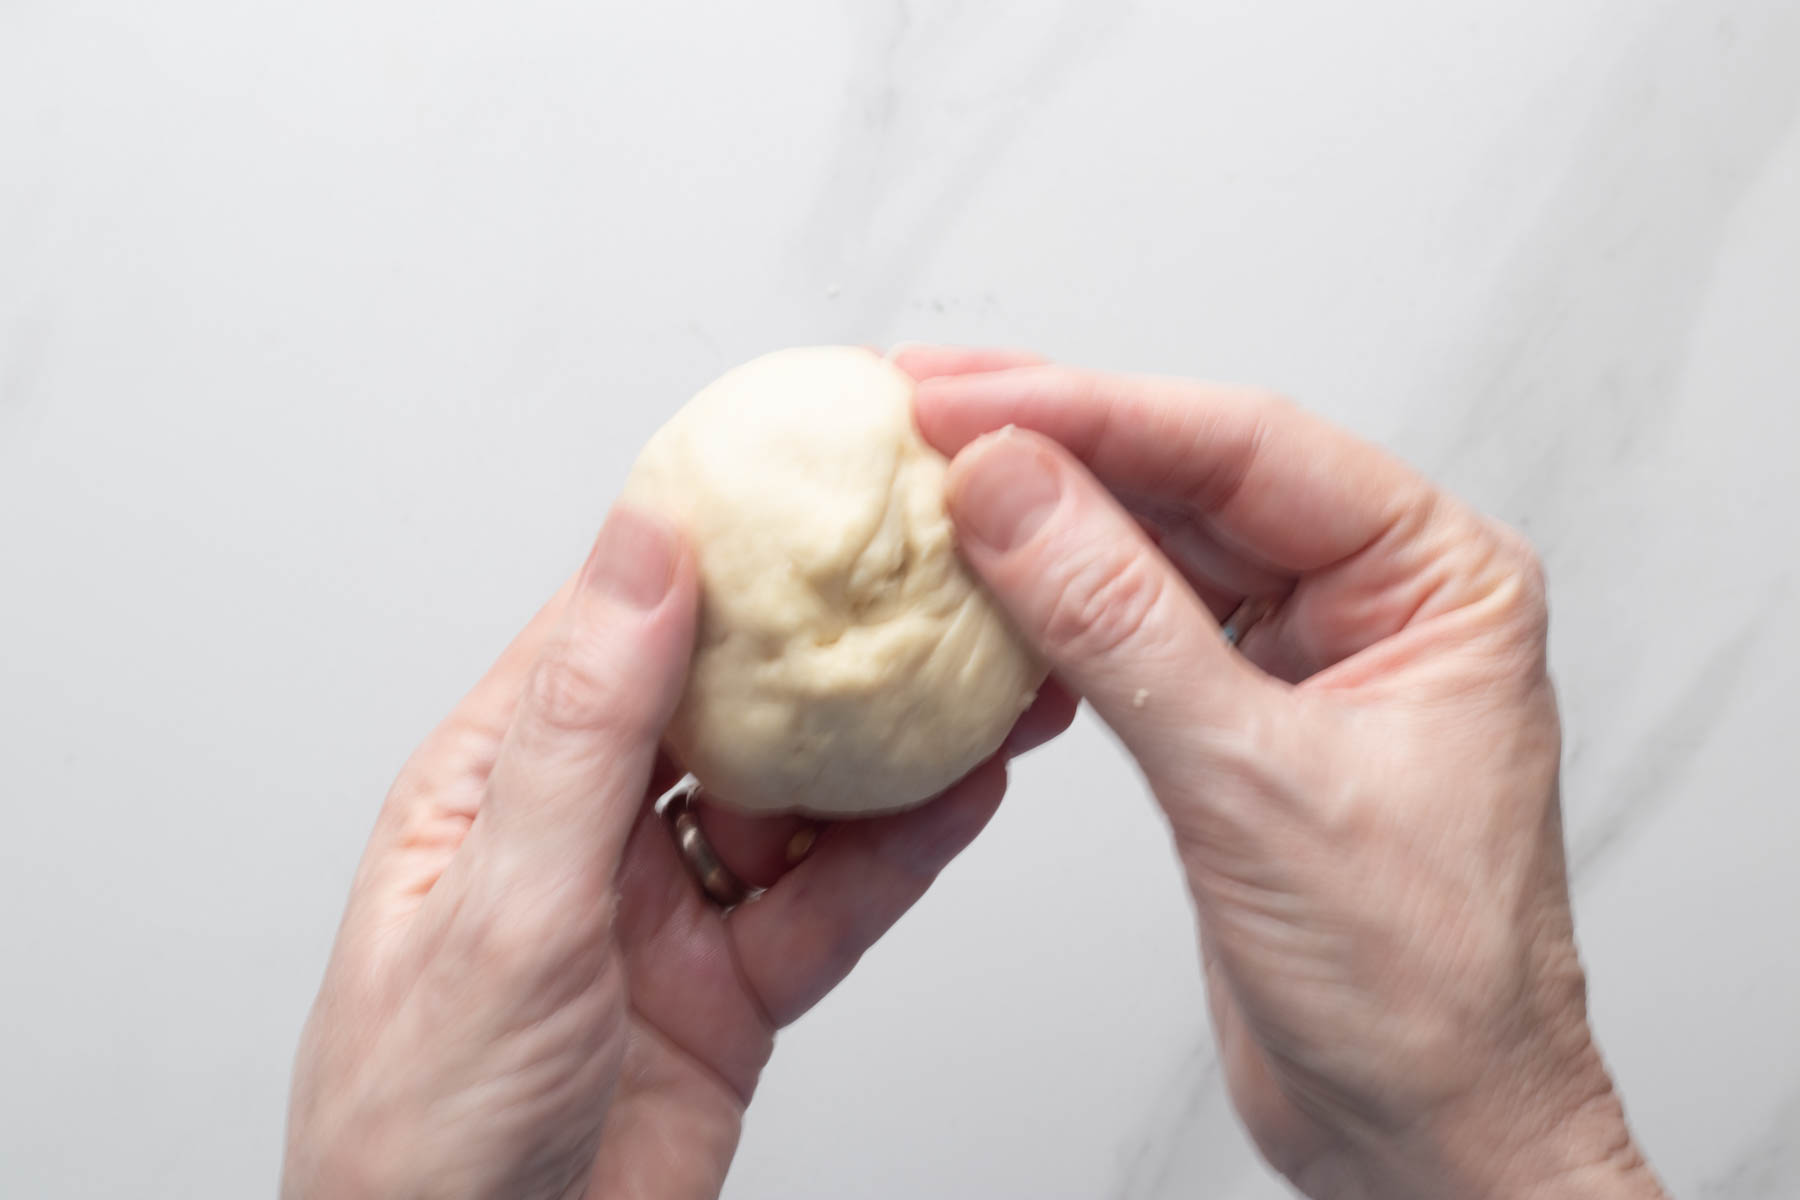
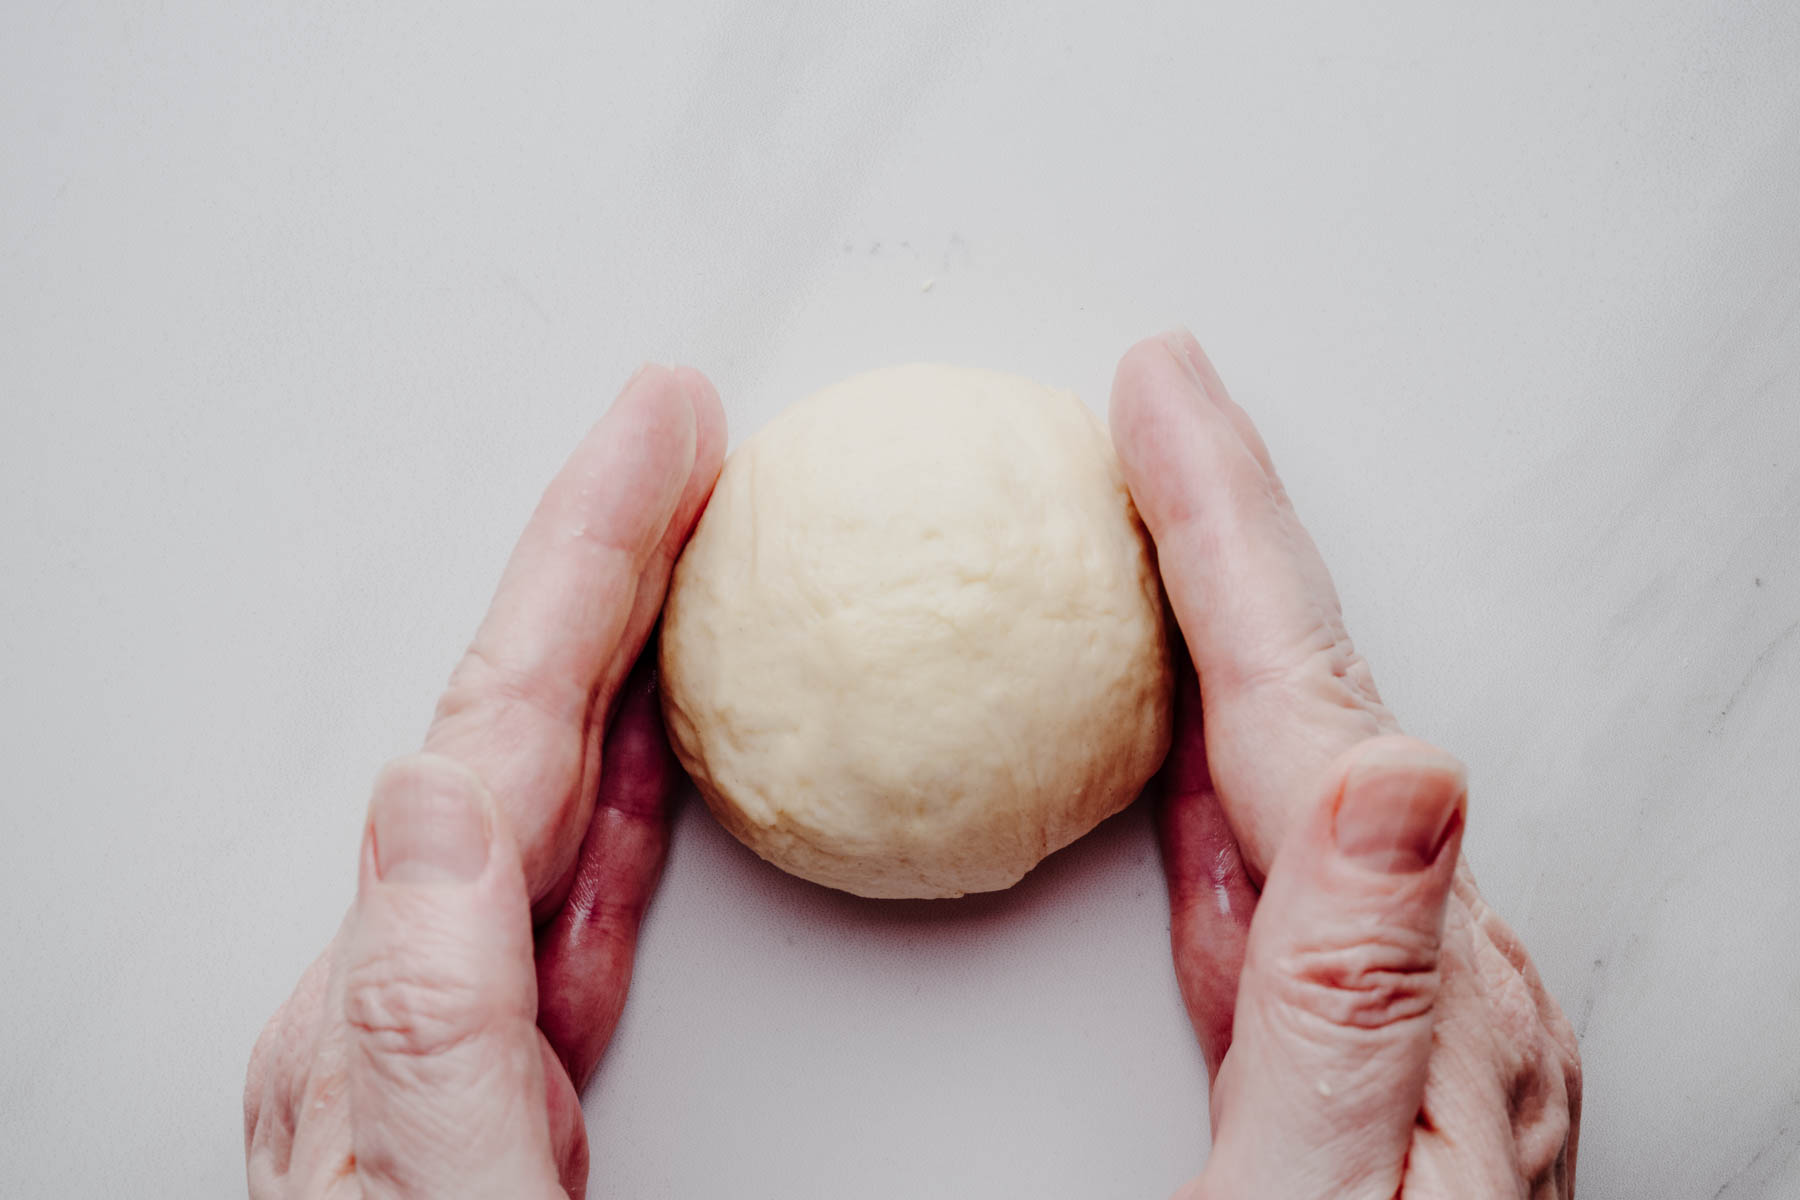
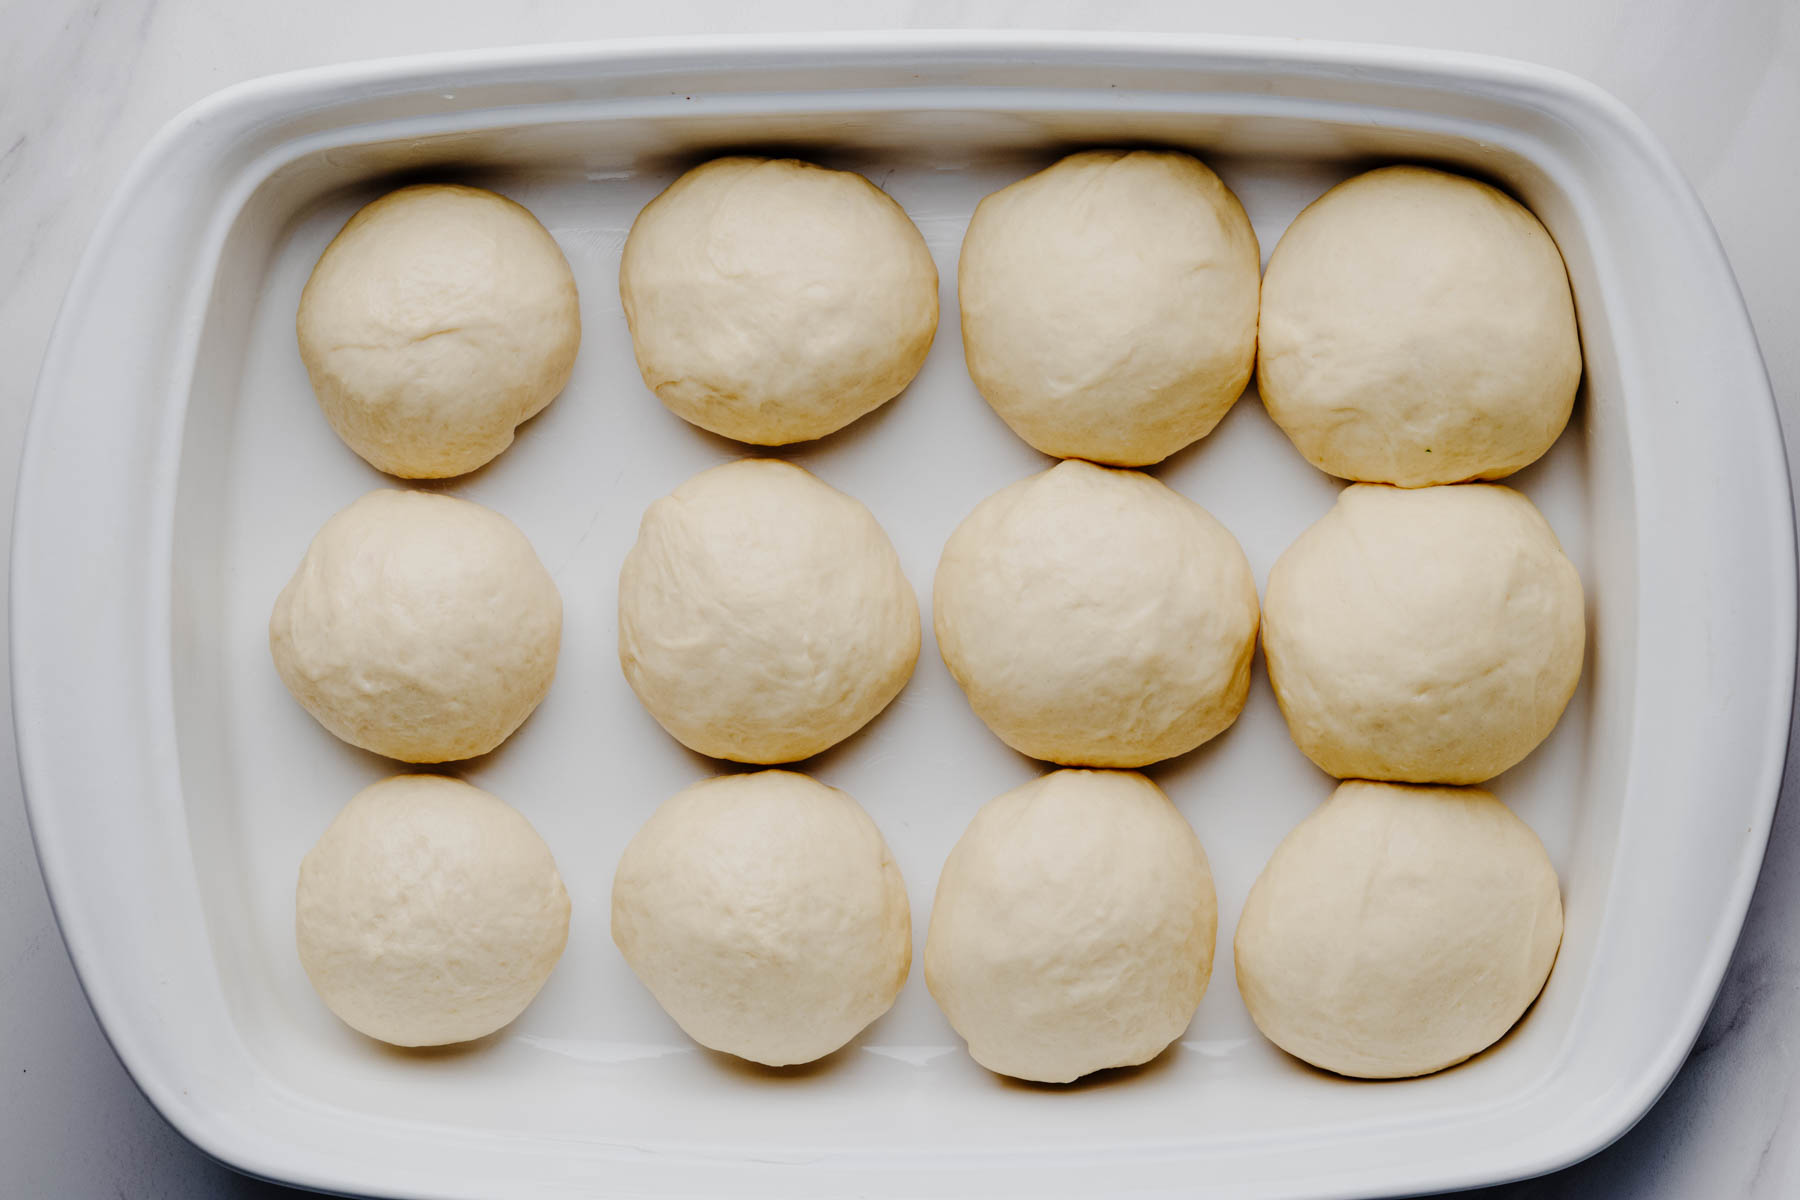
- Grease a 9 × 13-inch baking dish. Divide the dough into 12 equal pieces (about 86 g each). Gather the edges of each piece toward the center and pinch them together underneath. Turn the dough seam-side down. Cup your hand loosely around it and gently rotate it against the counter until the surface becomes smooth and taut. Arrange the rolls evenly in the prepared baking dish.
- Cover loosely and let the rolls rise until noticeably puffy and nearly doubled. They should be touching or nearly touching one another and feel light and airy when gently pressed with a lightly floured fingertip. The indentation should slowly spring back while remaining slightly visible. Depending on the temperature of your kitchen, this may take anywhere from 30 minutes to over an hour.Toward the end of the rise, preheat the oven to 375 F (190 C).
- Bake for 18–22 minutes, until the tops are evenly golden brown and the center rolls register about 190 F (88 C) on an instant-read thermometer. If the tops brown too quickly, loosely tent with foil during the final few minutes.
Garlic Butter Topping
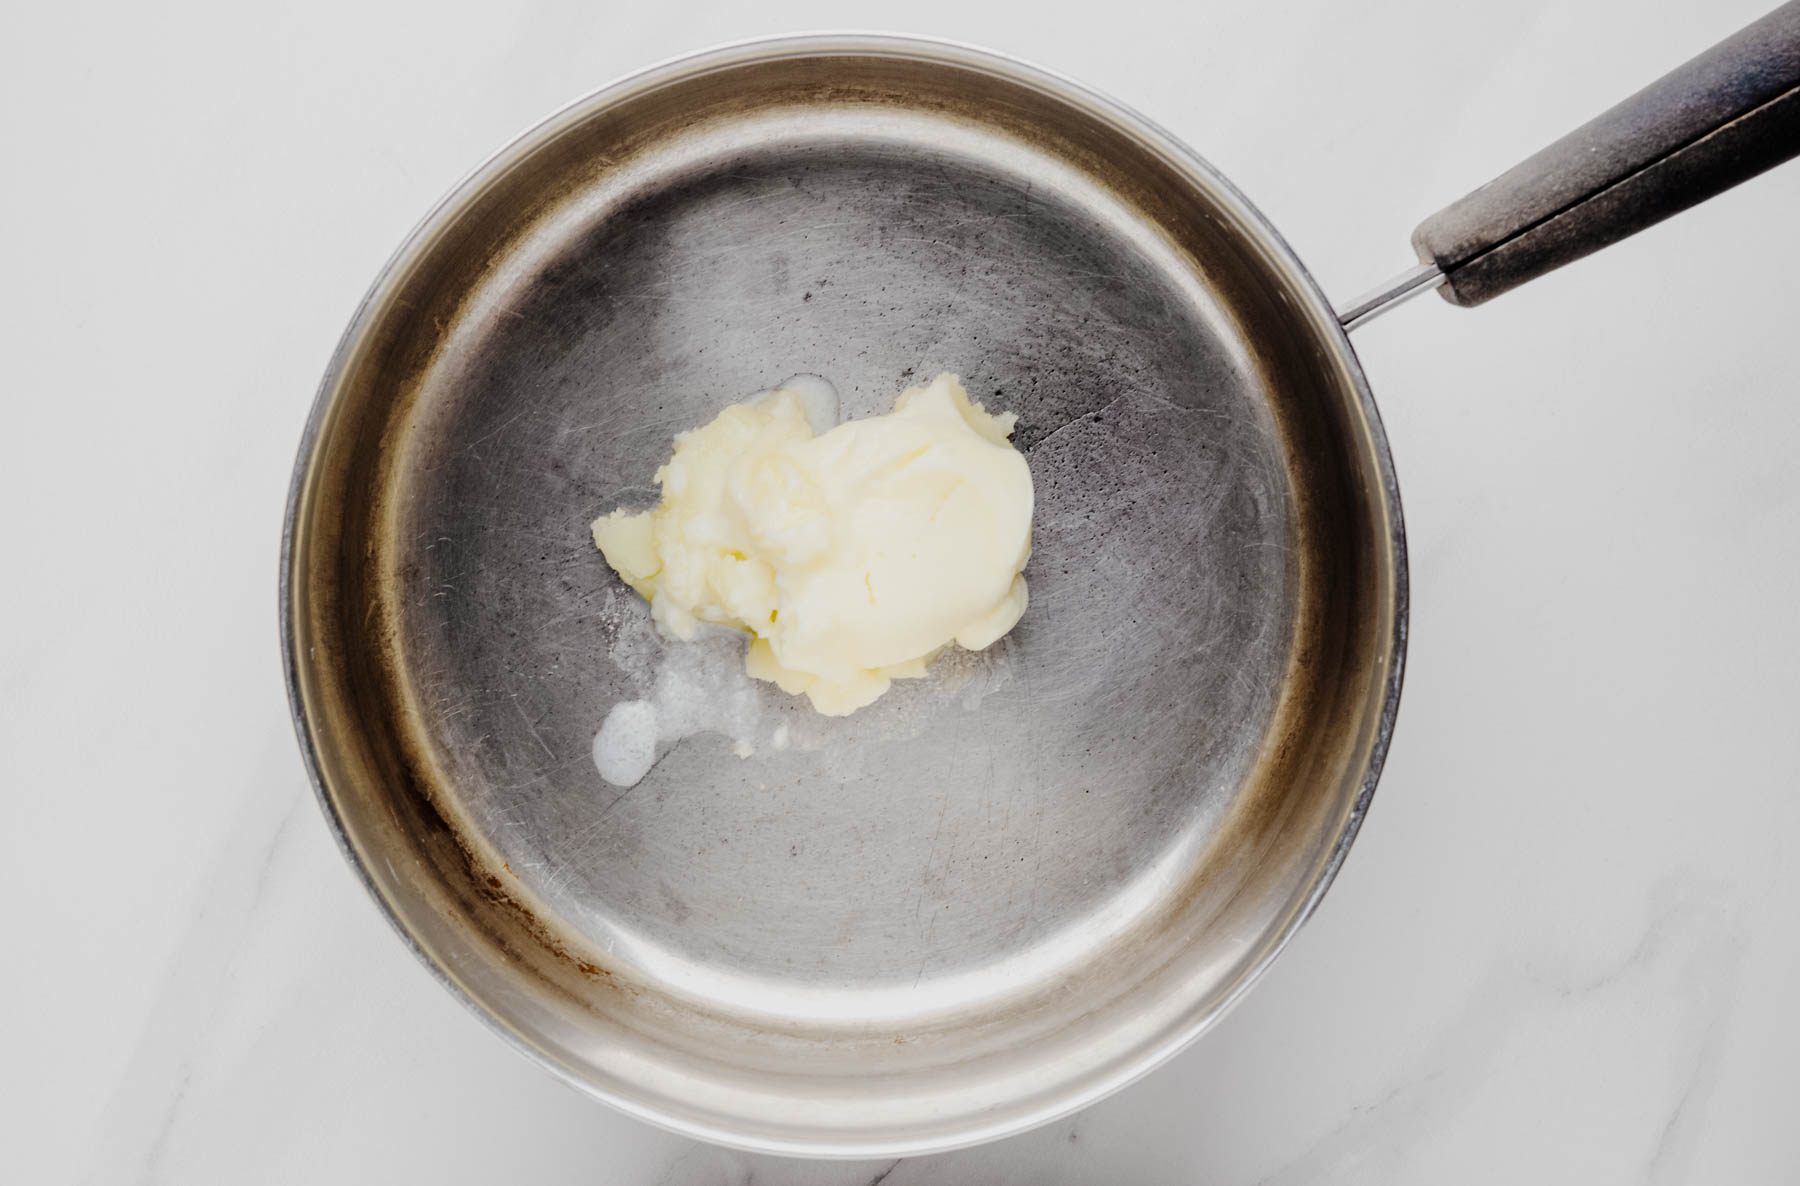
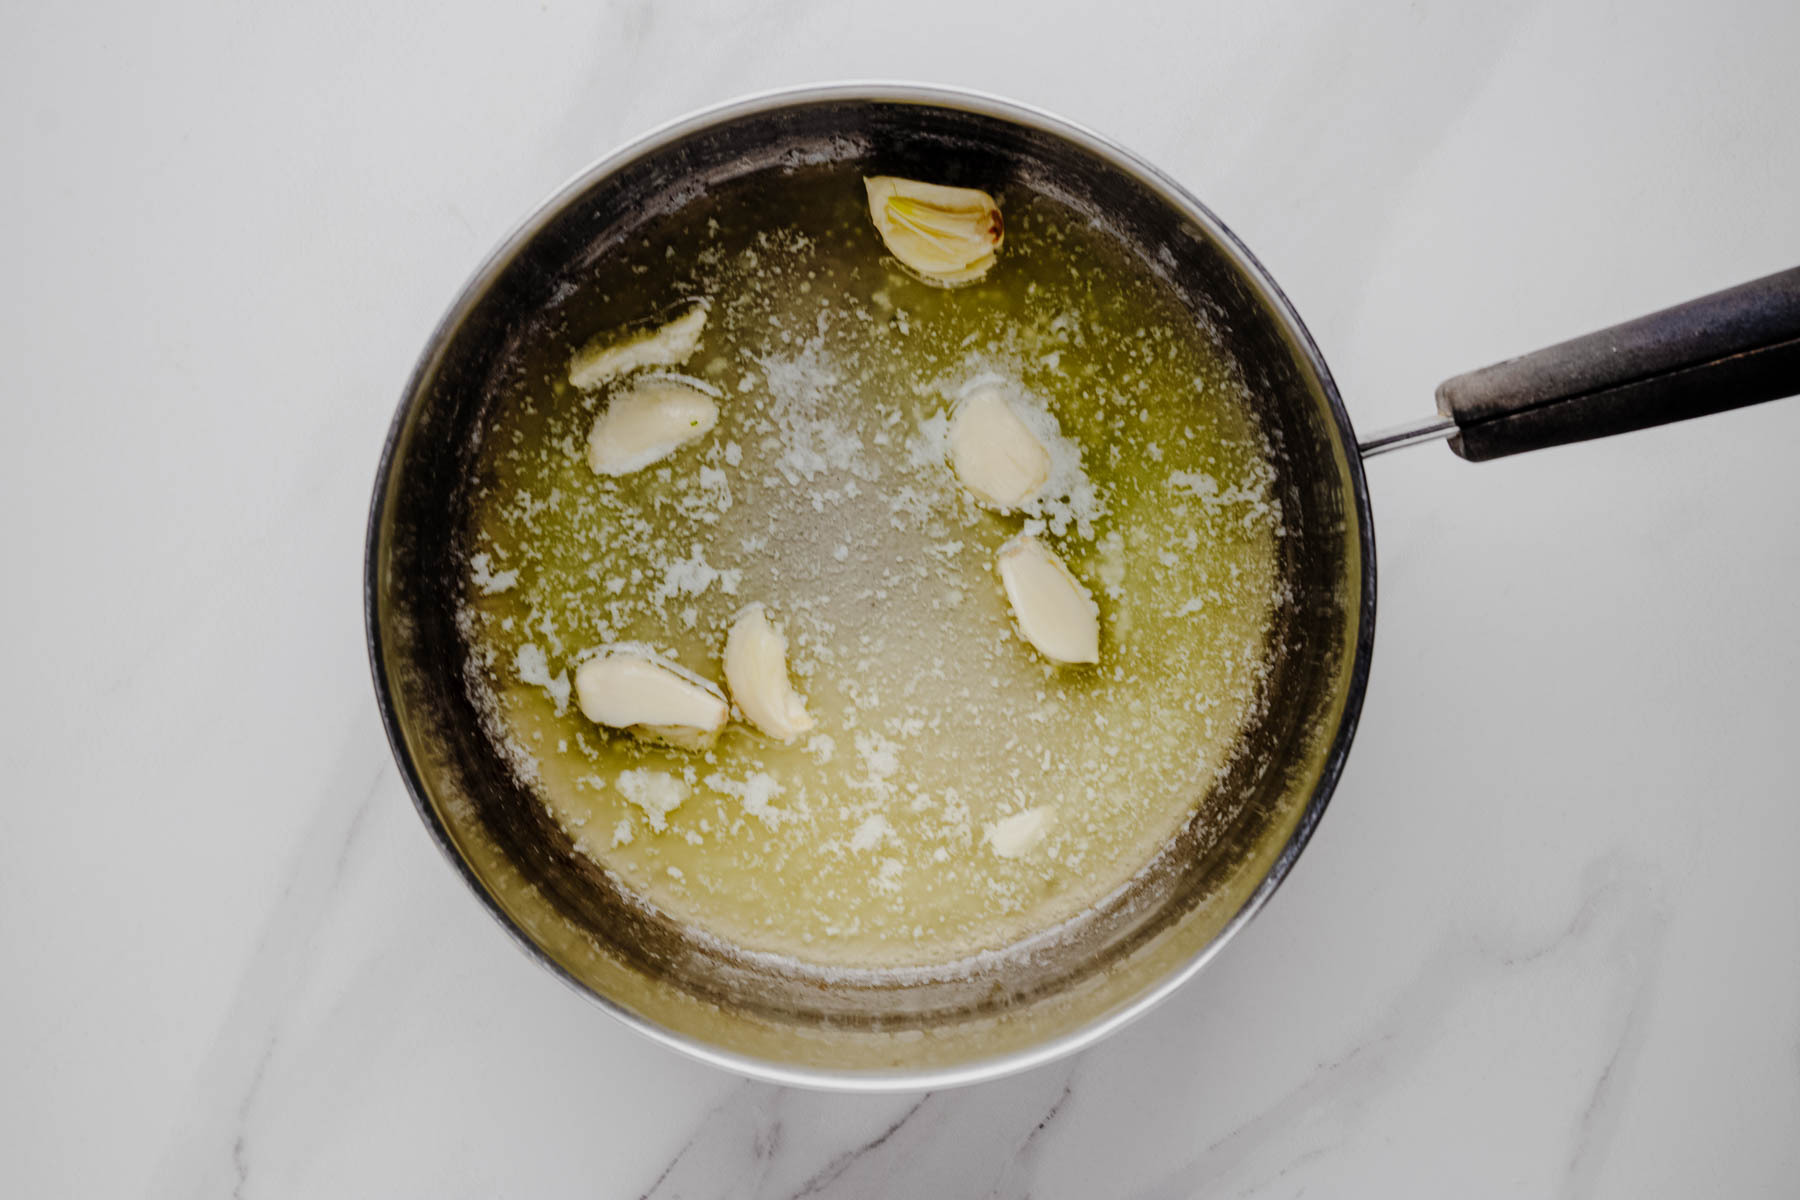
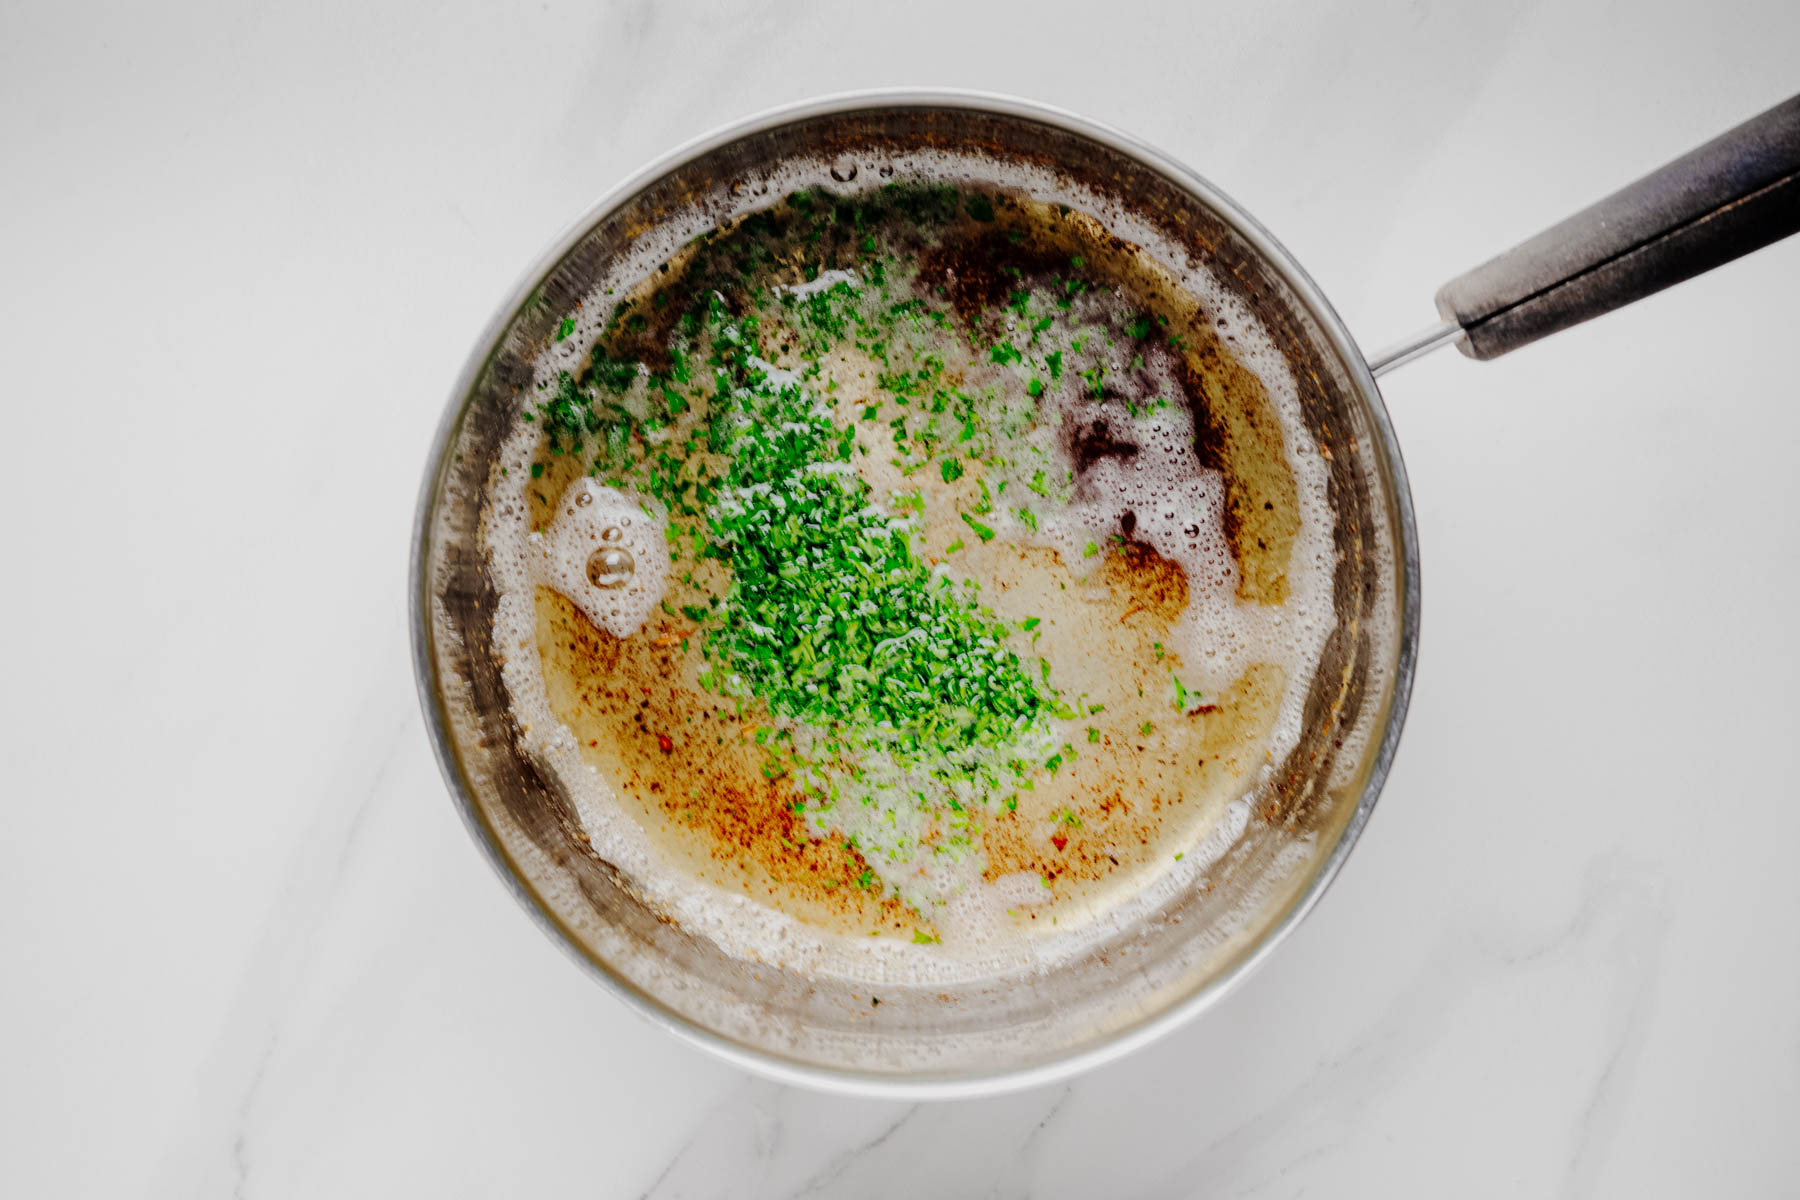
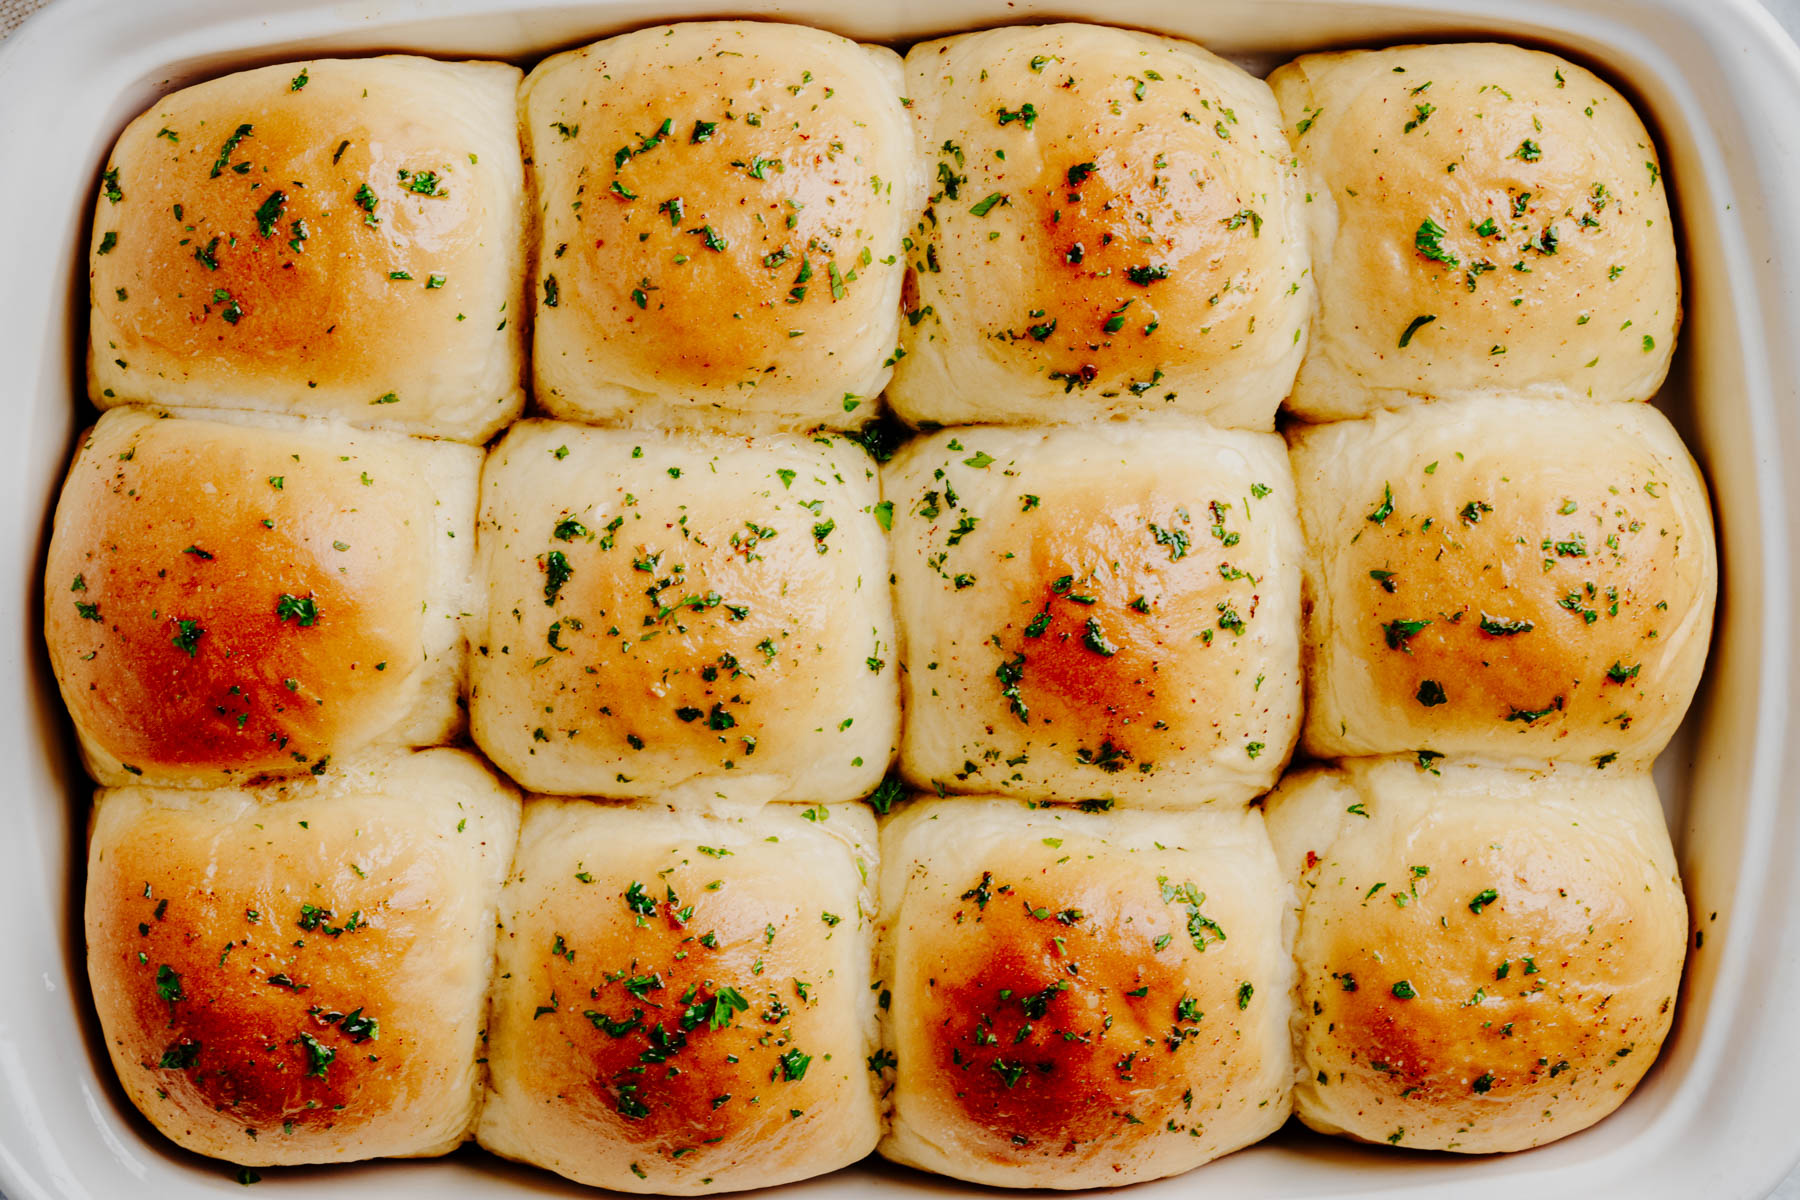
- While the rolls bake, melt the 4 tablespoons unsalted butter over low heat. Add the smashed 3 smashed garlic cloves and cook gently for 3–5 minutes until fragrant. Do not let the garlic brown. Remove and discard the garlic cloves. Stir in the 1 tablespoon chopped fresh parsley and pinch table salt.Brush the warm rolls generously with the garlic butter and serve warm. (Note 5)
Notes
- Weighing the flour is strongly recommended for the most consistent results. Because this is an enriched dough, allow it to knead for several minutes before deciding whether it needs additional flour.
- Substitute an equal amount (2¼ teaspoons) of active dry yeast. Combine it with the warm milk, warm water, and all of the sugar from the recipe. Let stand for 5–10 minutes, or until the mixture is foamy. Then add it to the remaining ingredients and proceed with the recipe as directed. Expect the rise times to be slightly longer than when using instant yeast.
- Fresh parsley gives the brightest flavor and appearance, but dried parsley works well if that’s what you have on hand.
- If you don’t have a stand mixer, combine the ingredients in a large mixing bowl and stir until a shaggy dough forms. Let the dough rest for 5 minutes, then turn it onto a lightly floured surface. Knead by hand for 10–15 minutes, adding only enough flour to keep the dough manageable. The dough is ready when it is smooth, elastic, and slightly tacky. Continue with the recipe as directed.
- After brushing with the garlic butter, loosely cover the warm rolls with a clean kitchen towel for about 10 minutes.
