
Would you like to save this recipe?
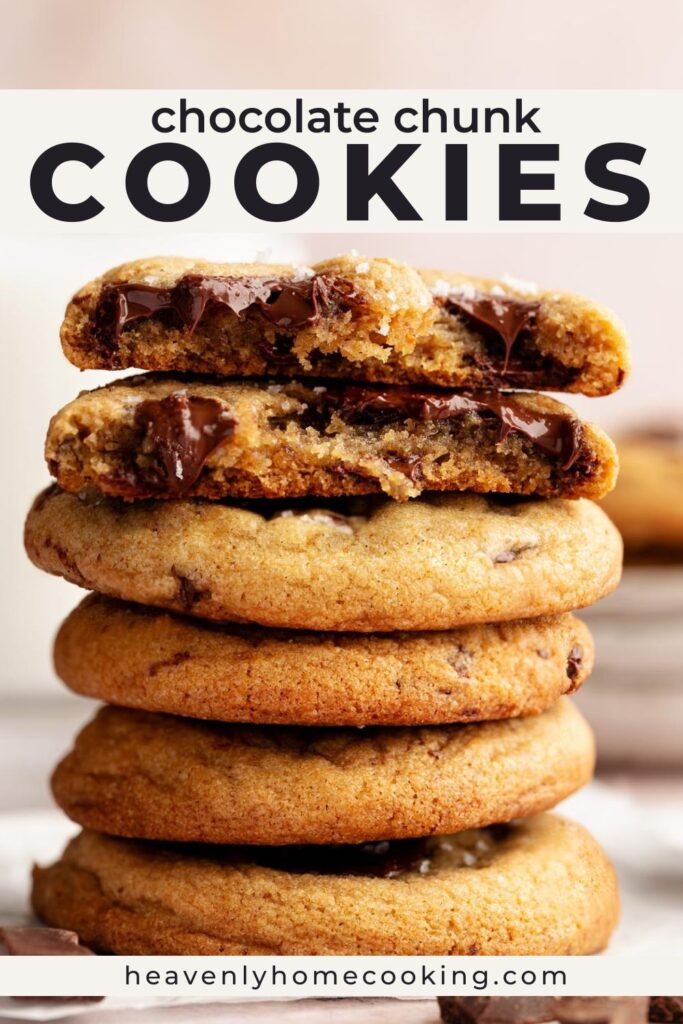
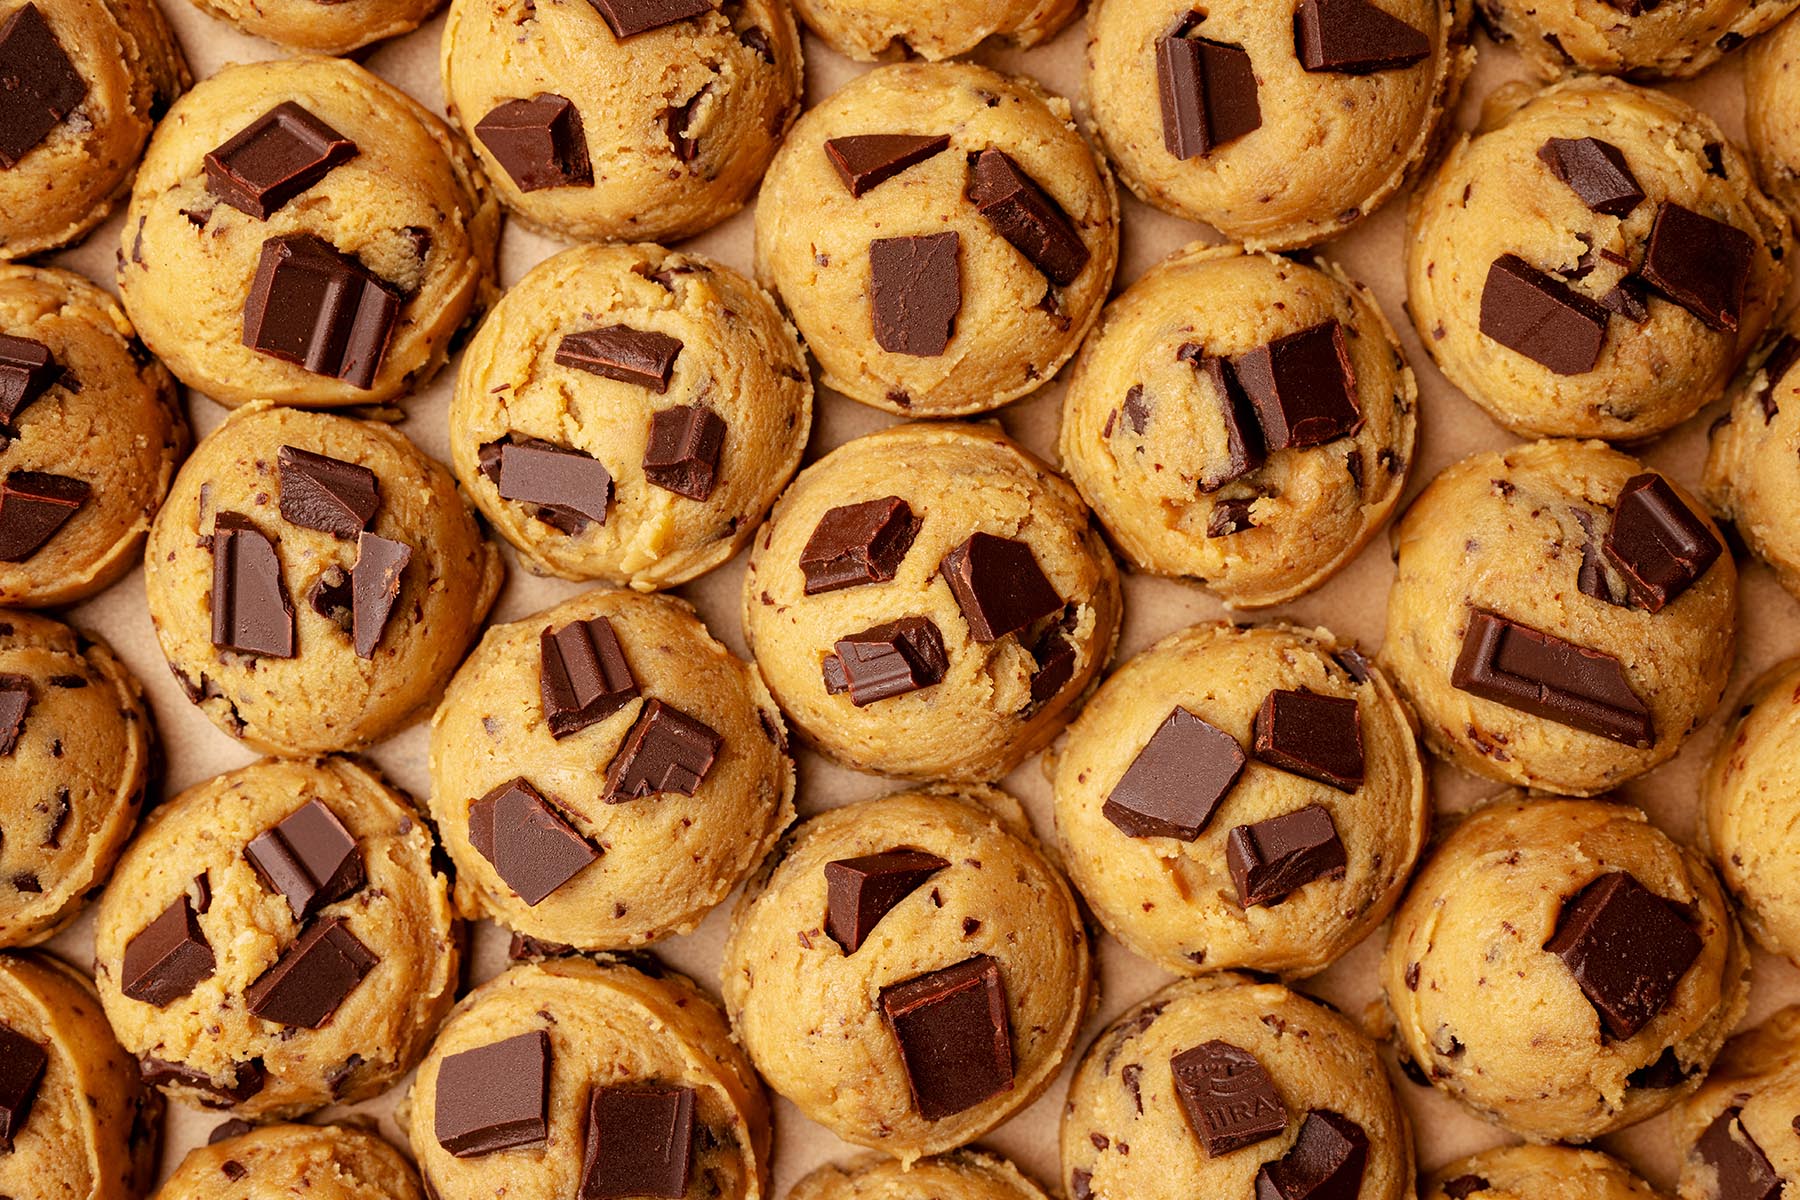
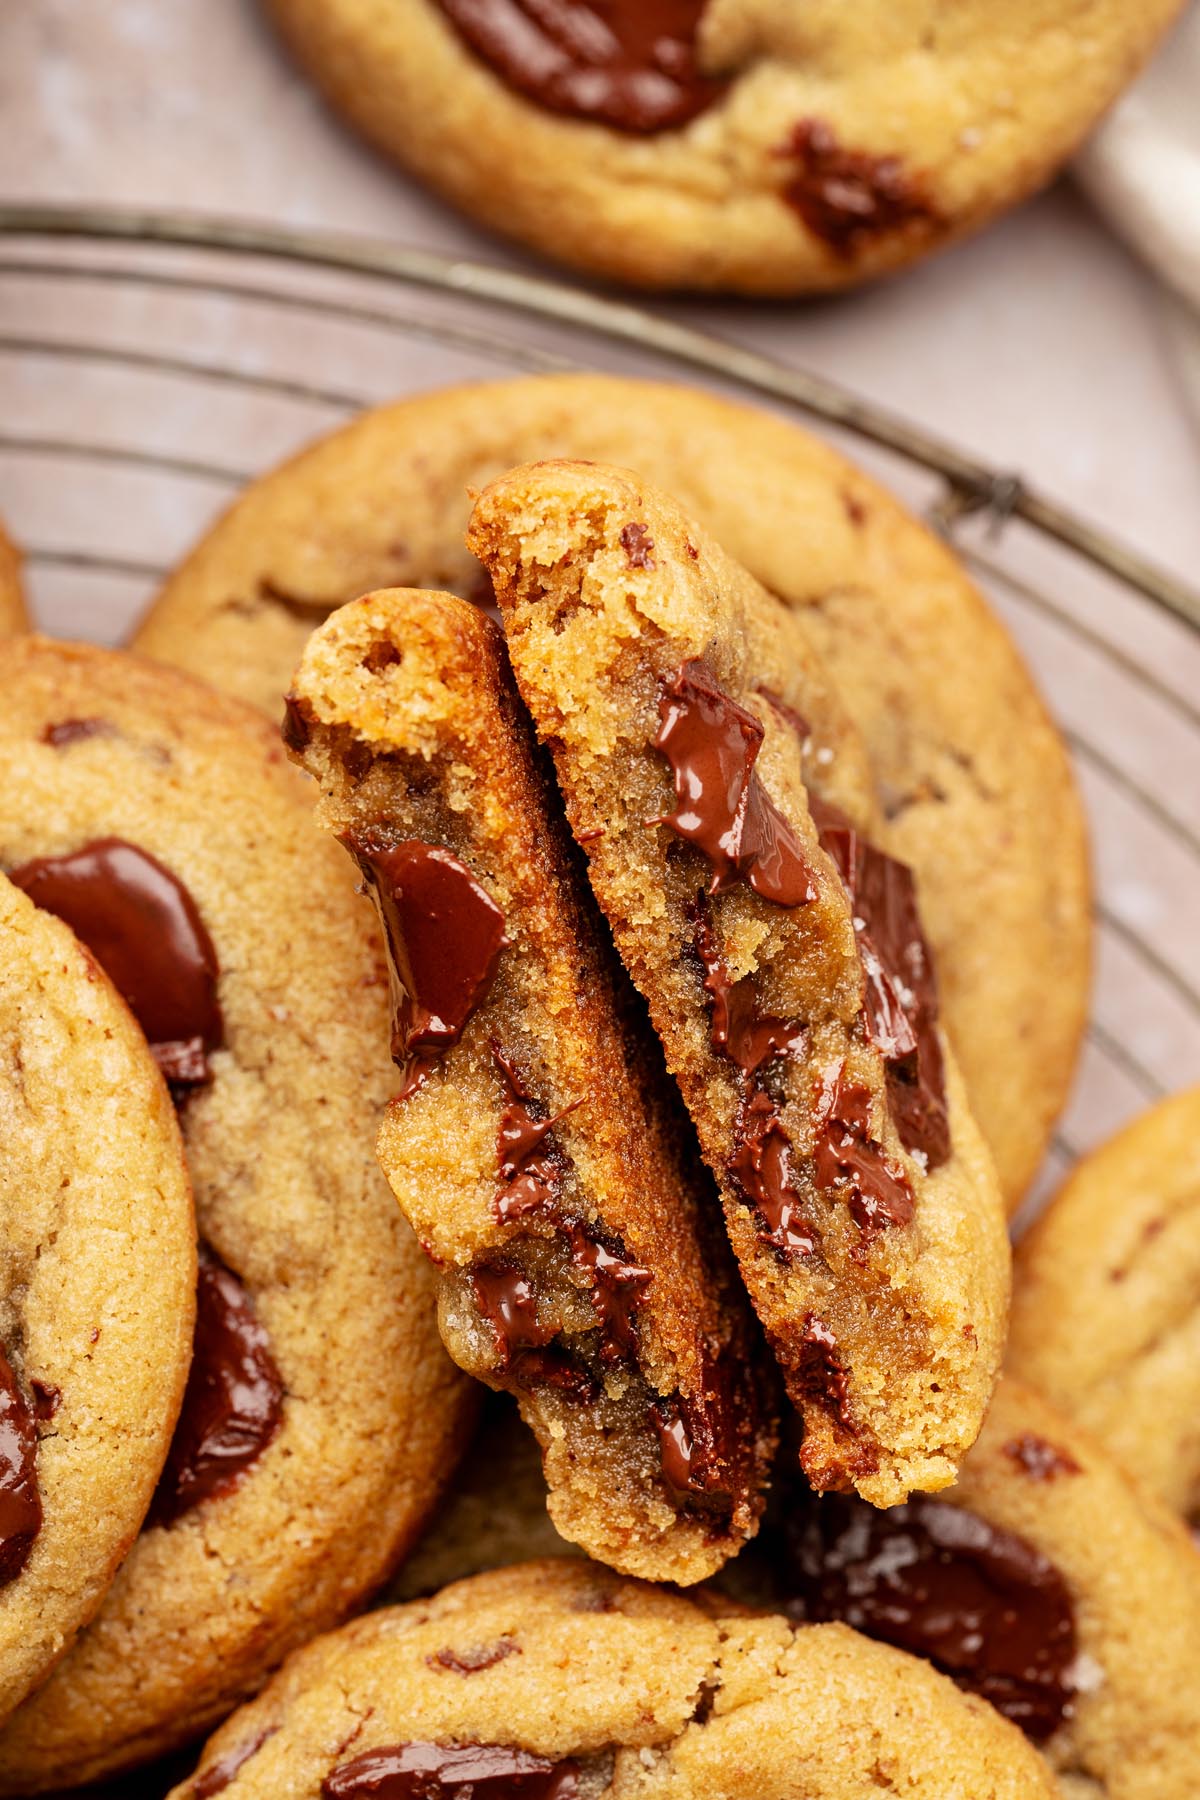
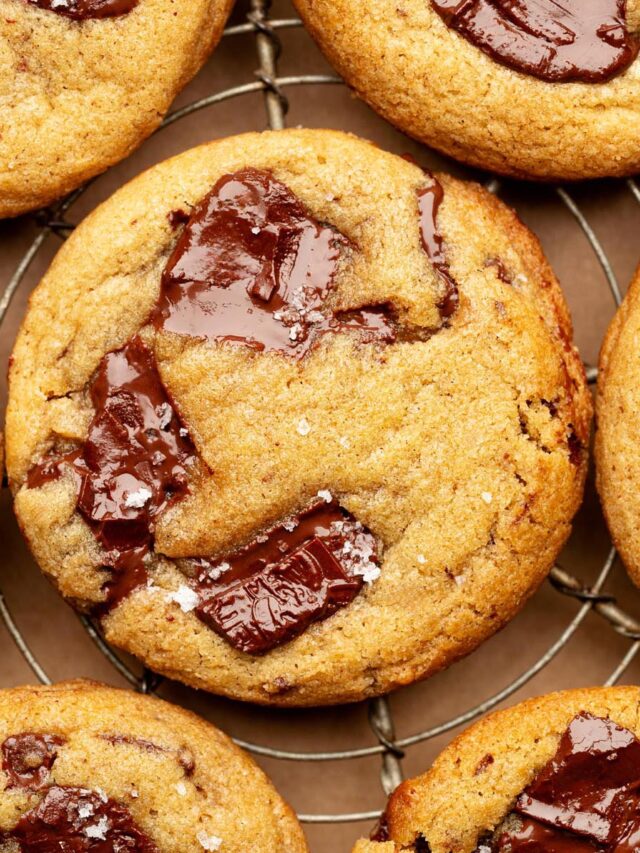
For anyone who appreciates a bakery-style cookie loaded with real chocolate and a soft, chewy center, these chocolate chunk cookies deliver. Browning the butter brings out a nutty, caramel-like flavor, and folding in plenty of chopped chocolate ensures every bite feels warm and indulgent. The quick chill helps the dough hold its structure, so the cookies stay thick with crisp edges and melt-in-your-mouth centers.
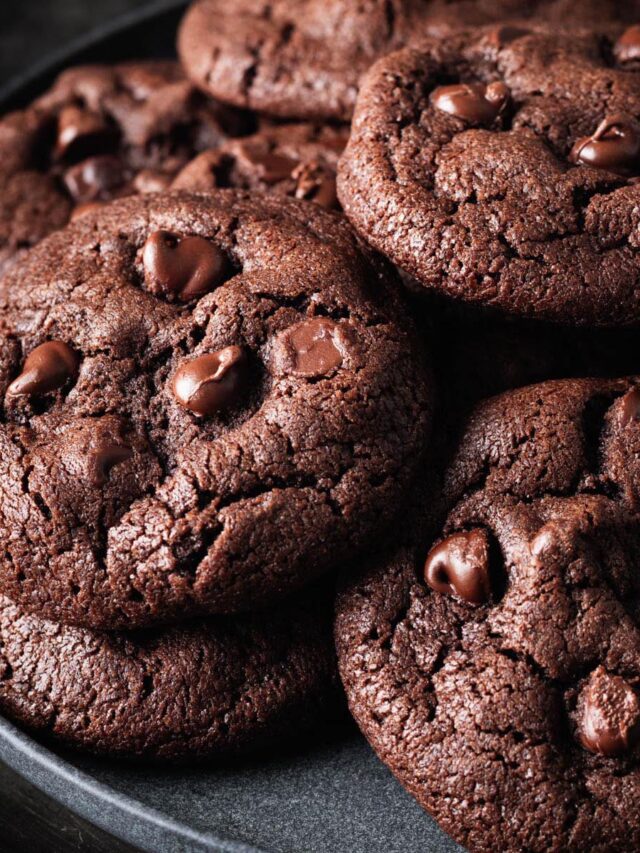
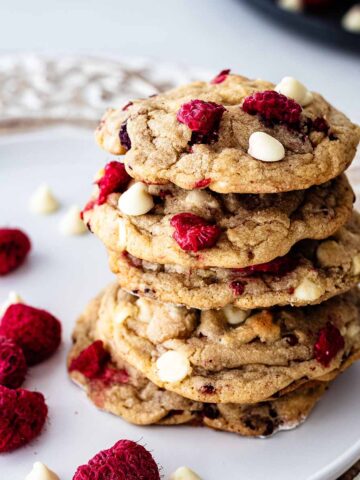
If you’re putting together a dessert tray, looking for ideas for holiday gifting, or just want to make something special for yourself, this recipe alongside reader favorites like my chocolate chocolate chip peanut butter cookies, raspberry white chocolate cookies, Hawaiian shortbread cookies, and fireworks blondies will fit the bill perfectly. If you’re baking for a special occasion or just want a cookie that feels a step above the everyday, these cookies offer an easy, reliable way to get there.
Reasons These Cookies Are Worth Making
Ingredients at a Glance
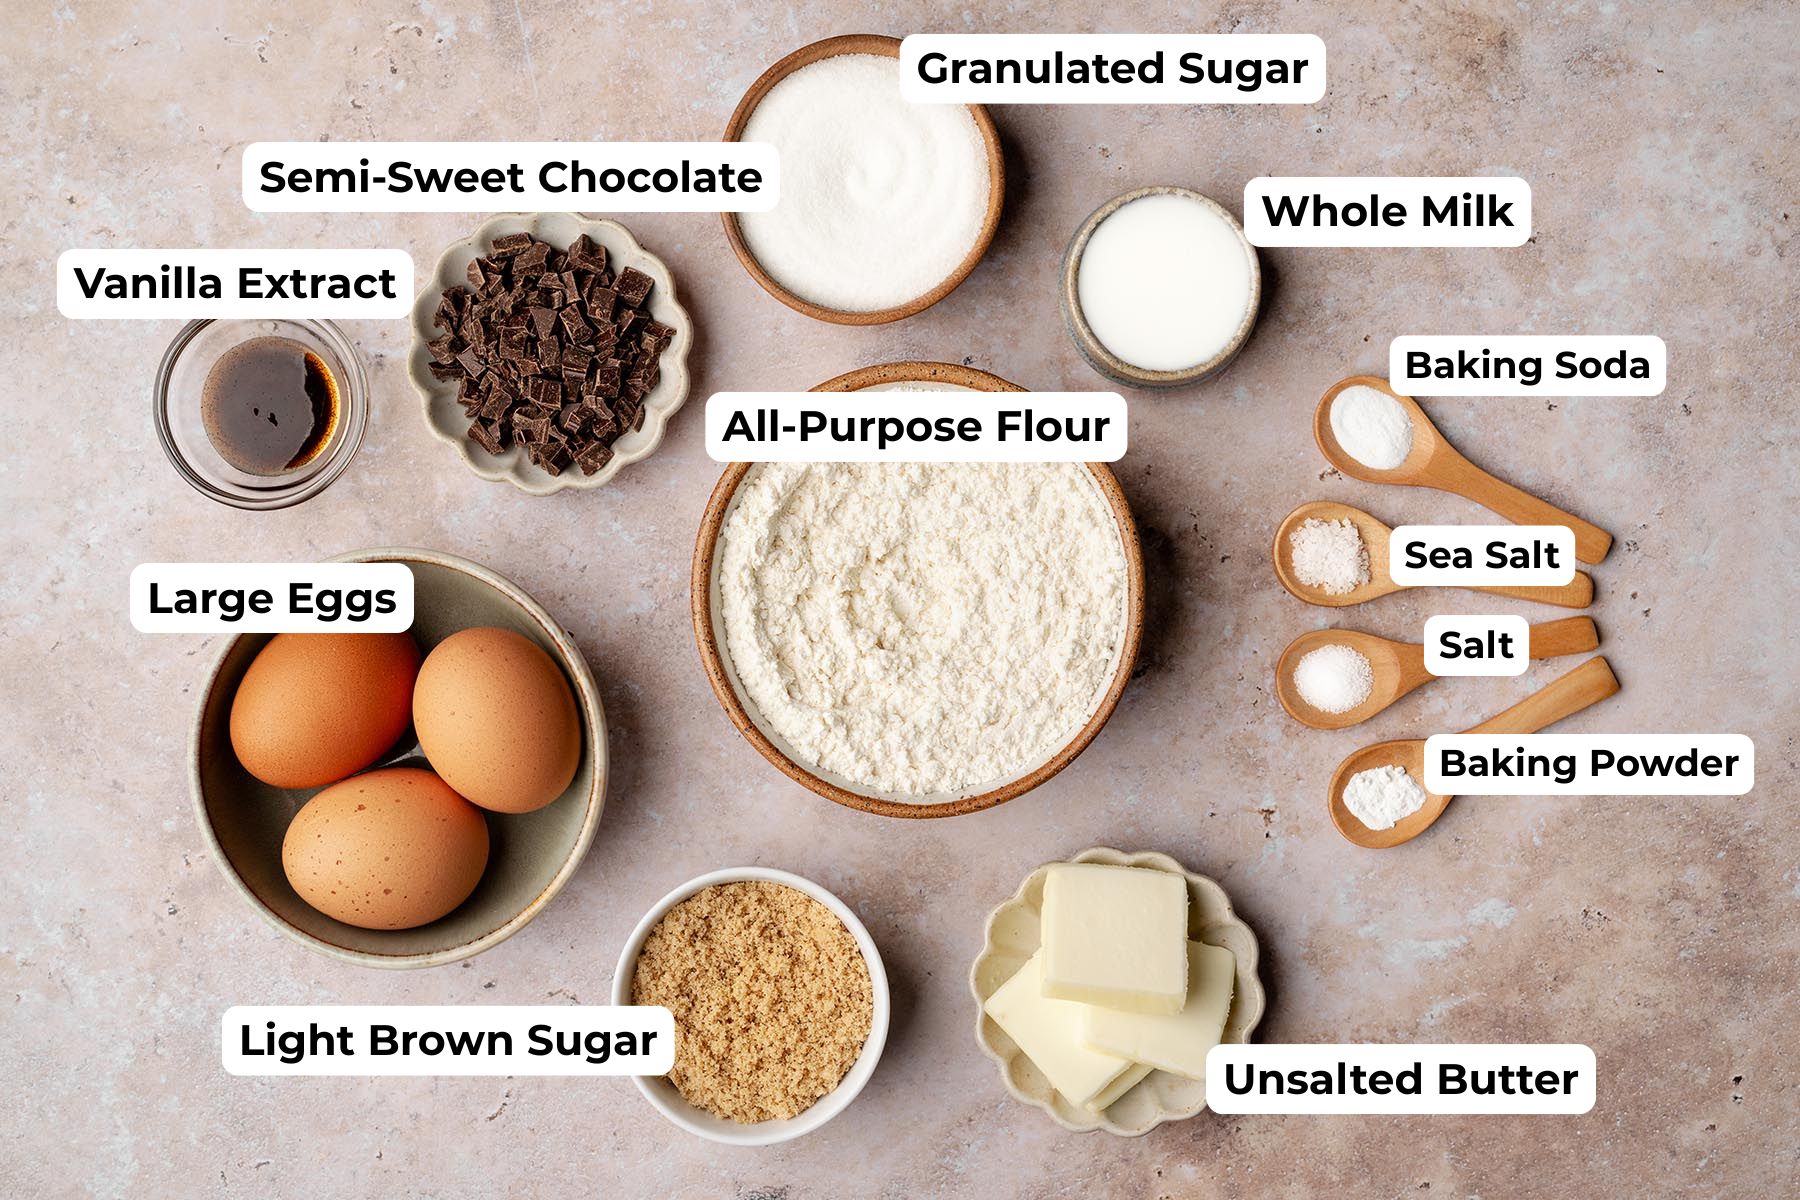
Here’s a quick overview of what you’ll need to make these thick, chewy chocolate chunk cookies, plus a few dependable substitution options where they truly work. Ingredient amounts are in the recipe card below.
- Unsalted Butter. Browning the butter adds a rich, nutty flavor. Unsalted is best for controlling the salt level. Salted butter works if that’s what you have. Just reduce the added salt to ½ teaspoon.
- Light Brown Sugar. Adds moisture and chewy texture. Dark brown sugar can be used for a deeper, more caramel-like flavor.
- Granulated Sugar. Helps the cookies spread just enough and creates crisp edges.
- Eggs + Egg Yolk. The extra yolk adds richness and chew.
- Pure Vanilla Extract. Adds flavor and warmth. Optional upgrade: Vanilla bean paste can be used 1:1 if you prefer slightly deeper vanilla flavor.
- All-Purpose Flour. Creates structure and keeps the cookies thick. No substitutions recommended.
- Baking Soda + Baking Powder. The combination gives the cookies lift without making them cakey.
- Salt. Balances sweetness and enhances flavor. If using salted butter, reduce to ½ teaspoon.
- Semi-Sweet Chocolate, Chopped. Chopped chocolate melts into beautiful pockets throughout the cookies. You can substitute chocolate chips (any semi-sweet or dark variety) or a mix of chips plus chopped chocolate for varied texture.
- Optional: Flaky sea salt. A pinch on top adds contrast and makes the chocolate shine.
How to Make Them (Photo Tutorial)

Tips for Thick, Chewy Cookies
- Cool the browned butter before mixing. Butter that’s too warm will melt the sugars and make the dough greasy. Let it cool until it’s no longer hot to the touch before adding the remaining ingredients.
- Measure the flour accurately. Spoon the flour into your measuring cup and level it off or use a scale for the most consistent results. Too much flour makes cookies dry; too little causes them to spread.
- Mix just until combined. Once the dry ingredients go in, stop mixing as soon as the last streak of flour disappears. Overmixing develops gluten and leads to denser cookies.
- Chill the dough long enough for the butter to firm up. A 45-minute chill helps the cookies hold their shape in the oven while staying chewy in the center. If the dough feels too soft when scooping, an extra 10–15 minutes in the refrigerator helps.
- Portion the dough evenly. Using a #40 cookie scoop (about 55 g per dough ball) ensures every cookie bakes at the same rate and produces a consistent texture.
- Don’t overbake. Look for lightly golden edges and centers that still look soft and slightly underdone. The cookies will finish setting as they cool.
- Press on extra chocolate before baking. Adding a few chunks to the tops of the dough balls gives the cookies a bakery-style look and ensures melty chocolate on the surface.
- Let the cookies cool on the sheet. A short rest on the baking sheet helps the centers finish setting without overbaking them in the oven.
Variations
- Mix-and-Match Chocolates. Swap the semi-sweet chocolate for dark, milk, or a combination of all three. Using a mix of chopped chocolate and chips gives the cookies a great blend of melty pockets and distinct chocolate pieces.
- Add Nuts. Fold in ½ cup of chopped pecans or walnuts along with the chocolate. The nuts add texture and pair beautifully with the browned butter.
- Try a Hint of Espresso. Stir ½ teaspoon of espresso powder into the dry ingredients for a deeper, more pronounced chocolate flavor. It won’t make the cookies taste like coffee; it simply enhances the chocolate.
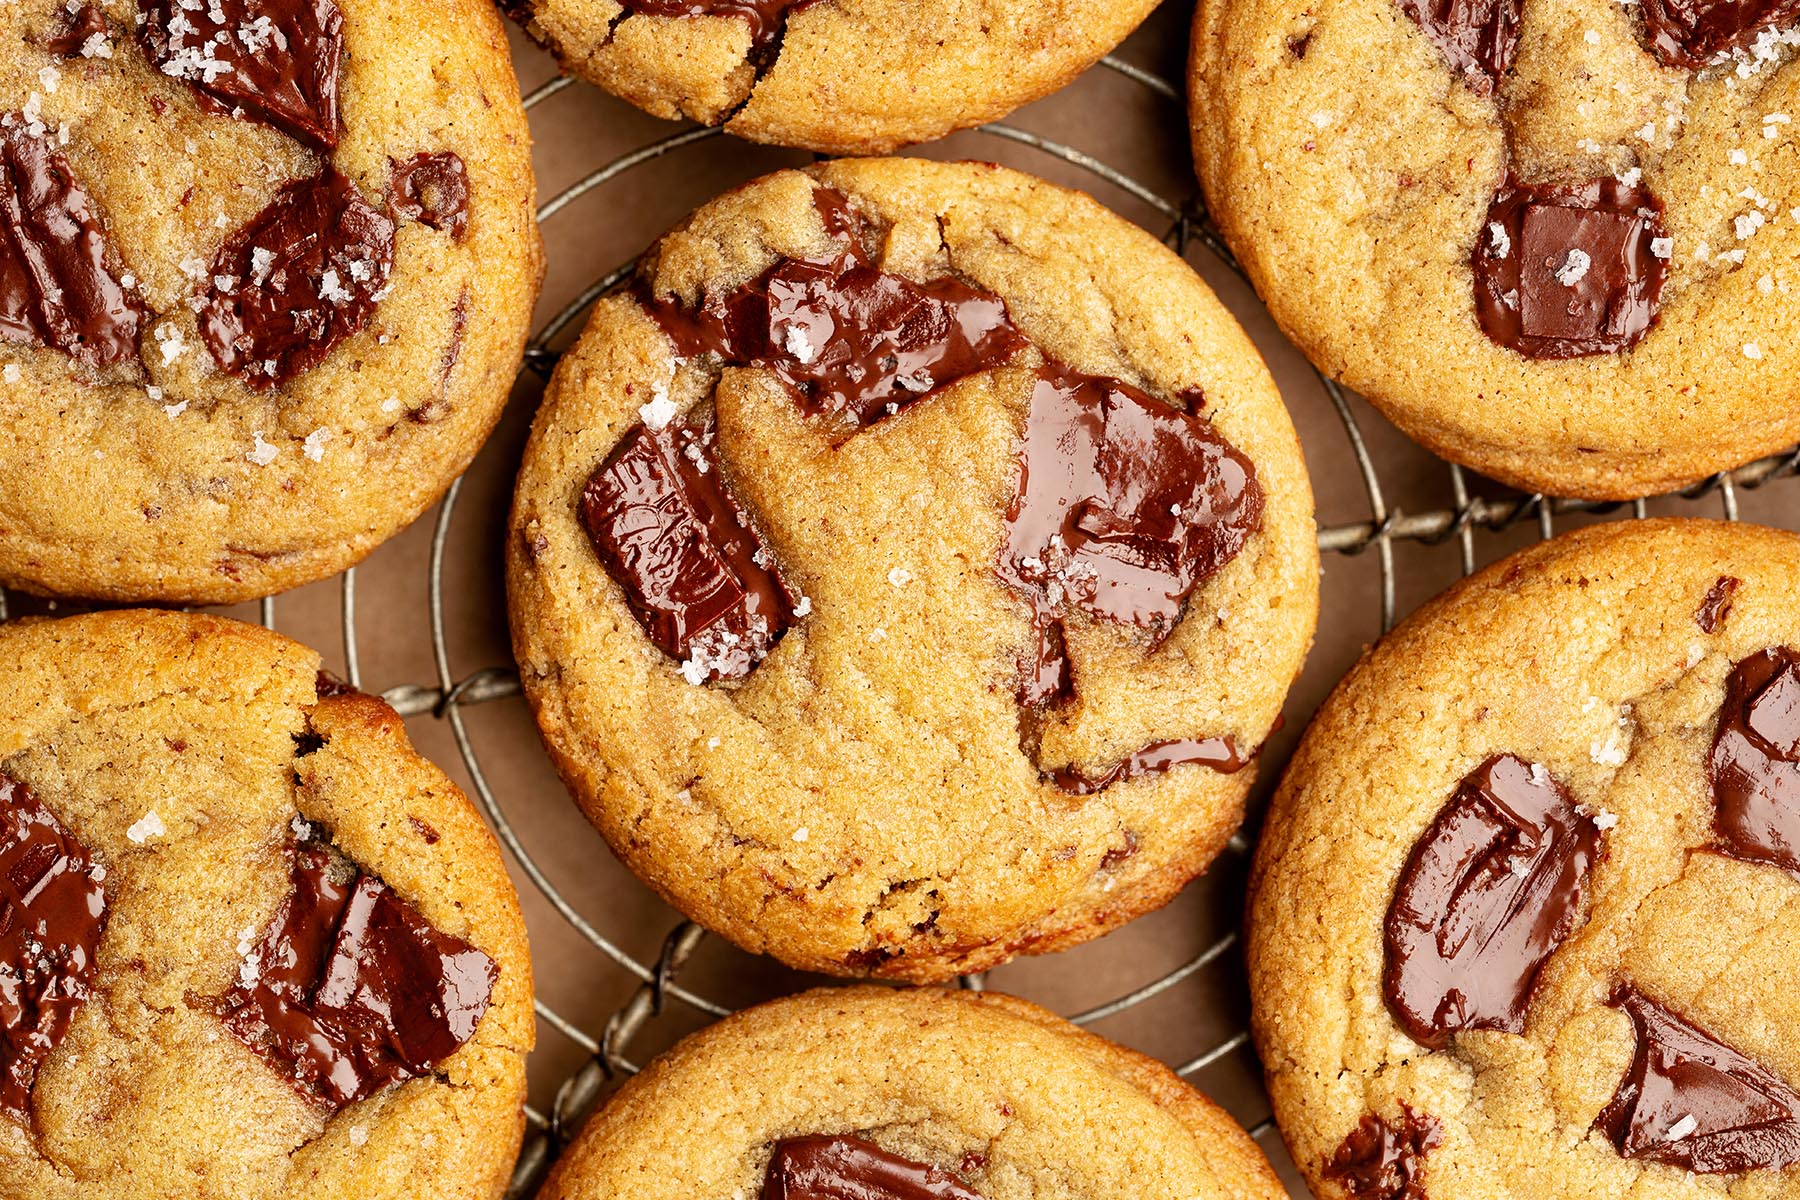
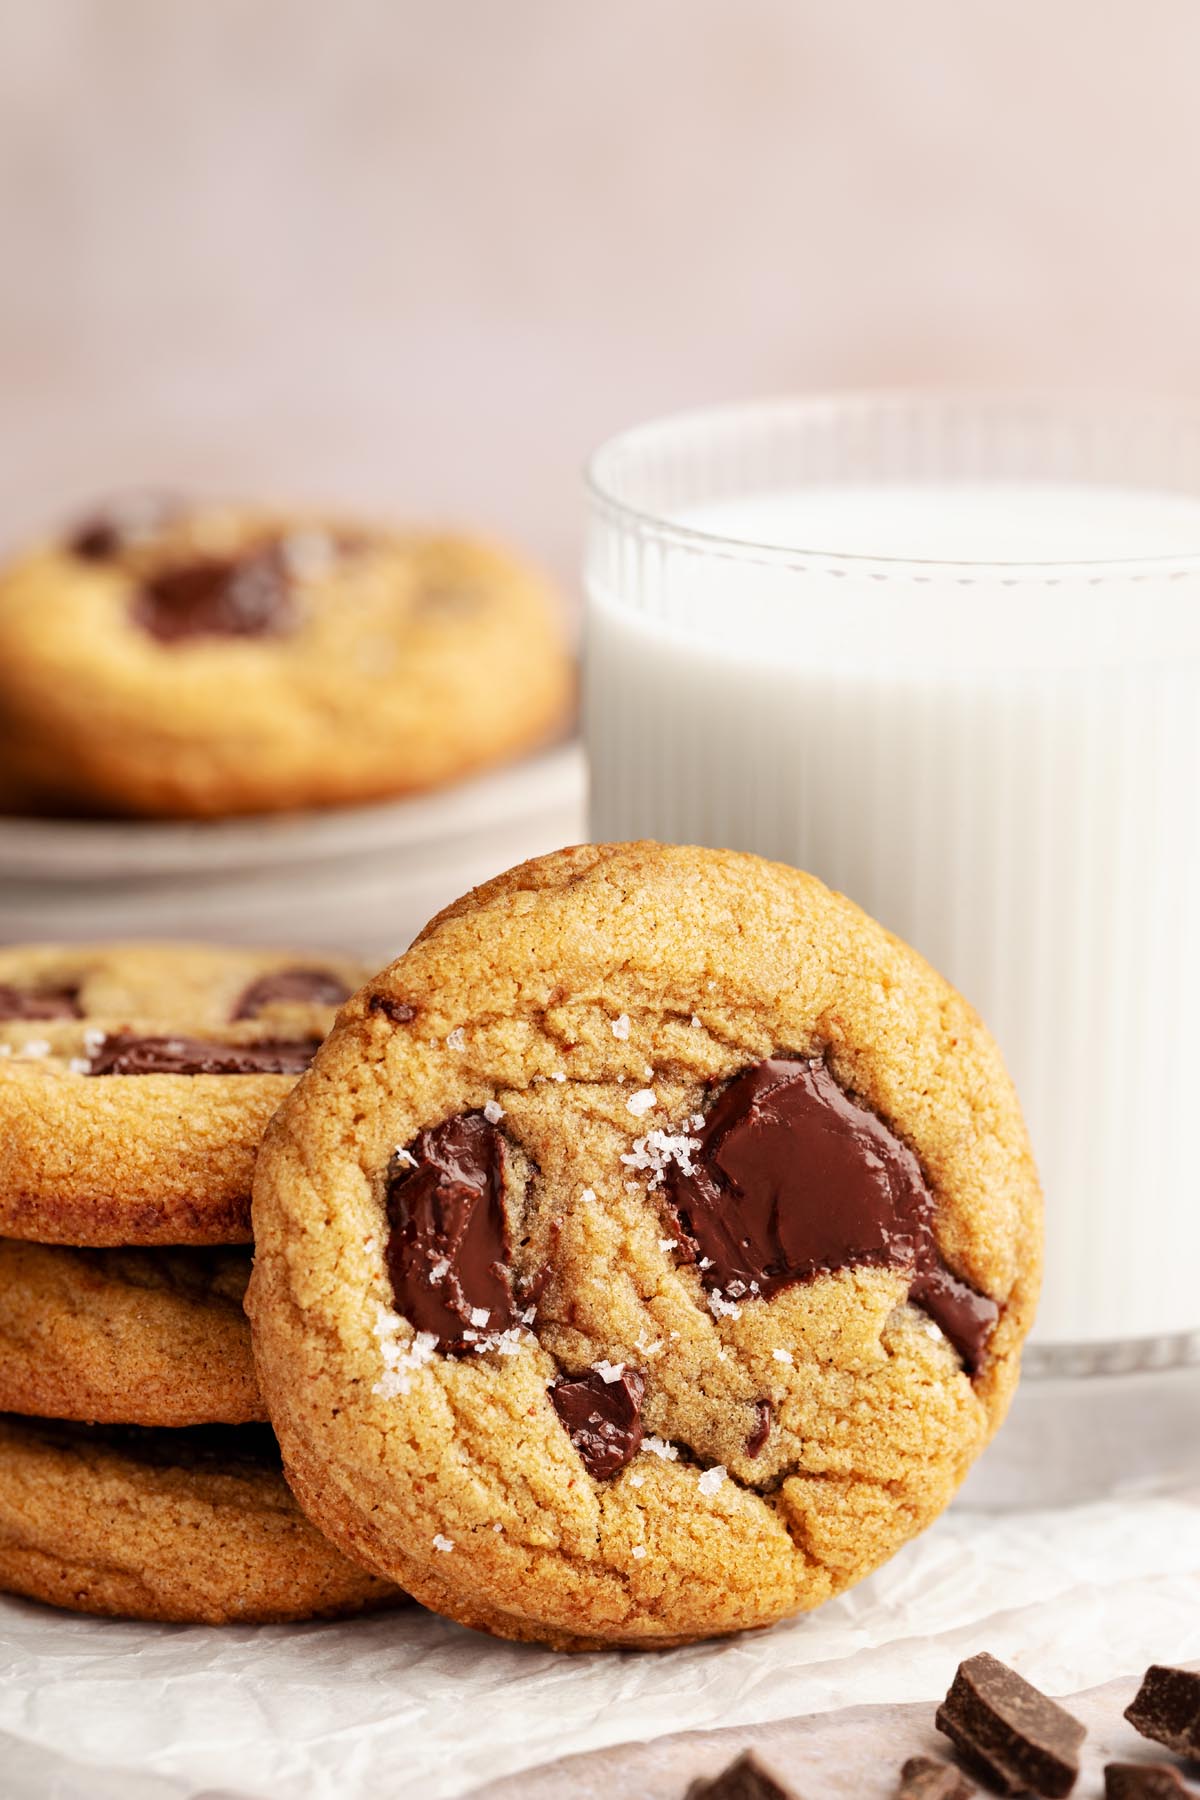
- Sprinkle with Sea Salt. If you enjoy sweet-and-salty desserts, add a small pinch of flaky sea salt to the warm cookies right after baking. It makes the chocolate flavor pop.
Ways to Serve These Cookies
- Warm with a Glass of Milk. Classic and comforting, especially when the chocolate is still melty.
- As an Ice Cream Sandwich. Let the cookies cool completely, then sandwich a scoop of vanilla, chocolate, or coffee ice cream between two cookies.
- With a Cup of Coffee or Tea. The browned-butter flavor pairs beautifully with a warm drink and makes these cookies feel a little more grown-up.
- Crumbled Over Ice Cream. Break a cookie into chunks and sprinkle it over a bowl of vanilla ice cream for a quick dessert that tastes like a bakery treat.
- For a fun summer dessert idea, try serving these cookies with a scoop of our no-churn homemade s’mores ice cream.
Storage
- Room Temperature: Store the cooled cookies in an airtight container at room temperature for up to 5 days.
- Refrigerator: Not necessary, but if your kitchen runs warm, the cookies will keep well in an airtight container in the fridge for up to 1 week. Let them come to room temperature before serving for the best texture.
- Freezer (baked cookies): Baked and cooled cookies freeze beautifully. Place them in a single layer until solid, then transfer to a freezer bag or airtight container. Freeze for up to 3 months. Thaw at room temperature or warm in the microwave for 10–15 seconds to bring back the soft, melty centers.
- Freezer (cookie dough): Scoop the dough into 55 g balls and freeze on a baking sheet until firm. Transfer the dough balls to a freezer-safe bag or container and freeze for up to 3 months. Bake straight from frozen, adding 1–2 minutes or more to the baking time as needed.
More Recipes for Chocolate Lovers

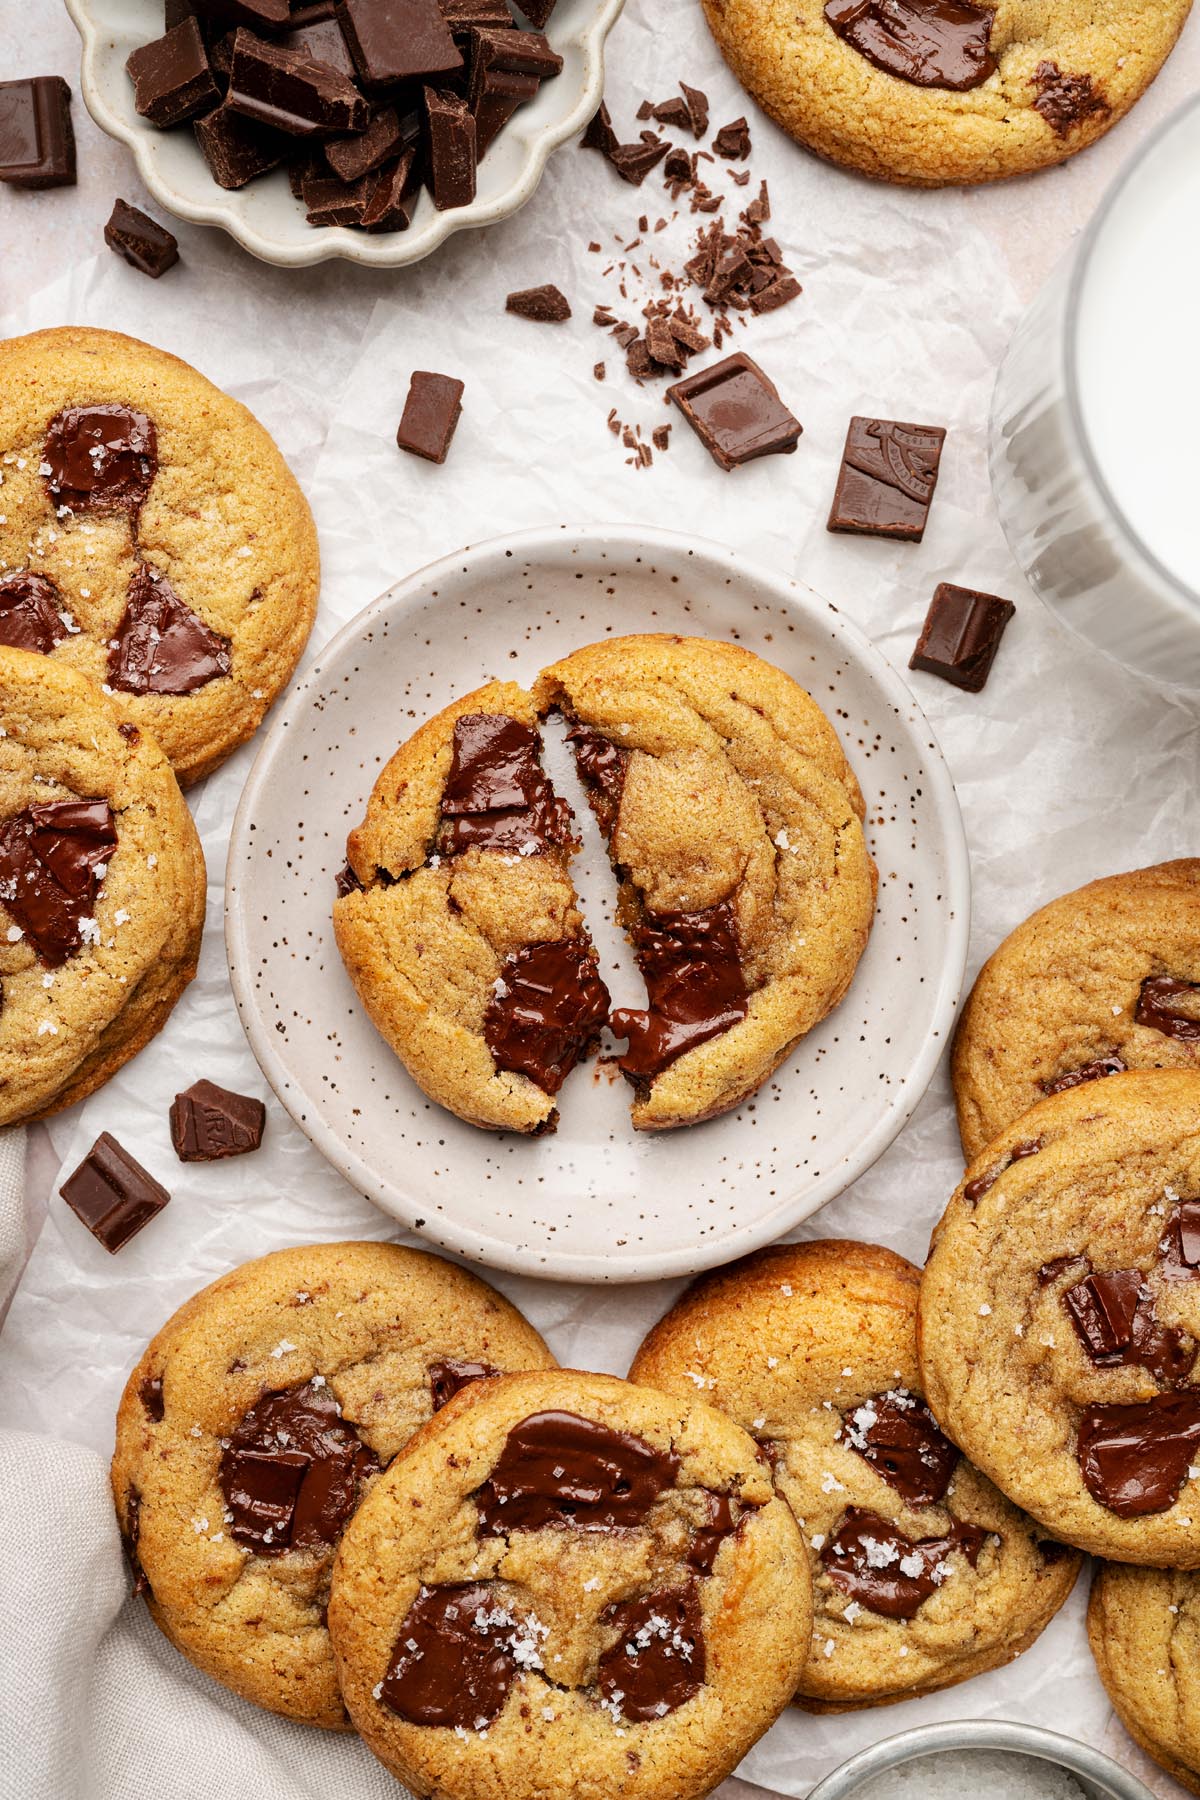
I hope you get a chance to bake a batch of these chocolate chunk cookies—there’s nothing quite like enjoying one warm from the oven. If you do, I’d love to hear how they turned out for you. Leave a comment and let me know what you think!
Chocolate Chunk Cookies Recipe
Equipment
Ingredients
- 17 tablespoons unsalted butter 17 tablespoons = 2 sticks plus 1 extra tablespoon
- 3 cups all-purpose flour
- ¾ teaspoon salt
- 1 teaspoon baking soda
- ⅛ teaspoon baking powder
- ¾ cup light brown sugar
- ¾ cup granulated sugar
- 2 large eggs at room temperature
- 1 large egg yolk at room temperature
- 1 tablespoon whole milk at room temperature
- 1 tablespoon pure vanilla extract or vanilla bean paste for a deeper flavor. (Note 3)
- 1 ½ cups semi-sweet chocolate chopped and divided
- Flaky sea salt optional garnish
Instructions
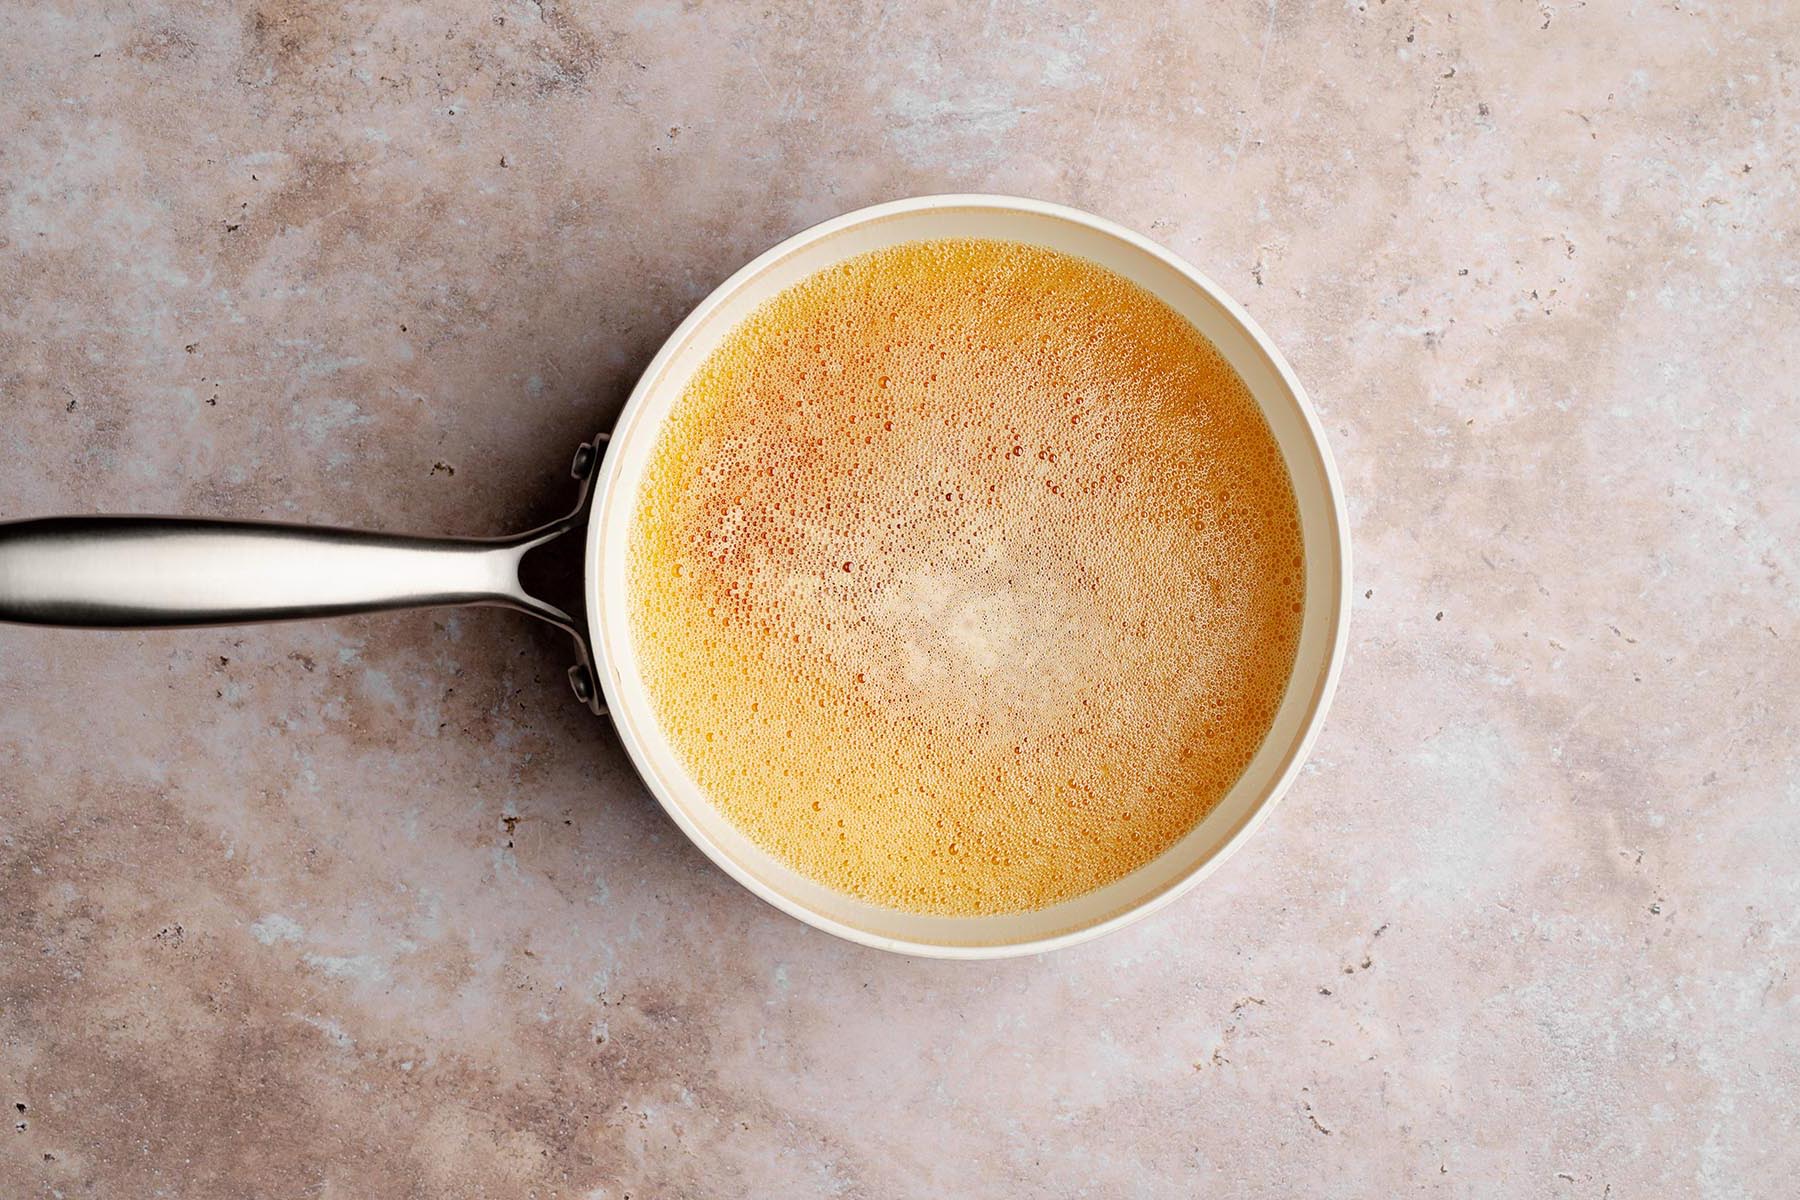
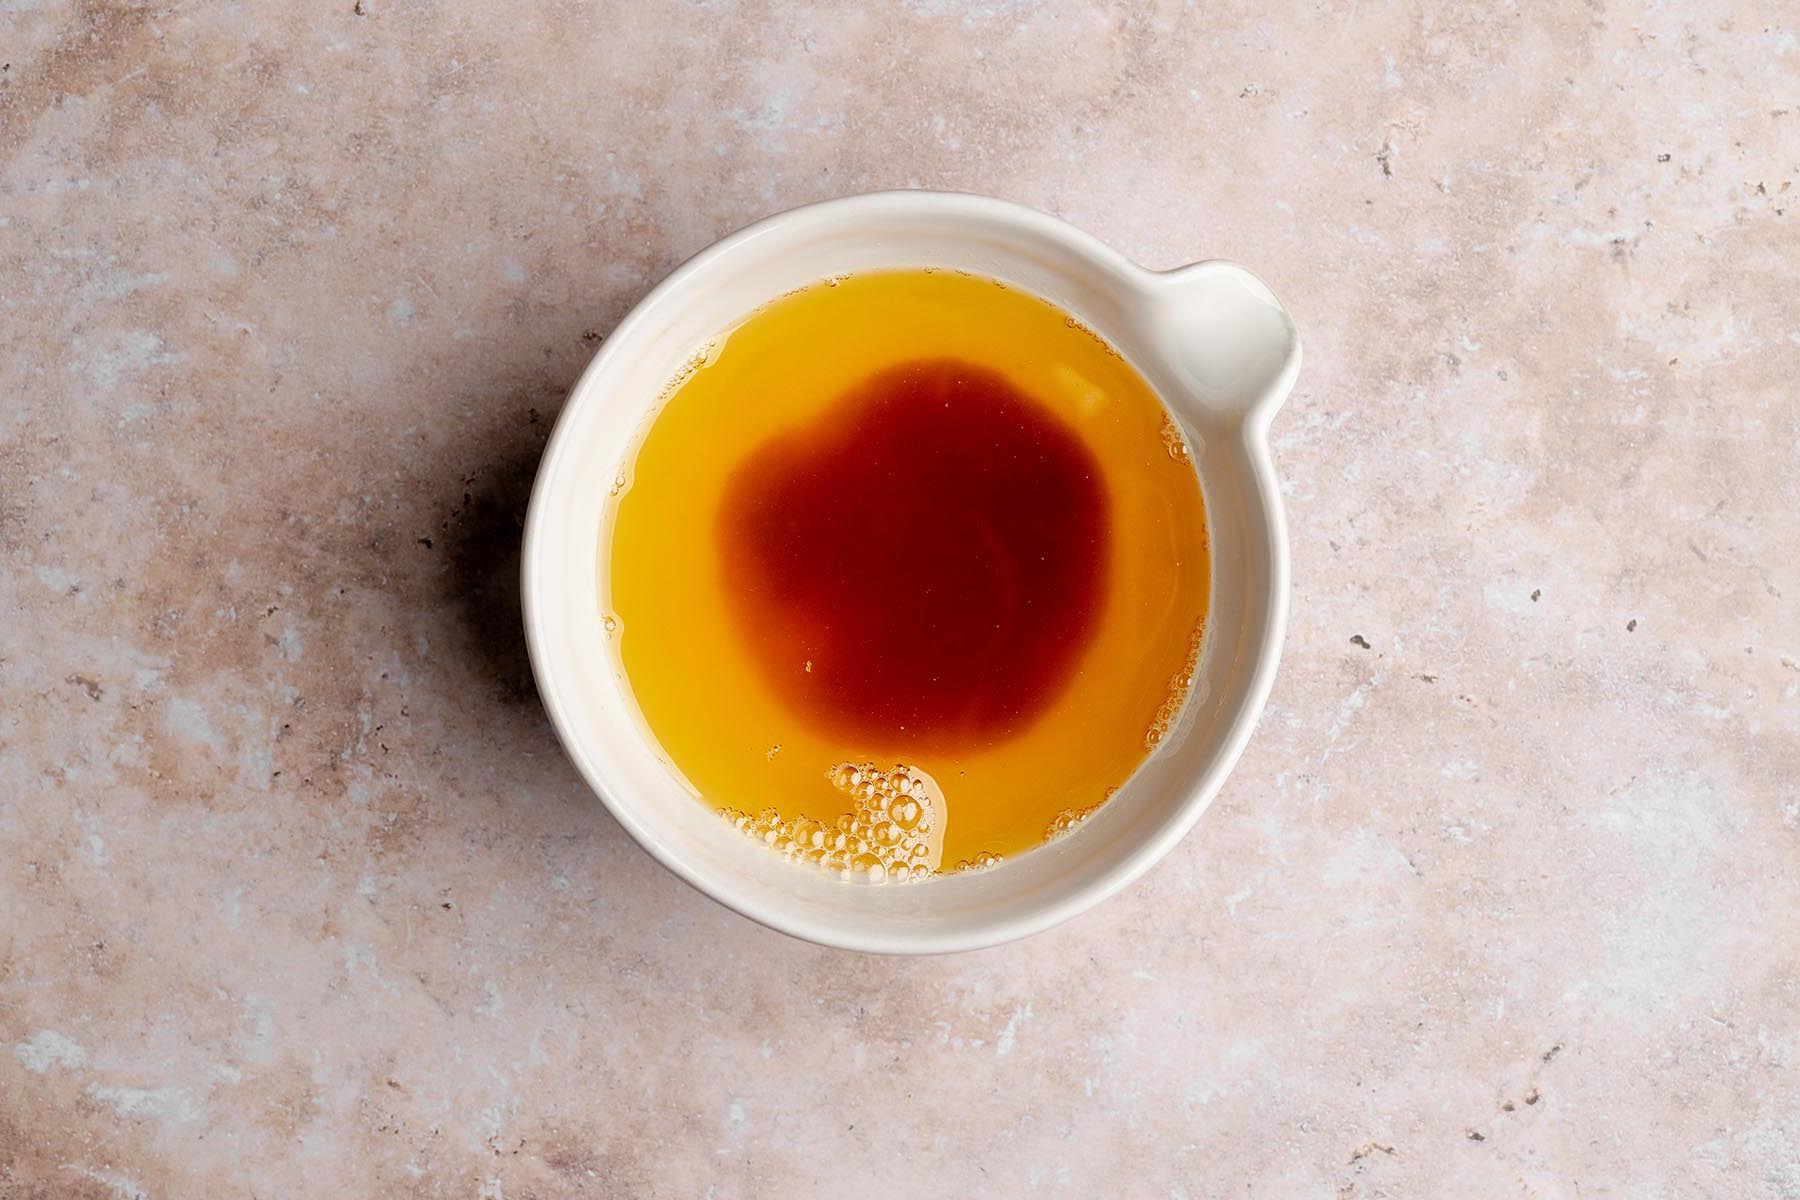
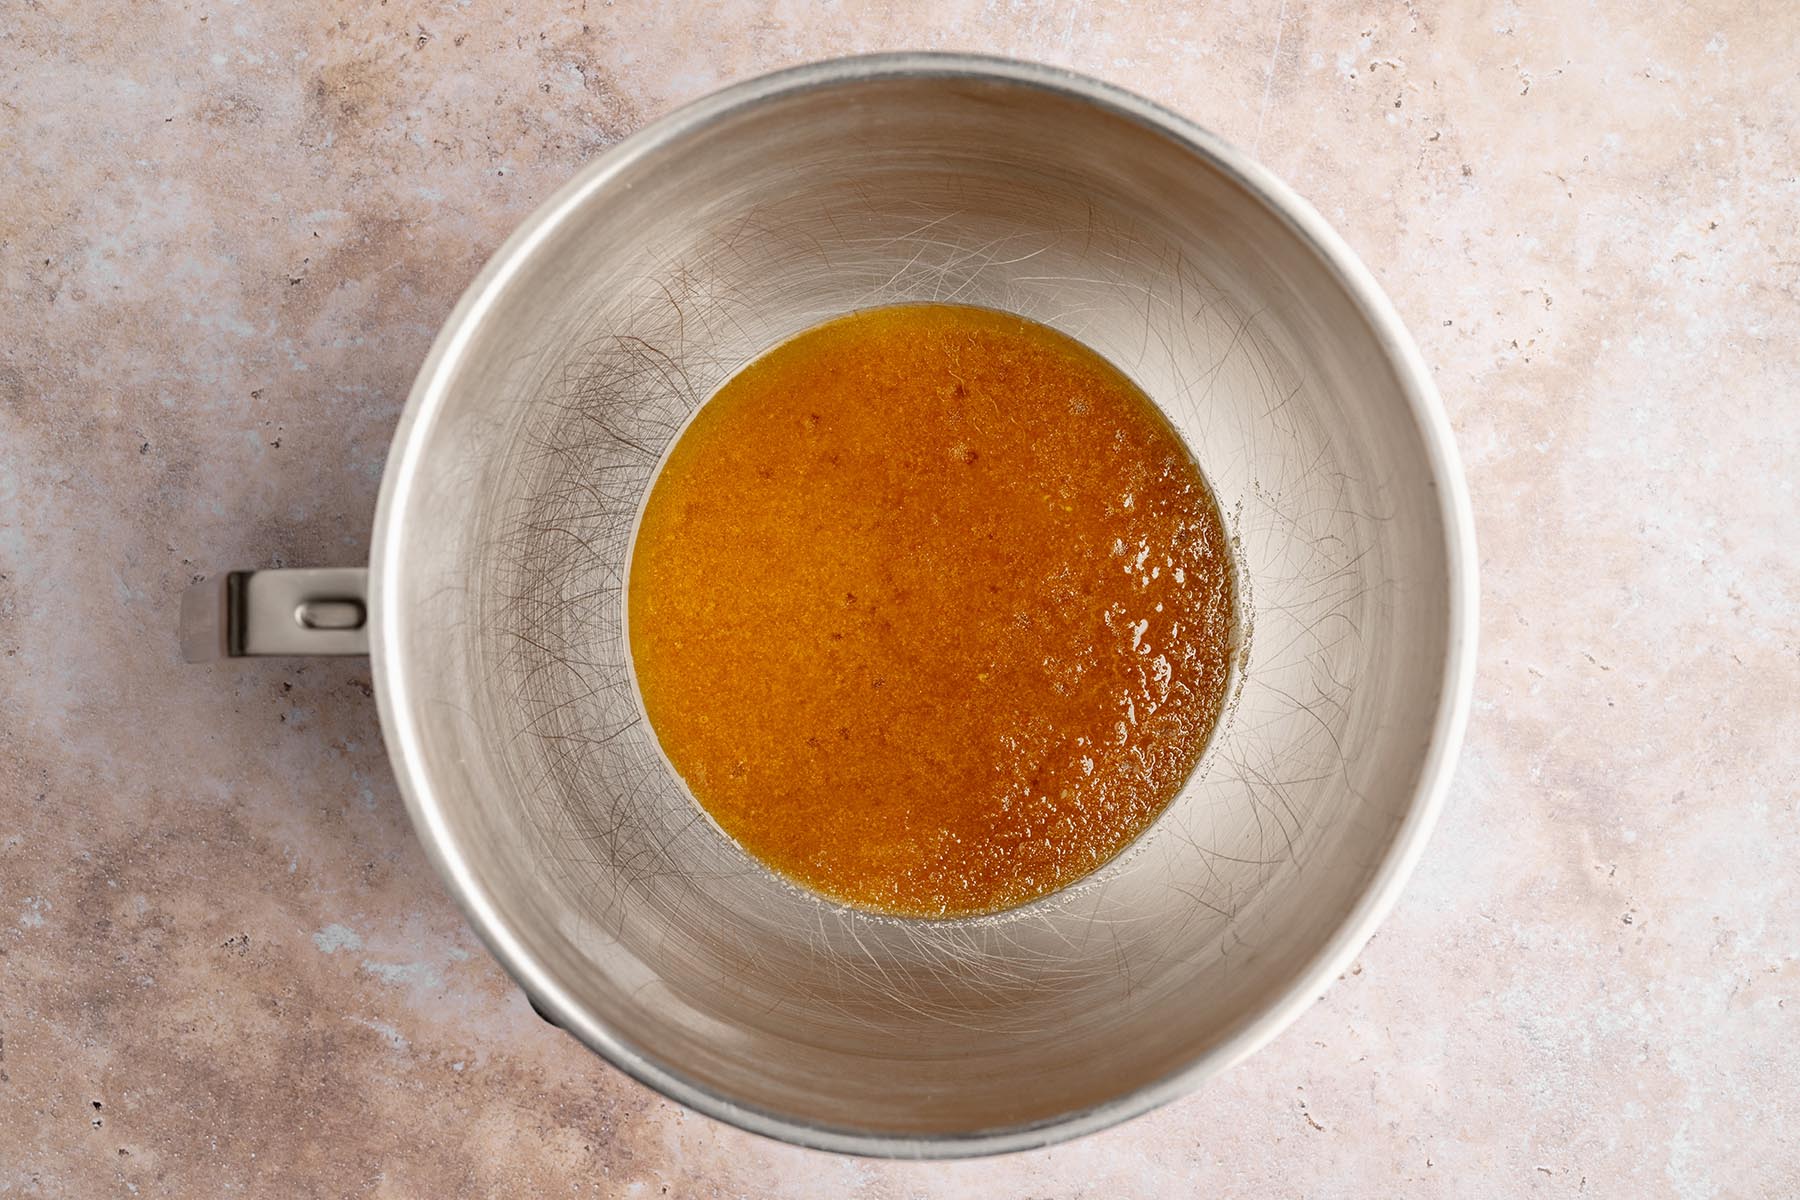
- Add the 17 tablespoons unsalted butter to a light-colored saucepan (see Note 1). Melt over medium-low heat, whisking continuously.The butter will foam, crackle, then quiet. When the milk solids on the bottom turn deep golden/amber and smell nutty, remove from heat immediately.Pour the browned butter into a heatproof bowl (stainless steel or ceramic), scraping in all the browned bits. Let the butter cool for 15 minutes.
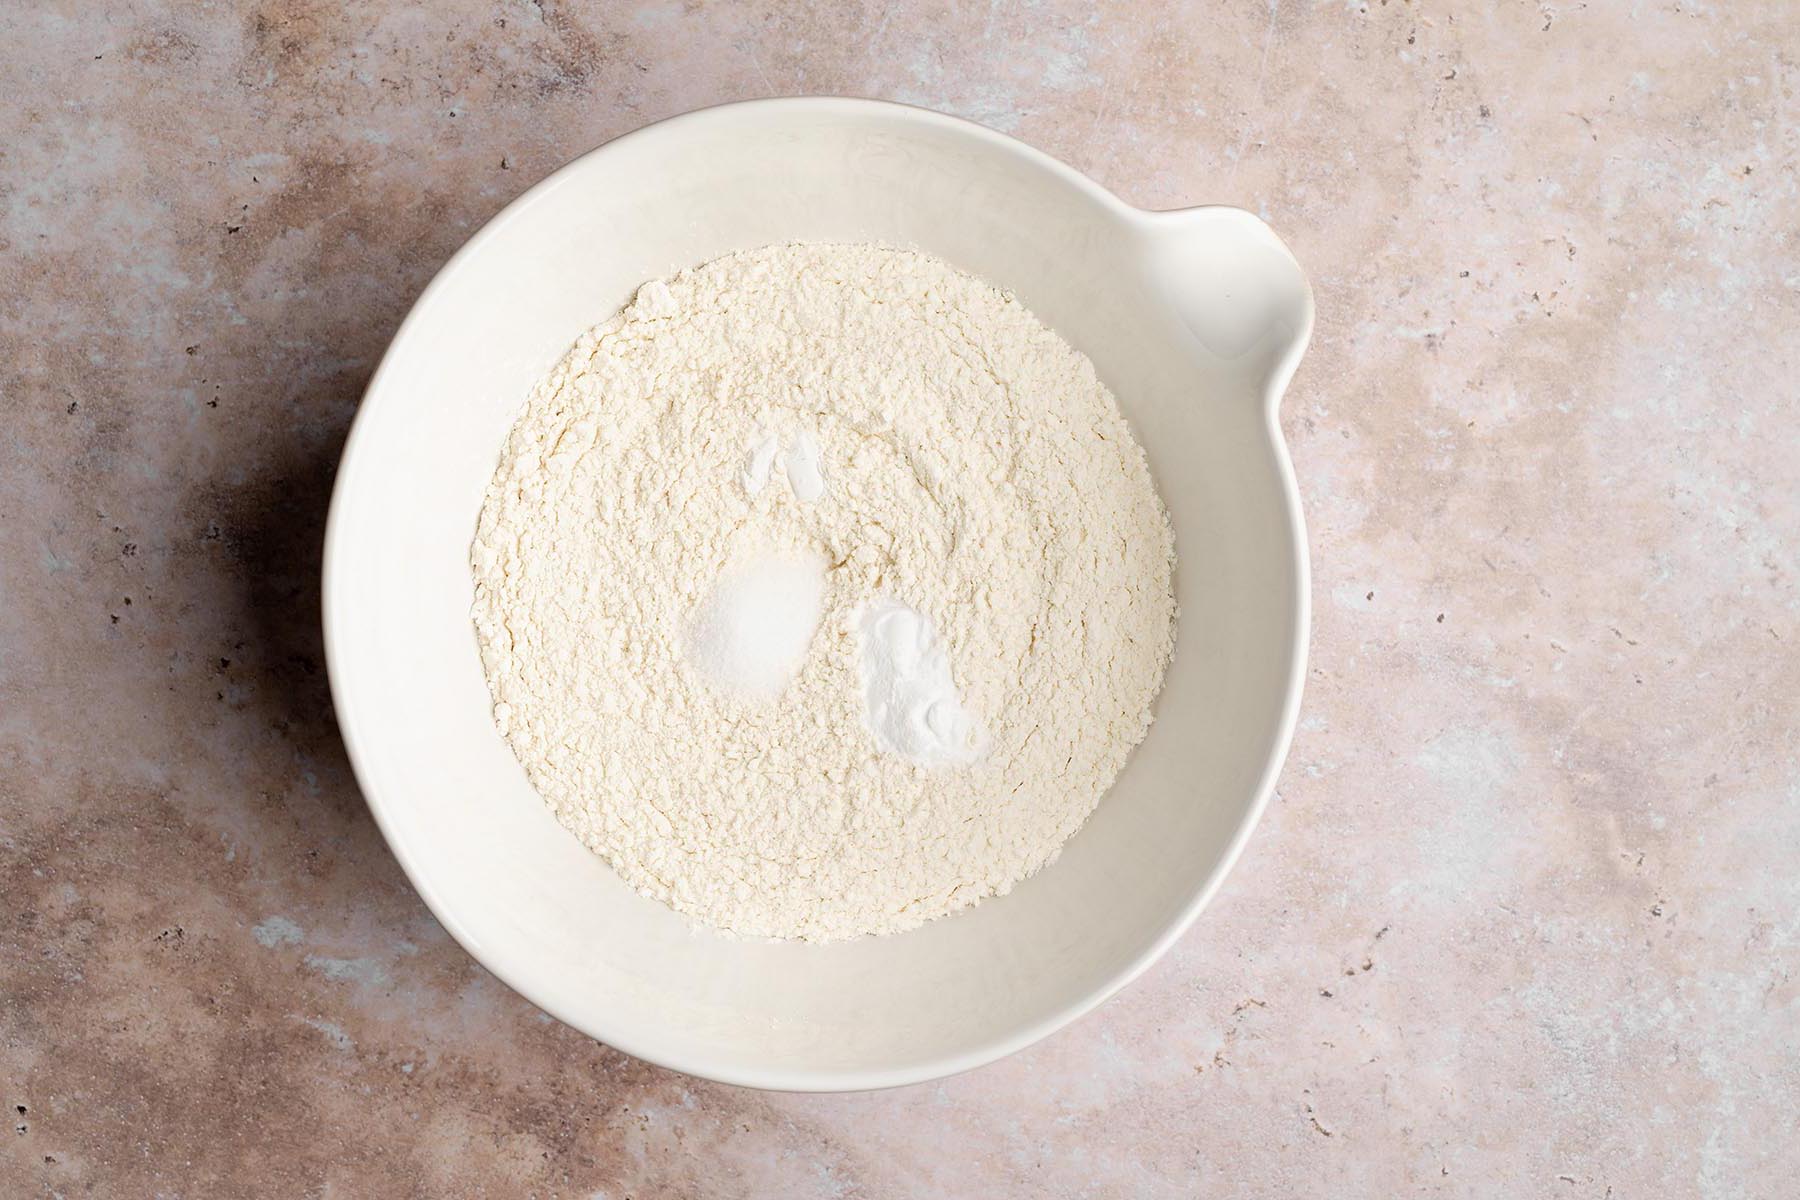
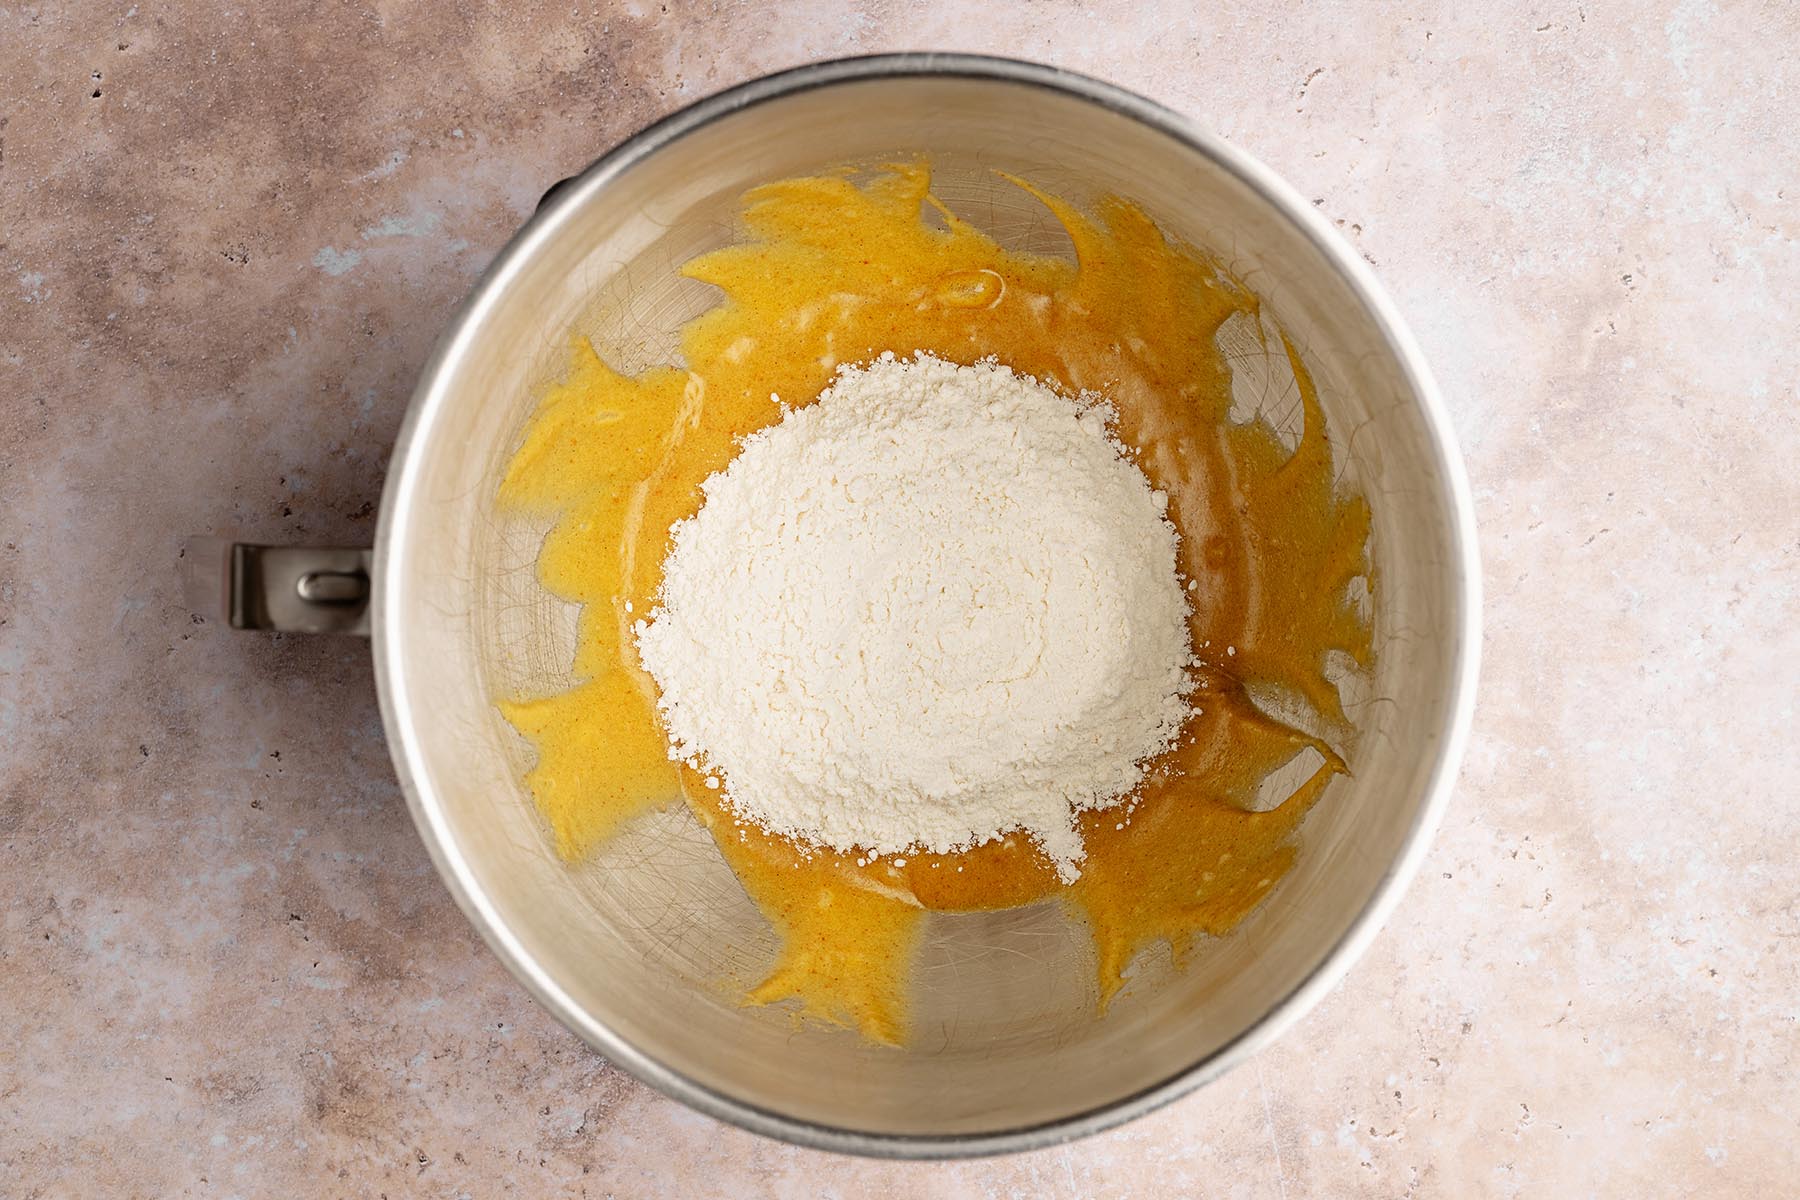
- In a medium bowl, whisk together the 3 cups all-purpose flour, ¾ teaspoon salt, 1 teaspoon baking soda, and ⅛ teaspoon baking powder. Set aside.
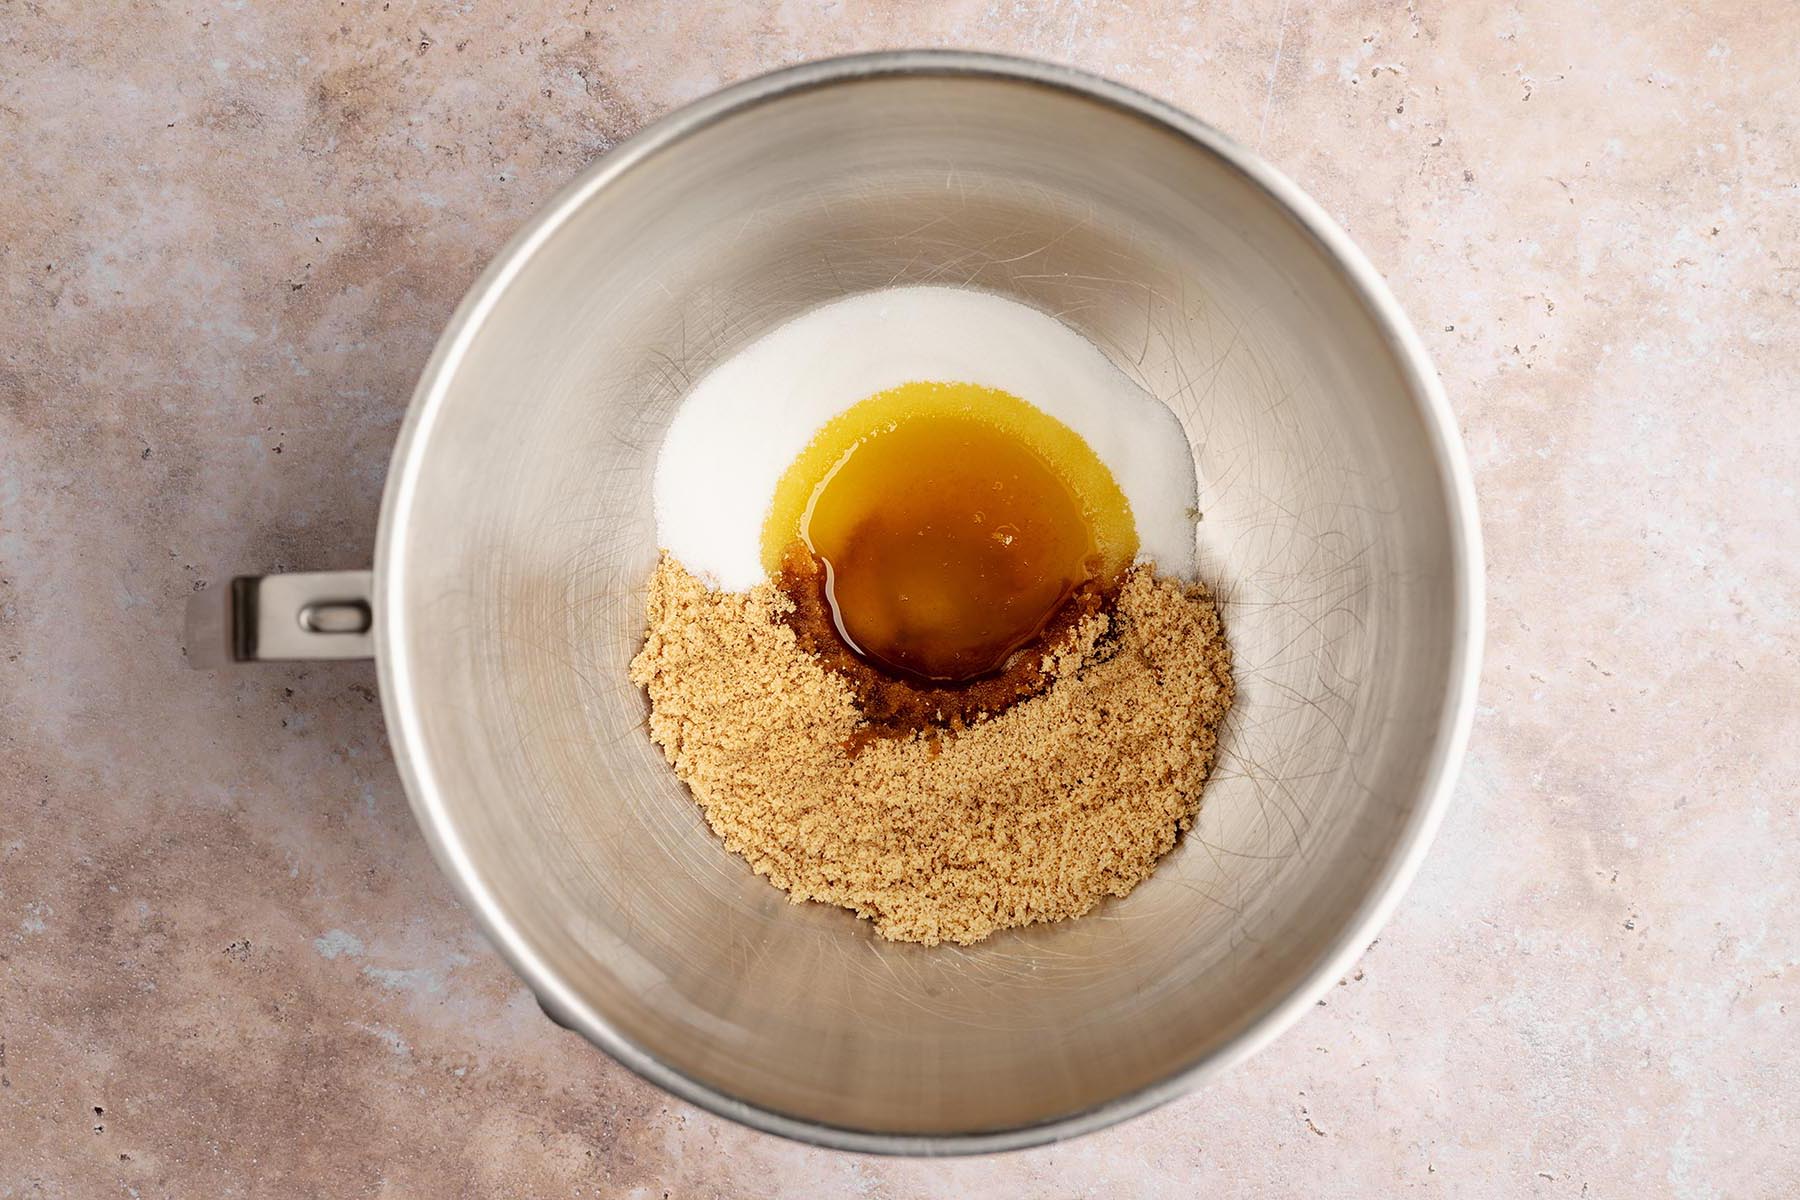
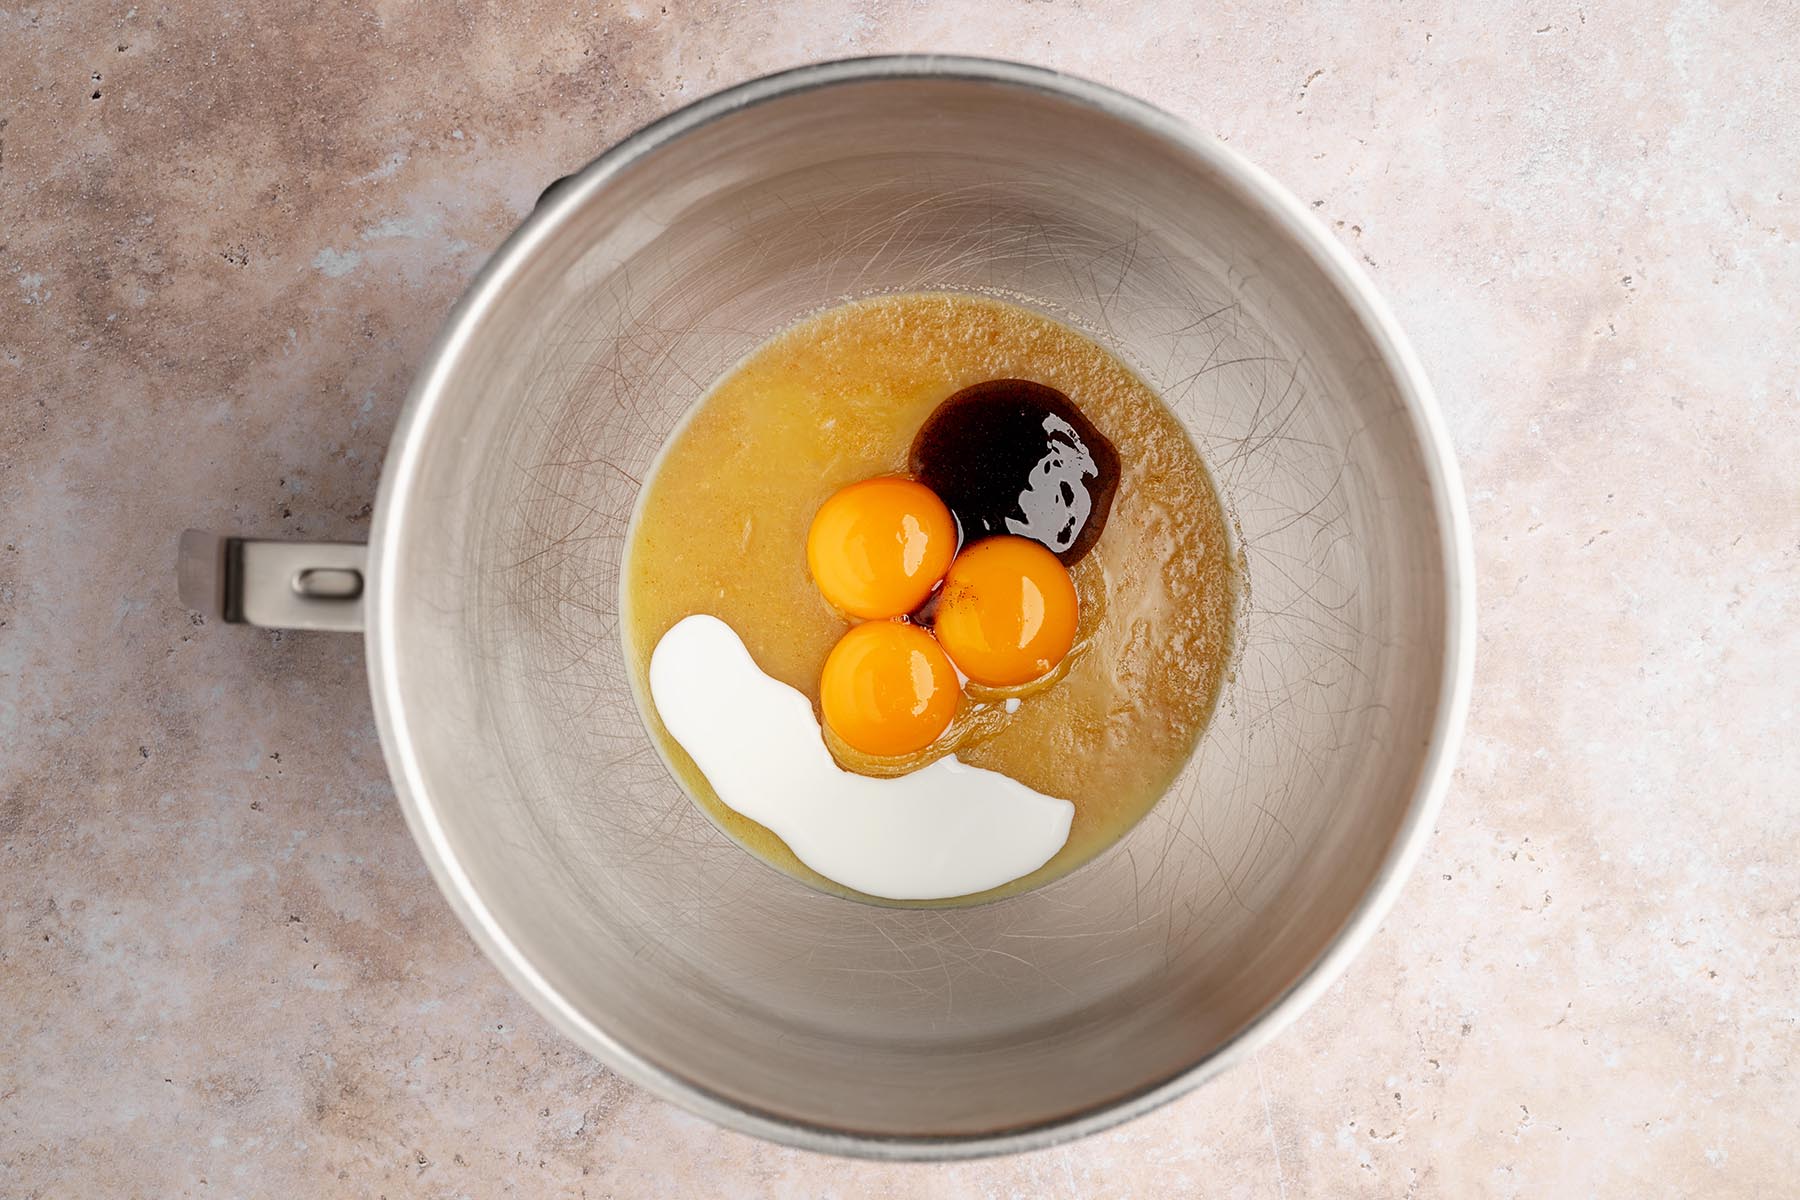
- Add the cooled butter, ¾ cup light brown sugar, and ¾ cup granulated sugar to a stand mixer fitted with the paddle attachment. Mix on medium speed until combined, about 1 minute.
- Reduce the speed to low. Add the 2 large eggs one at a time, then the 1 large egg yolk. Mix in the 1 tablespoon whole milk and 1 tablespoon pure vanilla extract (or vanilla bean paste). Increase to medium and mix until smooth but not over-aerated (Note 4).
- Add the dry ingredients on low speed and mix just until no streaks of flour remain.
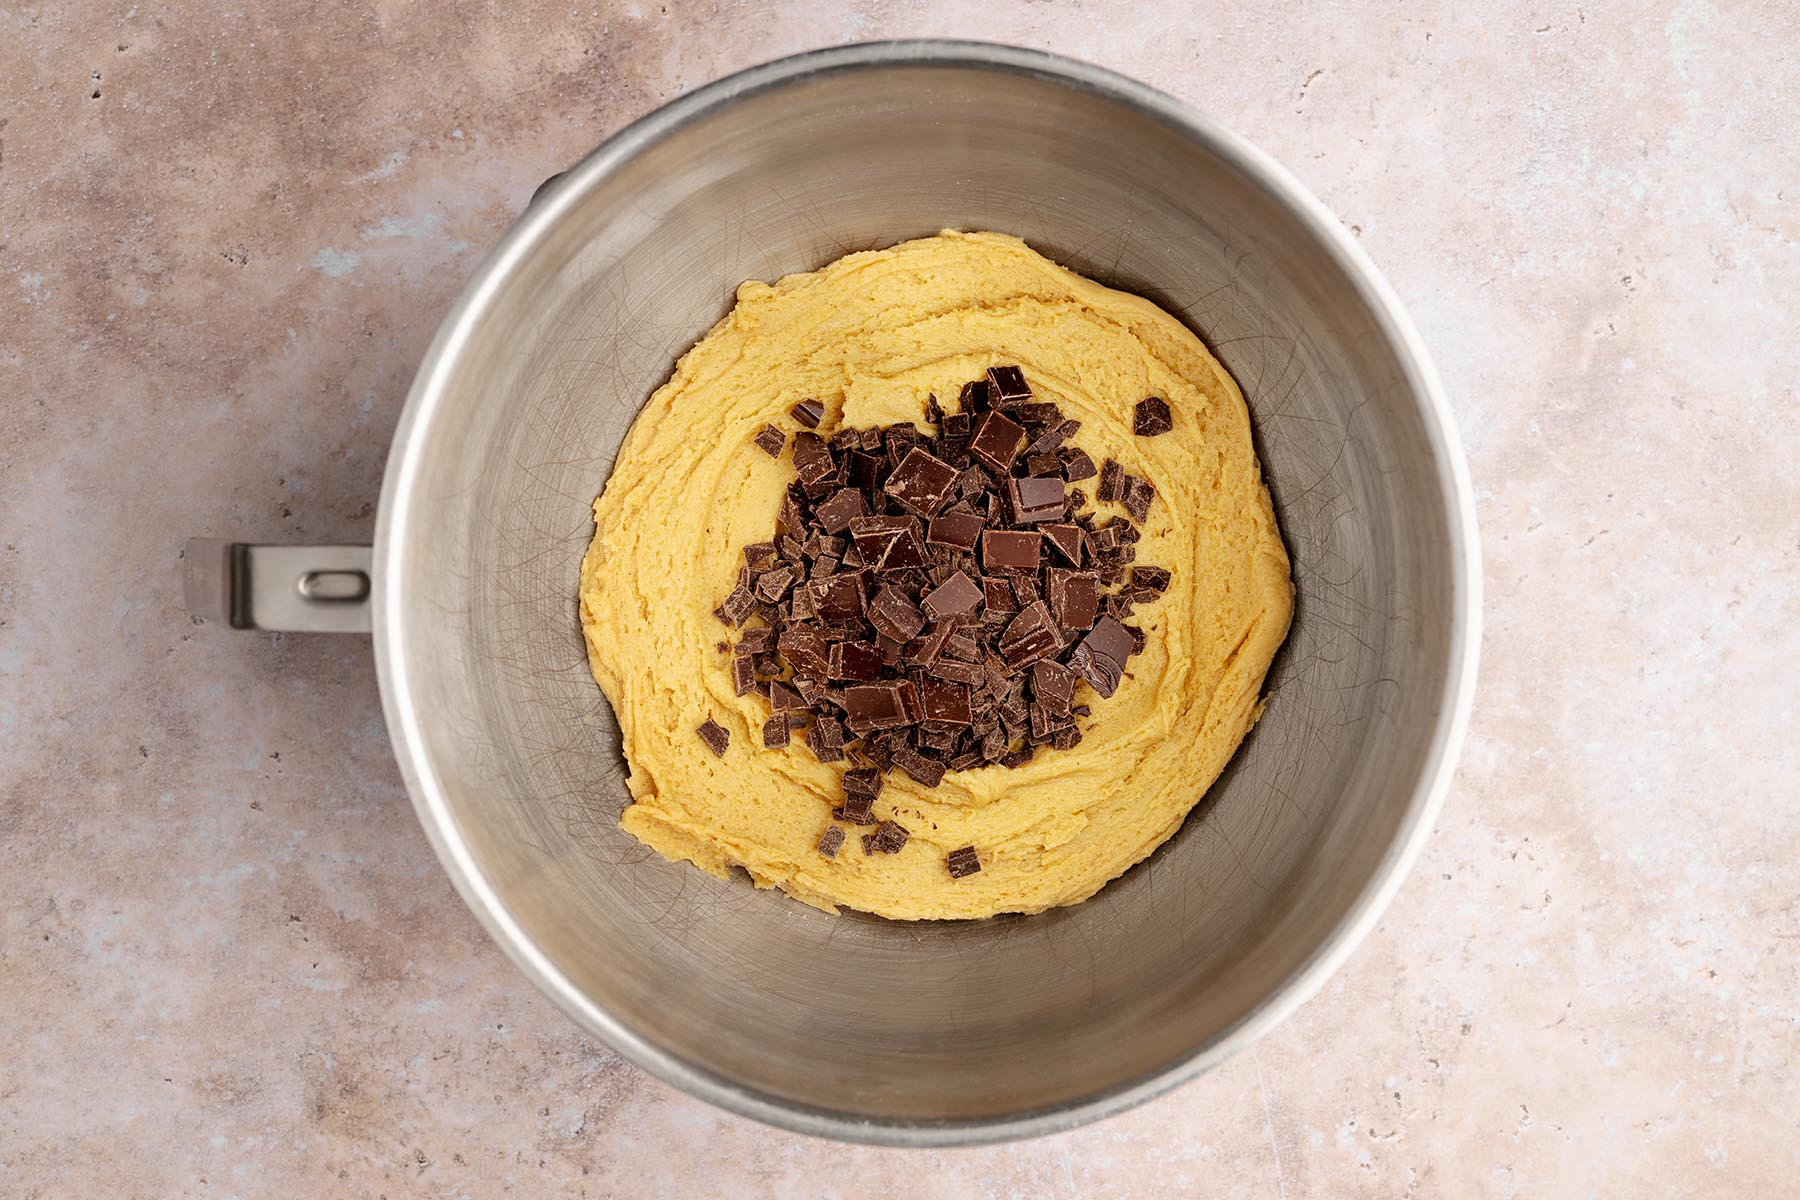
- Add 1 cup of the chopped chocolate and mix briefly on low until evenly distributed.Cover the bowl with plastic wrap and chill the dough for 45 minutes (Note 5).
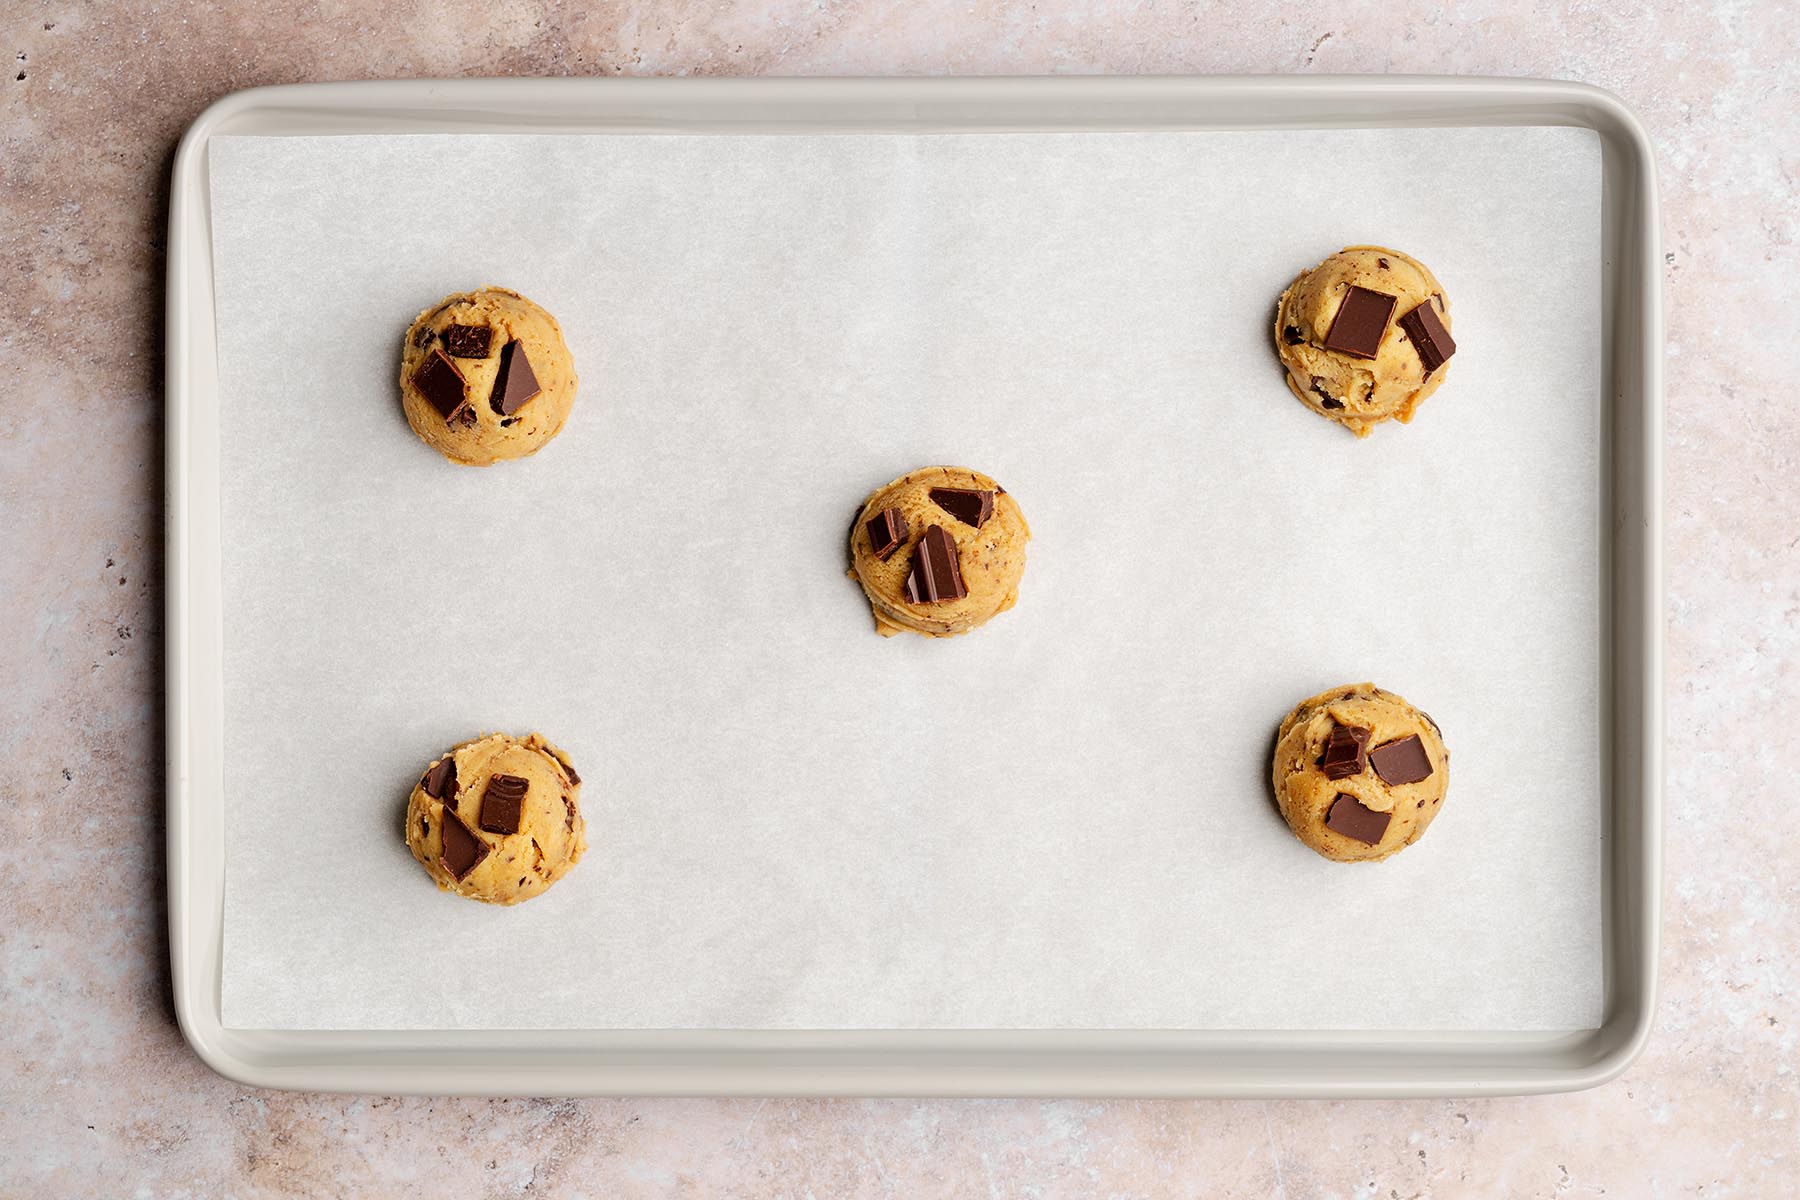
- Line a baking sheet with parchment. Scoop the chilled dough into 2-tablespoon portions using a #40 cookie scoop (about 55 g each).Press the remaining ½ cup chopped chocolate onto the tops of the dough balls. Keep the dough chilled while the oven preheats.Place dough balls on a parchment-lined baking sheet, leaving 2–3 inches between each. Bake no more than 6 cookies per sheet for even browning.
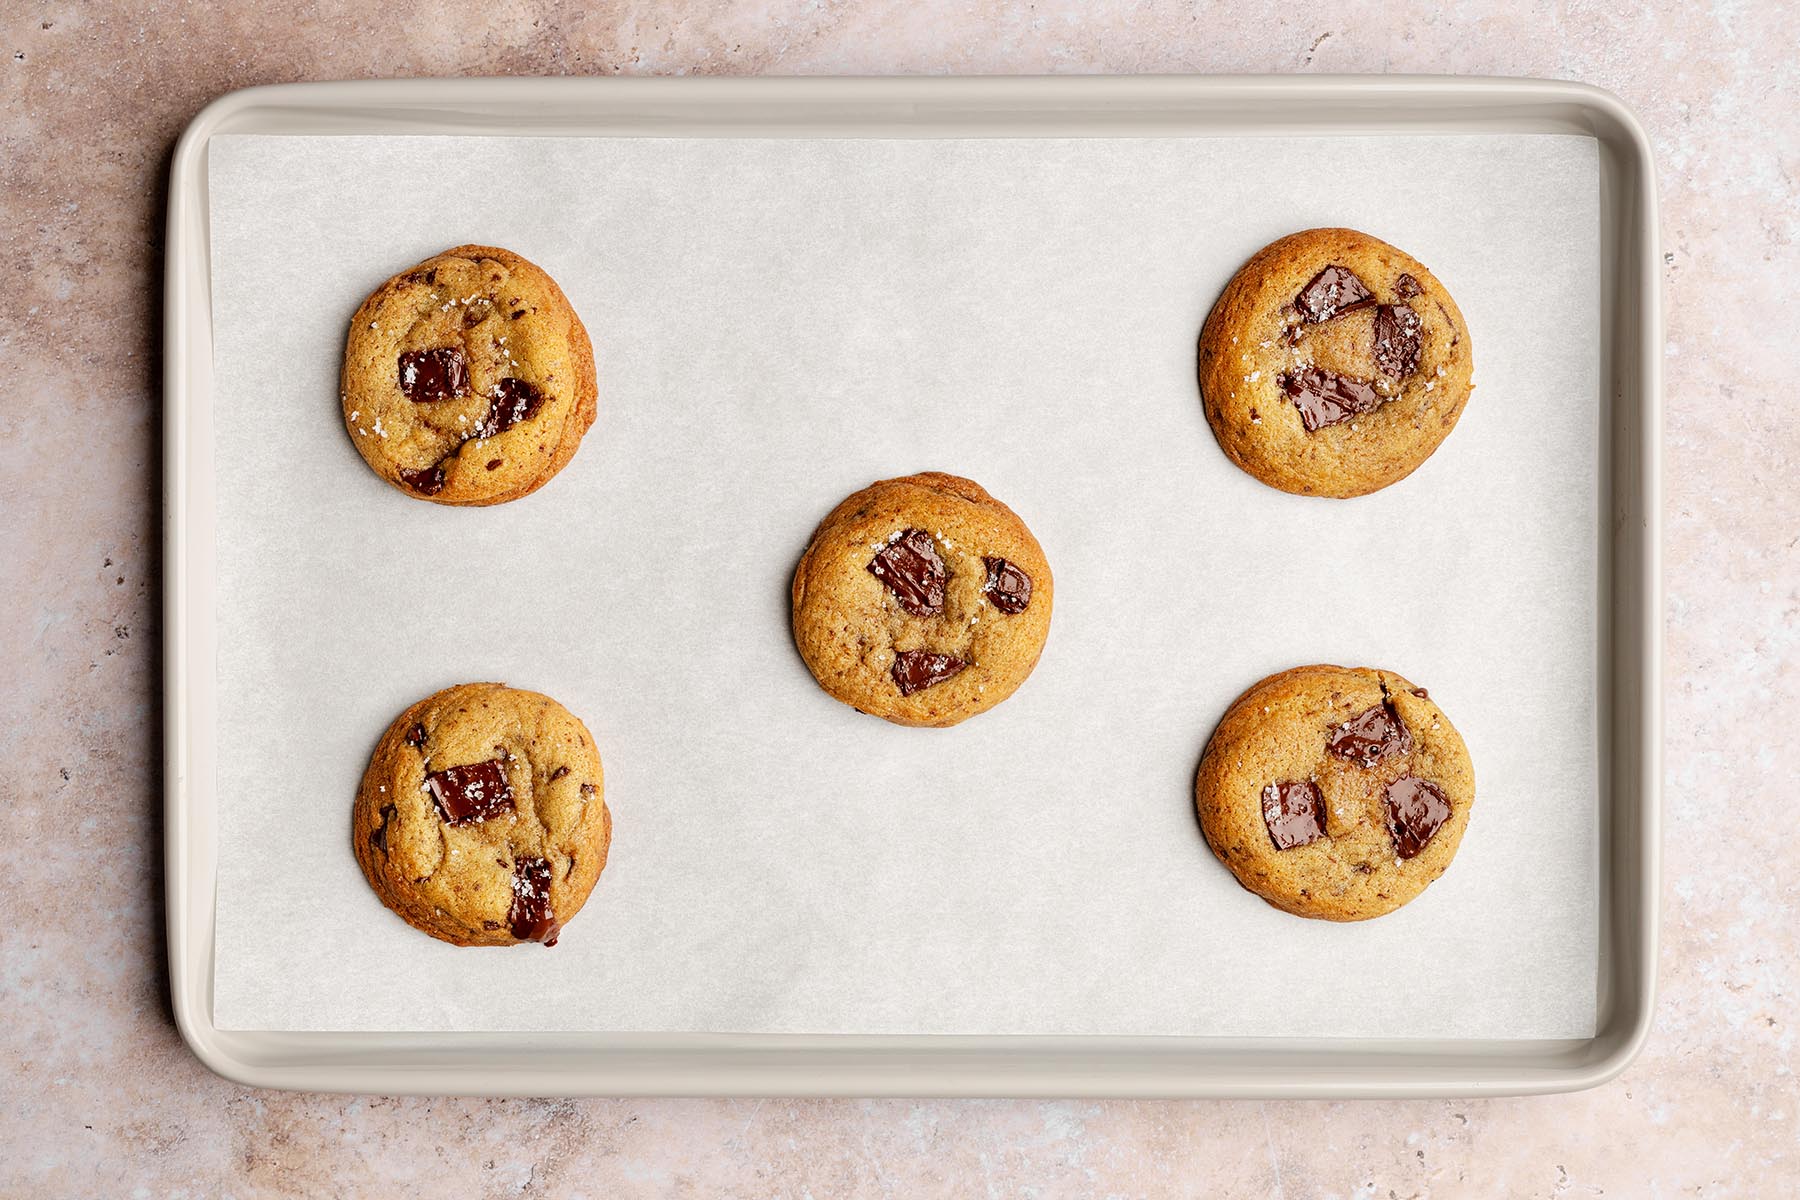
- Position the oven rack in the center and preheat to 350 F (177 C). Use an external thermometer for accuracy (Note 6).Bake for 10–12 minutes, until the edges are lightly golden and the centers look slightly underbaked.
- Transfer the baking sheet to a wire rack. If desired, use a biscuit cutter to gently swirl cookies into a perfectly round shape (Note 7).Sprinkle with flaky sea salt while warm, if using.Cool the cookies on the baking sheet for 15 minutes, then transfer to a wire rack to cool completely.
Notes
- A light-colored pan lets you clearly see the milk solids browning so you can pull the butter before it burns.
- Parchment helps prevent over-browning and encourages even spreading. Silicone mats work but may yield slightly puffier cookies.
- Pure vanilla extract gives excellent flavor, especially with the browned butter. For deeper, more aromatic vanilla flavor, substitute vanilla bean paste 1:1. Avoid imitation vanilla.
- Too much mixing incorporates excess air and can make the cookies cakey instead of chewy.
- Because the butter is browned, much of the water evaporates, allowing the dough to firm quickly. A 45-minute chill is enough to prevent spreading and give the cookies great structure. If preferred, you can also chill overnight, which slightly deepens flavor and firms the dough, but it isn’t necessary for great results. For overnight chilling, wrap the dough in plastic wrap.
- Most ovens run hot or cool. An external thermometer ensures consistent results.
- Place a large biscuit cutter over each cookie right after baking and make gentle swirling motions to round the edges.
- Store in an airtight container for up to 5 days.
- Freeze baked cookies for up to 3 months.
- Freeze unbaked dough balls for up to 3 months; bake from frozen, adding 1–2 minutes as needed.