Would you like to save this recipe?
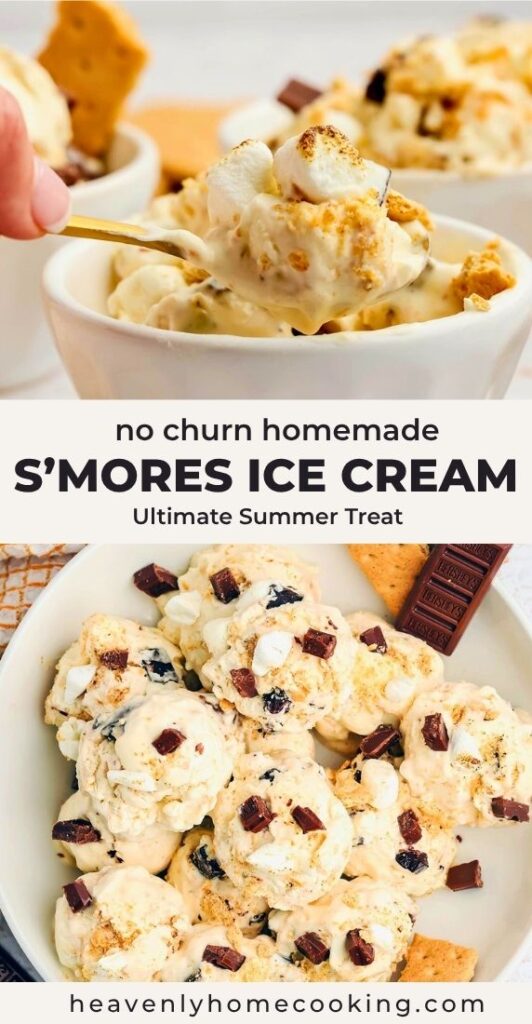
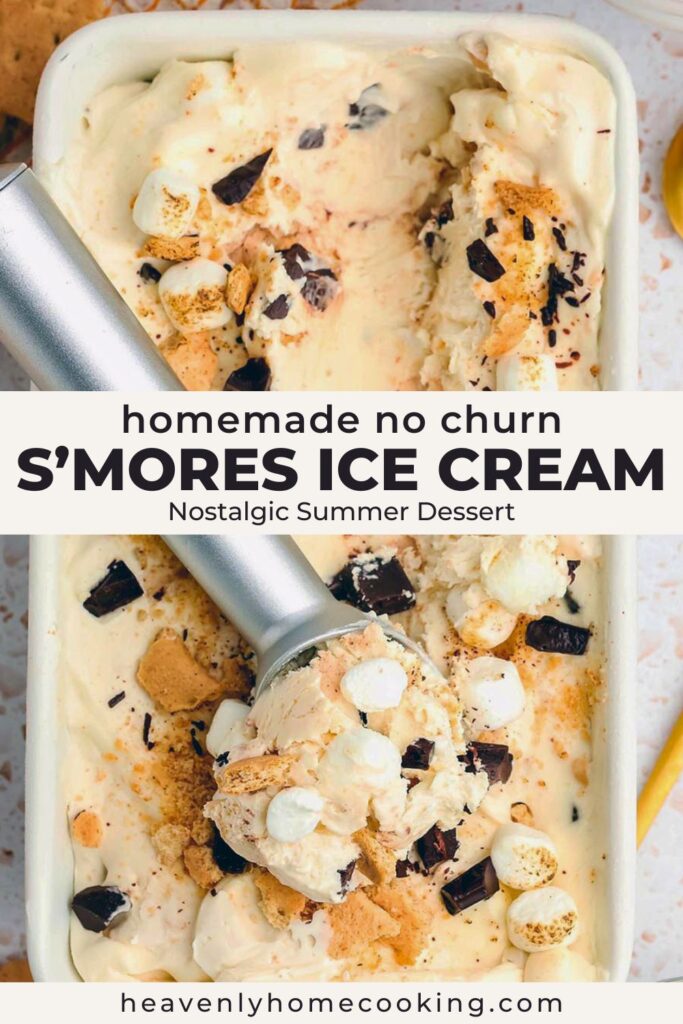
I’ve always loved the flavor of s’mores, especially that combination of toasted marshmallows, chocolate, and graham crackers together in one bite. It’s one of those flavors that instantly feels cozy and nostalgic, especially in the middle of summer. So naturally, turning those classic flavors into homemade s’mores ice cream felt like a must.
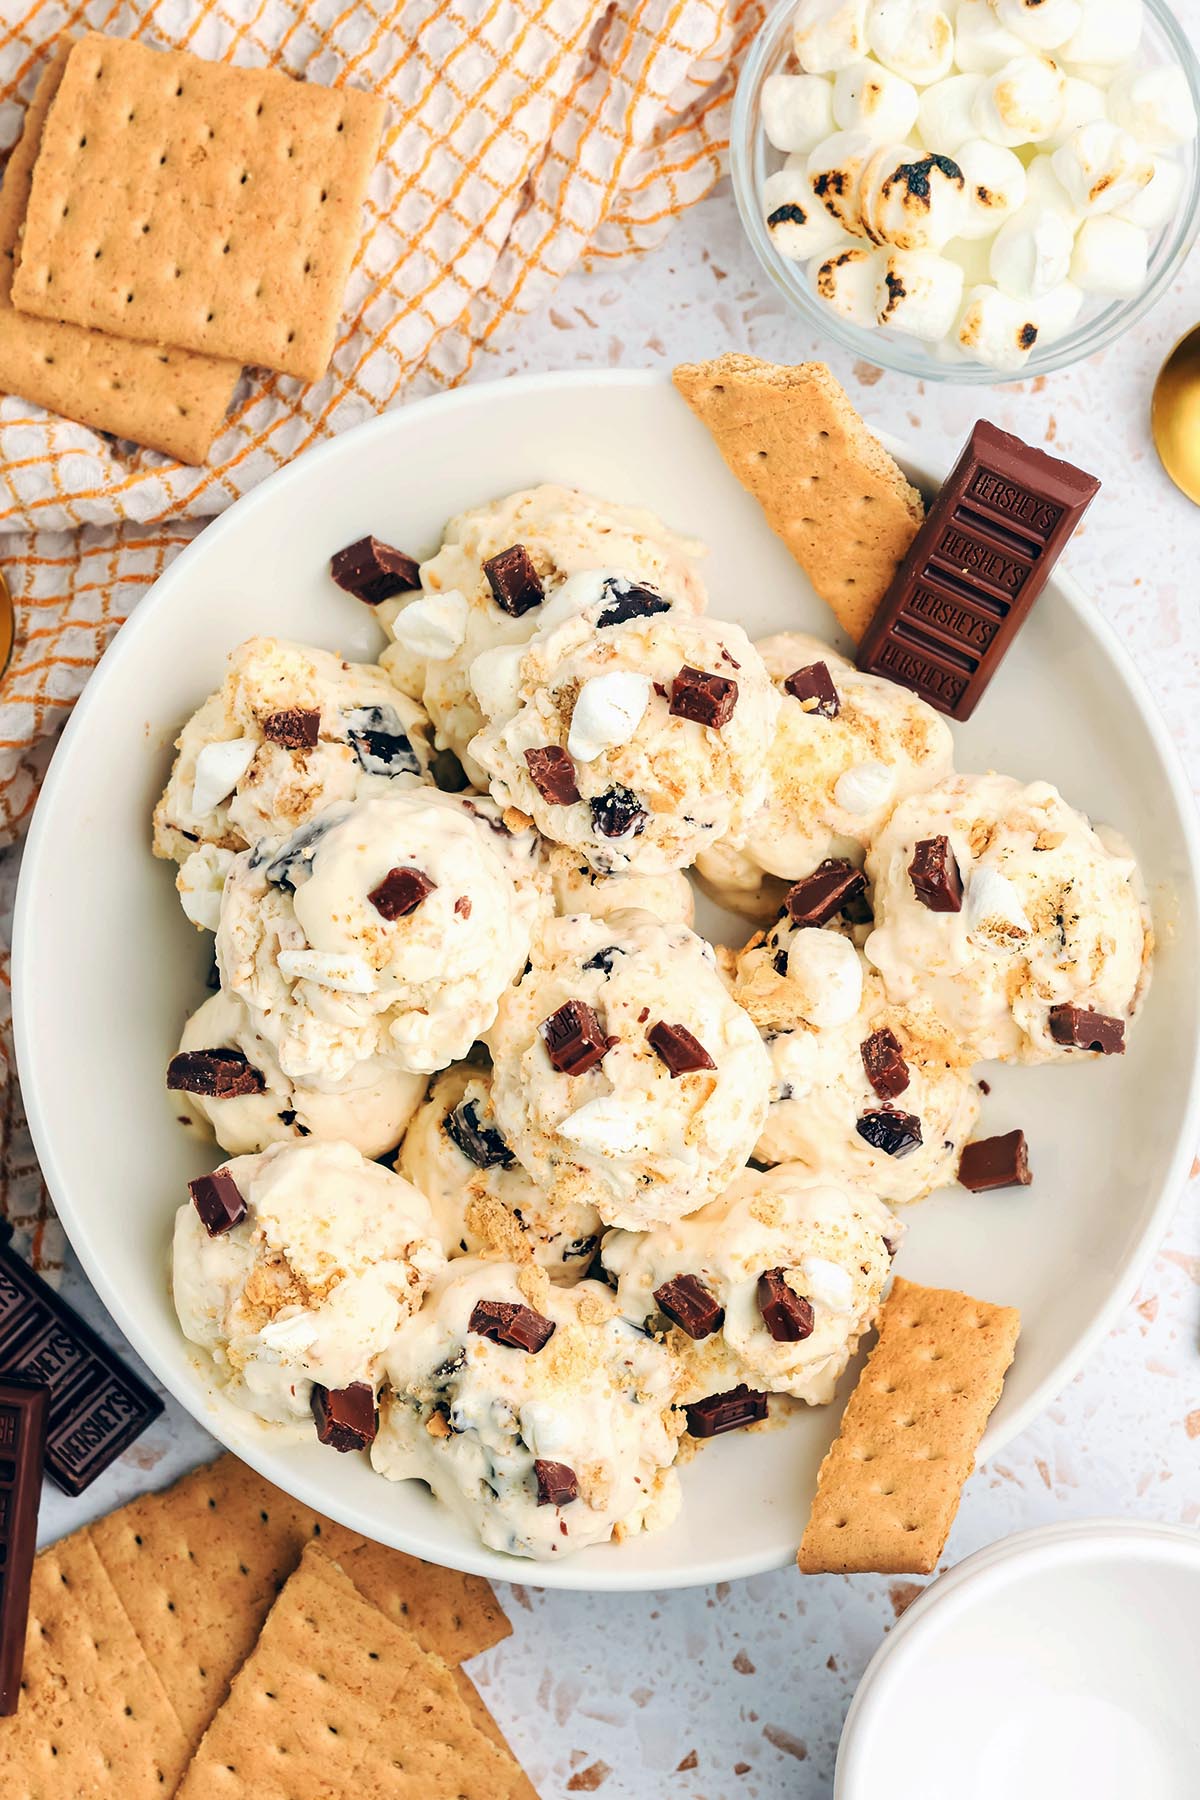
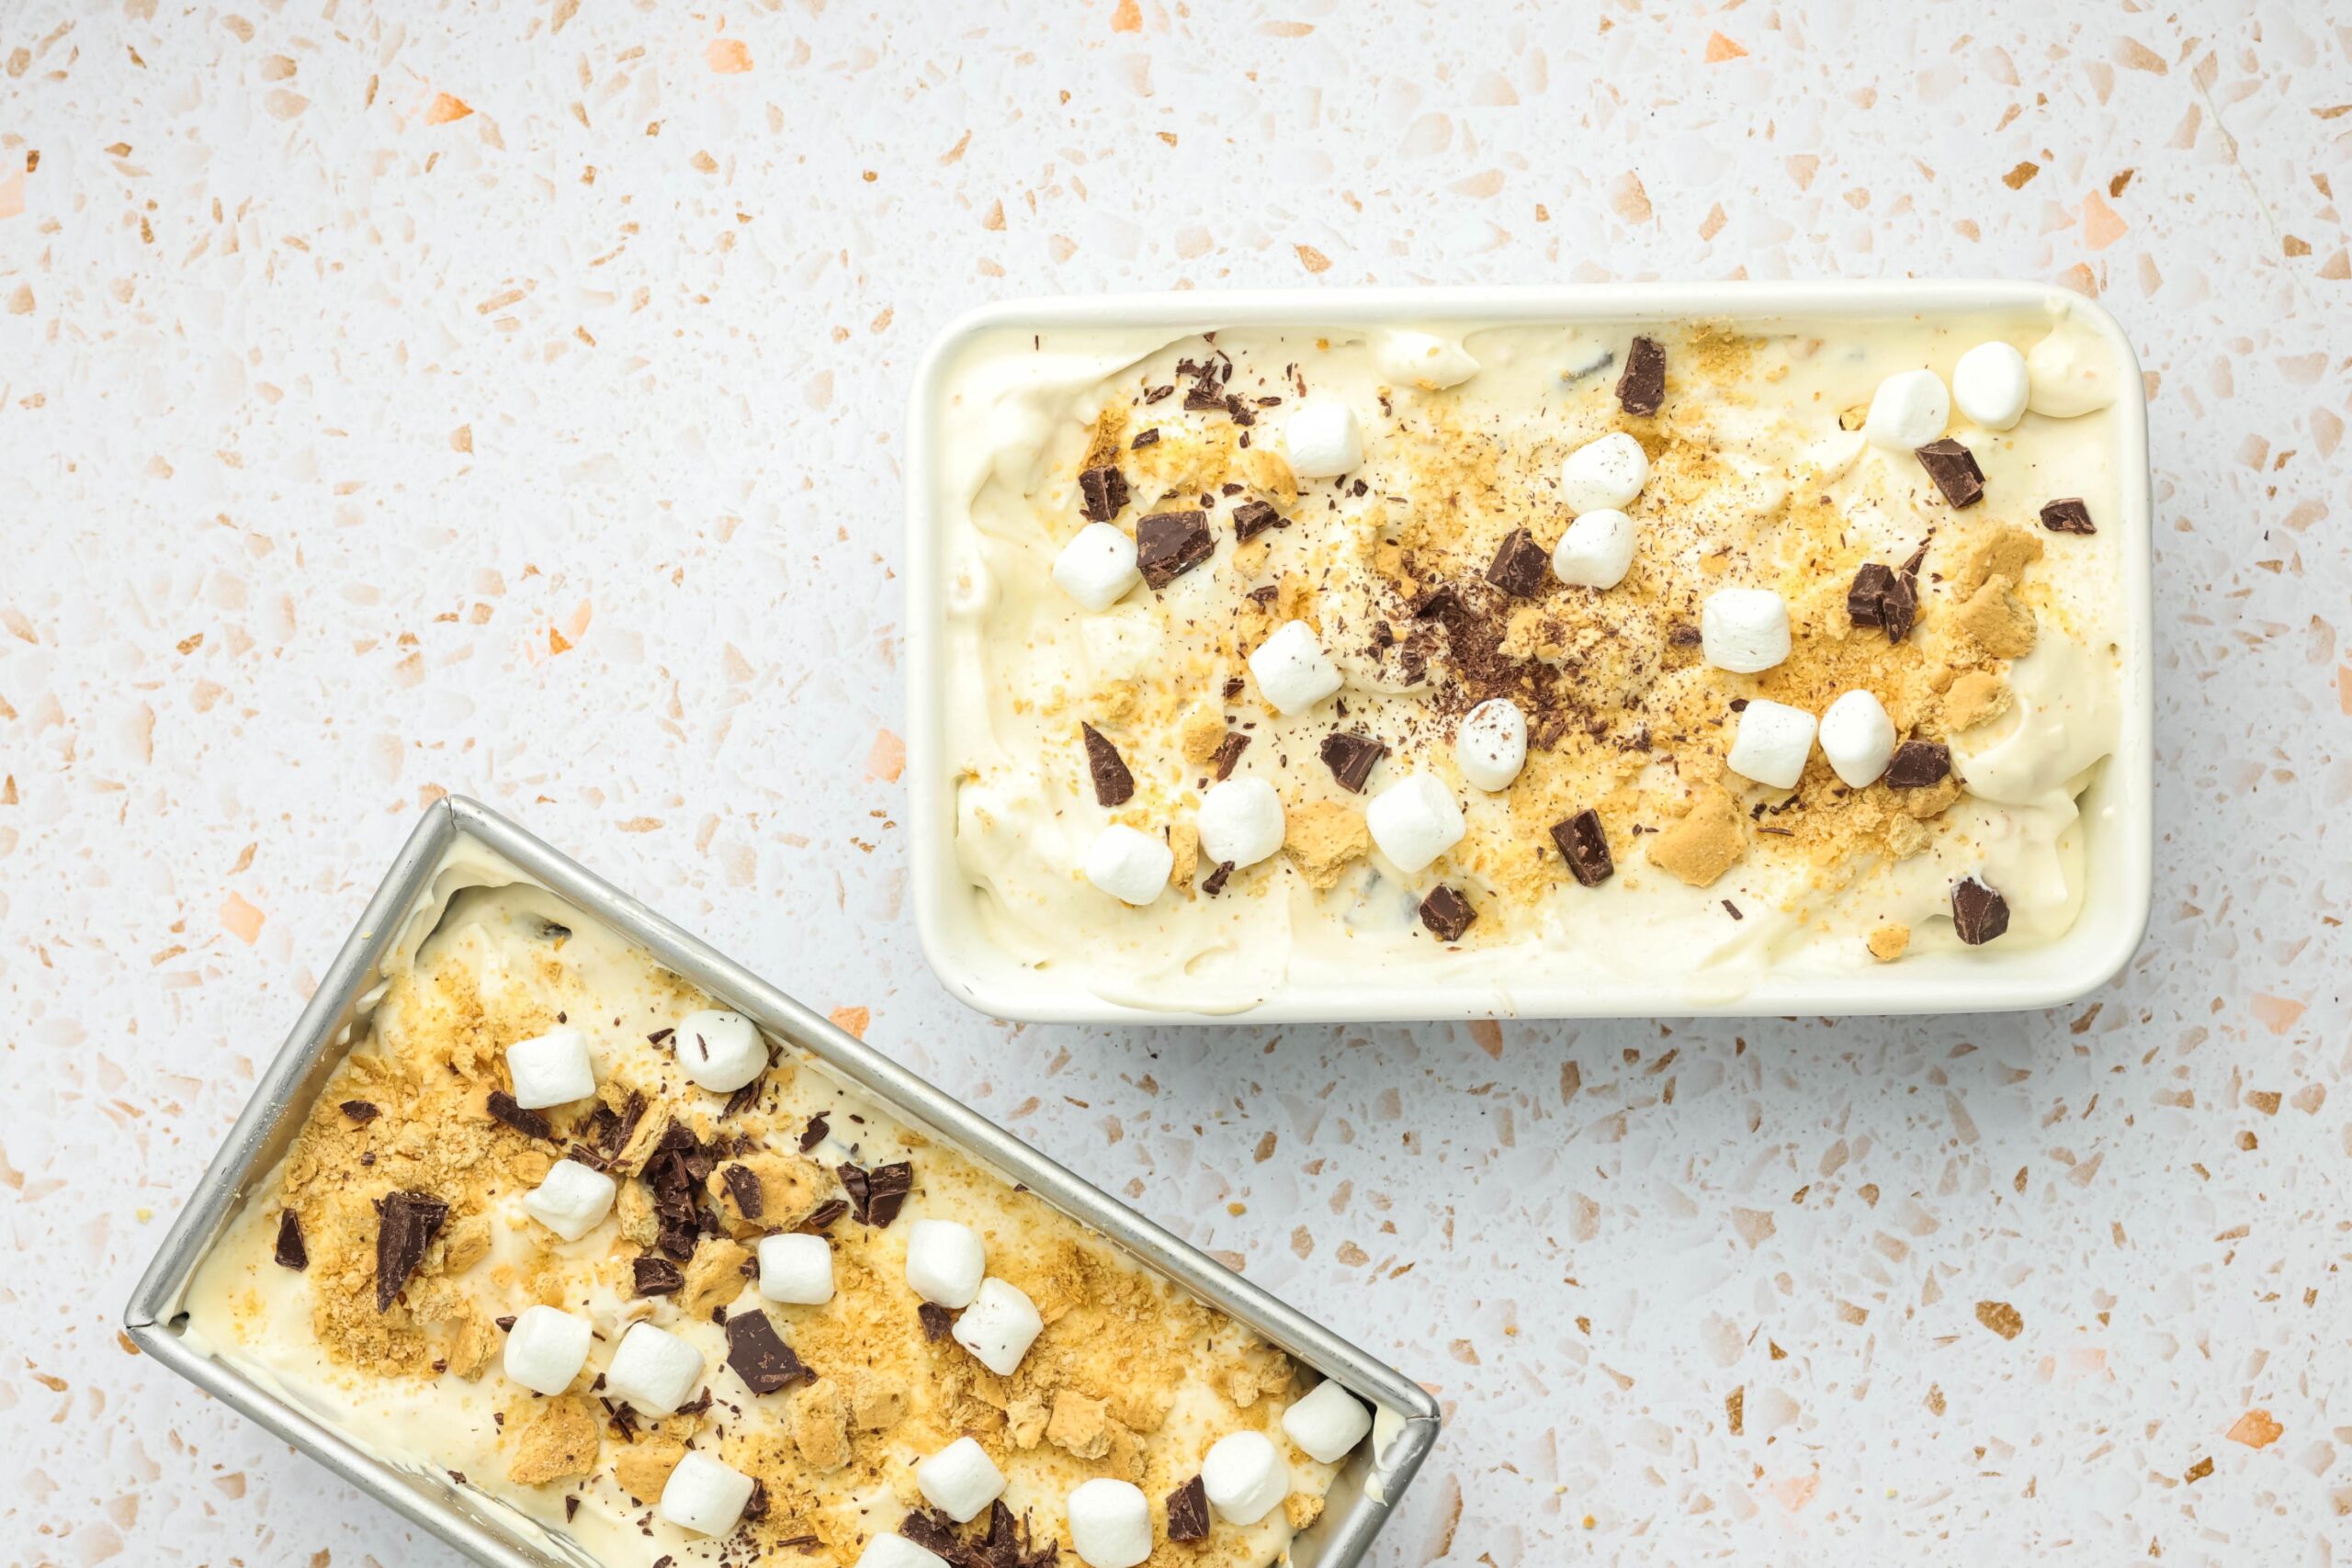
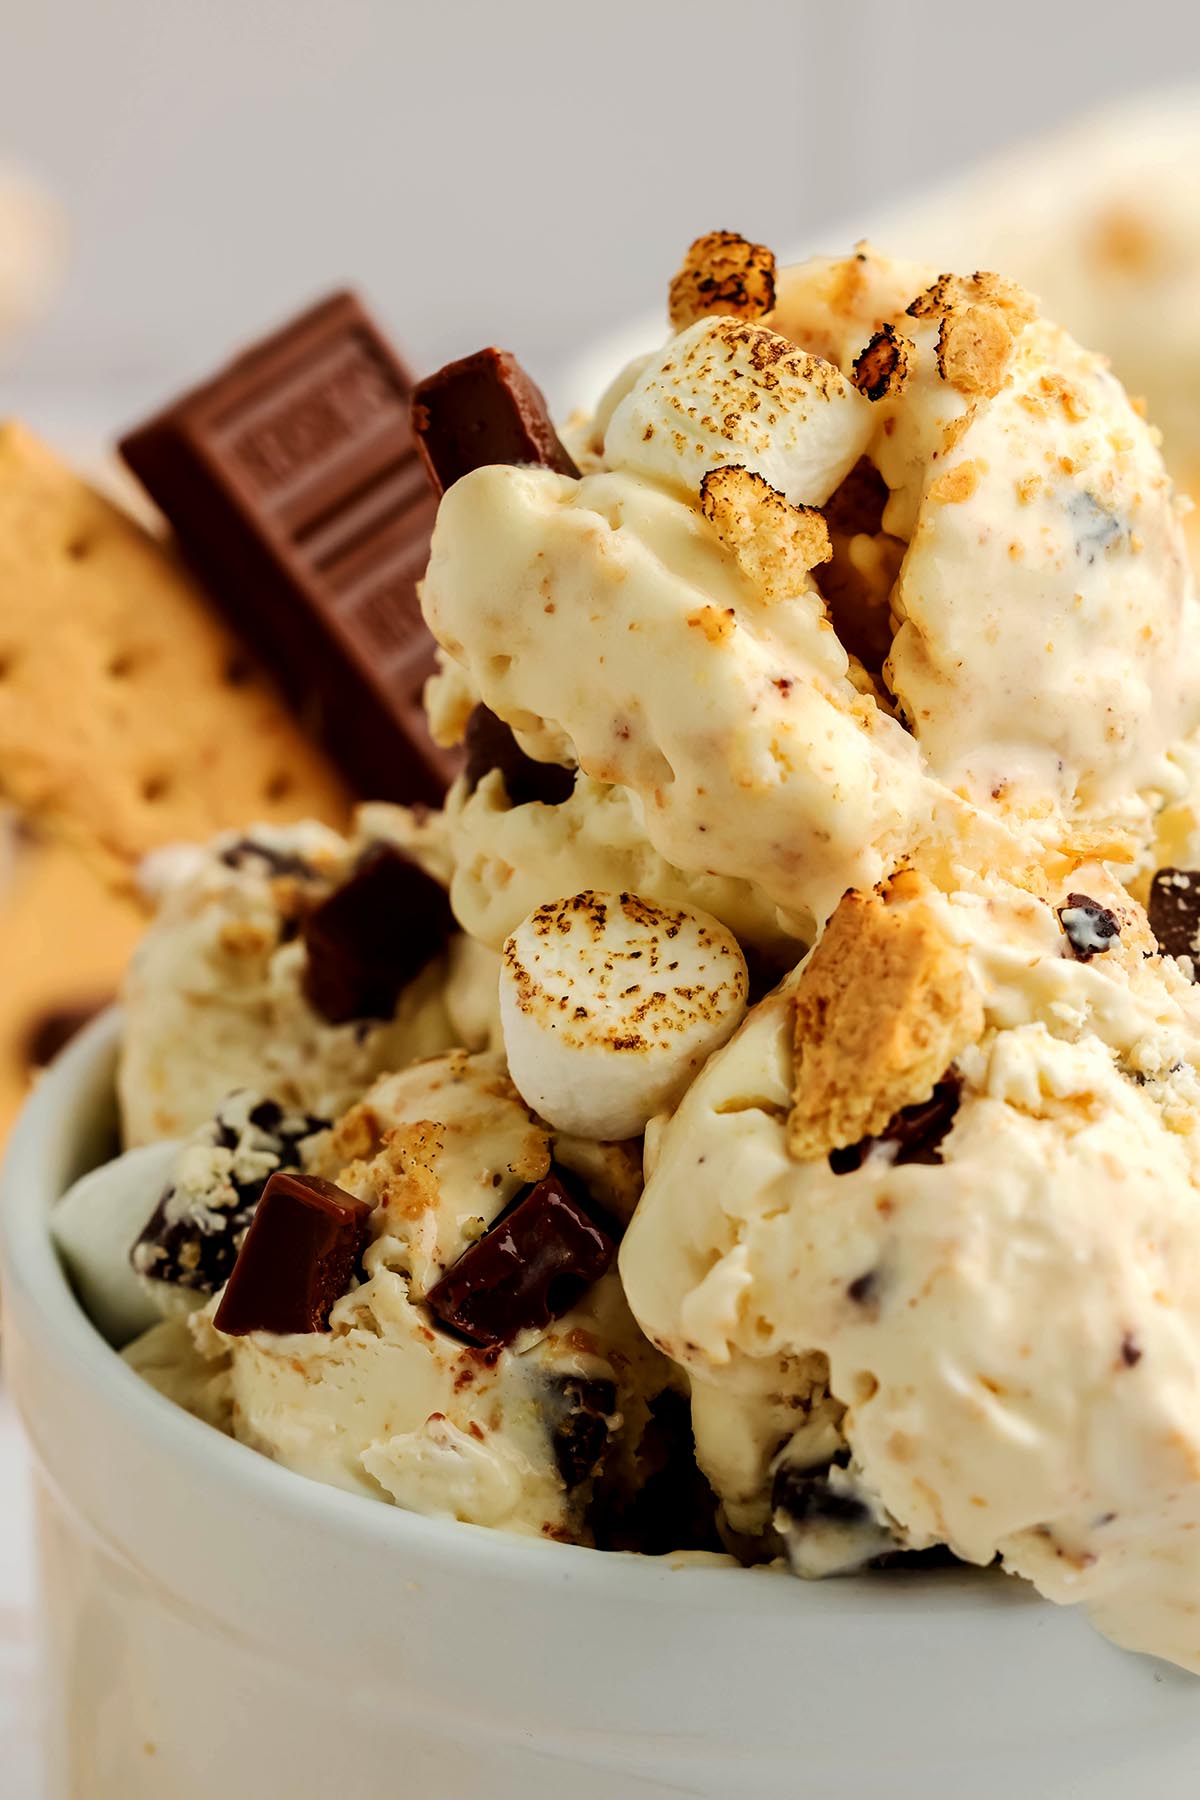
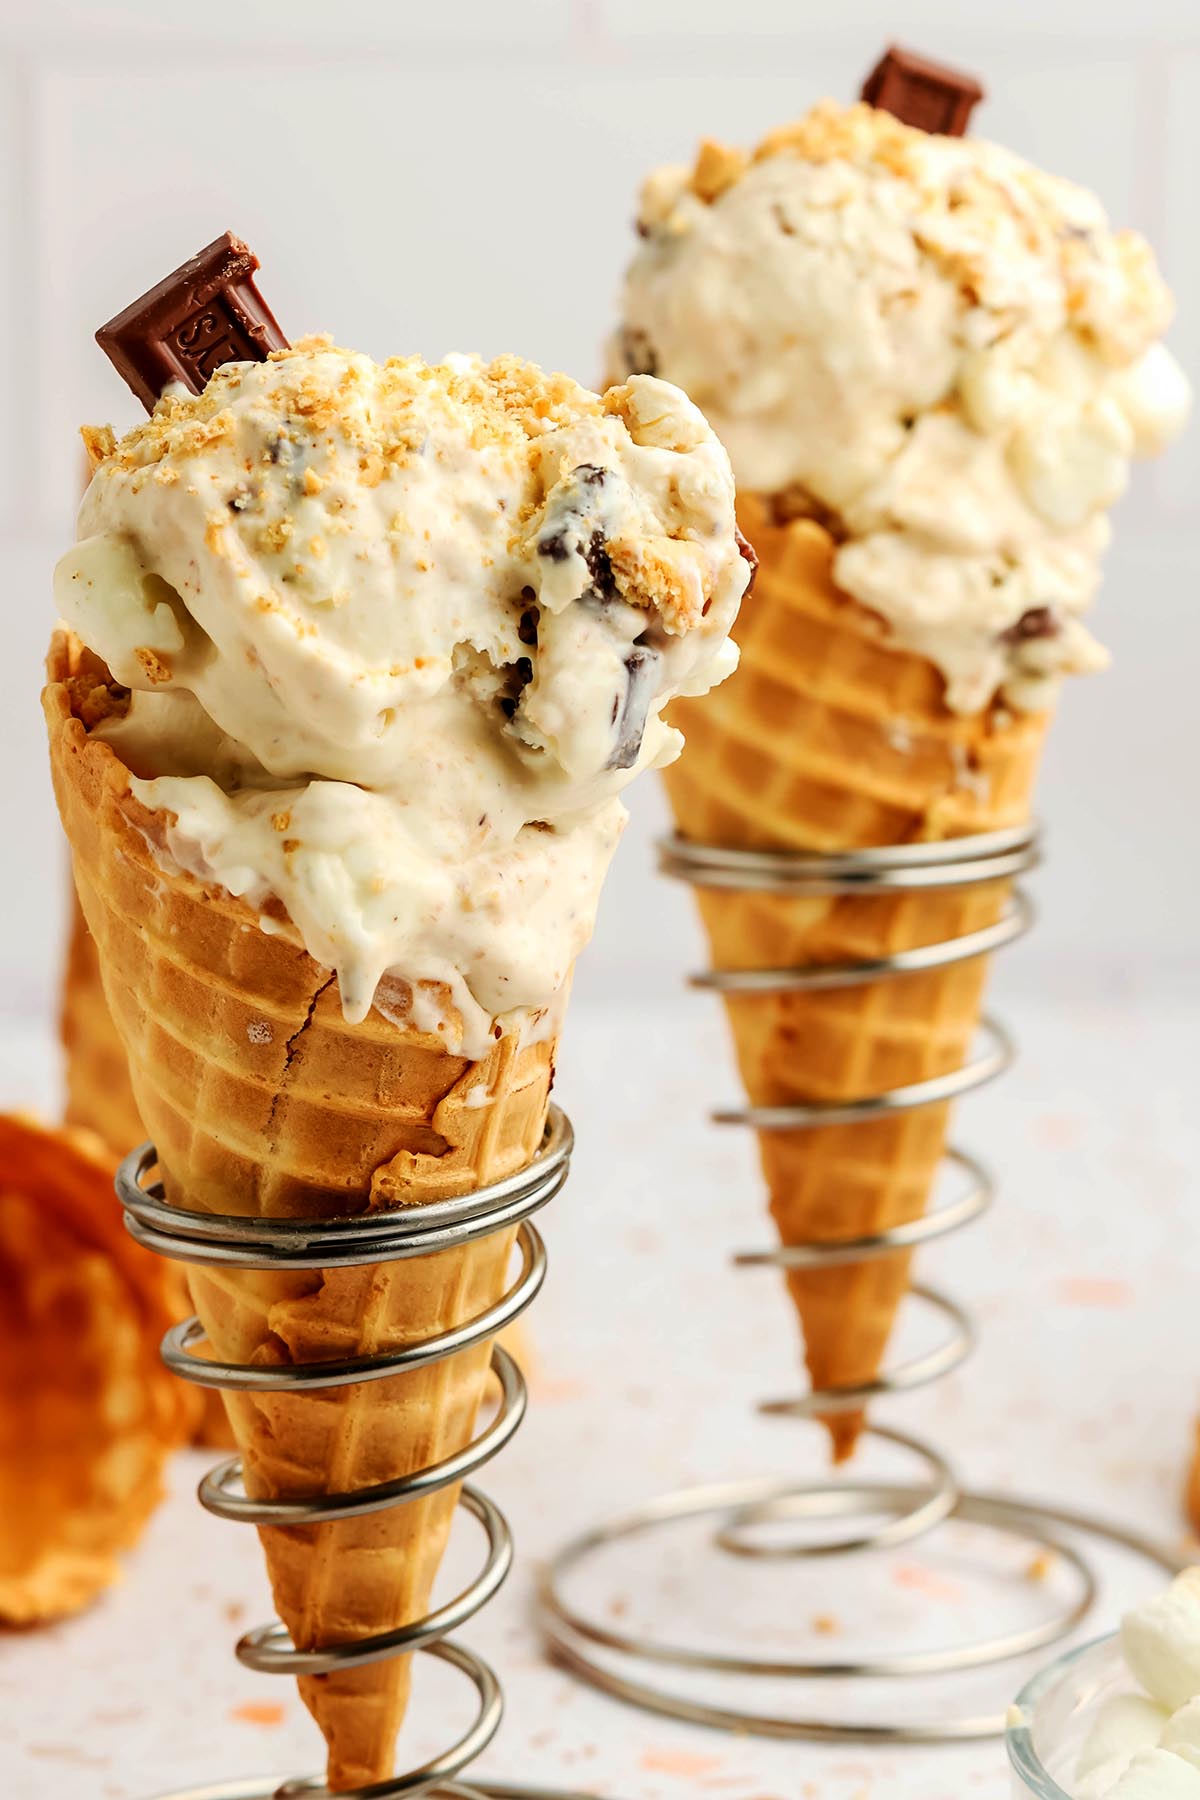
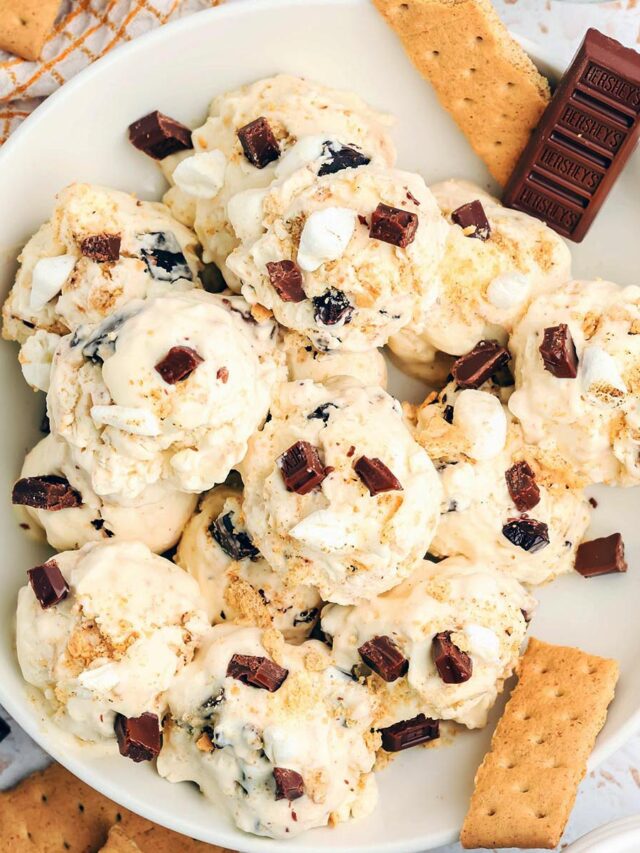
This ice cream is creamy, rich, and loaded with all the good stuff: chunks of chocolate, graham cracker pieces, and toasted mini marshmallows throughout.
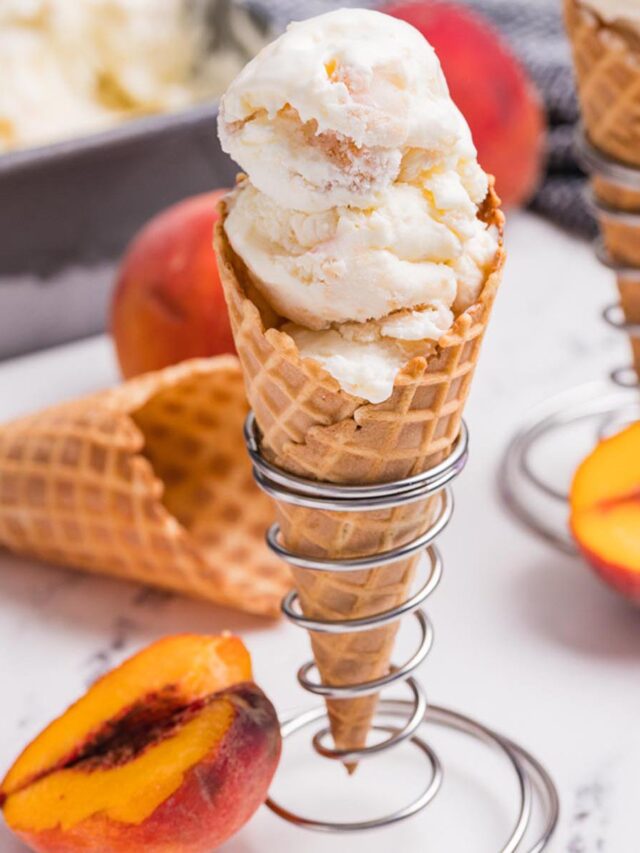
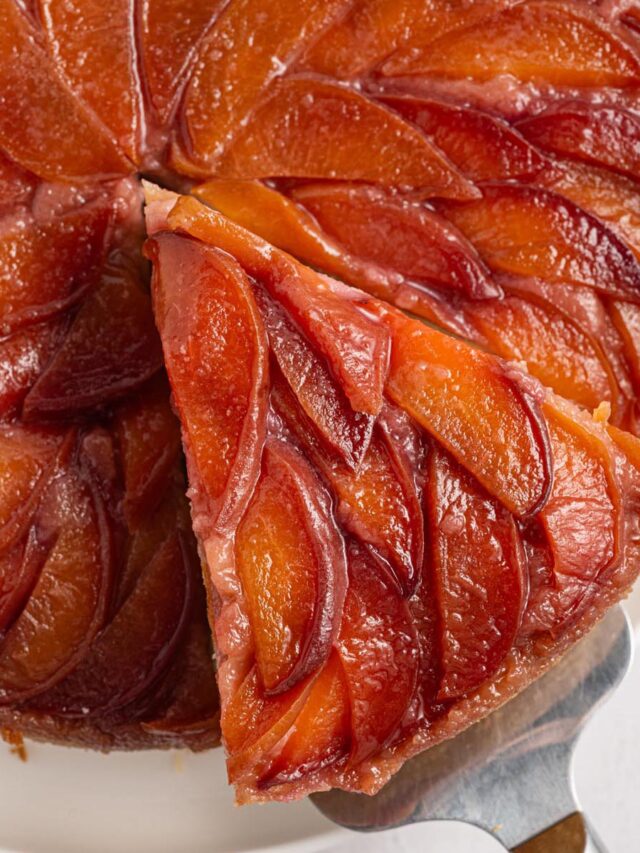
If you enjoy homemade frozen desserts, you should also check out our homemade peach ice cream. It’s another summer favorite around here and perfect when fresh peaches are in season. If you can’t get enough s’mores flavor, our s’mores brownies are another great option. To keep with the summer theme, serve it with our addictive festive fireworks blondies.
Why This Recipe Is So Hard to Resist
Ingredients at a Glance
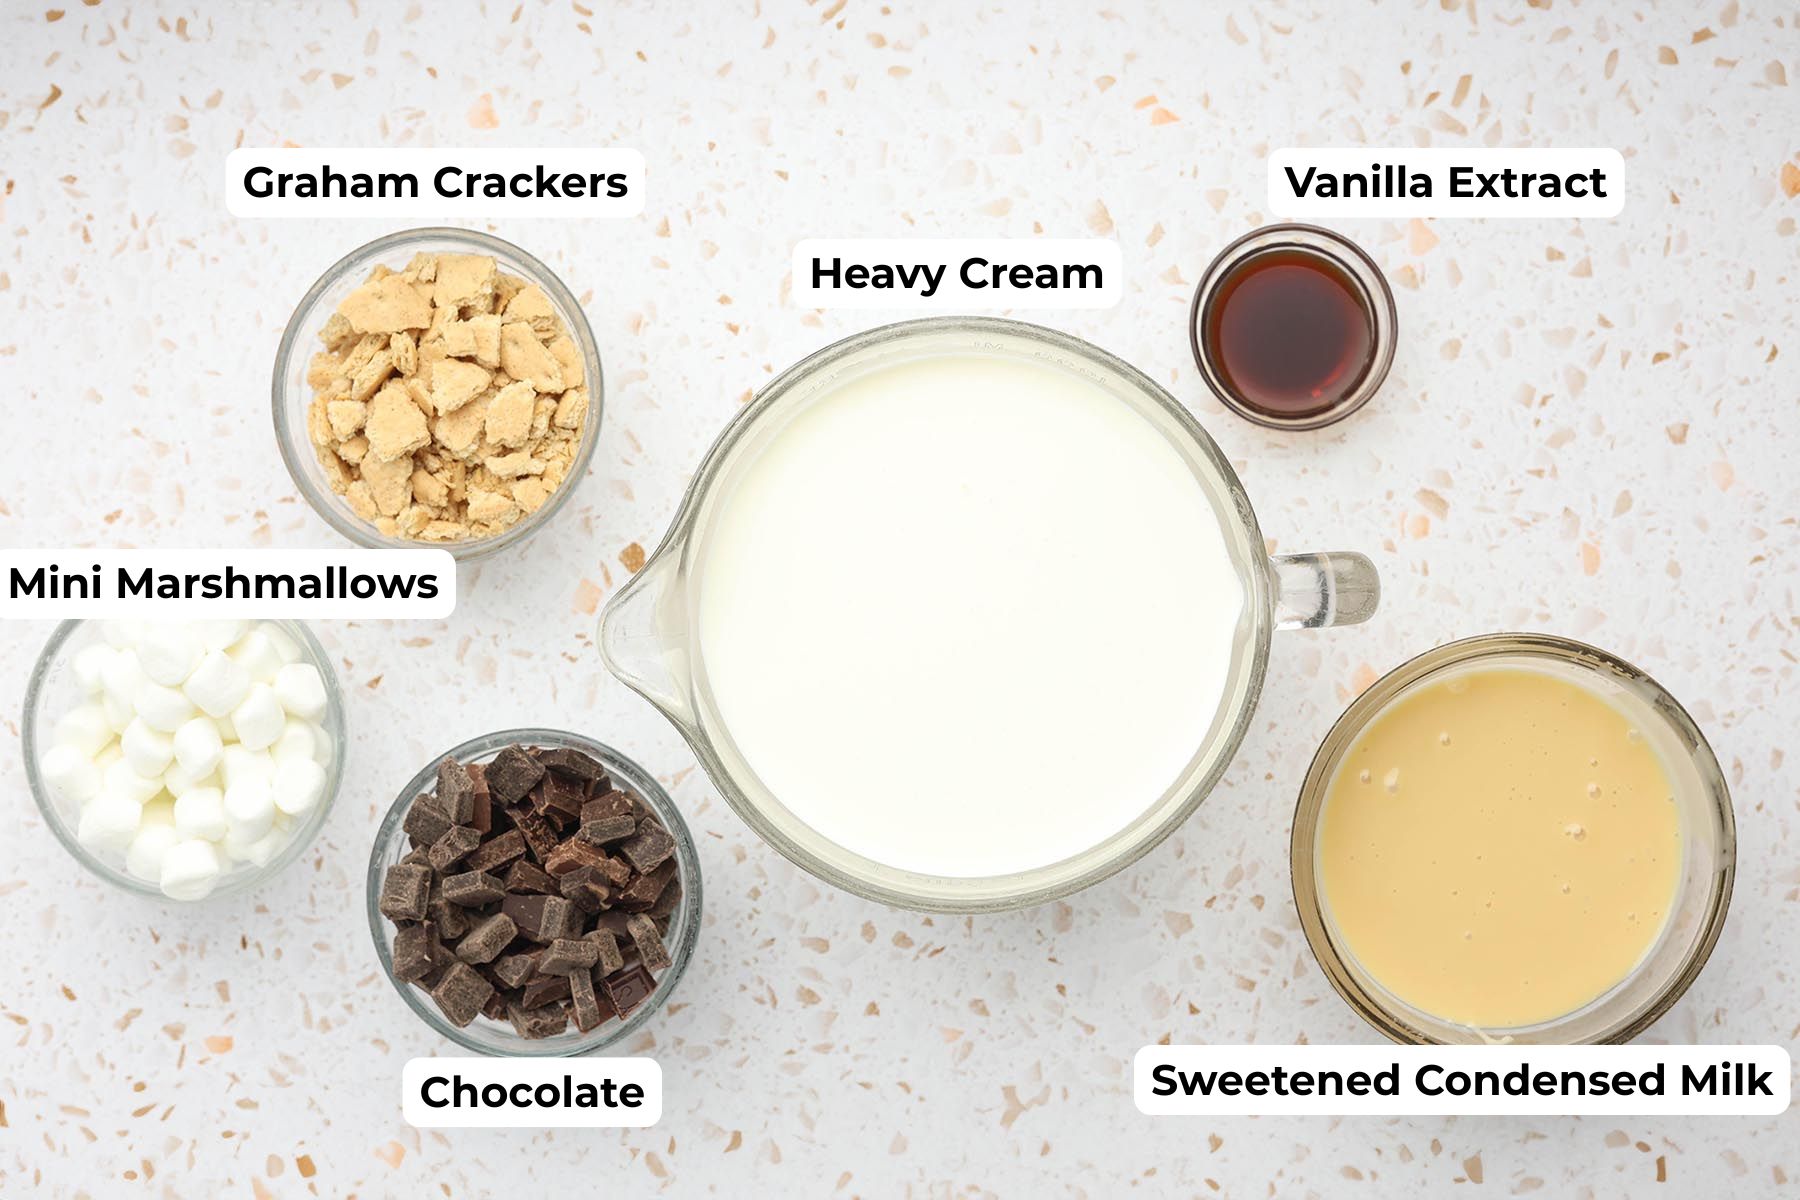
- Heavy Cream. Heavy whipping cream creates the rich, creamy base for this no-churn ice cream. Be sure it’s very cold before whipping for the best texture. Heavy cream works best here because of its higher fat content.
- Sweetened Condensed Milk. Sweetened condensed milk sweetens the ice cream while also helping keep it soft and scoopable straight from the freezer. I don’t recommend substituting it in this recipe since it plays an important role in the texture.
- Vanilla Extract. Vanilla adds warmth and helps tie all of the s’mores flavors together. Pure vanilla extract gives the best flavor, but imitation vanilla will work in a pinch.
- Graham Crackers. Graham crackers add that classic s’mores flavor and a little crunch throughout the ice cream. You can use honey graham crackers, cinnamon graham crackers, or even chocolate graham crackers if you want to change things up a bit.
- Chocolate Chunks. Chocolate chunks melt more smoothly into the ice cream than regular chocolate chips and give you bigger pockets of chocolate in each bite. Milk chocolate gives this recipe a more classic s’mores flavor, but dark chocolate or semi-sweet chocolate also work well.
- Mini Marshmallows. Mini marshmallows add the nostalgic marshmallow flavor that makes this recipe taste like a frozen s’more. Stick with mini marshmallows here since larger marshmallows can become too chewy once frozen.
How to Make It (Photo Tutorial)
Tips for the Best Results
- Start with very cold heavy cream. Cold cream whips faster and creates a lighter, creamier texture.
- Stop whipping as soon as stiff peaks form. Overwhipped cream can become grainy and affect the final texture of the ice cream.
- Mix the sweetened condensed milk in gently. Overmixing can deflate the whipped cream and make the ice cream denser.
- Roughly chop the graham crackers instead of crushing them into fine crumbs. Larger pieces hold their texture better in the freezer.
- Chopped chocolate bars work better than chocolate chips. Chocolate chips tend to freeze harder, while chopped chocolate stays softer and melts more smoothly in your mouth.
- Cover the ice cream tightly before freezing. Pressing plastic wrap directly against the surface helps prevent ice crystals from forming.
- Freeze overnight if possible. While the ice cream may be scoopable after 6 hours, the texture is even creamier after a full overnight freeze.
- Let the ice cream sit at room temperature for a few minutes before scooping. This makes it much easier to scoop and gives the texture time to soften slightly.
Ways to Serve It
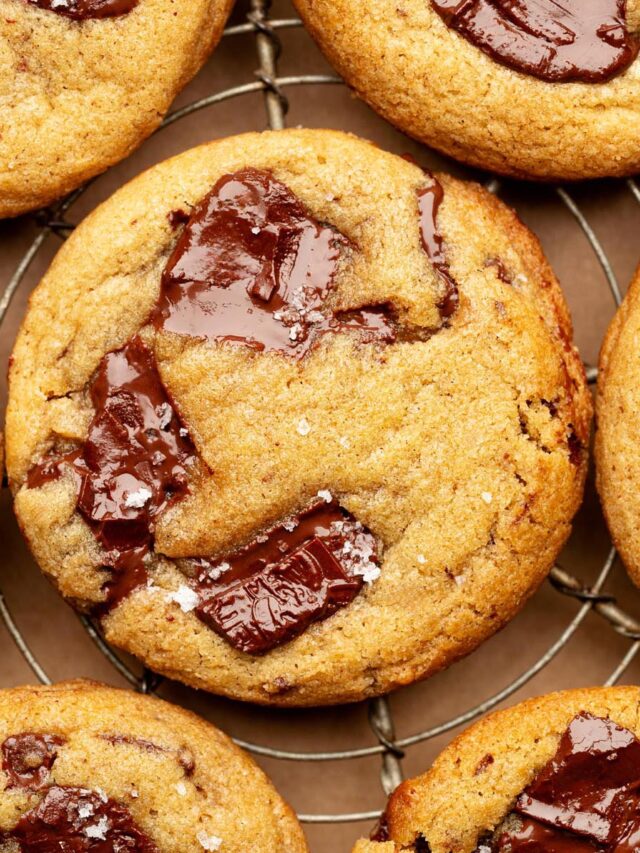
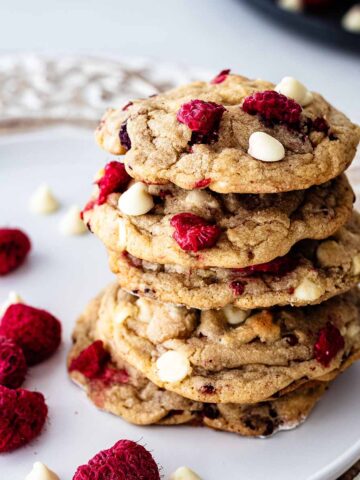
- Serve a scoop alongside our chocolate chunk cookies for a rich dessert combination that feels extra special.
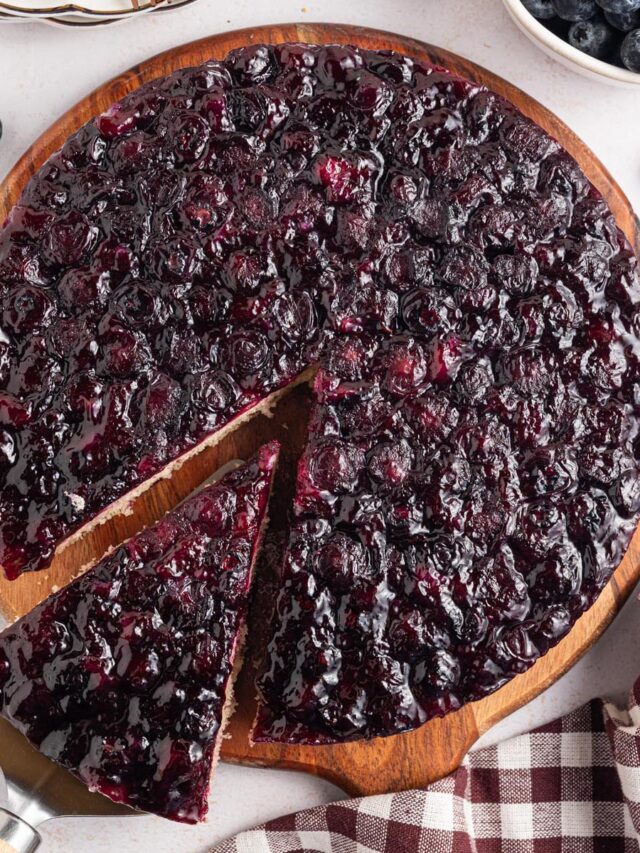
- Pair it with our blueberry upside down cake or peach upside down cake for an easy summer dessert spread.
- Scoop it into waffle cones and top with extra chocolate chunks, graham crackers, or mini marshmallows.
- Serve it on top of warm brownies for a simple dessert that always disappears fast.
- Set out bowls of toppings and let everyone build their own s’mores-inspired ice cream bowl for parties or cookouts.
- Add a scoop on top of a slice of cake while it’s still slightly warm for an extra indulgent dessert.
Storage
Store the ice cream tightly covered in the freezer for up to 2 weeks. For the best texture, press plastic wrap directly against the surface before covering with a lid or foil to help prevent ice crystals from forming.
Because this is a homemade ice cream without stabilizers, it will freeze firmer than store-bought ice cream over time. Let it sit at room temperature for about 5-10 minutes before scooping to soften slightly and make serving easier.
More Dessert Recipes Worth Saving

Tried this recipe? I’d love to hear how it turned out! Leaving a quick rating and comment helps other readers and supports Heavenly Home Cooking more than you know.
Homemade S’mores Ice Cream Recipe
Equipment
Ingredients
- 4 cups heavy whipping cream very cold (Note 1)
- 14 ounces sweetened condensed milk one 14-ounce can
- 1 tablespoon vanilla extract
- 1 cup graham crackers roughly chopped
- 1 cup chocolate chunks or chopped chocolate bar
- 1 cup mini marshmallows
- Optional Toppings
- Extra chopped graham crackers
- Additional chocolate chunks
- Extra mini marshmallows
Instructions
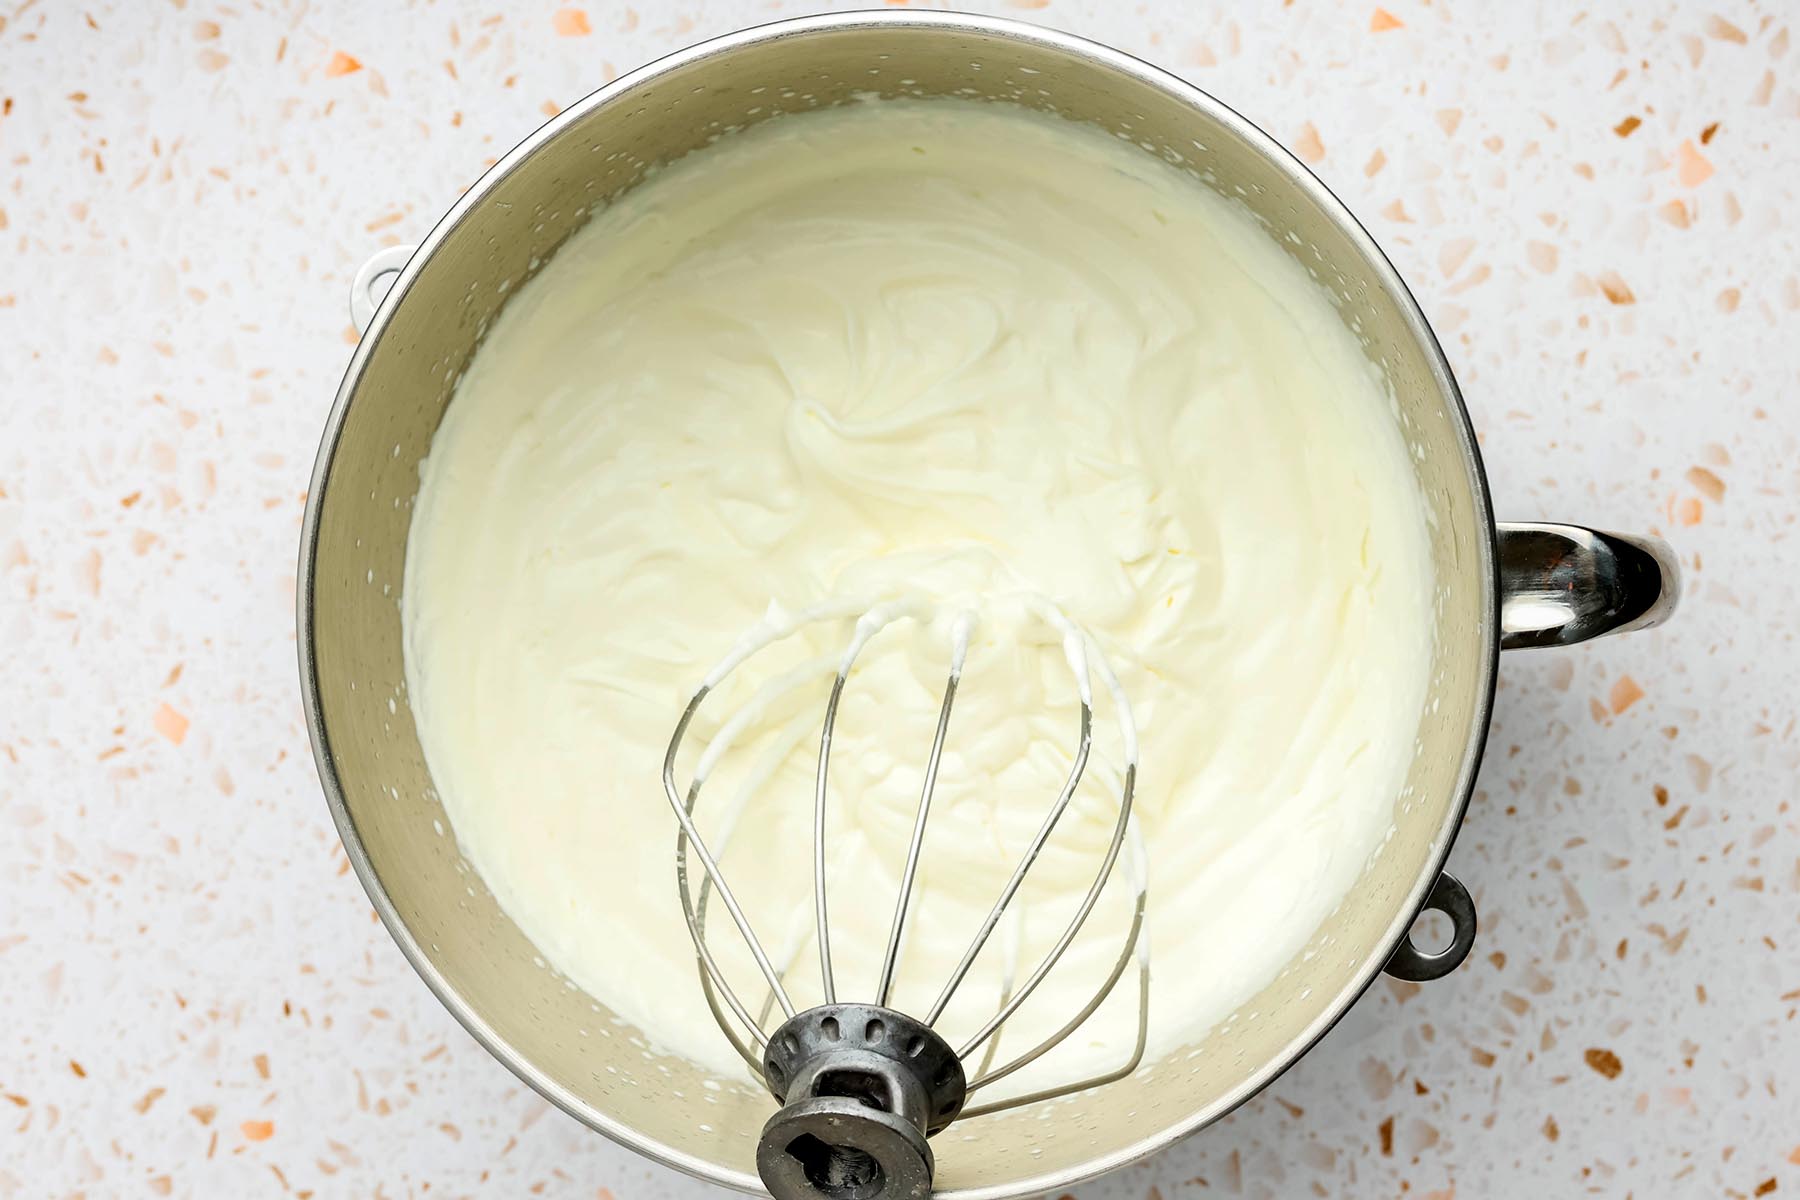
- Add the cold 4 cups heavy whipping cream to a large mixing bowl. Beat on high speed until stiff peaks form, about 3-5 minutes (Note 2).
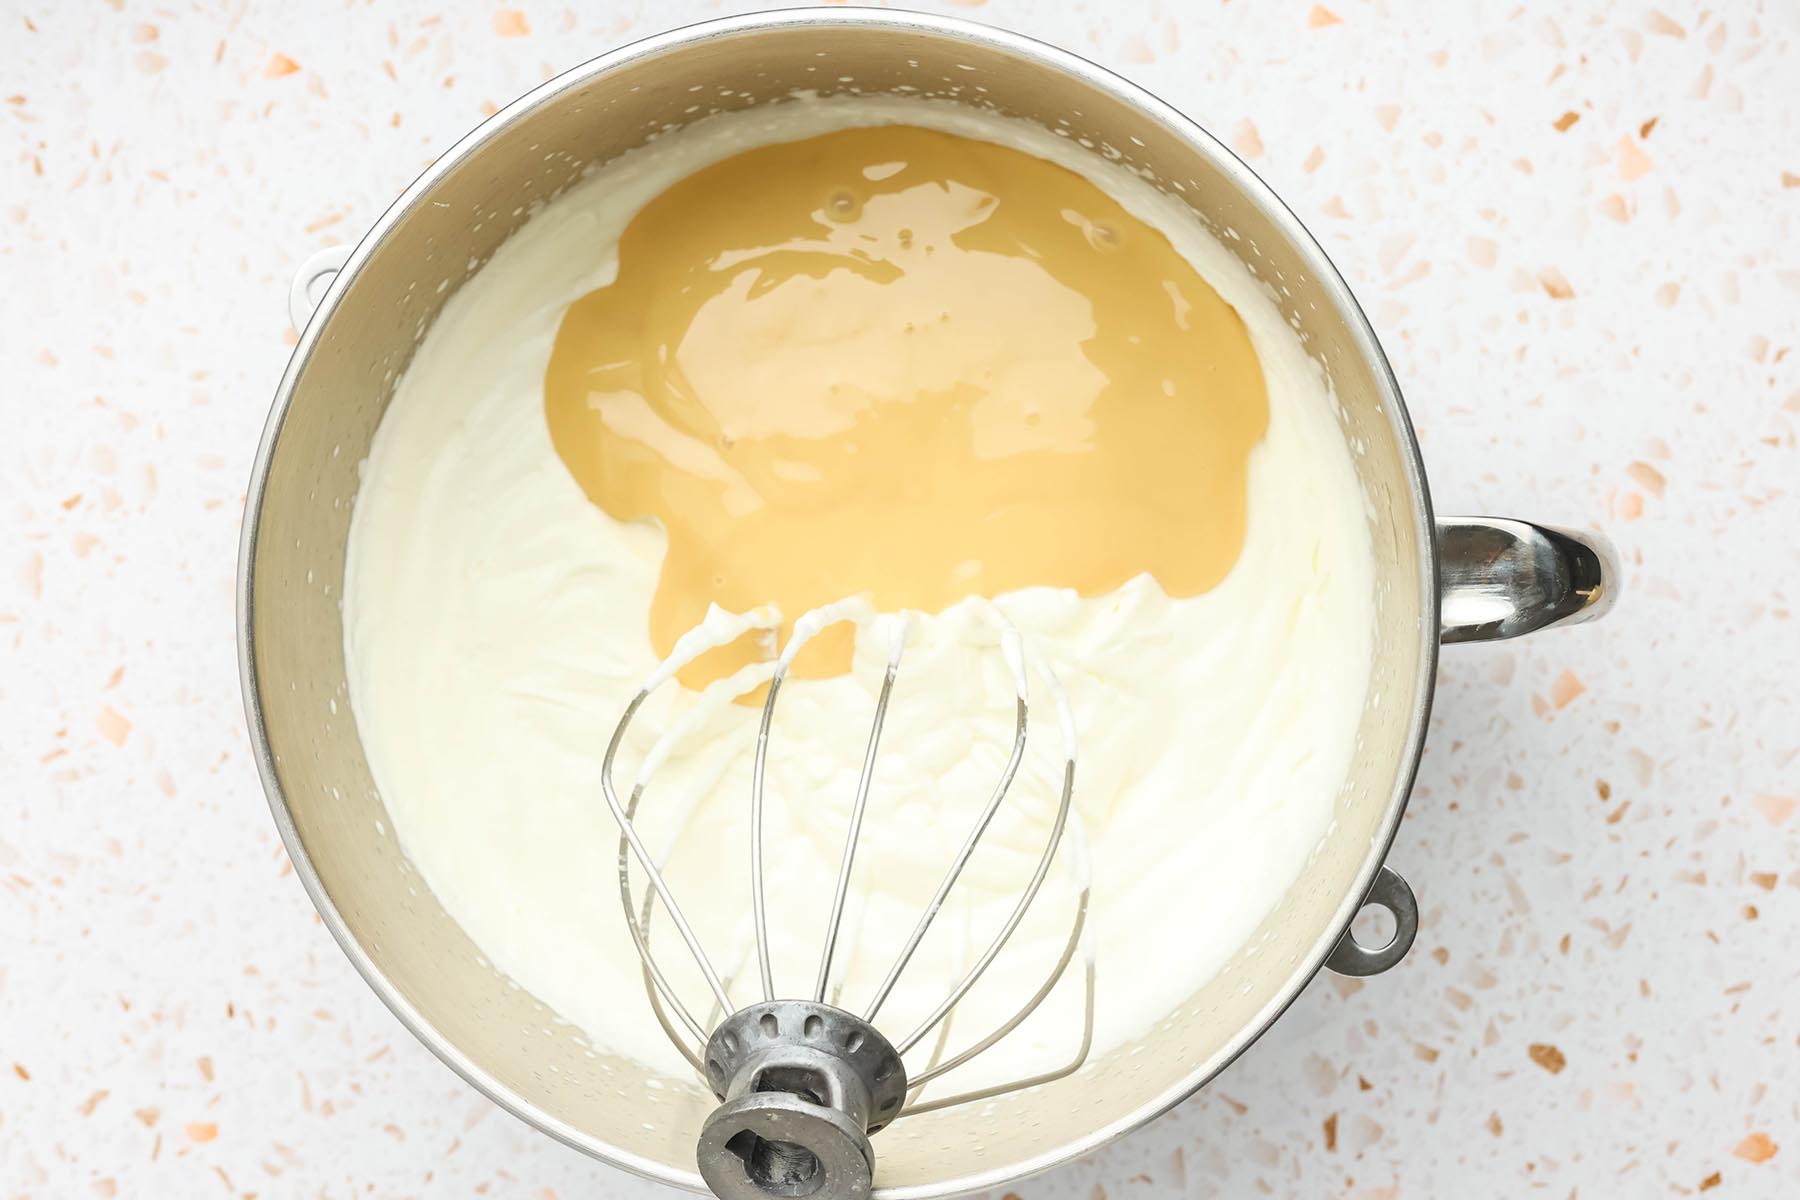
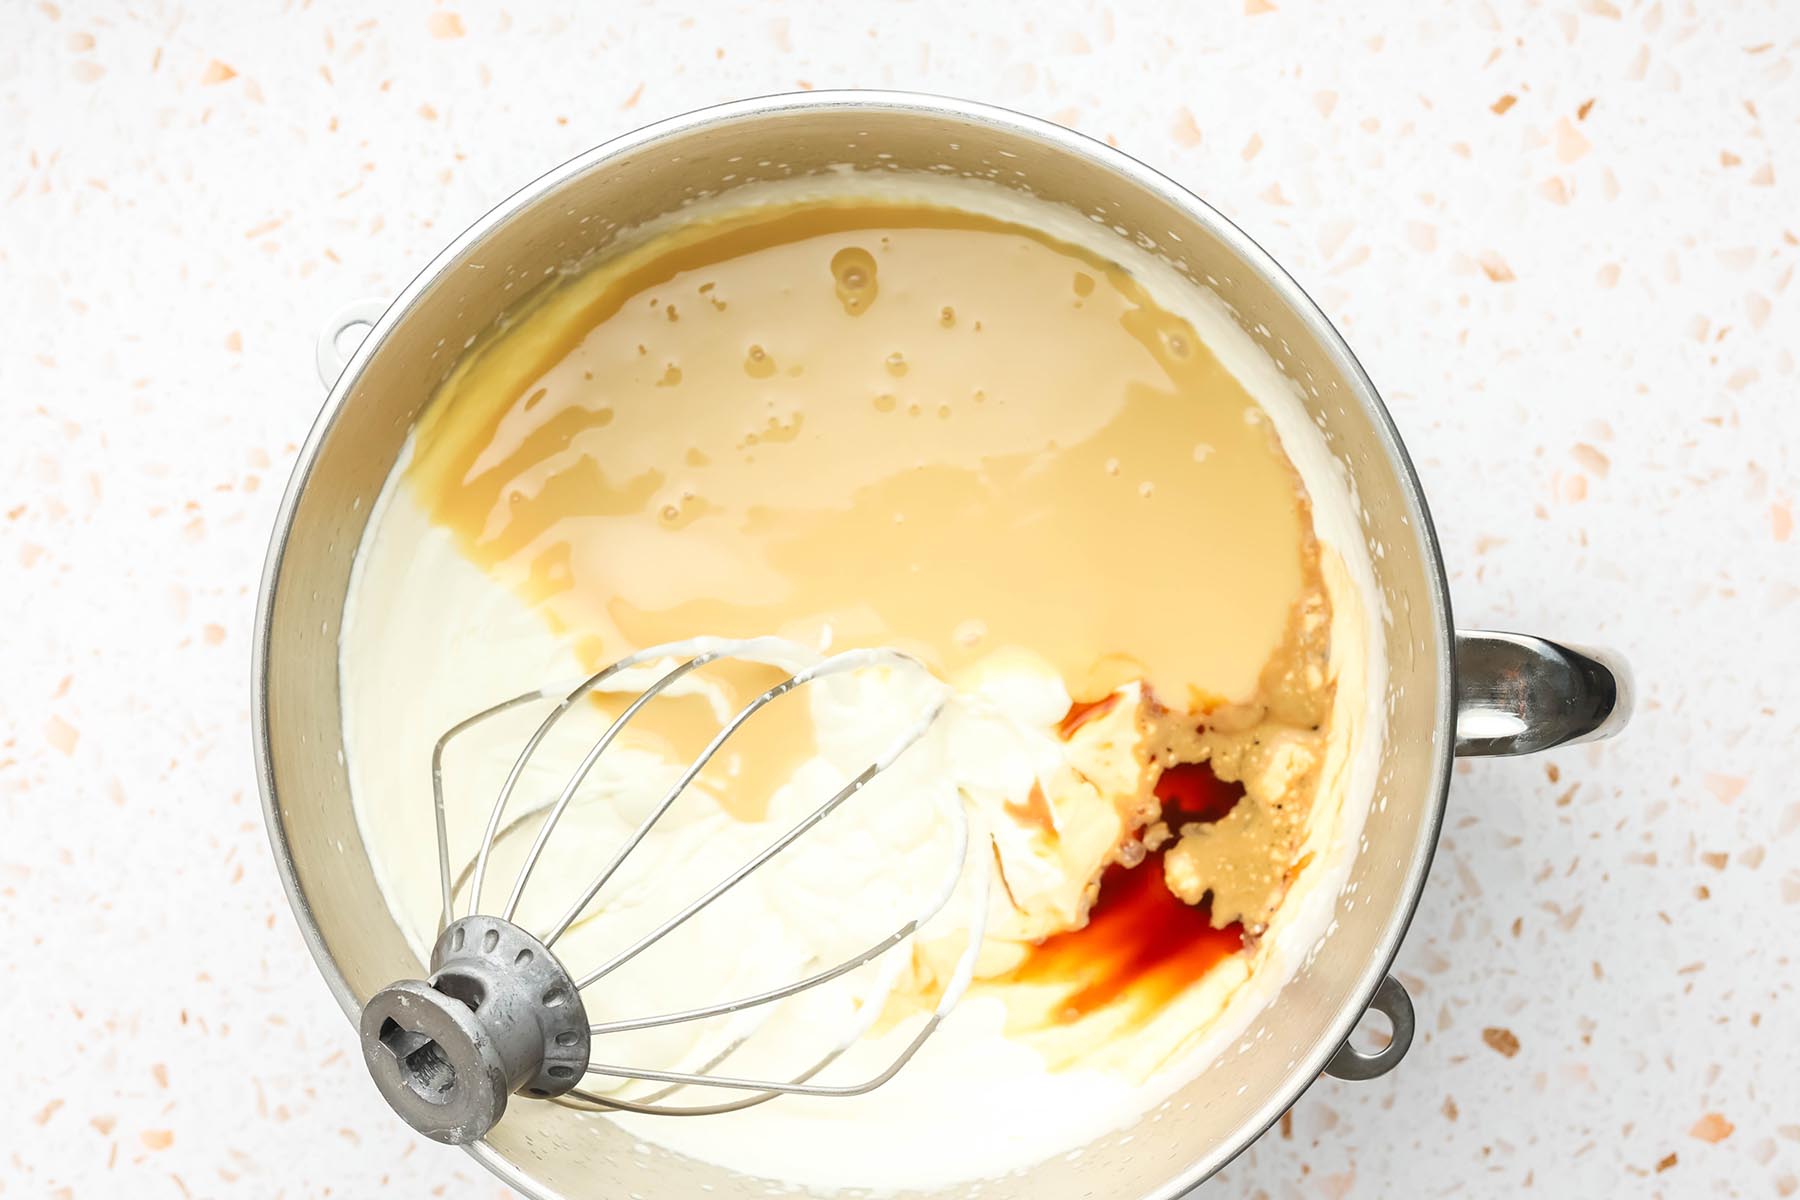
- Pour in the 14 ounces sweetened condensed milk and 1 tablespoon vanilla extract. Mix on low speed just until combined, about 15-20 seconds. Do not overmix (Note 3).
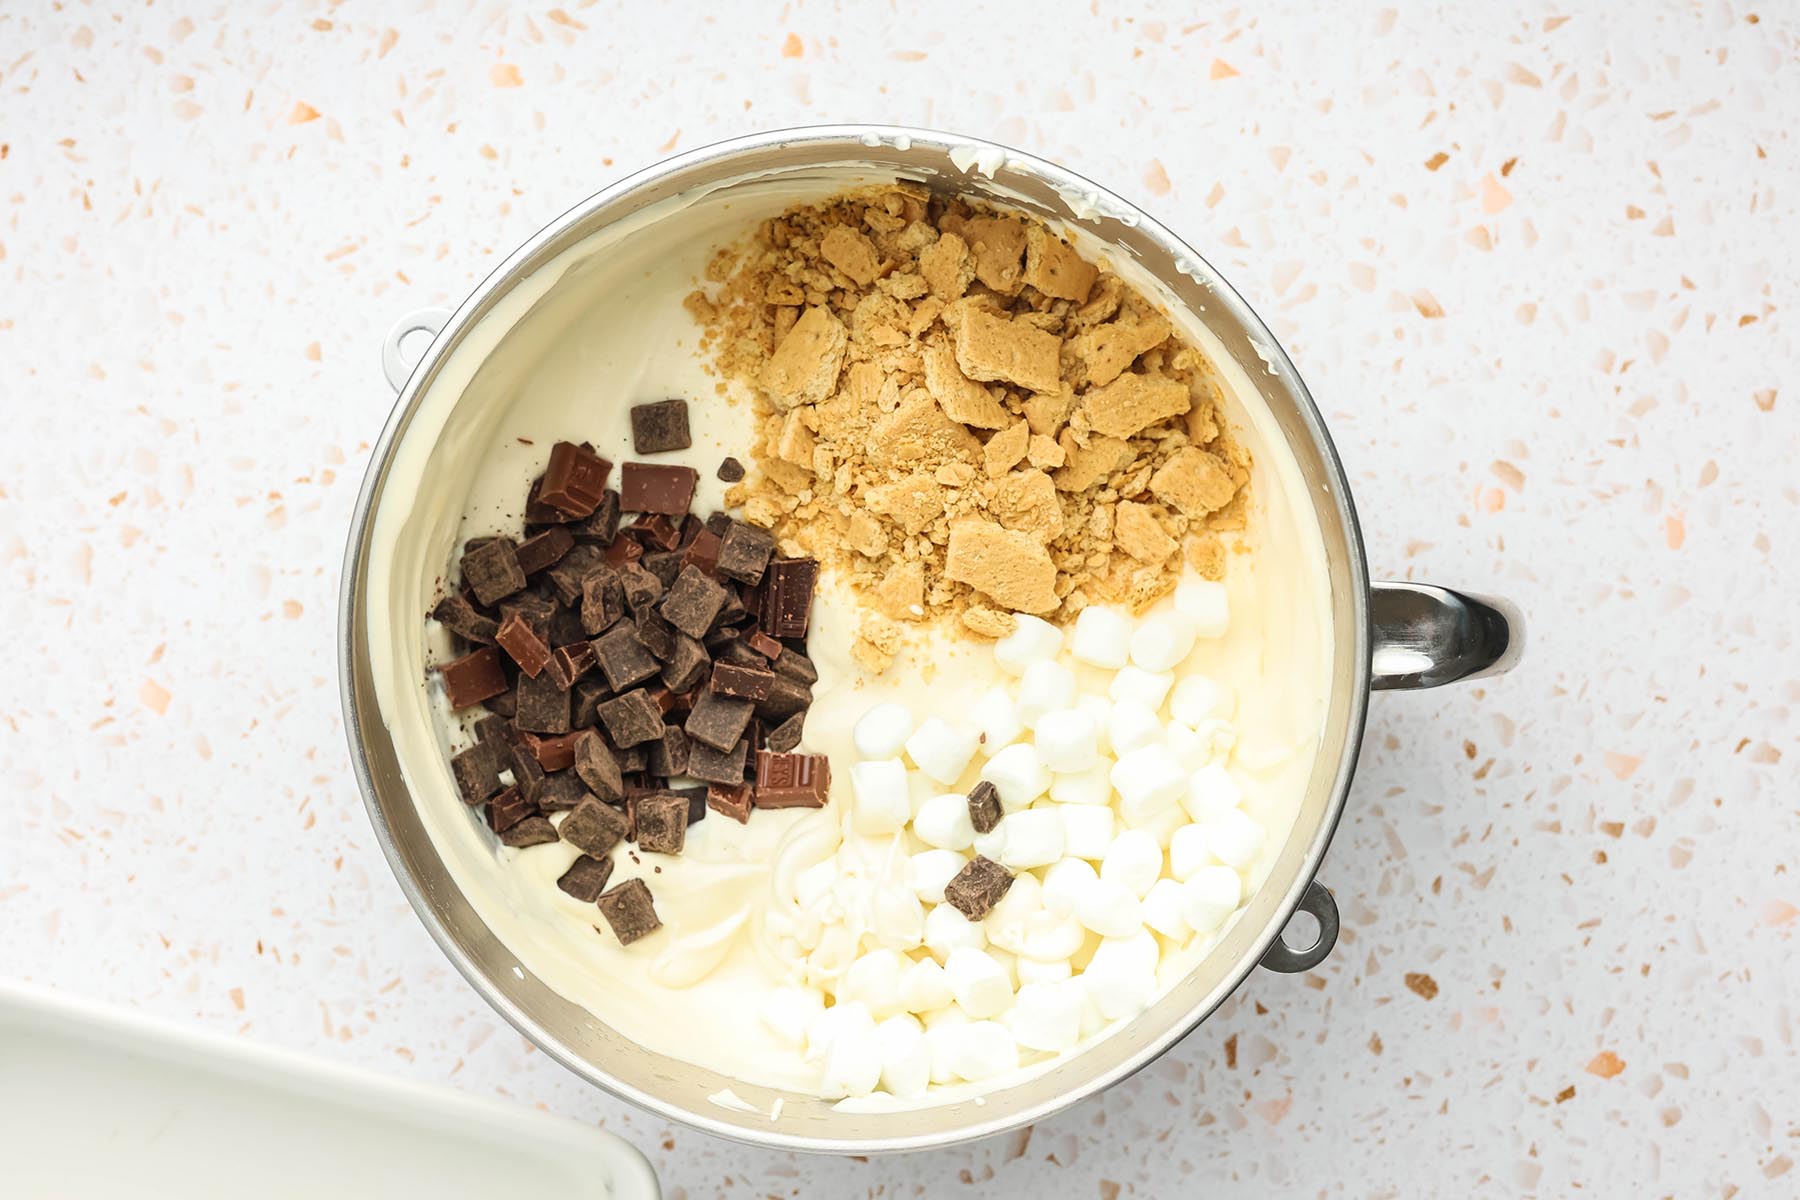
- Use a silicone spatula to gently fold in the 1 cup graham crackers, 1 cup chocolate chunks, and 1 cup mini marshmallows until evenly distributed. (Note 4)
- Transfer the mixture to two 8 x 4-inch loaf pans, two 9 x 5-inch loaf pans, or another freezer-safe container with at least a 10-cup capacity. Smooth the top with a spatula.Sprinkle additional chopped graham crackers, chocolate chunks, and mini marshmallows over the top, if desired. Press a layer of plastic wrap directly onto the surface of the ice cream, then cover tightly with foil or a lid (Note 5).Freeze for at least 6 hours or overnight before serving for the best texture (Note 6).Let the ice cream sit at room temperature for 5-10 minutes before scooping.
Notes
- Heavy whipping cream works best because of its higher fat content, which creates a rich, creamy texture.
- Stiff peaks mean the whipped cream stands straight up when the whisk is lifted. Stop mixing once you reach this stage. Overbeating can make the cream grainy or buttery.
- Overmixing can deflate the whipped cream and lead to a denser, icier texture.
- Mini marshmallows become slightly chewy once frozen, which is normal.
- Pressing plastic wrap directly against the surface helps prevent ice crystals from forming.
- While the ice cream may look frozen after 4 hours, overnight freezing gives it the creamiest texture and makes it easier to scoop.