
Would you like to save this recipe?
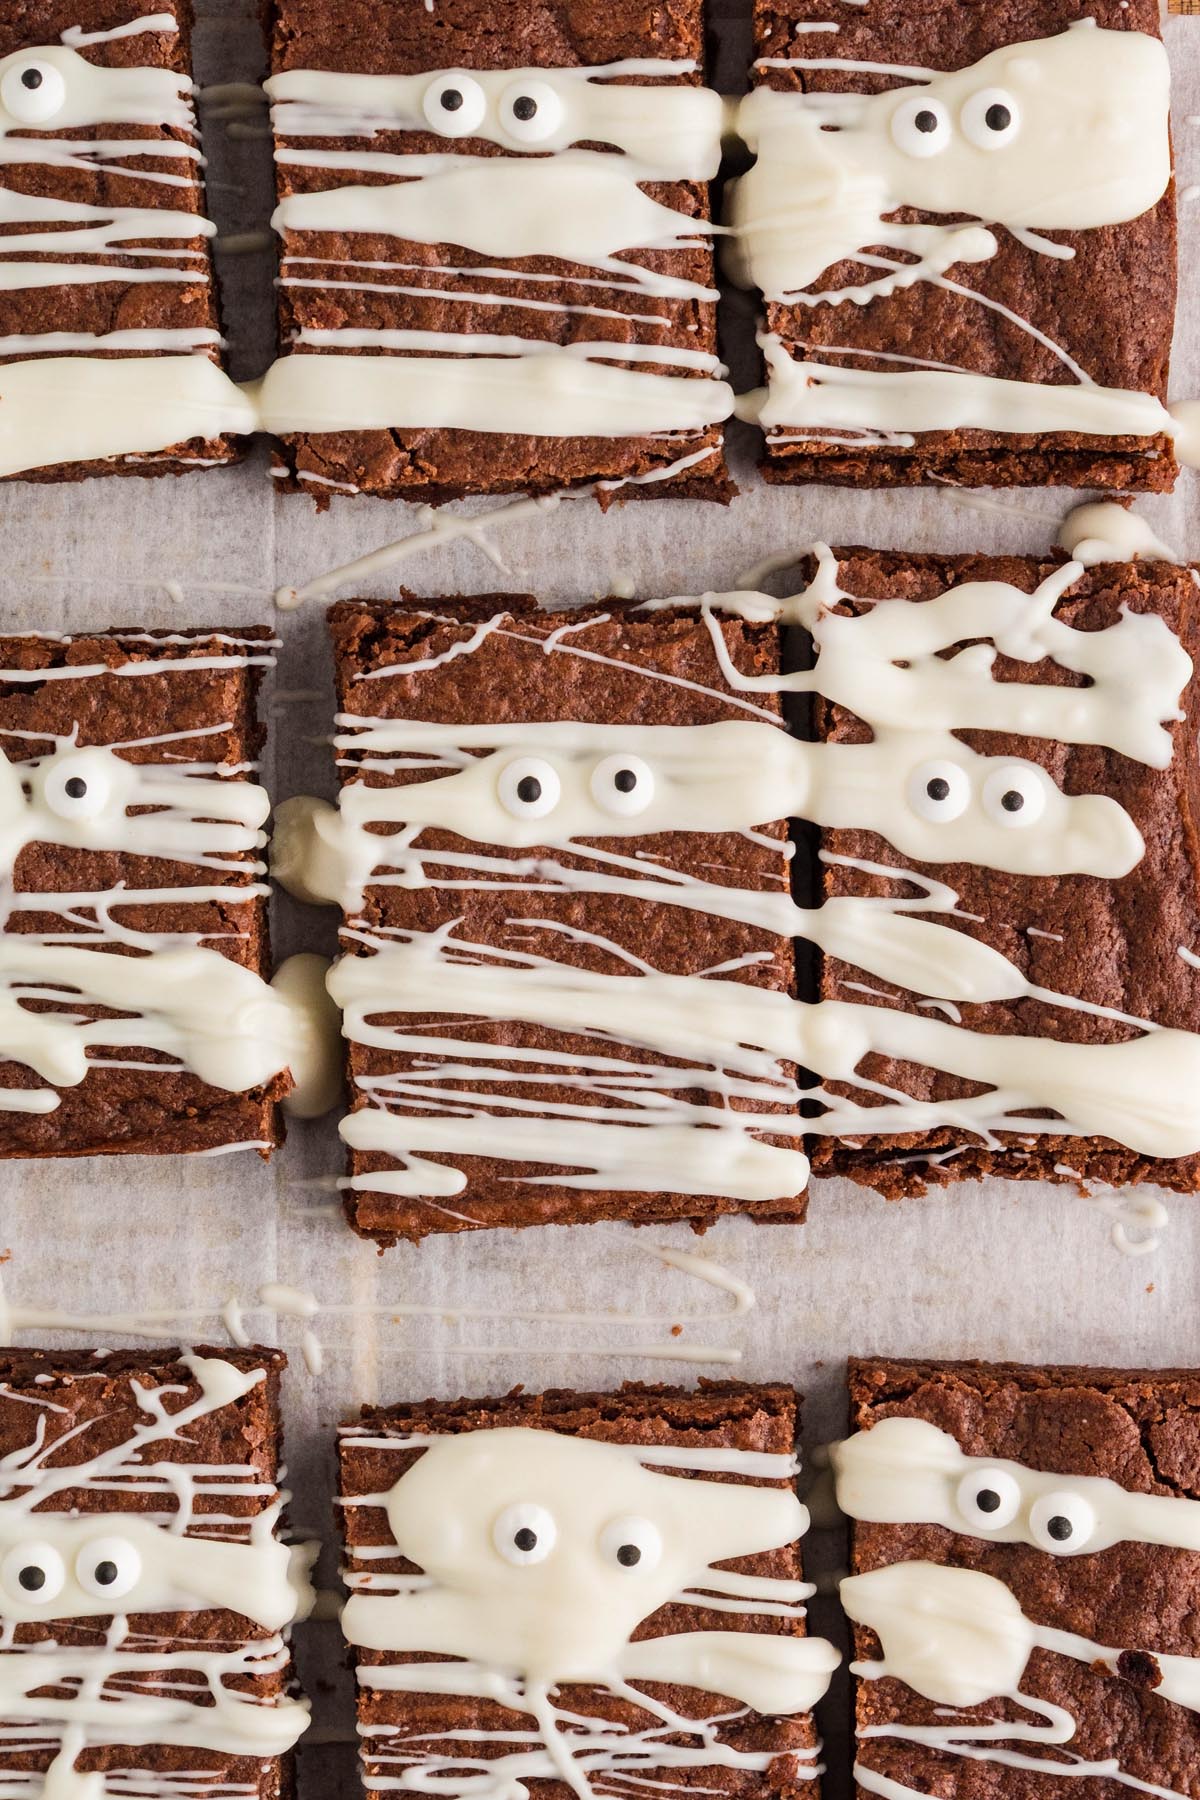
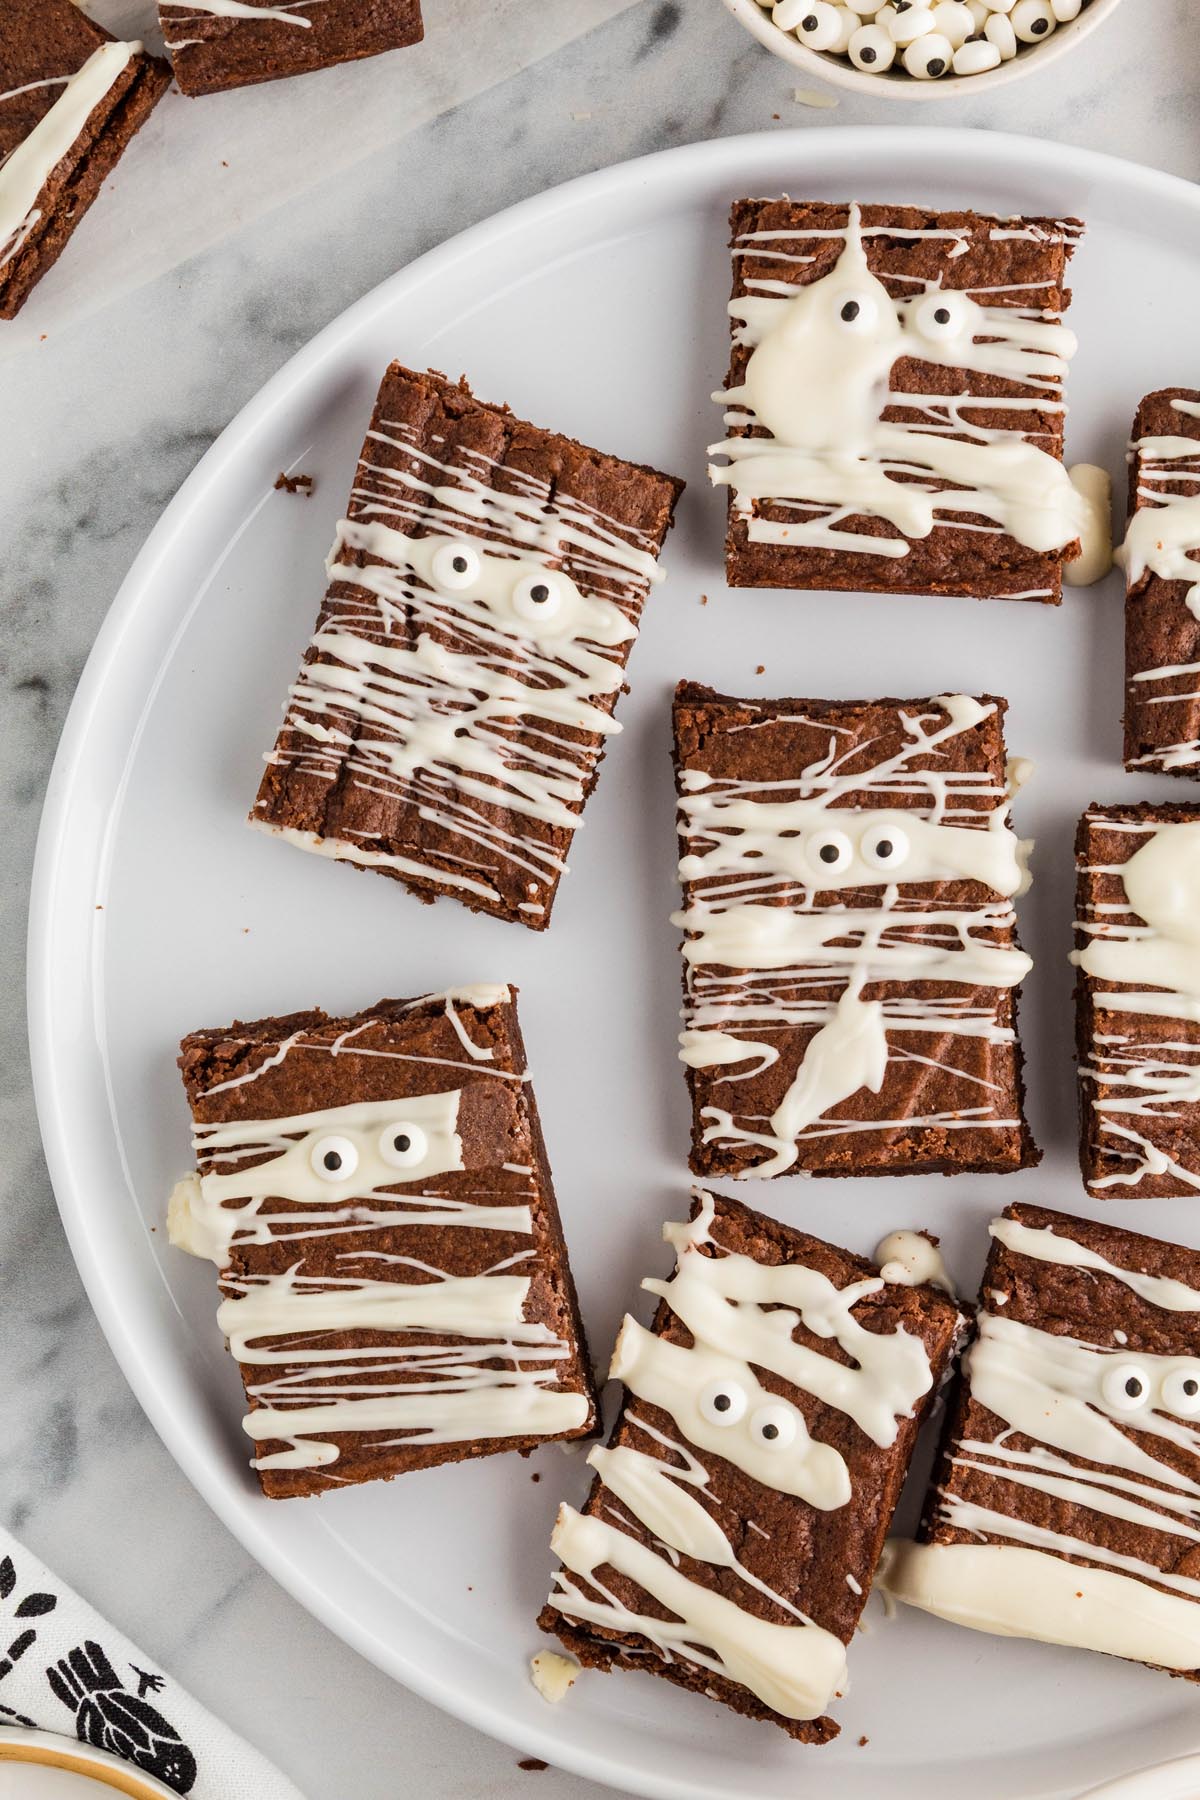
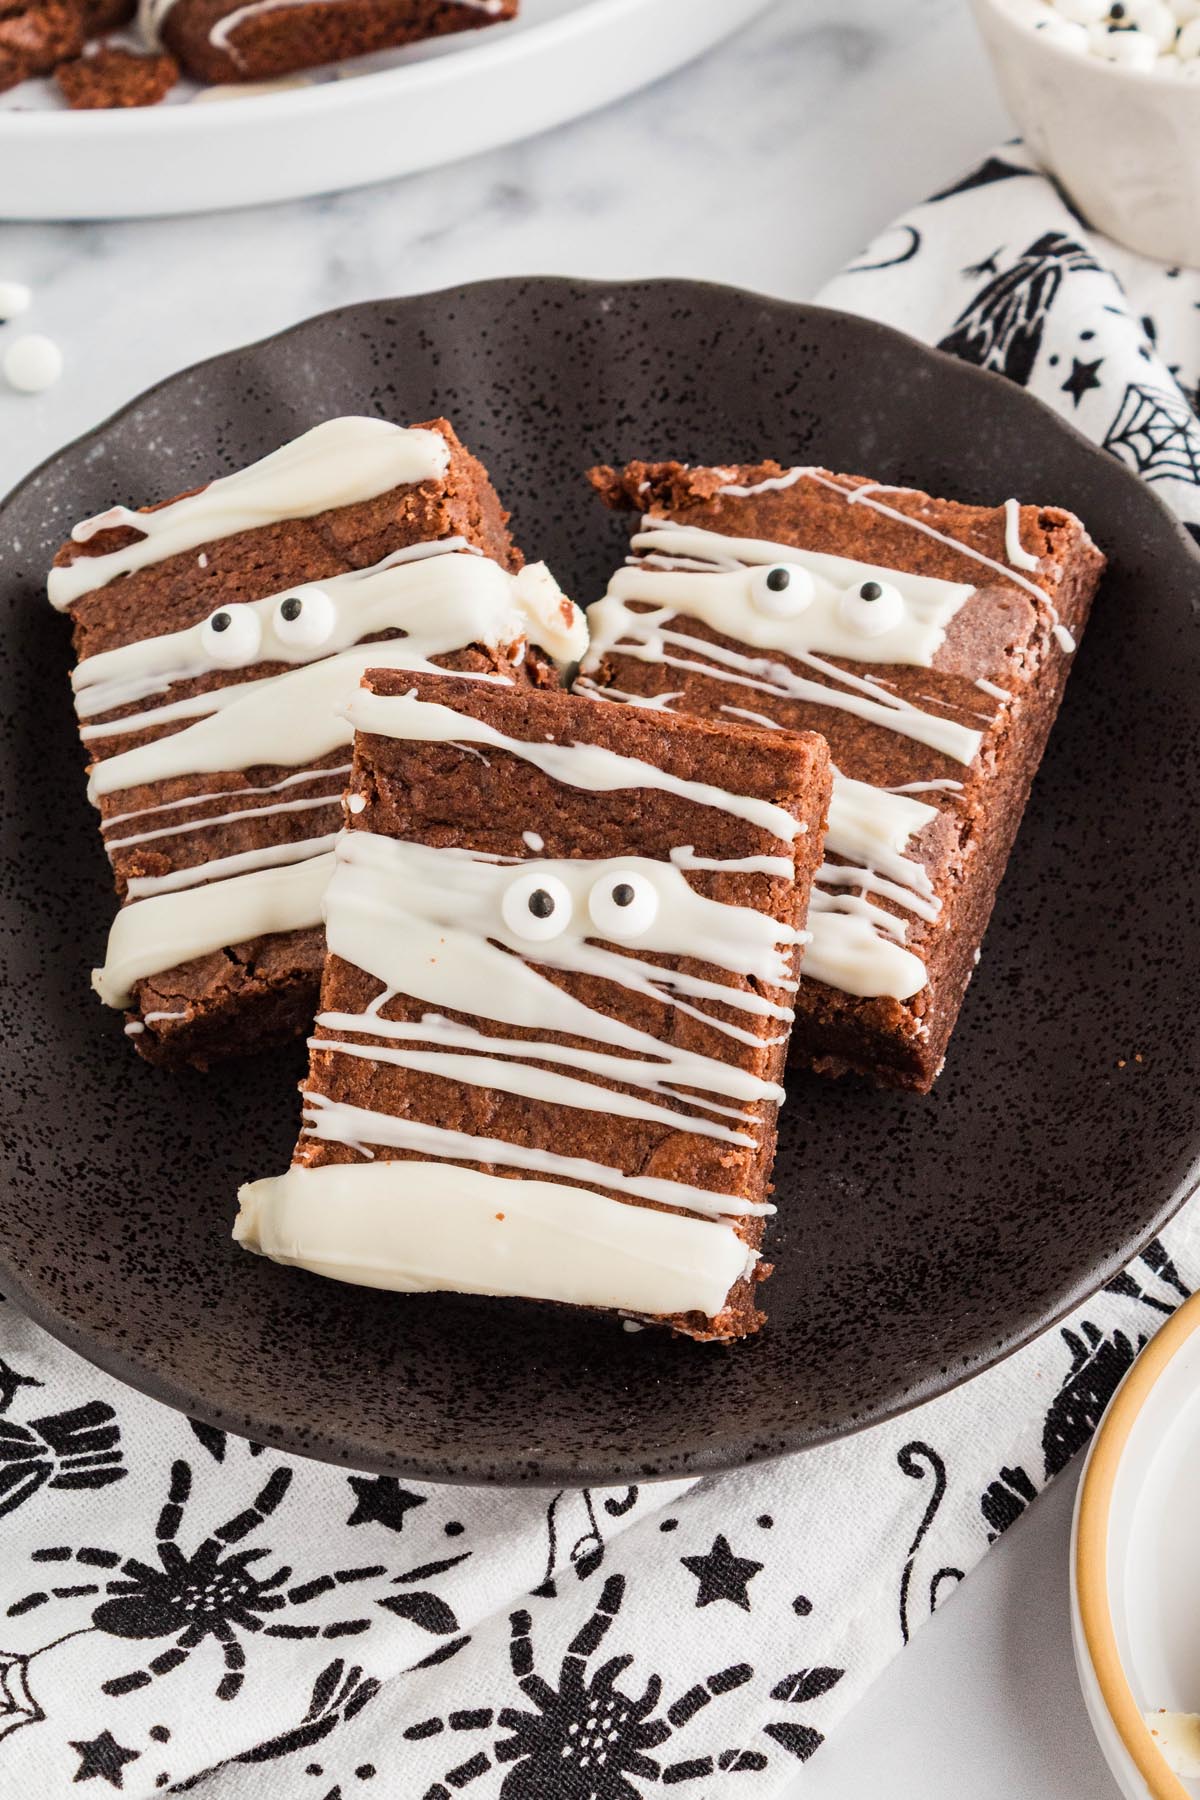
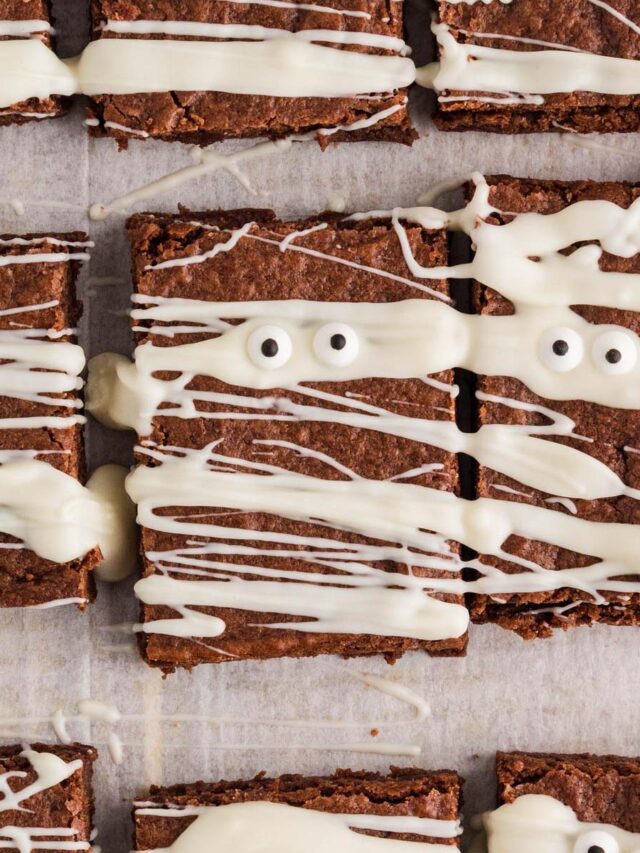
These mummy brownies are proof that Halloween treats don’t have to be complicated to be fun. Start with a pan of fudgy chocolate brownies, drizzle them with melted white chocolate for the “bandages,” add a couple of candy eyes, and suddenly you have a whole batch of little mummies staring back at you. The brownie batter comes together in one bowl, too, which is always a nice bonus when there’s decorating to do.
They’re a fun choice for Halloween parties, movie nights, or just an October baking project when you want something festive without getting overly ambitious.
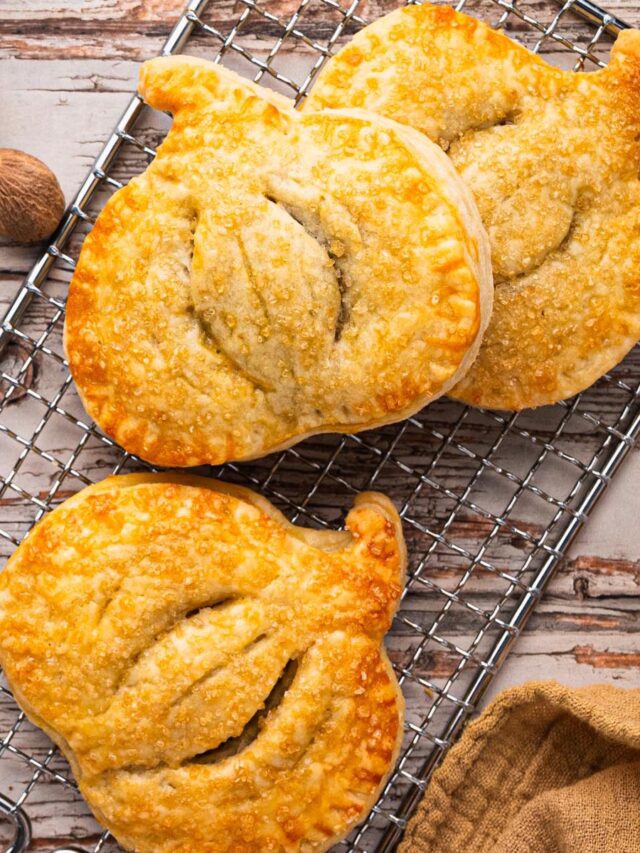
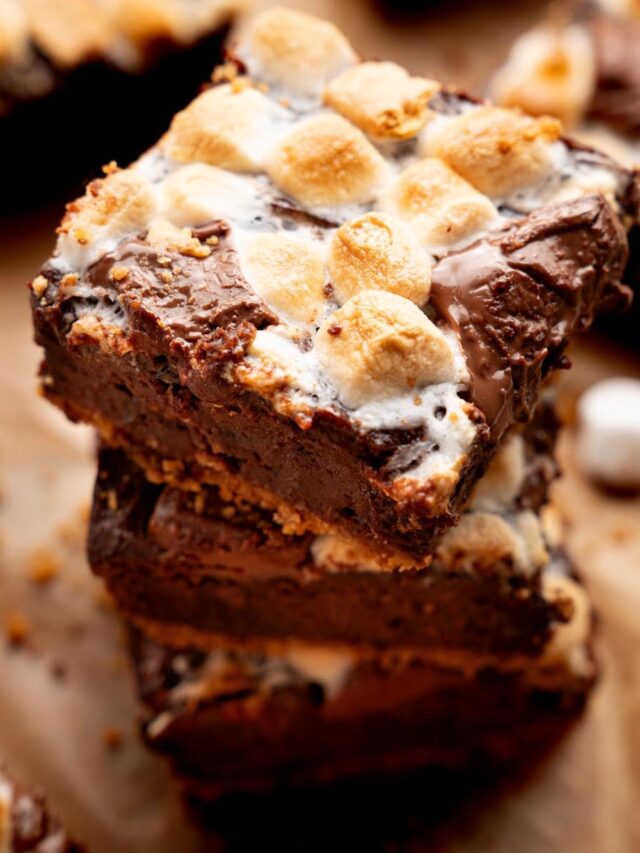
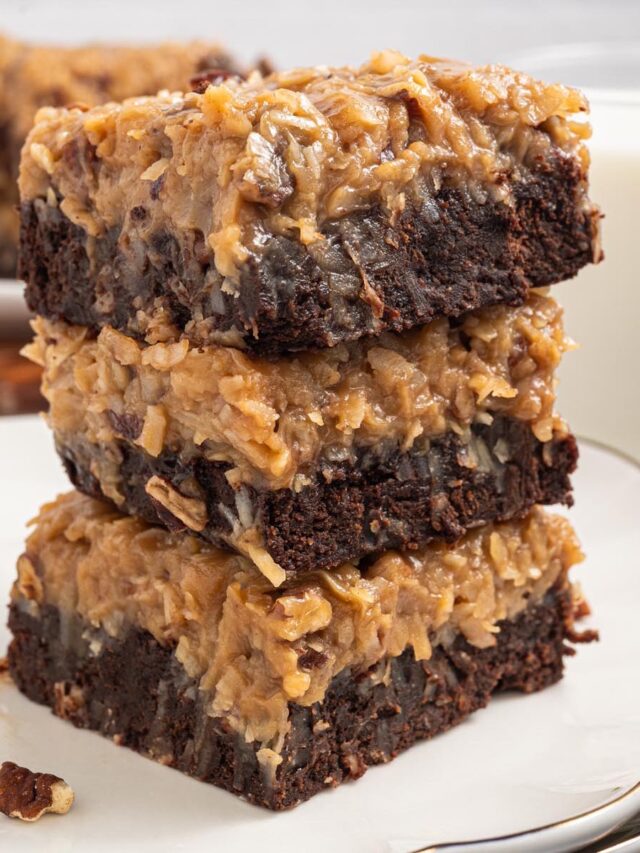
If you’re putting together a fall dessert spread, my pumpkin pie hand pies would be right at home next to them. And if one brownie recipe is never enough, you might want to save my sweet potato s’mores brownies and/or German chocolate brownies for later, too.
Reasons You’ll Love This Recipe
Ingredients at a Glance
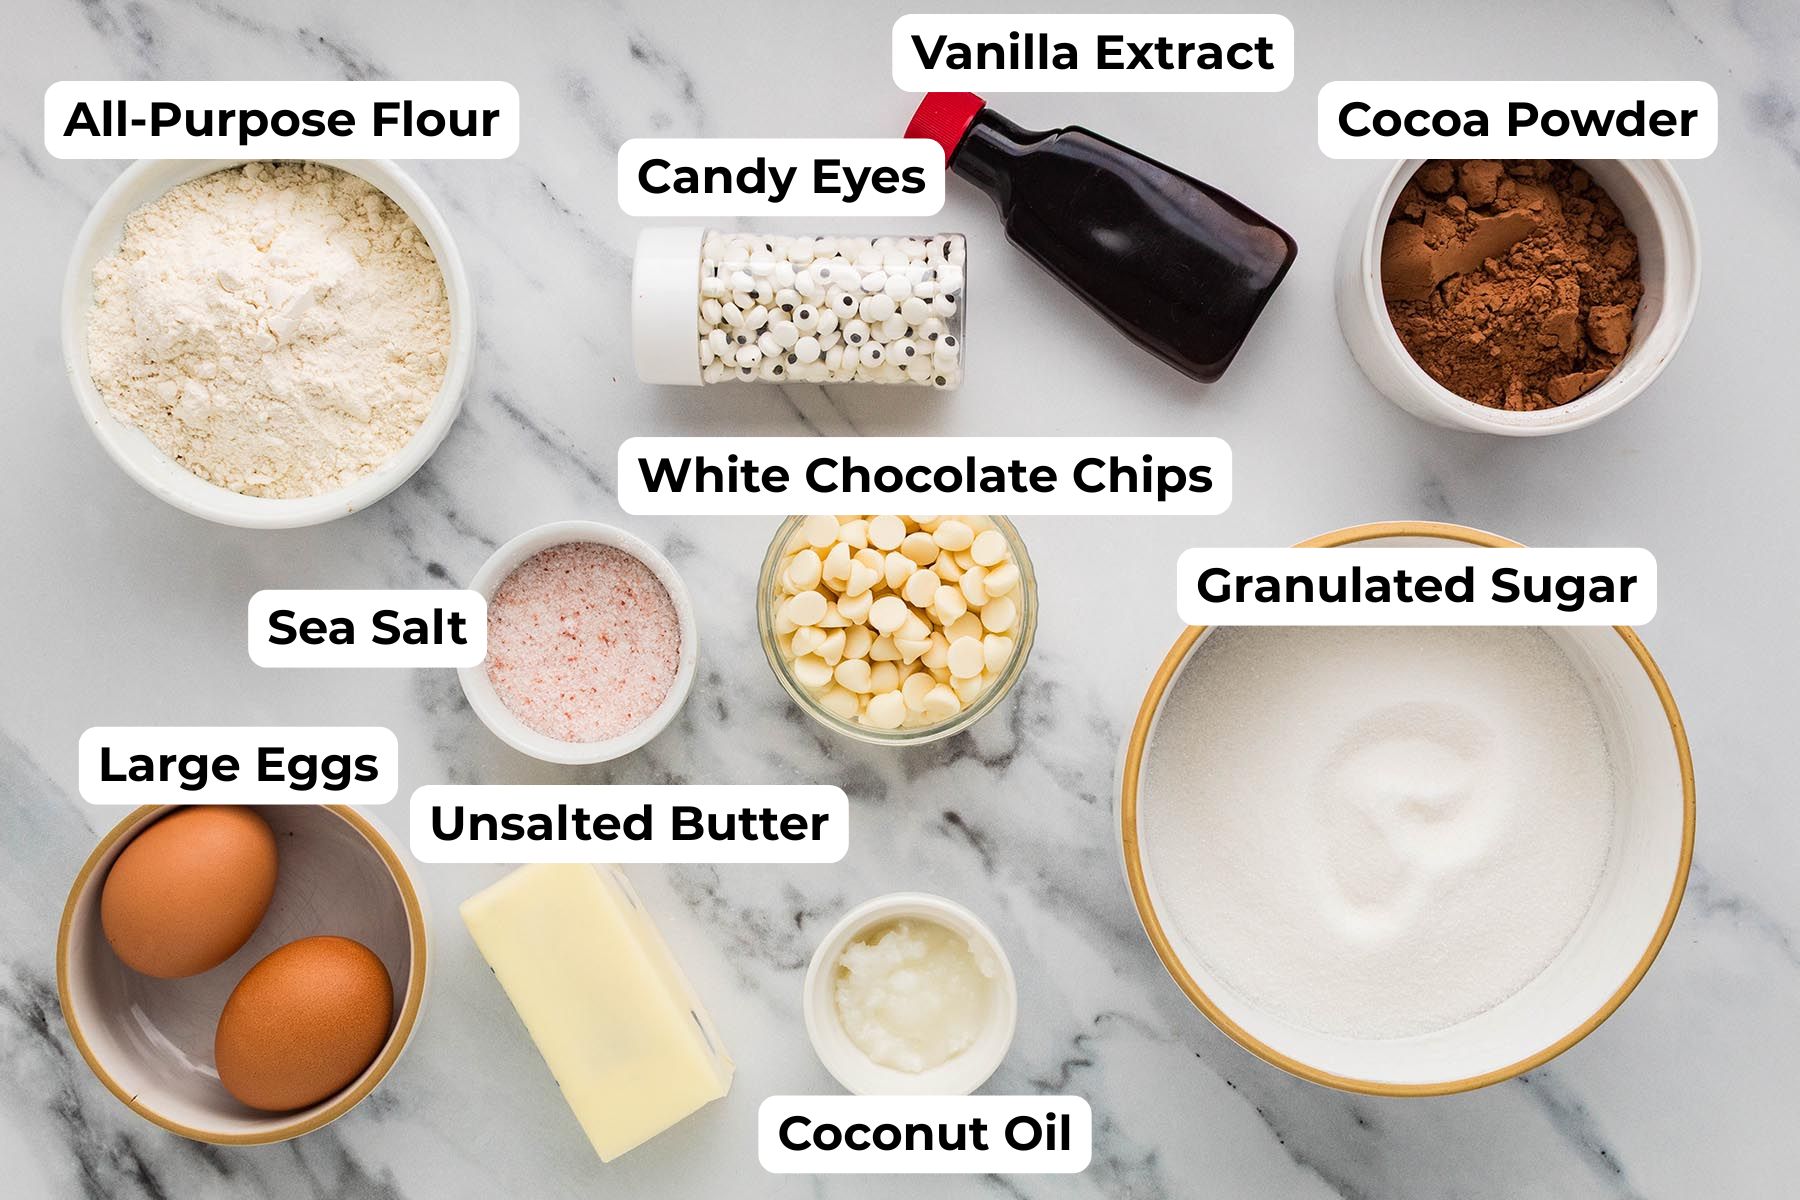
- Granulated Sugar. Sweetens the brownies and helps create their dense, fudgy texture. I would not substitute another sweetener here because it could change the texture.
- Unsalted Butter. Adds richness and moisture. You can use salted butter instead; just omit the added sea salt.
- Egg + Egg Yolk. The extra yolk adds richness and helps give the brownies their fudgy texture. I don’t recommend substituting here since the eggs contribute to both structure and texture.
- Vanilla Extract. Enhances the chocolate flavor.
- All-Purpose Flour. Gives the brownies structure while keeping the texture dense rather than cakey. No flour substitutions were tested for this recipe.
- Unsweetened Cocoa Powder. Provides the chocolate flavor. The developer notes that the recipe does not require a specialty cocoa powder.
- Sea Salt. Balances the sweetness and enhances the chocolate. Regular table salt can be used instead.
- White Chocolate Chips. Melted and drizzled over the brownies to create the mummy bandages. White candy melts are a good substitute, and if you use them, you can omit the coconut oil.
- Coconut Oil. Thins the melted white chocolate so it’s easier to drizzle. You can leave it out if you’re using white candy melts instead of white chocolate chips.
- Candy Eyes. Give the brownies their mummy faces. You can use different sizes, and the developer also suggests gummy eyeballs as a fun alternative.
How to Make It (Photo Tutorial)
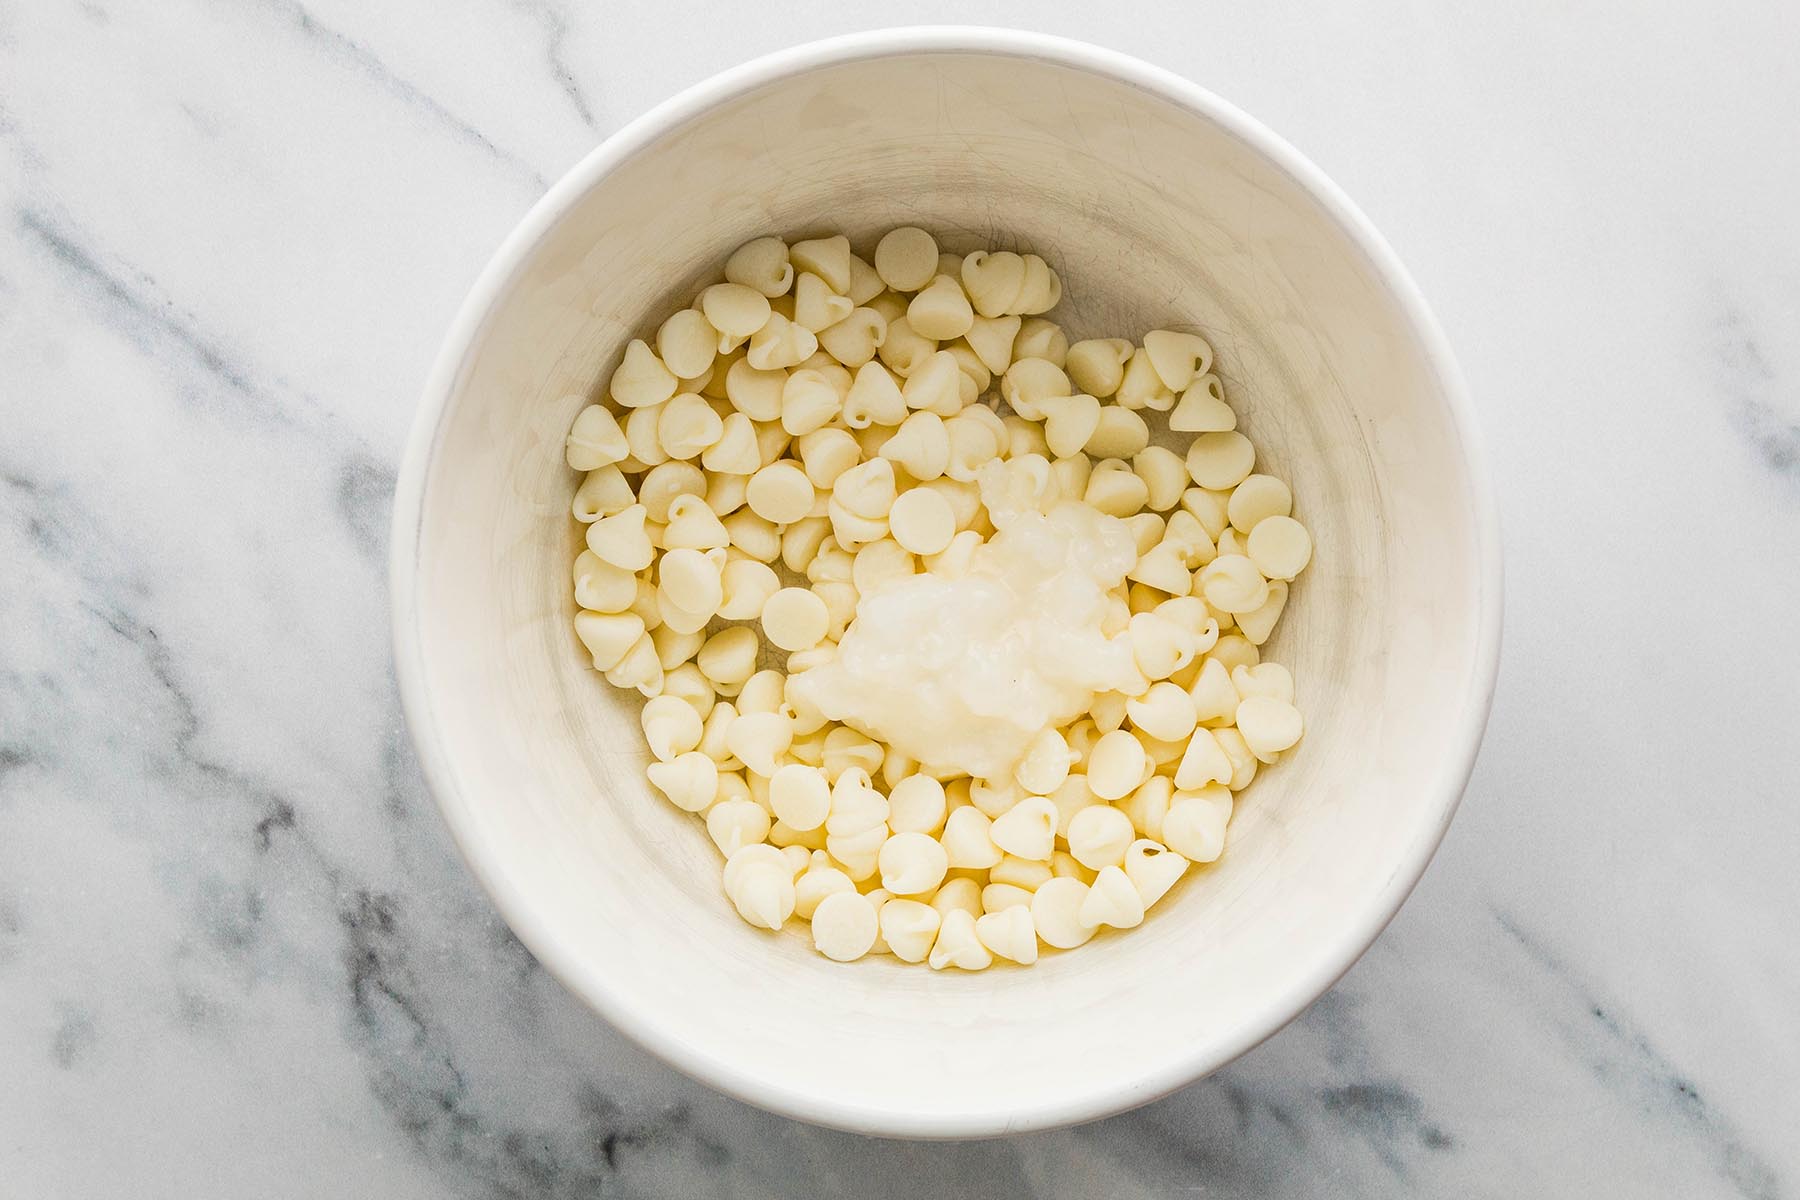
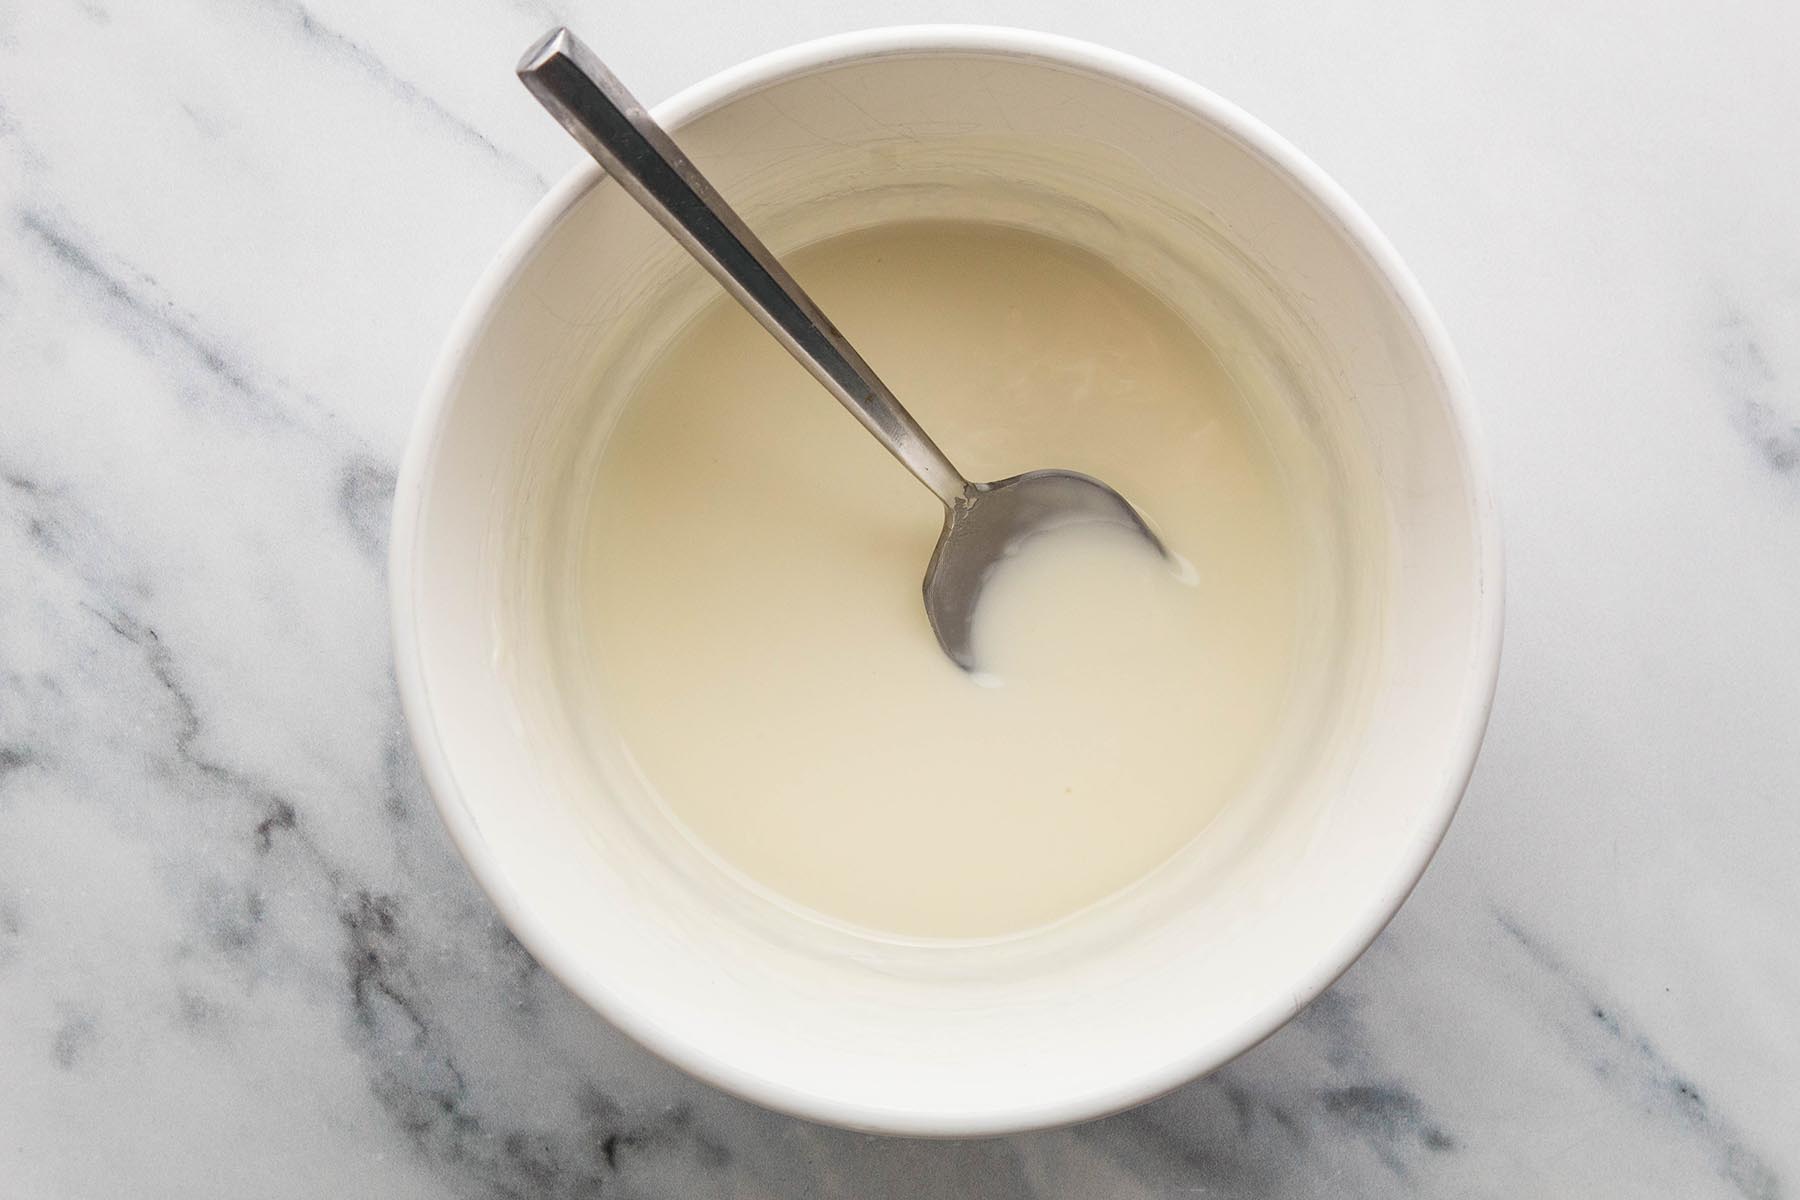
Tips for Success
- Let the brownies cool completely. Give them at least 1 hour to cool before cutting and decorating. Warm brownies are more likely to crumble, and the white chocolate can slide off instead of setting.
- Use the parchment overhang. Leave enough parchment extending above the sides of the pan so you can lift the entire brownie slab out before cutting. This makes it easier to get neat, clean bars.
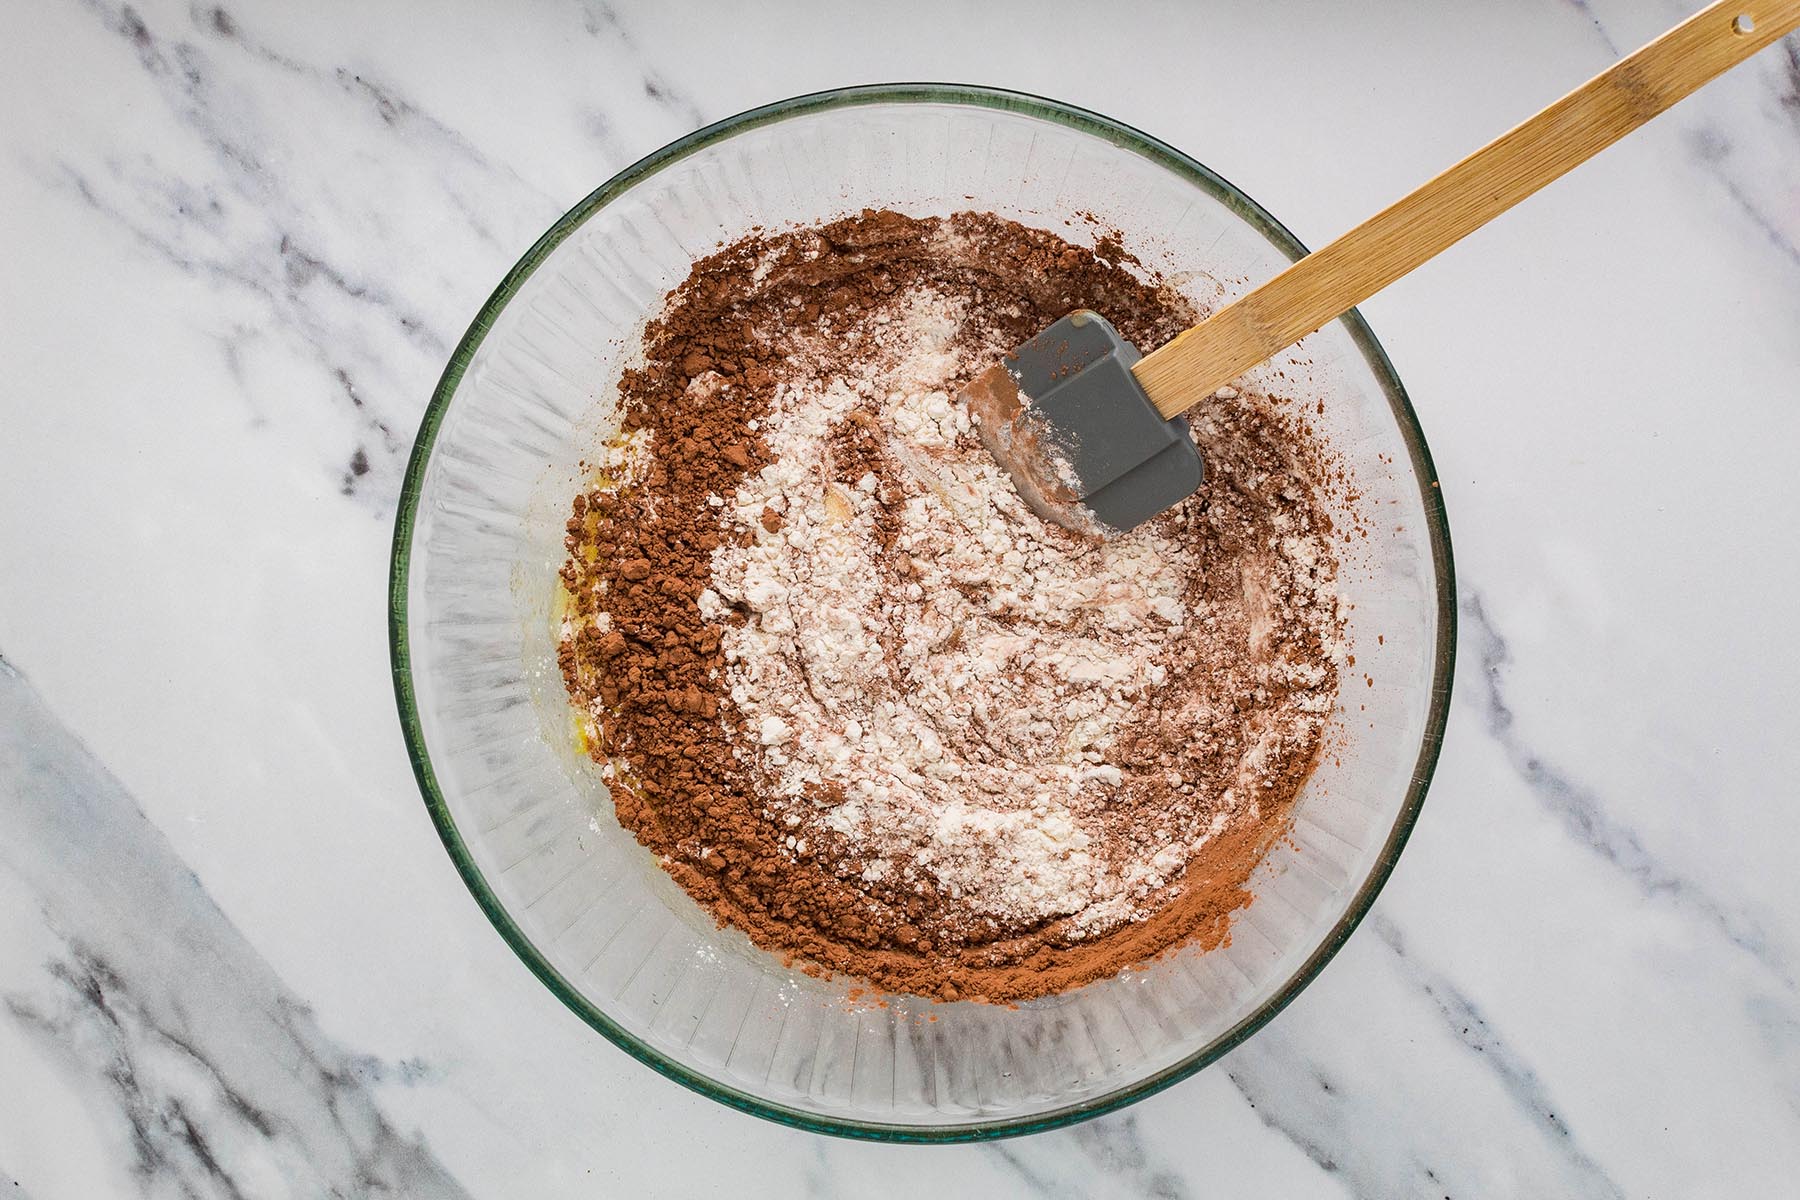
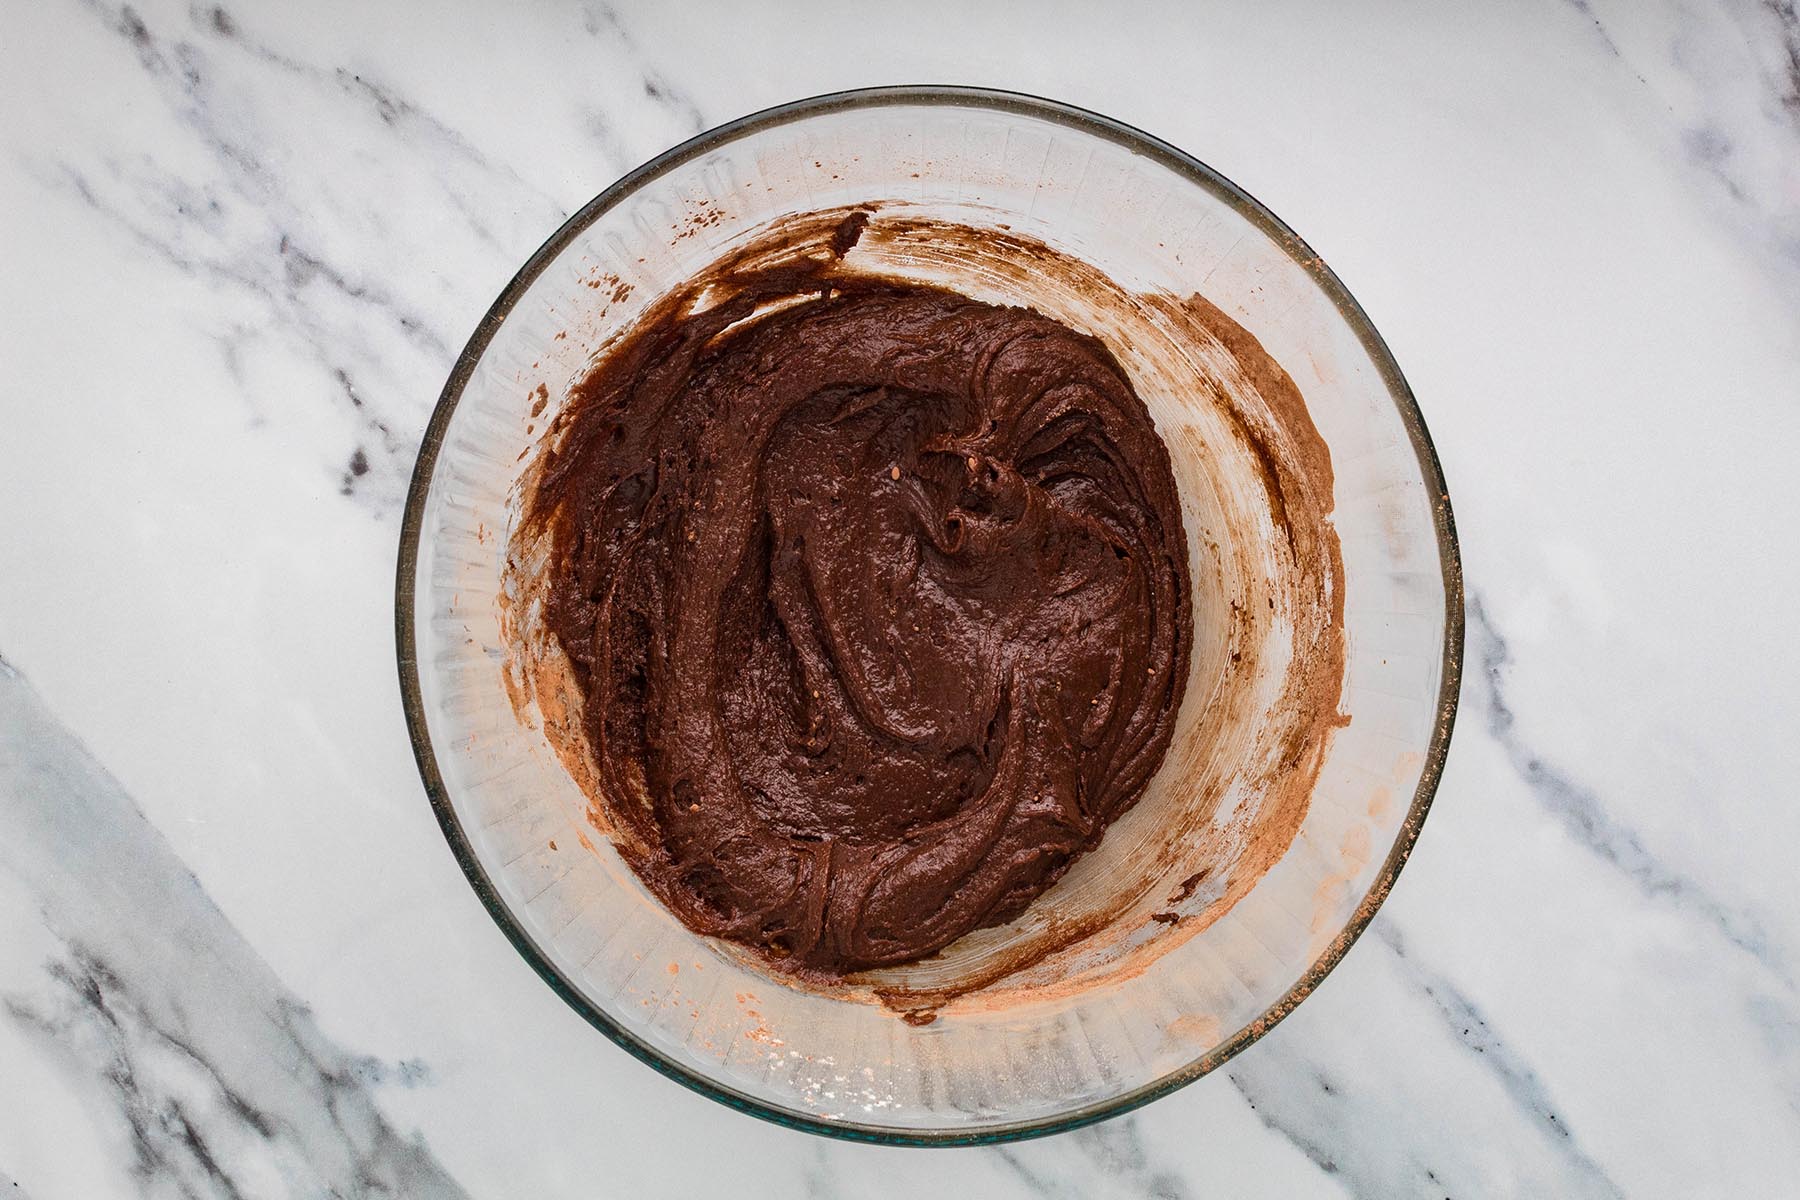
- Fold the batter gently. Once you add the dry ingredients, switch to a rubber spatula and fold only until no streaks of flour remain. Overmixing can make the brownies tougher and more cakey instead of dense and fudgy.
- Watch the white chocolate closely. Microwave it in 15-second intervals, stirring each time. Stop heating while a few chips are still visible and let the residual heat finish melting them.
- Don’t worry about perfect drizzle lines. A spoon or fork works well for creating the mummy bandages, and a mix of thicker and thinner lines actually helps give them the wrapped look.
- Measure the flour carefully. Spoon the flour into the measuring cup and level off the top rather than packing it in. Too much flour can change the brownie texture.
Ways to Serve Them
These mummy brownies are easy to work into all kinds of Halloween plans, whether you’re hosting a party or keeping things simple at home.
- For Halloween movie night: Set out the brownies with popcorn and glasses of homemade walnut milk for an easy at-home treat.
- After a cozy Halloween dinner: A warm bowl of healthy turkey chili makes a great dinner before everyone moves on to brownies and Halloween candy.
- As a brownie sundae: Add a scoop of homemade s’mores ice cream for an extra-fun dessert.
- On a Halloween dessert board: Arrange the brownies with fruit, candy, and other small fall treats like pumpkin pie hand pies or mini pumpkin cheesecakes.
- For parties, classrooms, or the office: Once the white chocolate has completely set, arrange the brownies on a platter or package them individually for easy sharing.
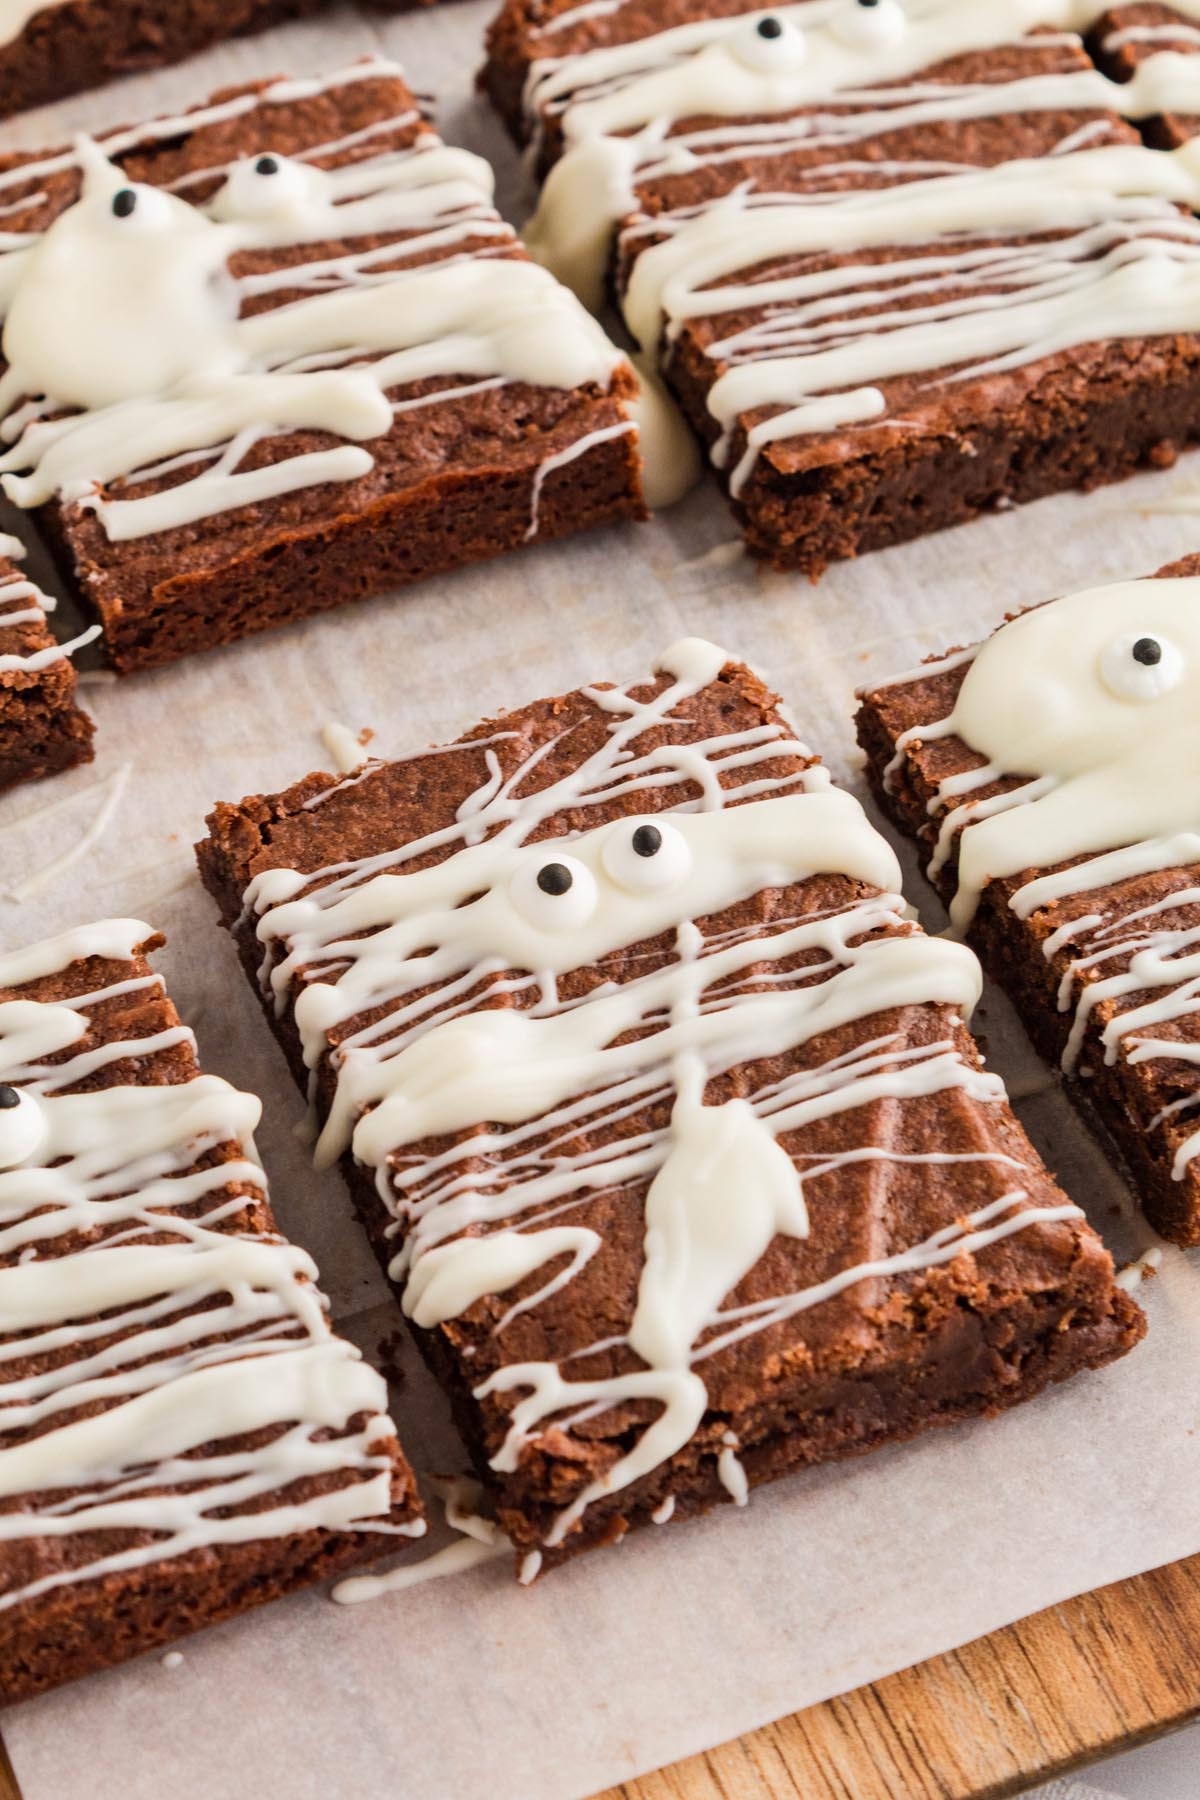
Make Ahead Tips
- Bake Ahead. Make the brownies a day in advance and let them cool completely before covering and storing them.
- Decorate Later. For the neatest finish, wait to add the white chocolate drizzle and candy eyes until the day you plan to serve them.
- Freeze the Brownies. If you want to prepare even earlier, freeze the undecorated brownies for up to 2 months. Thaw them at room temperature before decorating.
Storage
Room Temperature: Store the brownies in an airtight container at room temperature for 1–2 days.
Refrigerator: For longer storage, keep them in an airtight container in the refrigerator for up to 5 days. The brownies may become a little firmer when chilled.
Freezer: Freeze the brownies before decorating for up to 2 months. Wrap them well in parchment paper or plastic wrap, then place them in a labeled freezer bag and freeze flat.
To Thaw: Let the frozen brownies thaw at room temperature for about 1 hour, then cut and decorate them with the white chocolate and candy eyes.
More Fun Desserts to Try

Tried this recipe? I’d love to hear how it turned out! Leaving a quick rating and comment helps other readers and supports Heavenly Home Cooking more than you know.
Mummy Brownies Recipe
Equipment
Ingredients
- 1 ¼ cups granulated sugar
- ½ cup unsalted butter melted and cooled
- 1 large egg
- 1 large egg yolk
- 1 teaspoon vanilla extract
- ¾ cup all-purpose flour spooned and leveled
- ⅓ cup unsweetened cocoa powder
- ½ teaspoon sea salt
- ½ cup white chocolate chips
- 1 ½ tablespoons coconut oil
- 24 small candy eyes
Instructions
- Preheat the oven to 350 F (175 C). Line an 8-inch square metal baking pan with parchment paper, leaving enough overhang on the sides to lift the brownies out after cooling.
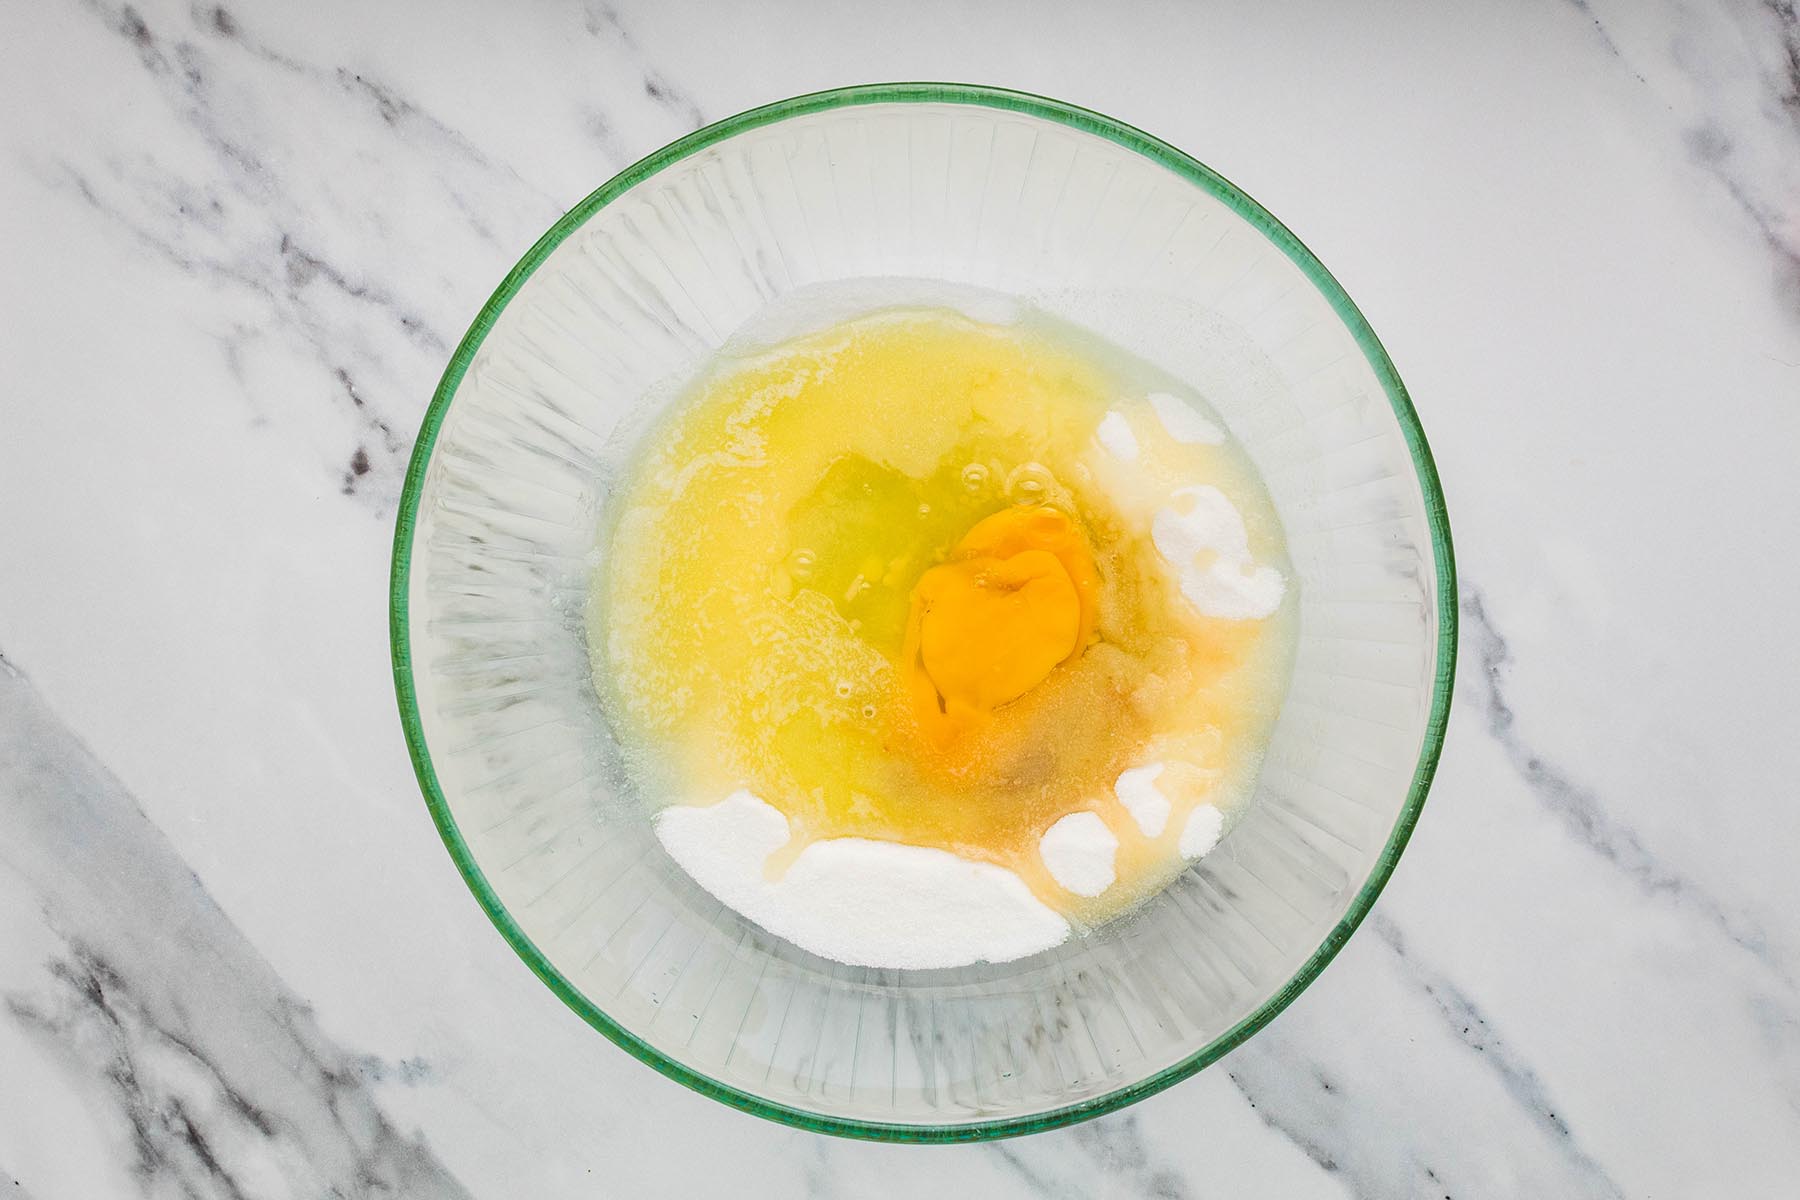
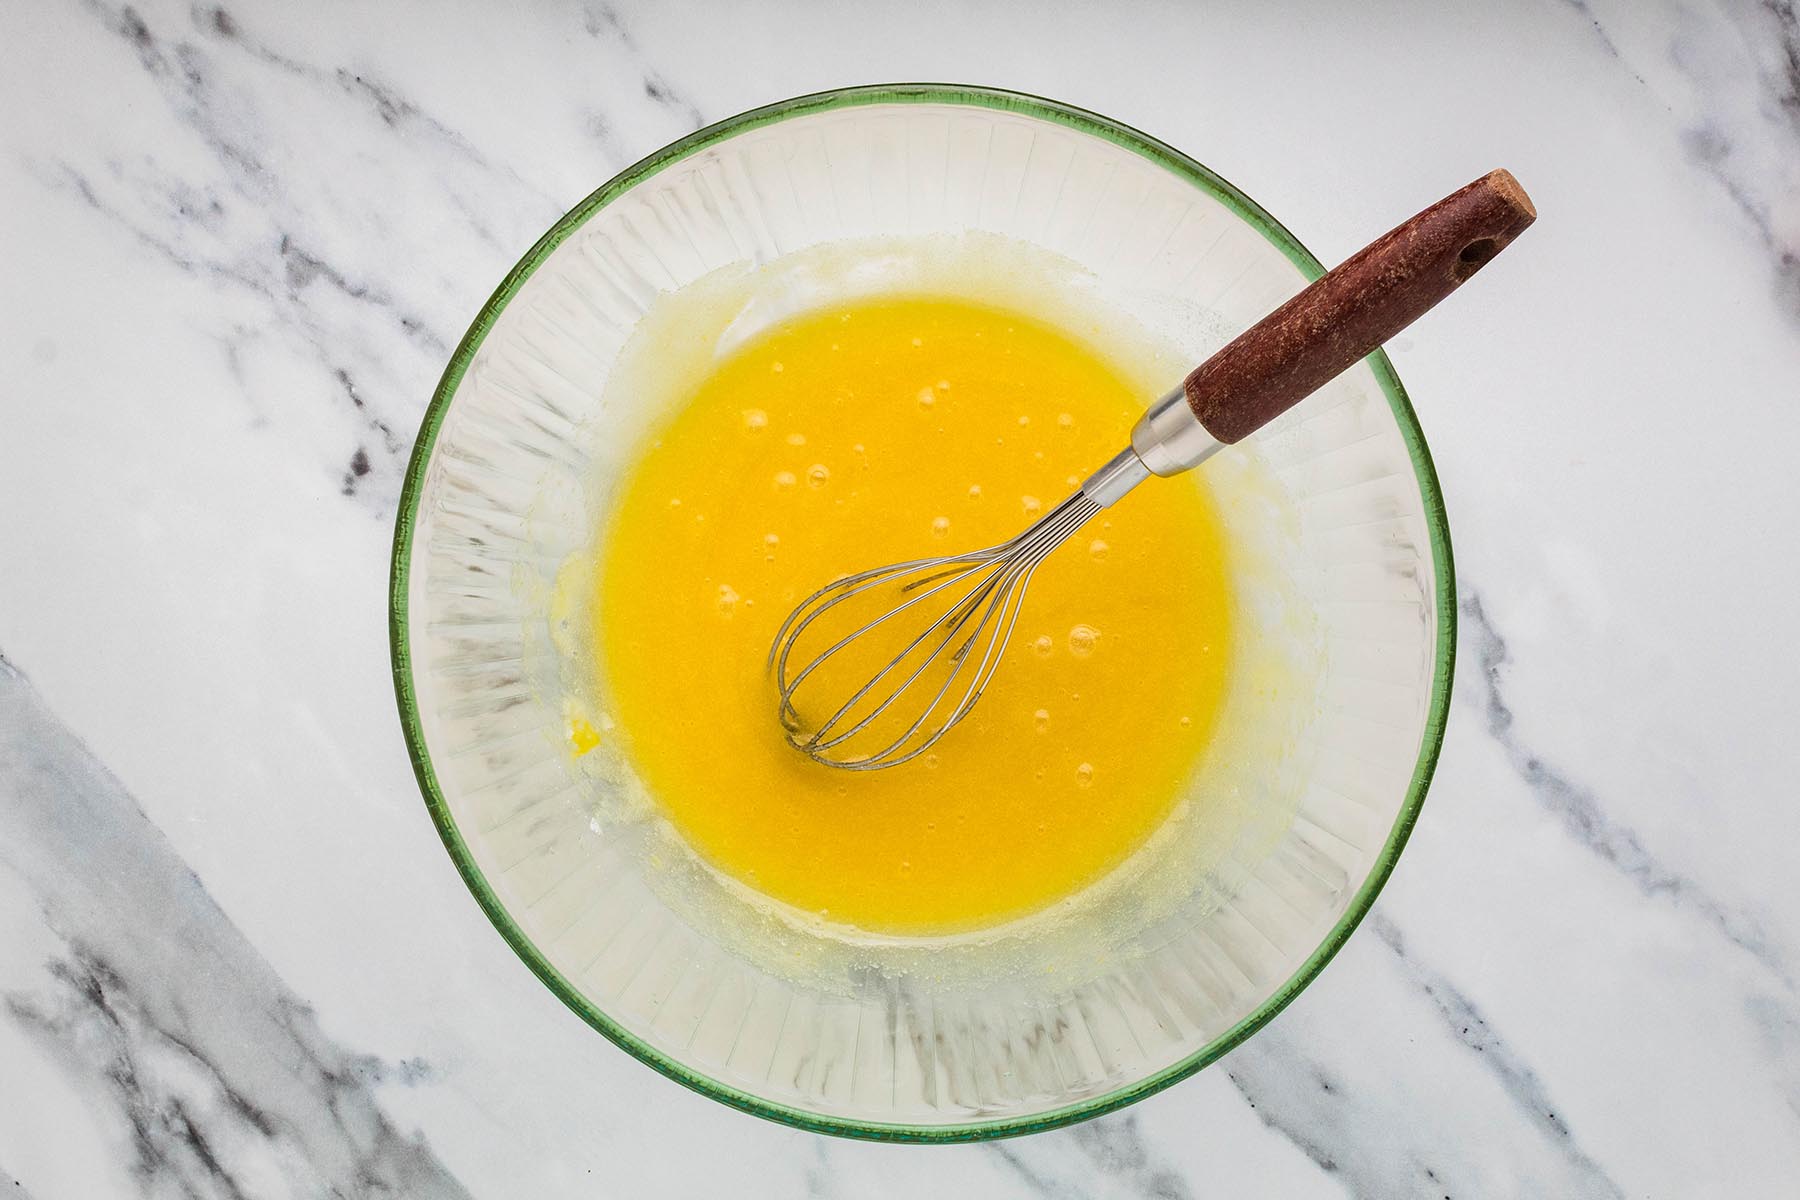
- Add 1 ¼ cups granulated sugar, ½ cup melted and cooled unsalted butter, 1 large egg, 1 large egg yolk, and 1 teaspoon vanilla extract to a large mixing bowl. Whisk until well combined.
- Sift ¾ cup all-purpose flour, ⅓ cup unsweetened cocoa powder, and ½ teaspoon sea salt into the bowl. Use a rubber spatula to gently fold the dry ingredients into the wet ingredients just until combined and no streaks of flour remain. (Note 1)
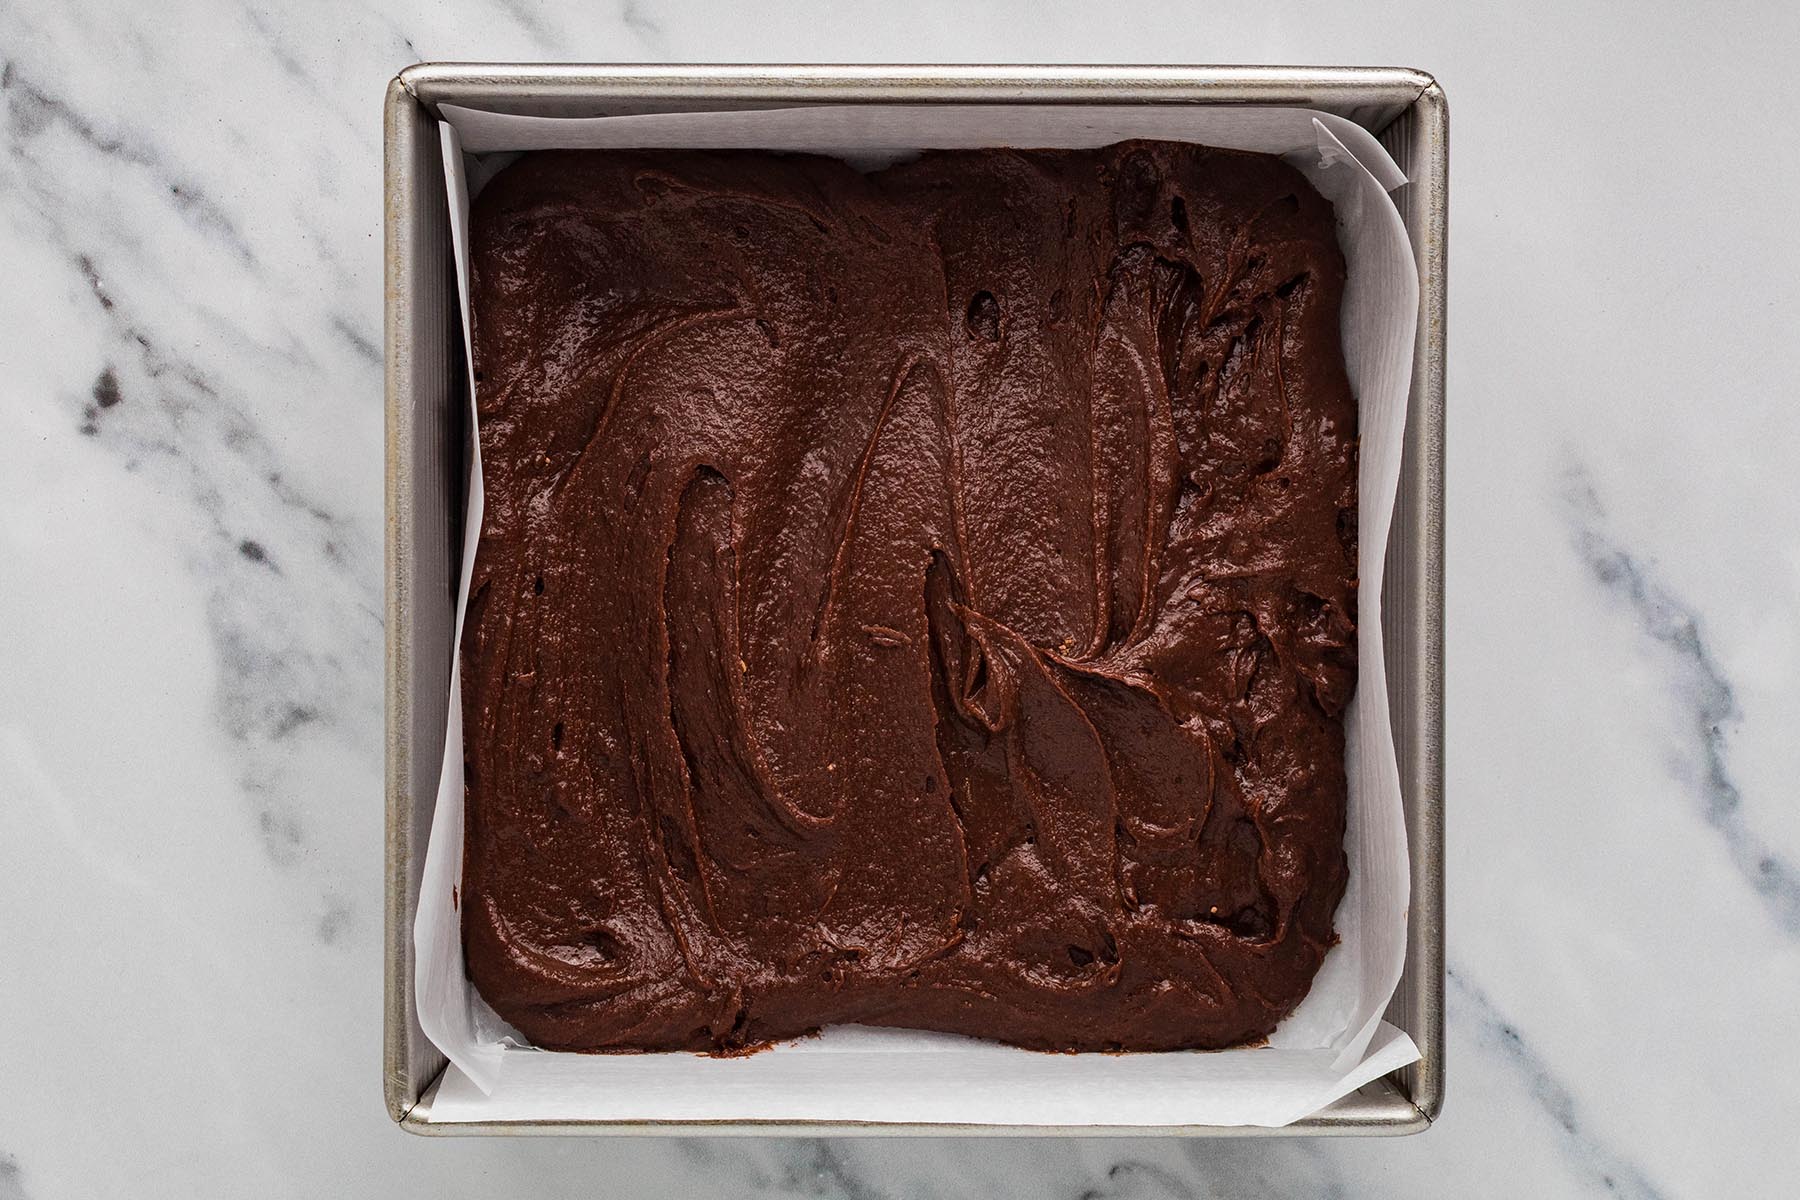
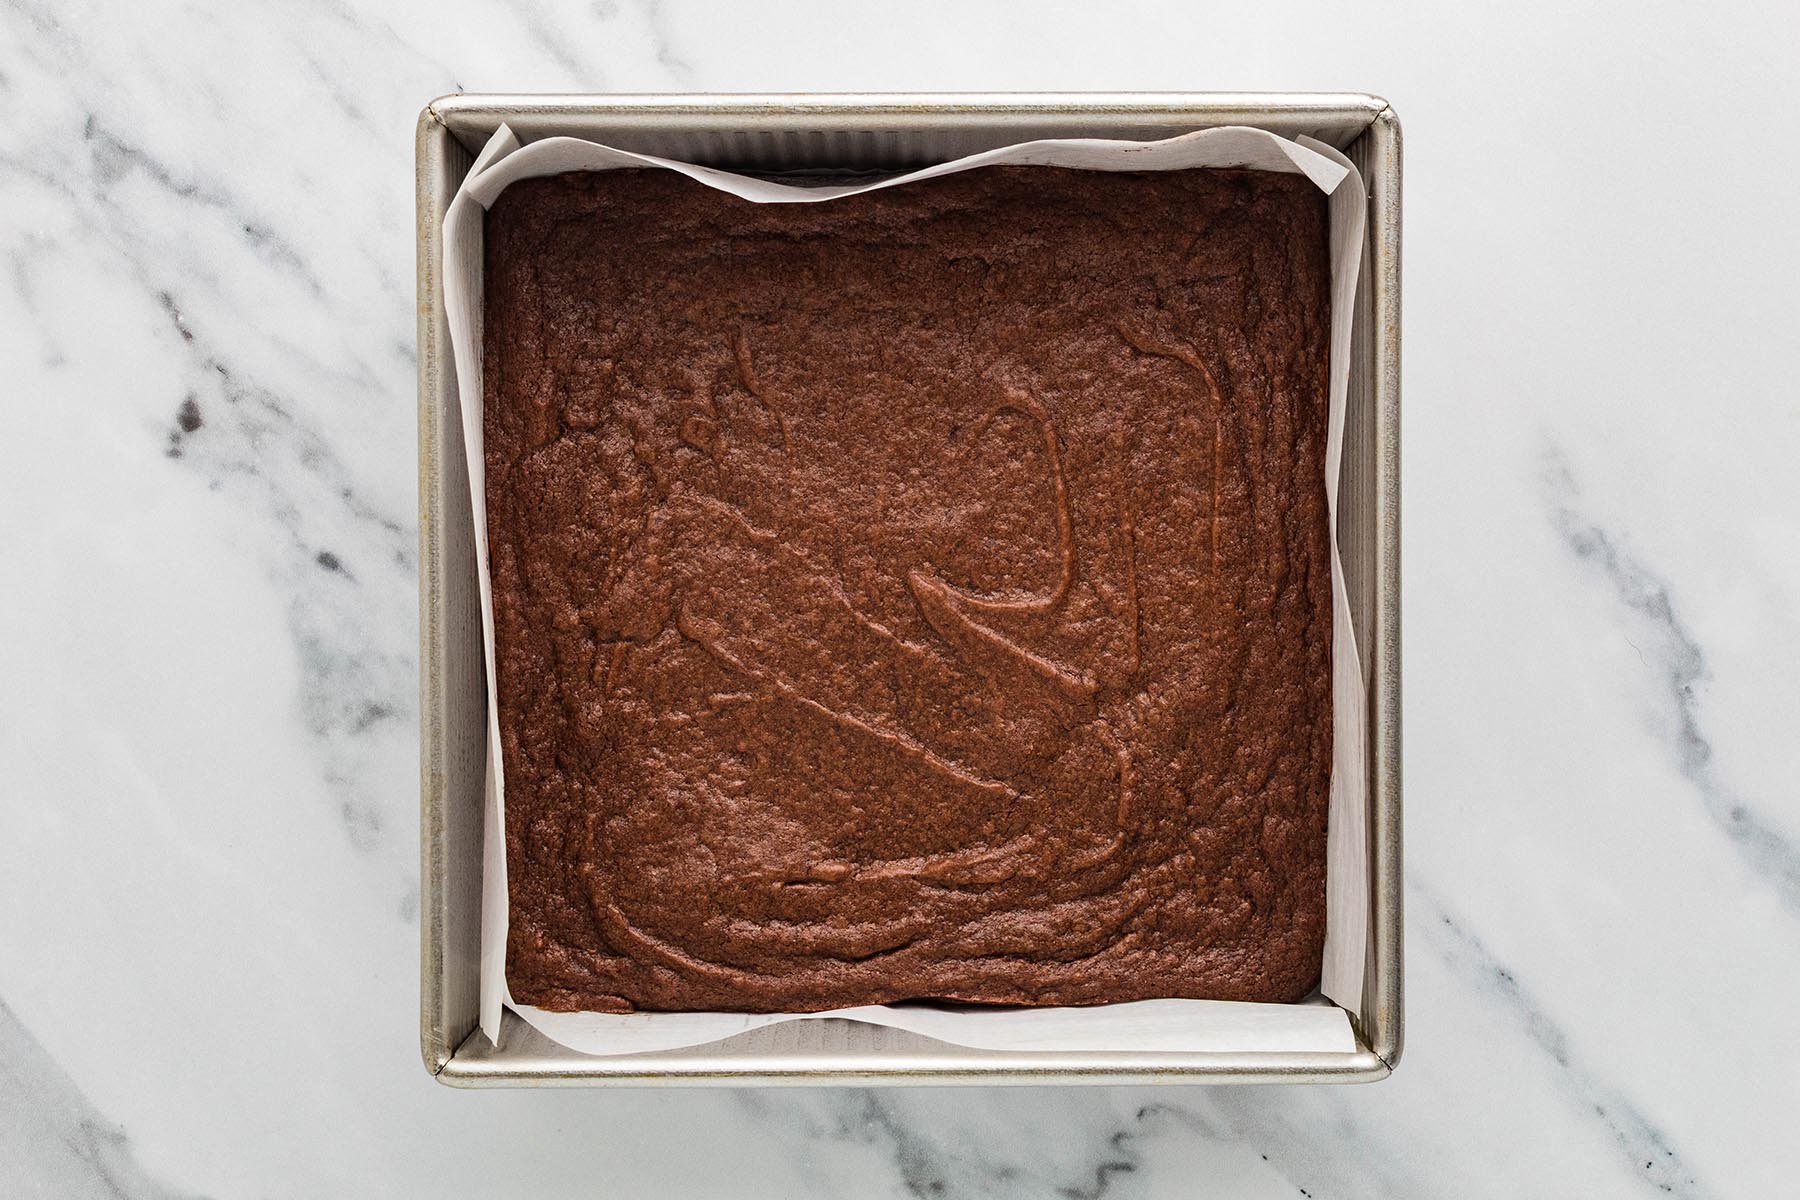
- Spread the batter evenly in the prepared pan. Bake for 20–23 minutes, until the top looks set and the center no longer appears wet or glossy. Take care not to overbake.
- Remove the brownies from the oven and let them cool completely in the pan, about 1 hour. (Note 2)
- Use the parchment overhang to lift the cooled brownie slab out of the pan. Cut into 12 bars with a sharp knife.
- Add ½ cup white chocolate chips and 1 ½ tablespoons coconut oil to a microwave-safe bowl. Microwave in 15-second intervals, stirring well after each interval, until the chocolate is almost completely melted. Stop heating while a few chips remain and continue stirring until the residual heat melts them. (Note 3)
- Use a spoon or fork to drizzle the melted white chocolate back and forth over the brownies. The lines do not need to be perfectly even; a mix of thicker and thinner lines creates the wrapped mummy look.
- Place 2 candy eyes on each brownie, using a small dot of melted white chocolate to hold each one in place. Let the white chocolate set before serving.
Notes
- Don’t overmix. Once you add the flour, fold only until everything is combined. Overmixing can make the brownies more cakey or tough instead of dense and fudgy.
- Cool completely before cutting. Allow at least 1 hour for cooling. This helps you get cleaner edges and gives the white chocolate a stable surface for decorating.
- Melt the white chocolate gently. Use 15-second microwave intervals and stir between each one. Stop heating while a few chips remain and let the residual heat finish melting them.
