Would you like to save this recipe?
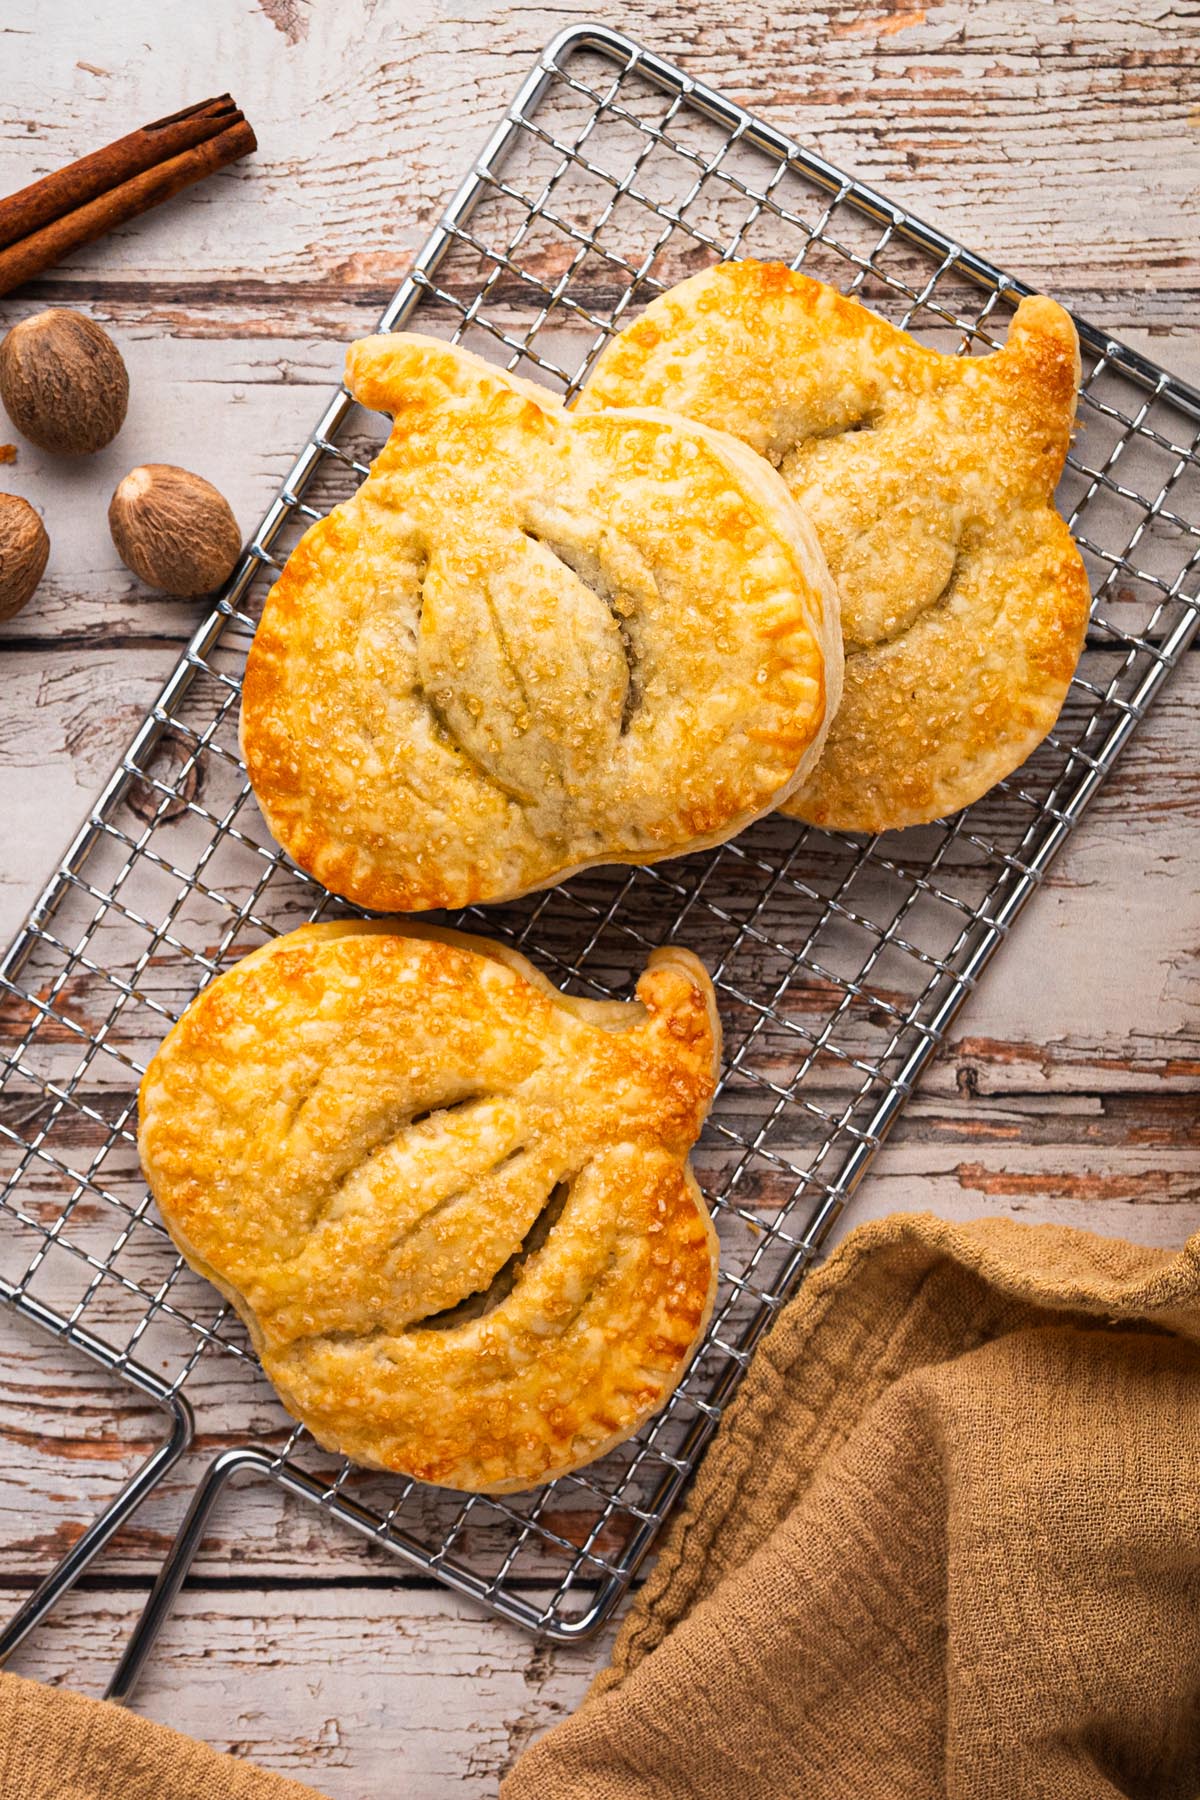
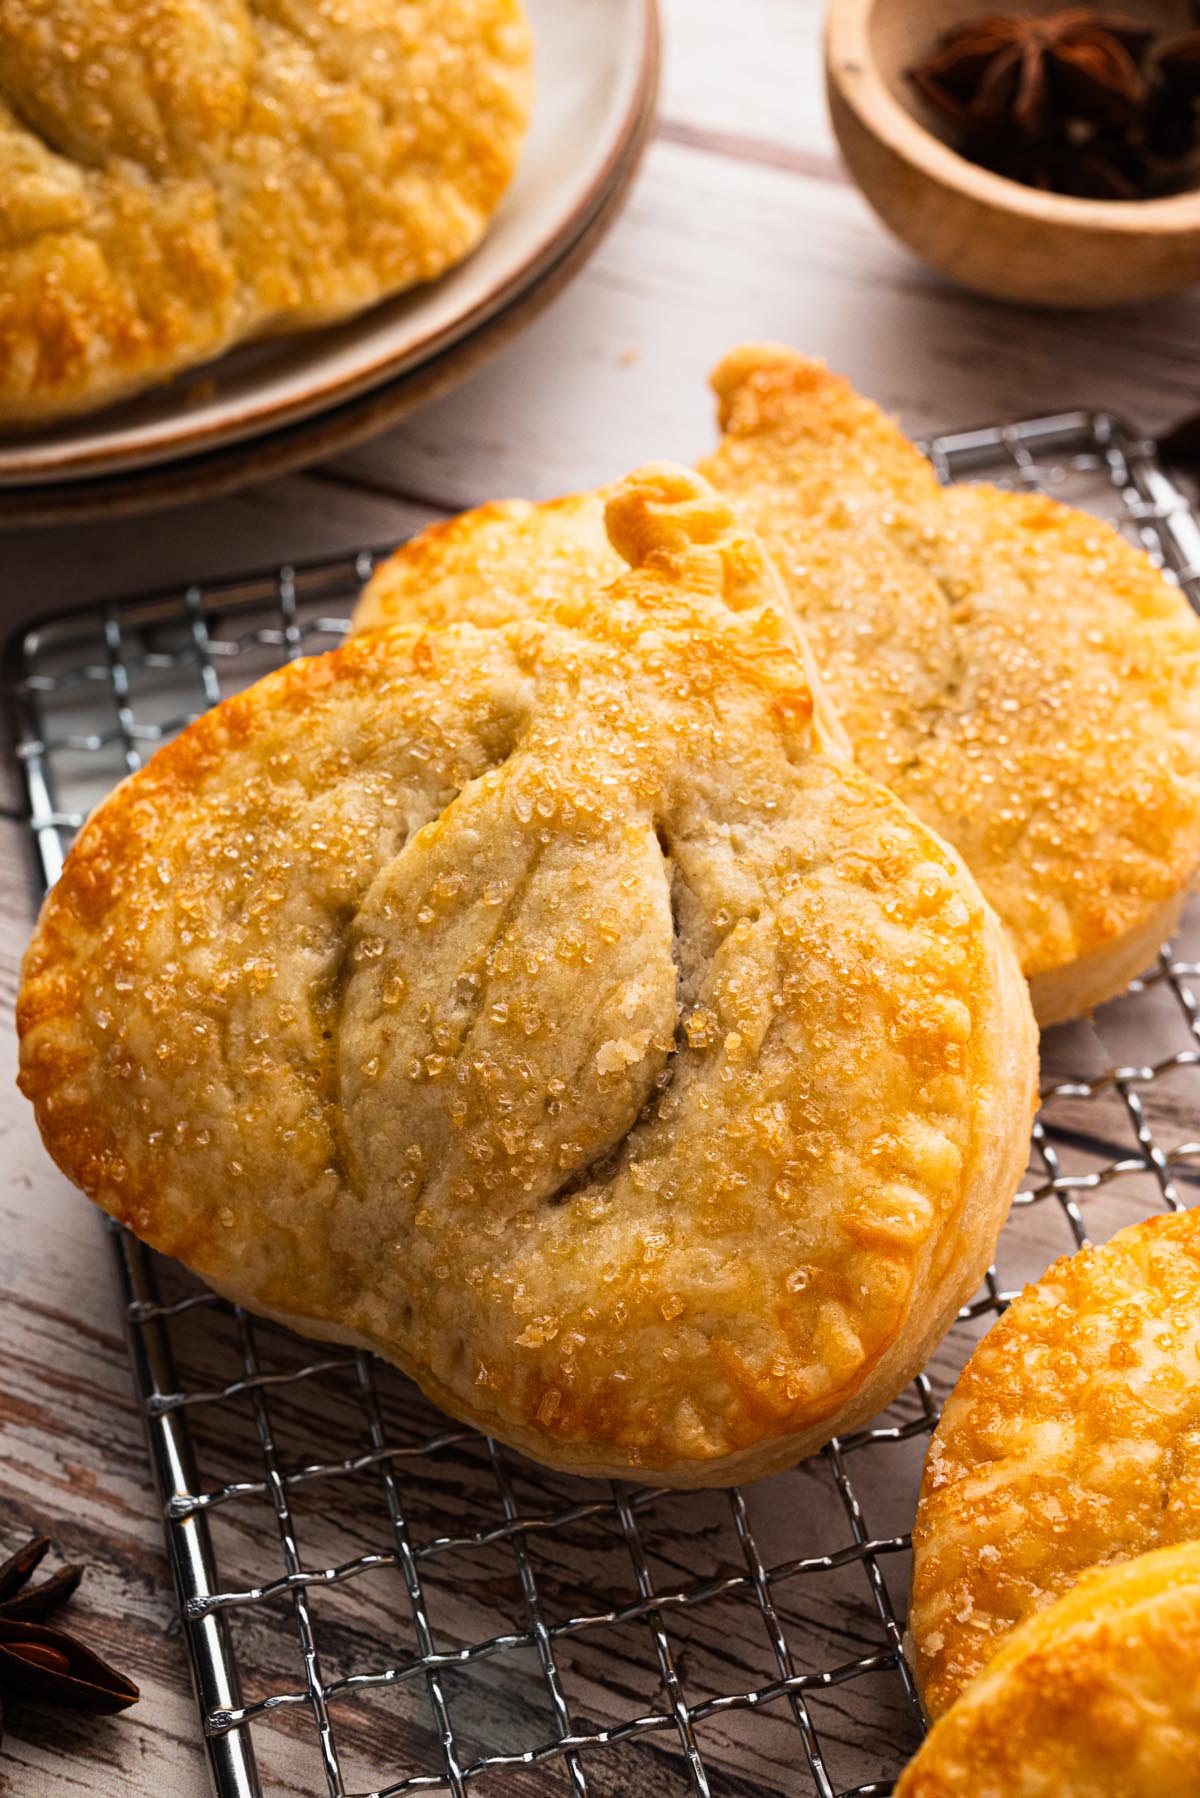
There’s something about fall baking that feels extra special, and these pumpkin pie hand pies capture that festive spirit in the sweetest way. They bring together everything you love about classic pumpkin pie with flaky crust, spiced filling, and just the right touch of sweetness, all in a fun, handheld form that’s perfect for sharing.
I’ve always loved the tradition of pumpkin pie at the holidays, but sometimes it’s nice to have a dessert that’s just a little easier to serve. Hand pies mean no messy slicing and everyone gets their own little pumpkin-filled pastry. They’re charming on a Thanksgiving dessert table, easy to tuck into a lunchbox, and just right with a cup of coffee on a crisp fall morning.
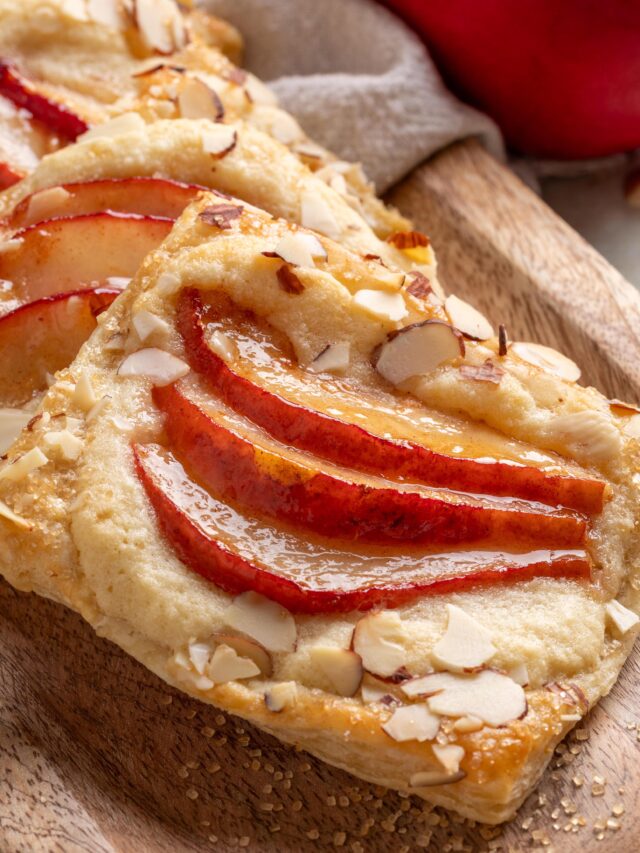
If you’re looking for more fall treats, you might also enjoy my Apple Scones, which are buttery, and full of apple flavor. These Raspberry White Chocolate Cookies are another favorite when you want something a little festive (we always get rave reviews when we serve these!), and for a savory option, my Slow Cooker Potato Soup is a comforting choice on chilly days.
What Makes These Hand Pies So Special
Ingredients You’ll Need
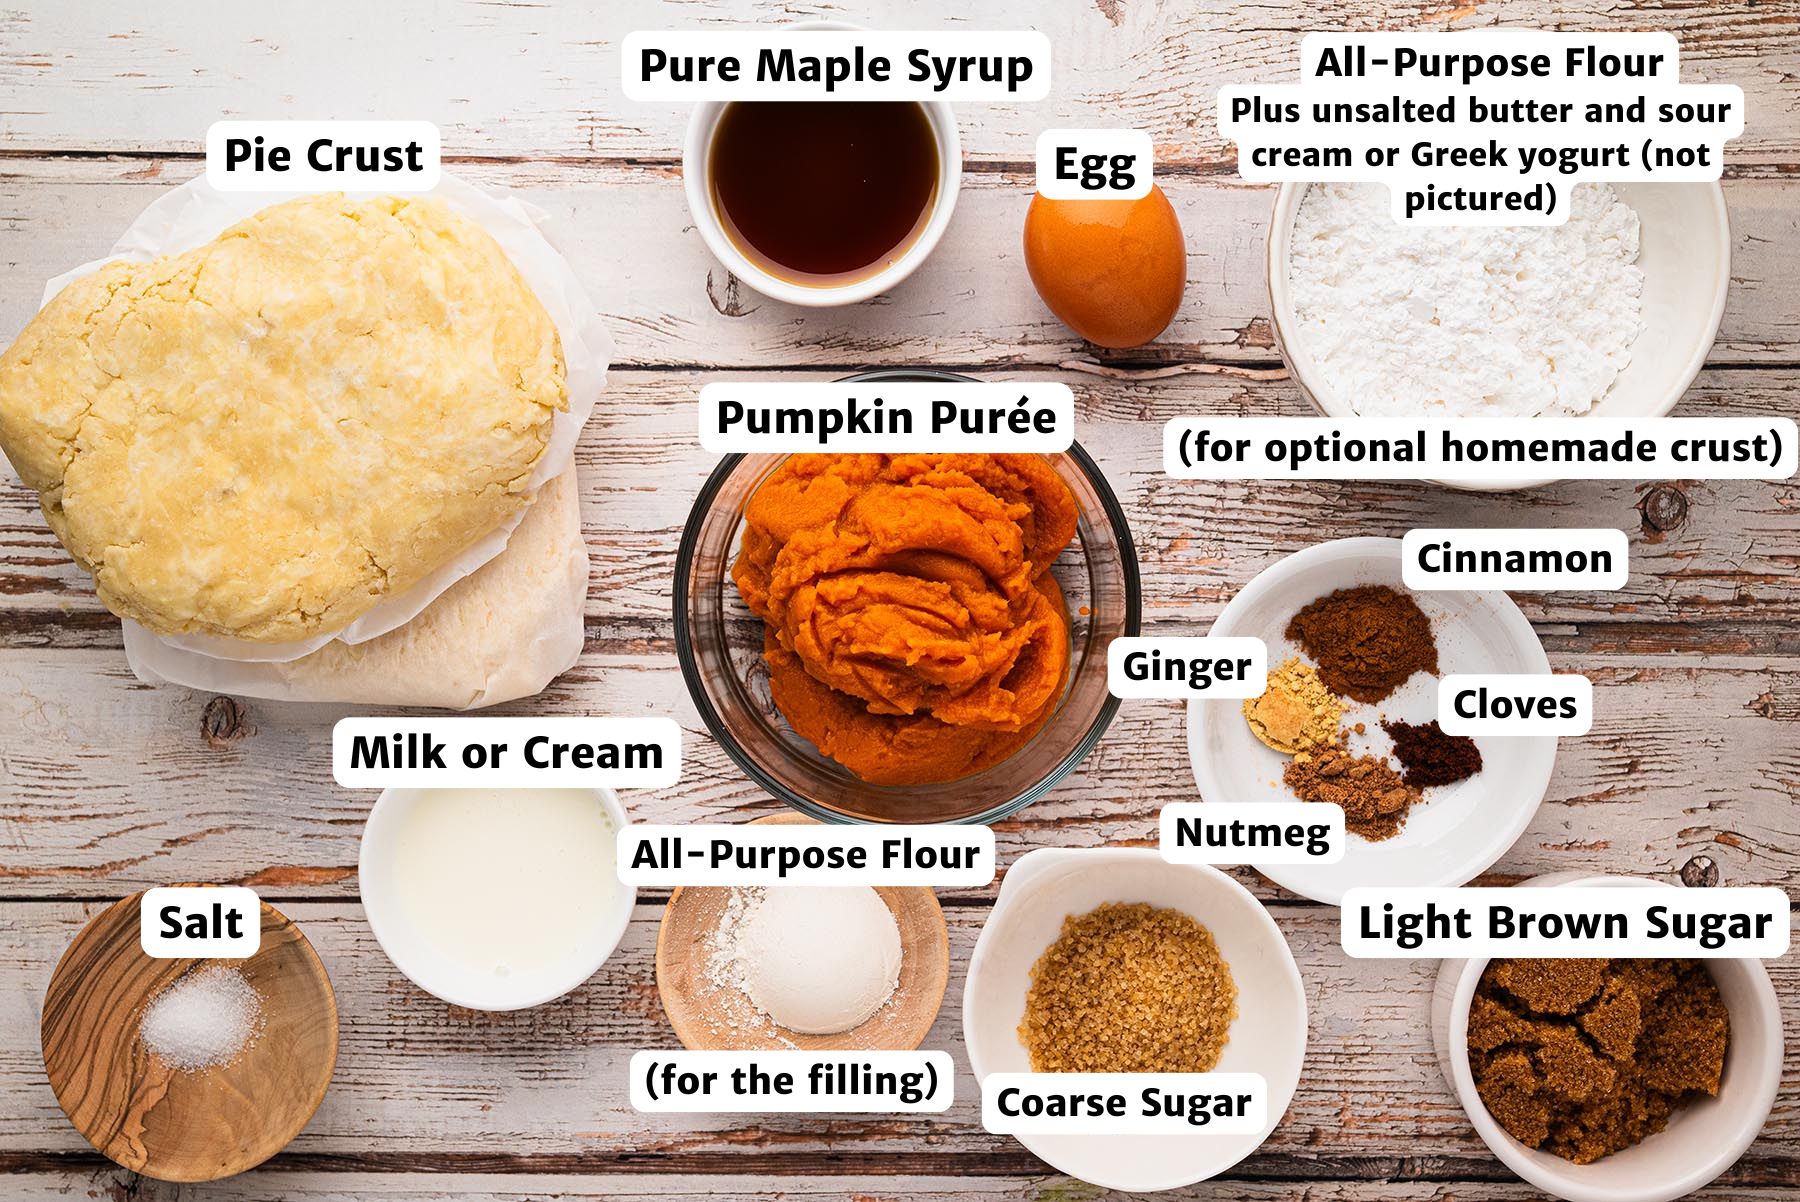
Here’s what goes into these cute pumpkin pie hand pies, plus a few simple subs if you need them.
For the Filling
- Canned pumpkin purée. Use pure pumpkin purée, not pumpkin pie mix, which already has sugar and spices. Homemade pumpkin purée also works; just drain off any excess liquid so the filling isn’t watery.
- Light brown sugar. Adds sweetness with a subtle caramel note. Dark brown sugar can be used for a richer flavor, or you can use granulated sugar in a pinch.
- Maple syrup. Maple deepens the flavor, but honey or an extra spoonful of brown sugar makes a good substitute.
- Spices. Cinnamon, ginger, nutmeg, and cloves give classic pumpkin pie flavor. If you’d rather keep it simple, use 1 teaspoon pumpkin pie spice instead.
- All-purpose flour. Thickens the filling so it stays put. Cornstarch or a gluten-free flour blend can be used instead.
For the Crust
Pie crust. Store-bought pie dough makes these quick and easy, while homemade gives them extra flakiness and flavor. Puff pastry can be used, but keep in mind it bakes up lighter and may not seal as tightly. The result will be closer to a pumpkin turnover than a traditional hand pie.
For the Egg Wash and Topping
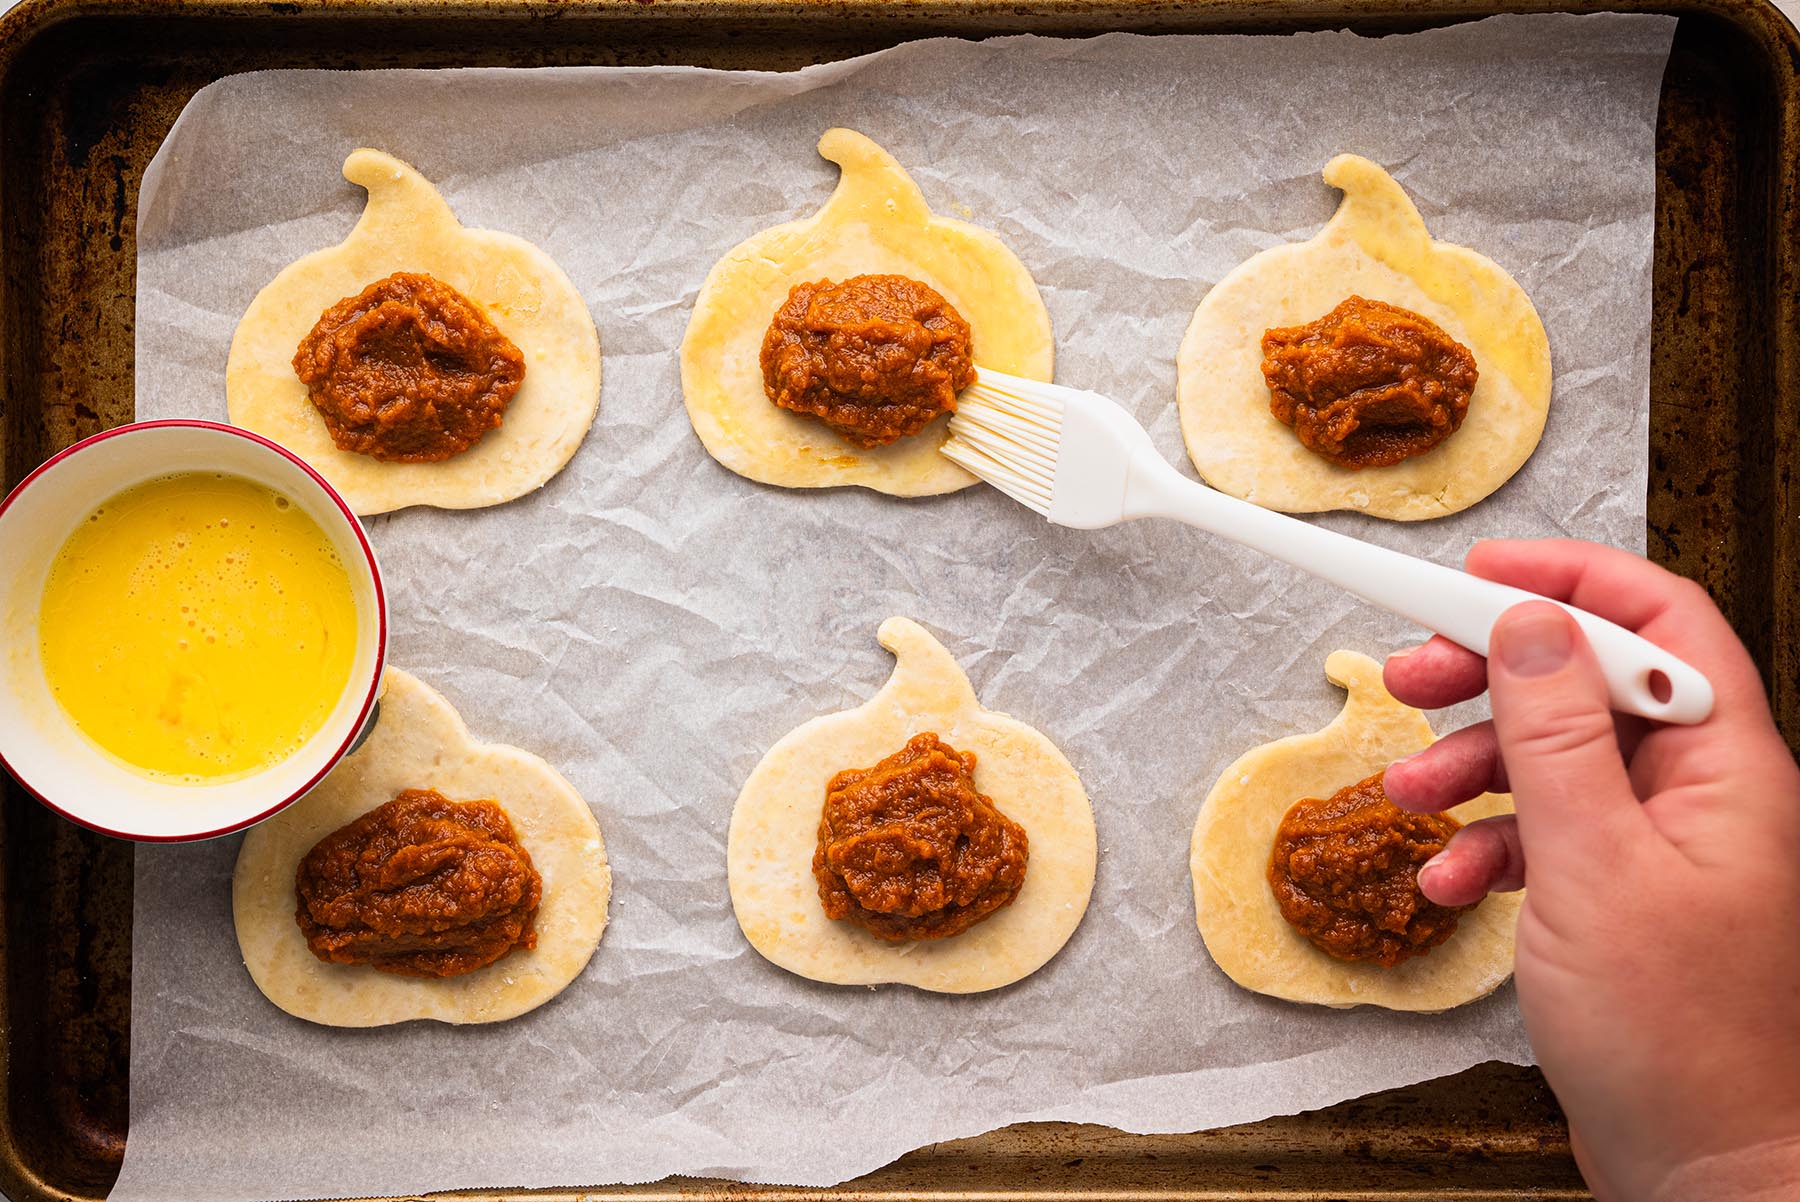
- Egg + milk or cream. Brushed over the crust, this helps the pies bake golden and glossy. If you don’t have eggs, brushing with milk or cream alone still gives nice color.
- Coarse sugar (turbinado or raw sugar). Adds sparkle and crunch. Granulated sugar can be used if that’s what you have on hand.
Optional Homemade Crust Ingredients
If you’d like to make the crust from scratch, here’s what you’ll need:
- All-purpose flour. The base for a sturdy, flaky crust. A gluten-free flour blend works if you need a GF option.
- Salt. Brings out flavor and balances the sweetness of the filling.
- Cold unsalted butter. Creates flakiness. Salted butter can be used but reduce or omit the added salt.
- Cold sour cream or Greek yogurt. Adds tenderness and subtle tang. Either one works, and plain yogurt or buttermilk also make good stand-ins.
- Cold water. Helps the dough come together. Keep it cold so the butter doesn’t melt too quickly.
How to Make Pumpkin Pie Hand Pies
These little pies come together in just a few simple steps. Here’s how to make them step by step.
Step 2: Whisk the egg and milk (or cream) in a small bowl, then refrigerate until ready to use.

Little Tricks That Make a Big Difference
- Keep the dough cold. Cold dough bakes up flakier and holds its shape better. If it softens while you’re working, pop it back in the fridge for a few minutes.
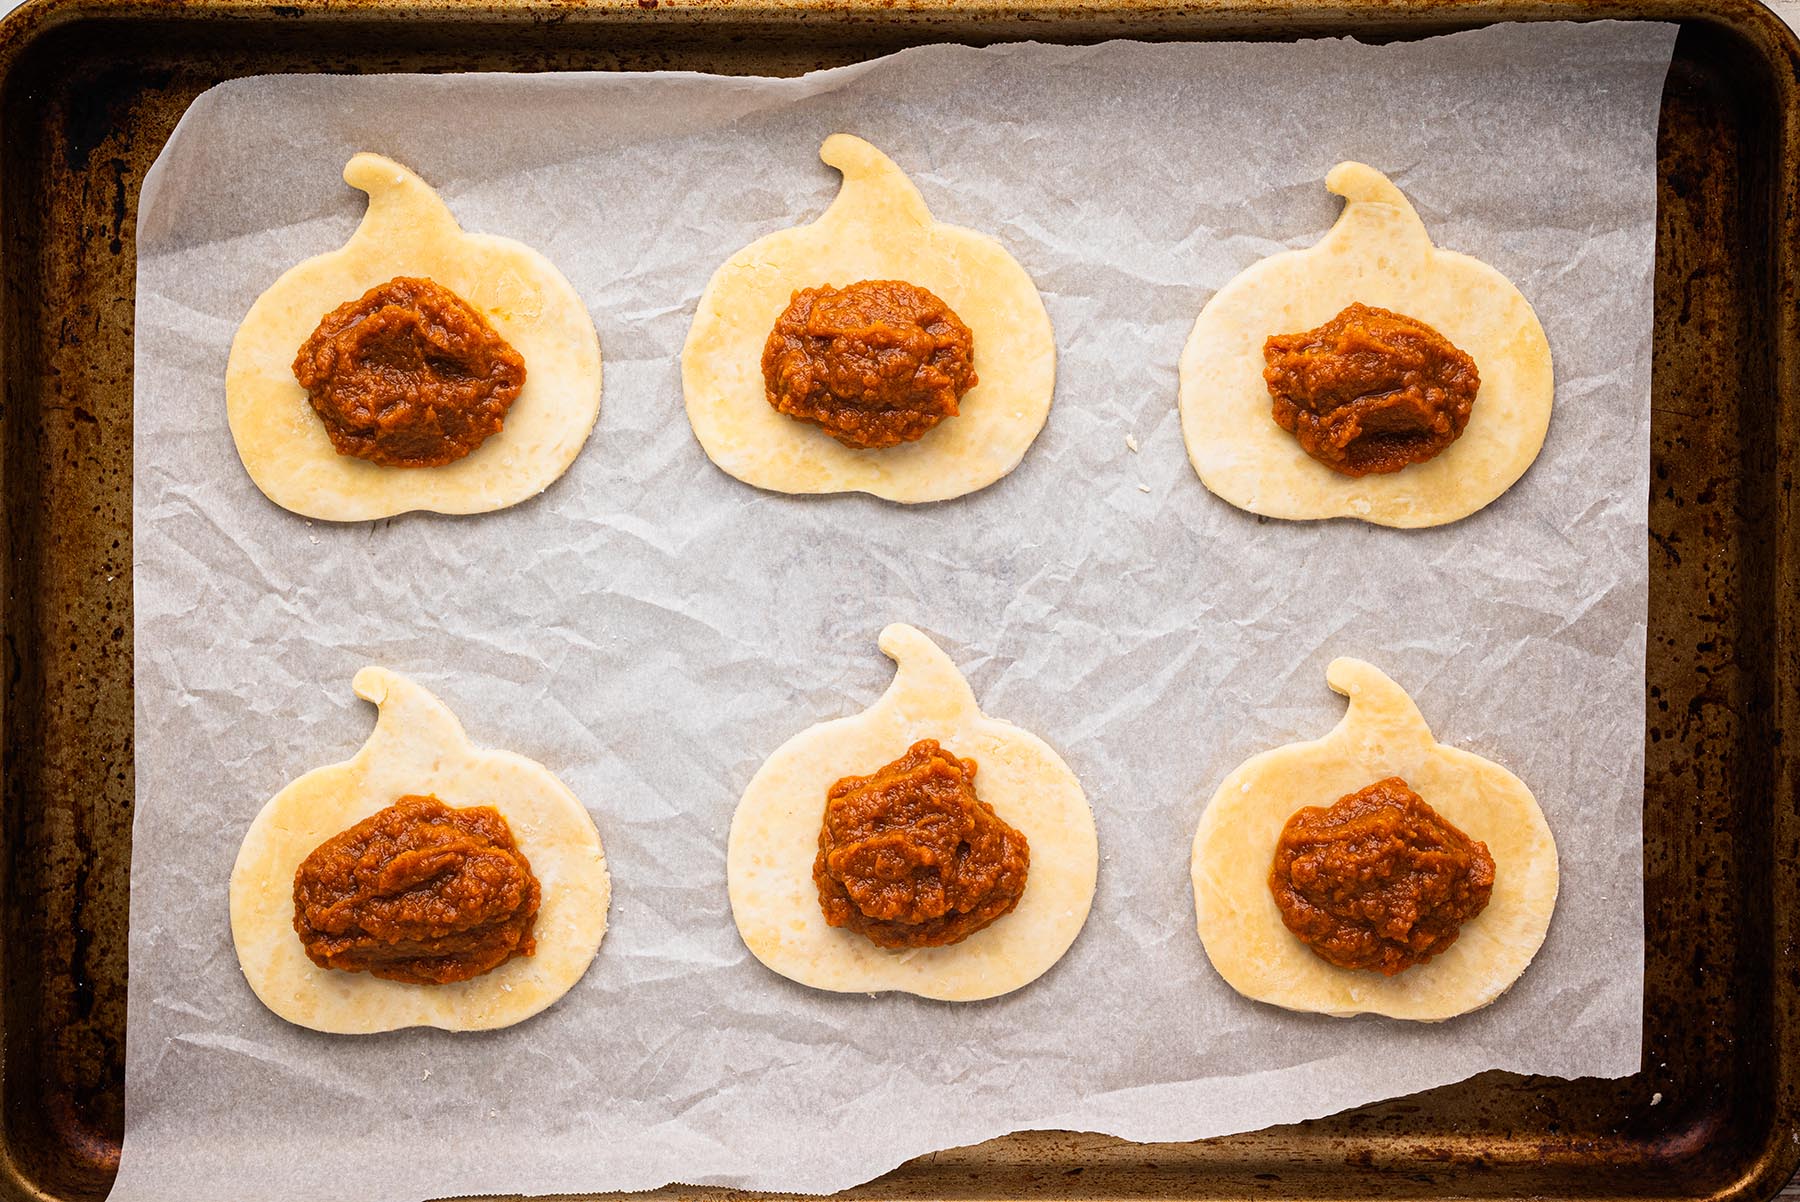
- Don’t overfill. Just 1–2 teaspoons of filling is plenty. Too much will cause the pies to leak or burst open while baking.
- Seal well. Use a fork to crimp firmly all around the edges, then check for gaps. A good seal keeps the filling where it belongs.
- Vent the tops. A small slit or decorative cut in each pie lets steam escape and prevents soggy crust.
- Watch for visual cues. Bake until golden brown, crisp at the edges, and the filling bubbles through the vents. These cues matter more than the clock.
- Sparkle it up. Coarse sugar isn’t just pretty, it gives a bakery-style crunch. Don’t skip it if you have it on hand.
- Make ahead. Assemble the pies a day in advance and refrigerate or freeze unbaked pies and bake straight from the freezer, adding a few extra minutes to the bake time.
Variation Ideas
- Apple Cinnamon Hand Pies. Swap the pumpkin filling for apple pie filling.
- Cream Cheese Pumpkin Hand Pies. Add a teaspoon of sweetened cream cheese along with the pumpkin filling for a cheesecake-like twist.
- Nutella Pumpkin Hand Pies. Spread a little Nutella under the pumpkin filling for a chocolatey surprise.
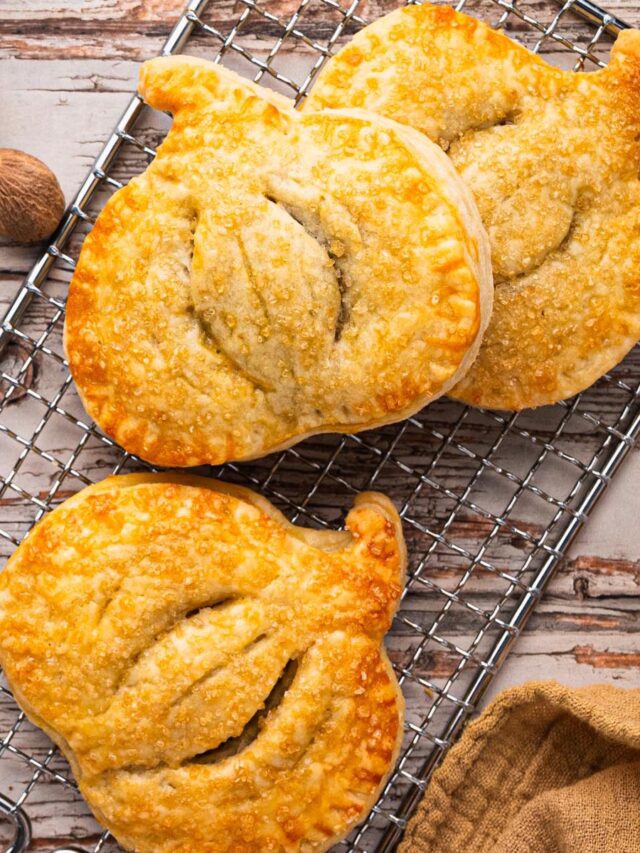
- Festive Shapes. Use cookie cutters to match the season. Pumpkins and leaves are perfect for fall, acorns or turkeys are fun for Thanksgiving, and stars or snowflakes work beautifully for the winter holidays.
- Puff Pastry Turnovers. Make them with puff pastry for a lighter, flakier treat (closer to a turnover).
Storage Instructions
- Room Temperature. Store baked hand pies in an airtight container at room temperature for up to 2 days. They’ll stay crisp if cooled completely before storing.
- Refrigerator. For longer storage, keep baked pies in the fridge for 3–4 days. Warm them in a 325 F (163 C) oven for about 10 minutes to refresh the crust.
- Freezer (Unbaked). Place assembled, unbaked hand pies on a baking sheet until firm, then transfer to a freezer bag for up to 2 months. Bake straight from frozen, adding 3–5 minutes to the bake time.
- Freezer (Baked). Cool baked pies completely, then wrap individually in plastic wrap and freeze for up to 2 months. Reheat in a 325 F (163 C) oven until warmed through.
Make Ahead Tips
- Assemble in advance. You can cut, fill, and seal the hand pies up to 24 hours before baking. Store them covered in the refrigerator until ready to bake.
- Freeze unbaked. Place assembled pies on a baking sheet to freeze solid, then transfer to a freezer bag. They’ll keep for up to 2 months. Bake straight from frozen. Just add 3–5 minutes to the bake time.
- Holiday shortcut. If you’re baking these for a party or Thanksgiving, assemble them the night before. That way, all you have to do is pop them in the oven before serving.
More Fall Desserts to Love
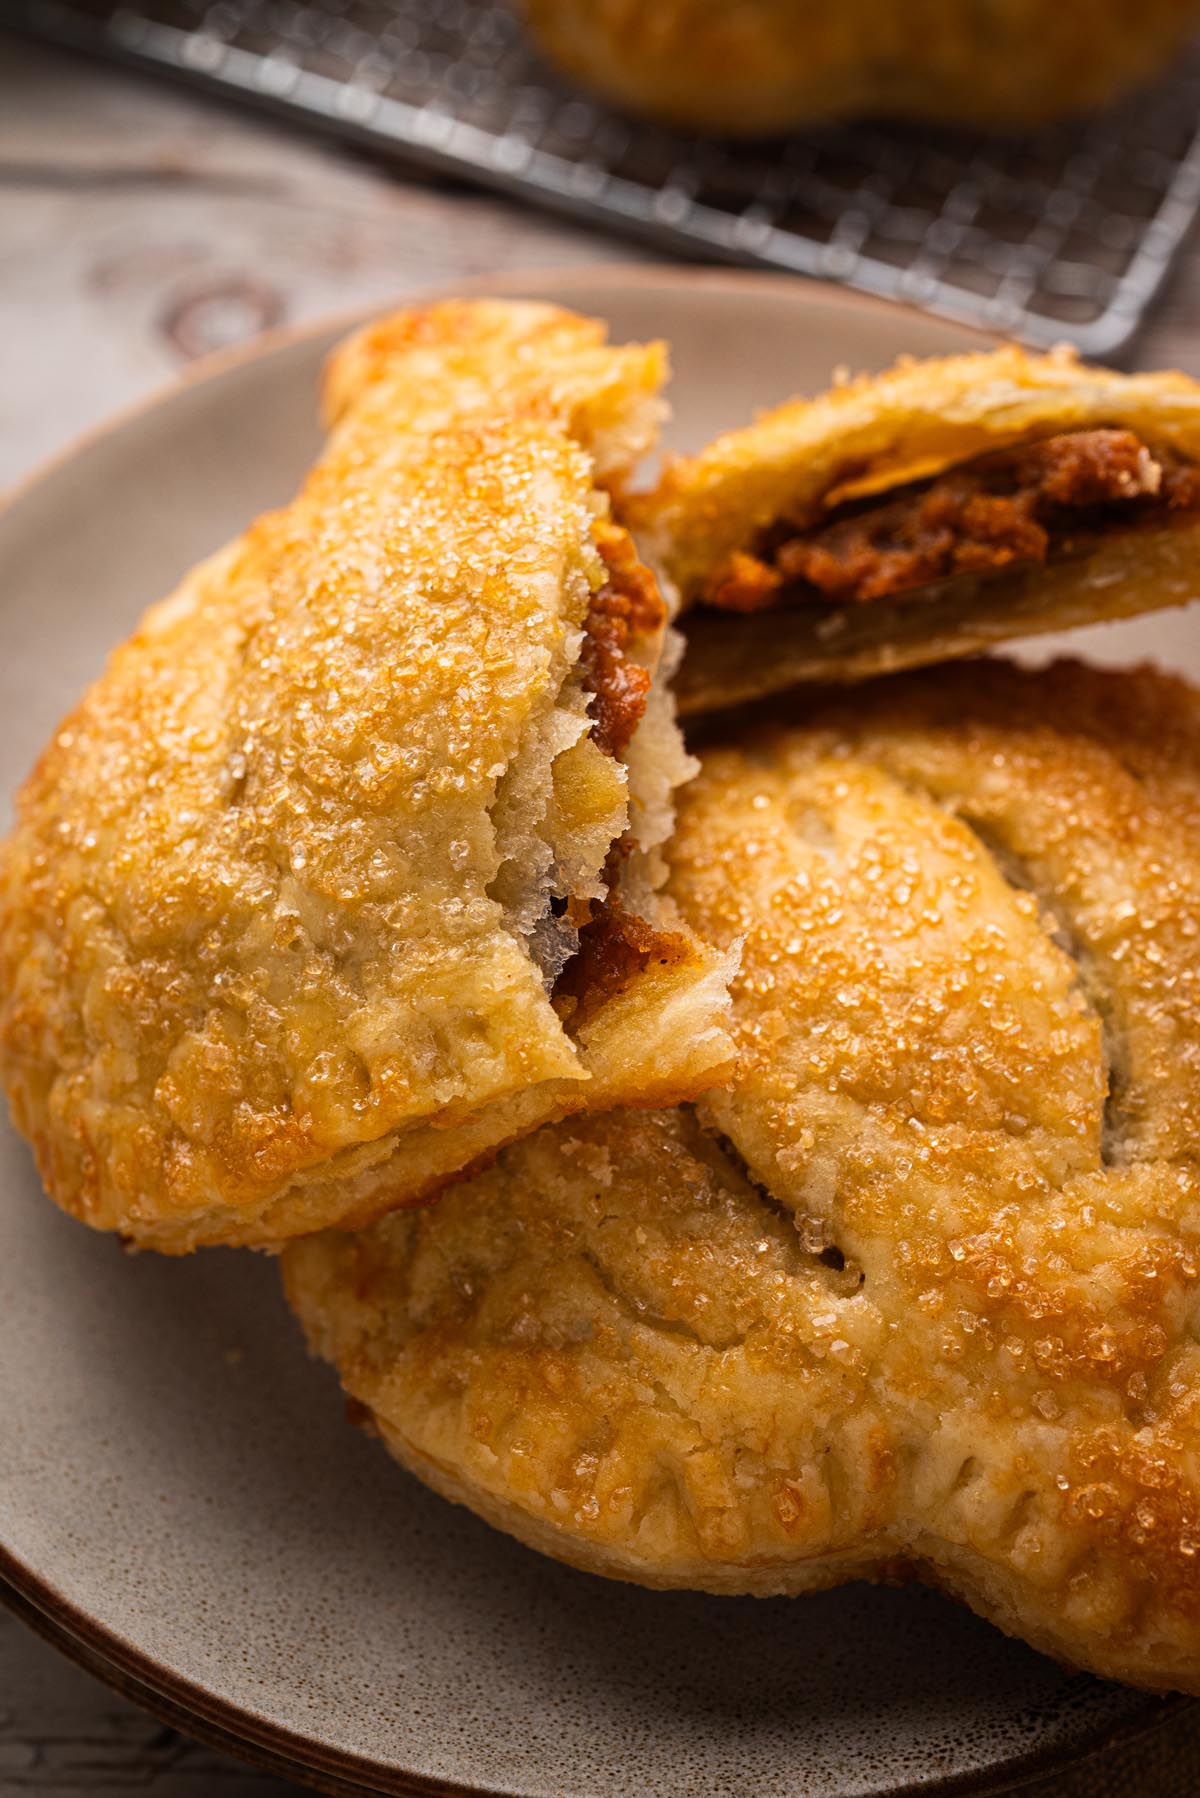
These hand pies take everything we love about pumpkin pie and make it a little more fun (and less fussy). They’re great for parties, but honestly, I like them just as much with a cup of coffee. If you bake a batch, I’d love to hear how you served them. Don’t forget to leave a comment below!
Pumpkin Pie Hand Pies
Equipment
Ingredients
For the filling
- ¾ cup canned pumpkin purée not pumpkin pie filling (Note 2)
- ¼ cup light brown sugar
- 1 tablespoon pure maple syrup (Note 3)
- ½ teaspoon ground cinnamon
- ¼ teaspoon ground ginger
- ¼ teaspoon ground nutmeg
- ⅛ teaspoon ground cloves
- pinch of salt
- 1 tablespoon all-purpose flour (Note 4)
For the crust
- 1 egg for egg wash
- 1 tablespoon milk or cream (Note 6)
- 1 package pie dough 2 sheets store-bought pie dough or homemade hand pie crust (see recipe in the notes below) (Note 5)
- coarse sugar turbinado or raw for topping (Note 7)
Instructions
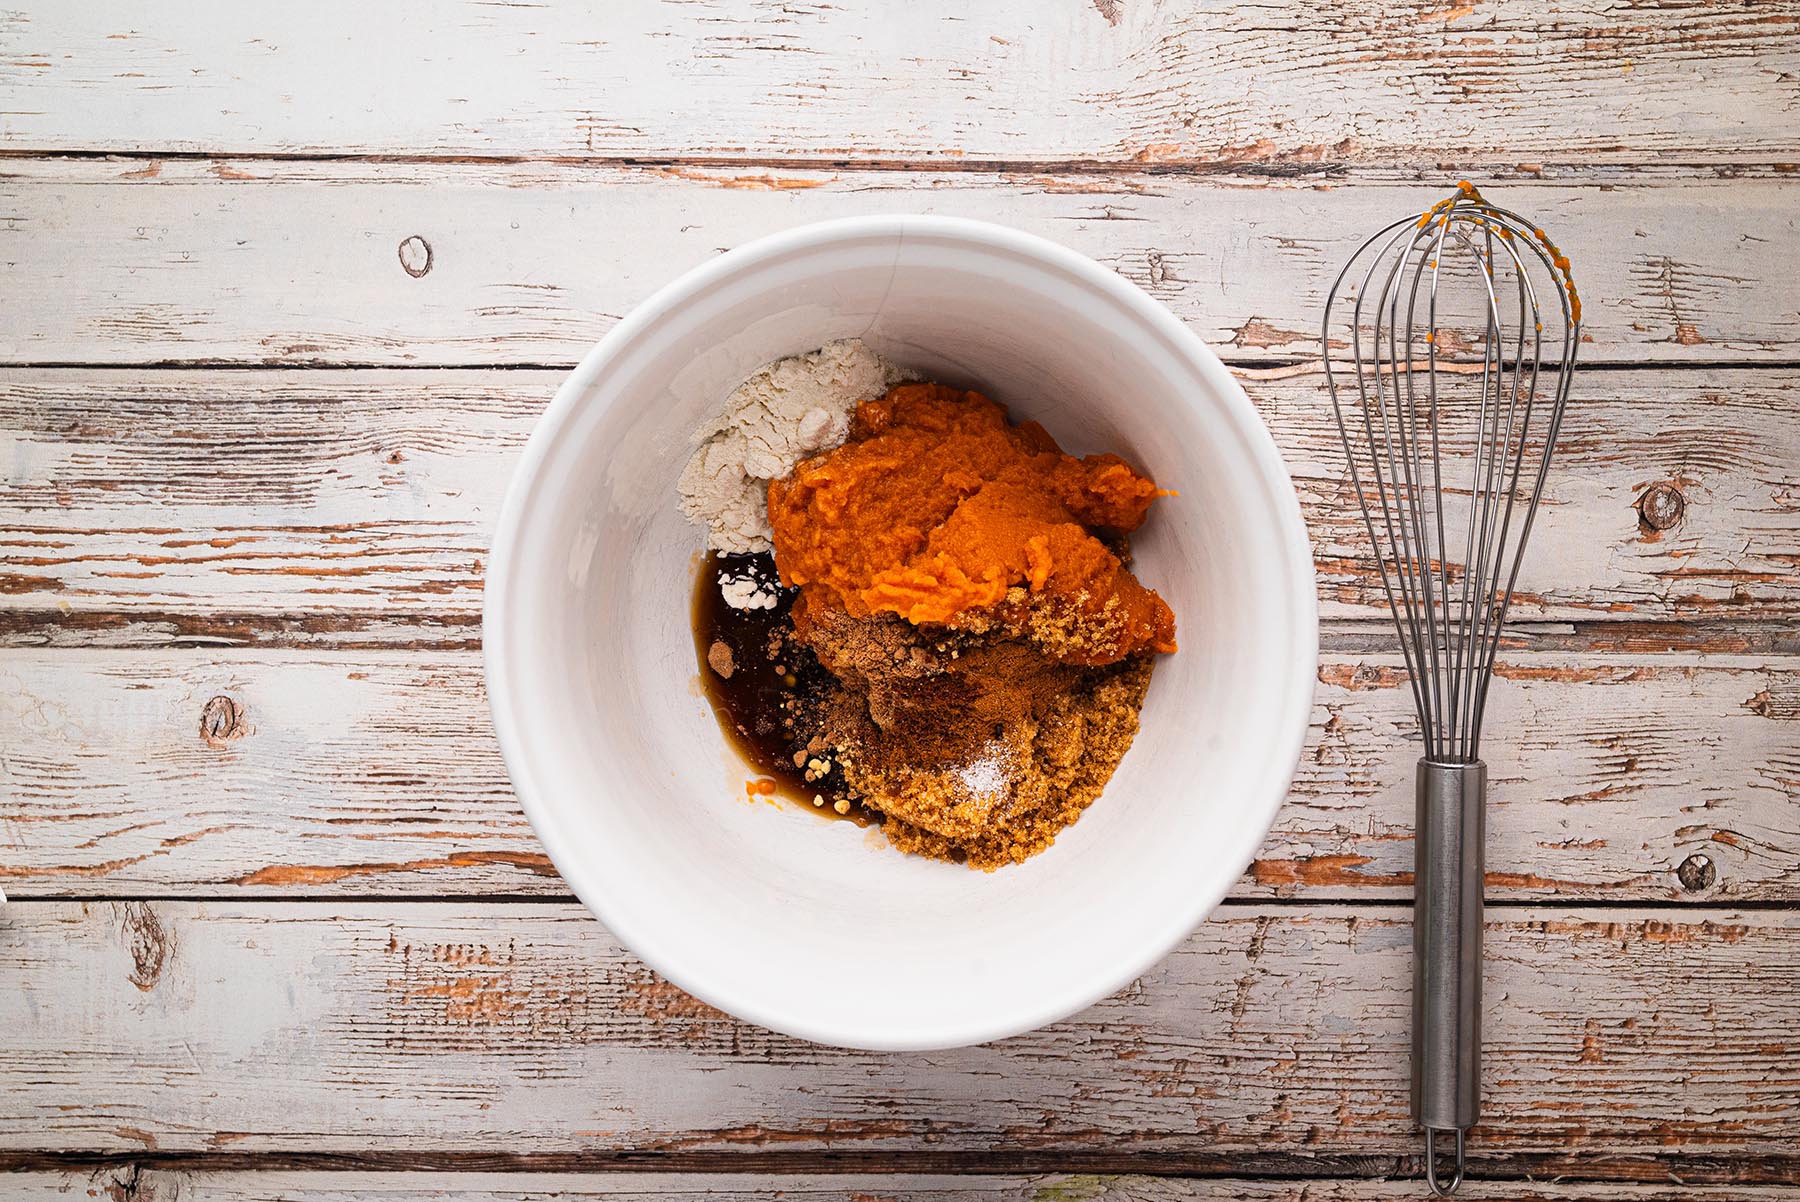
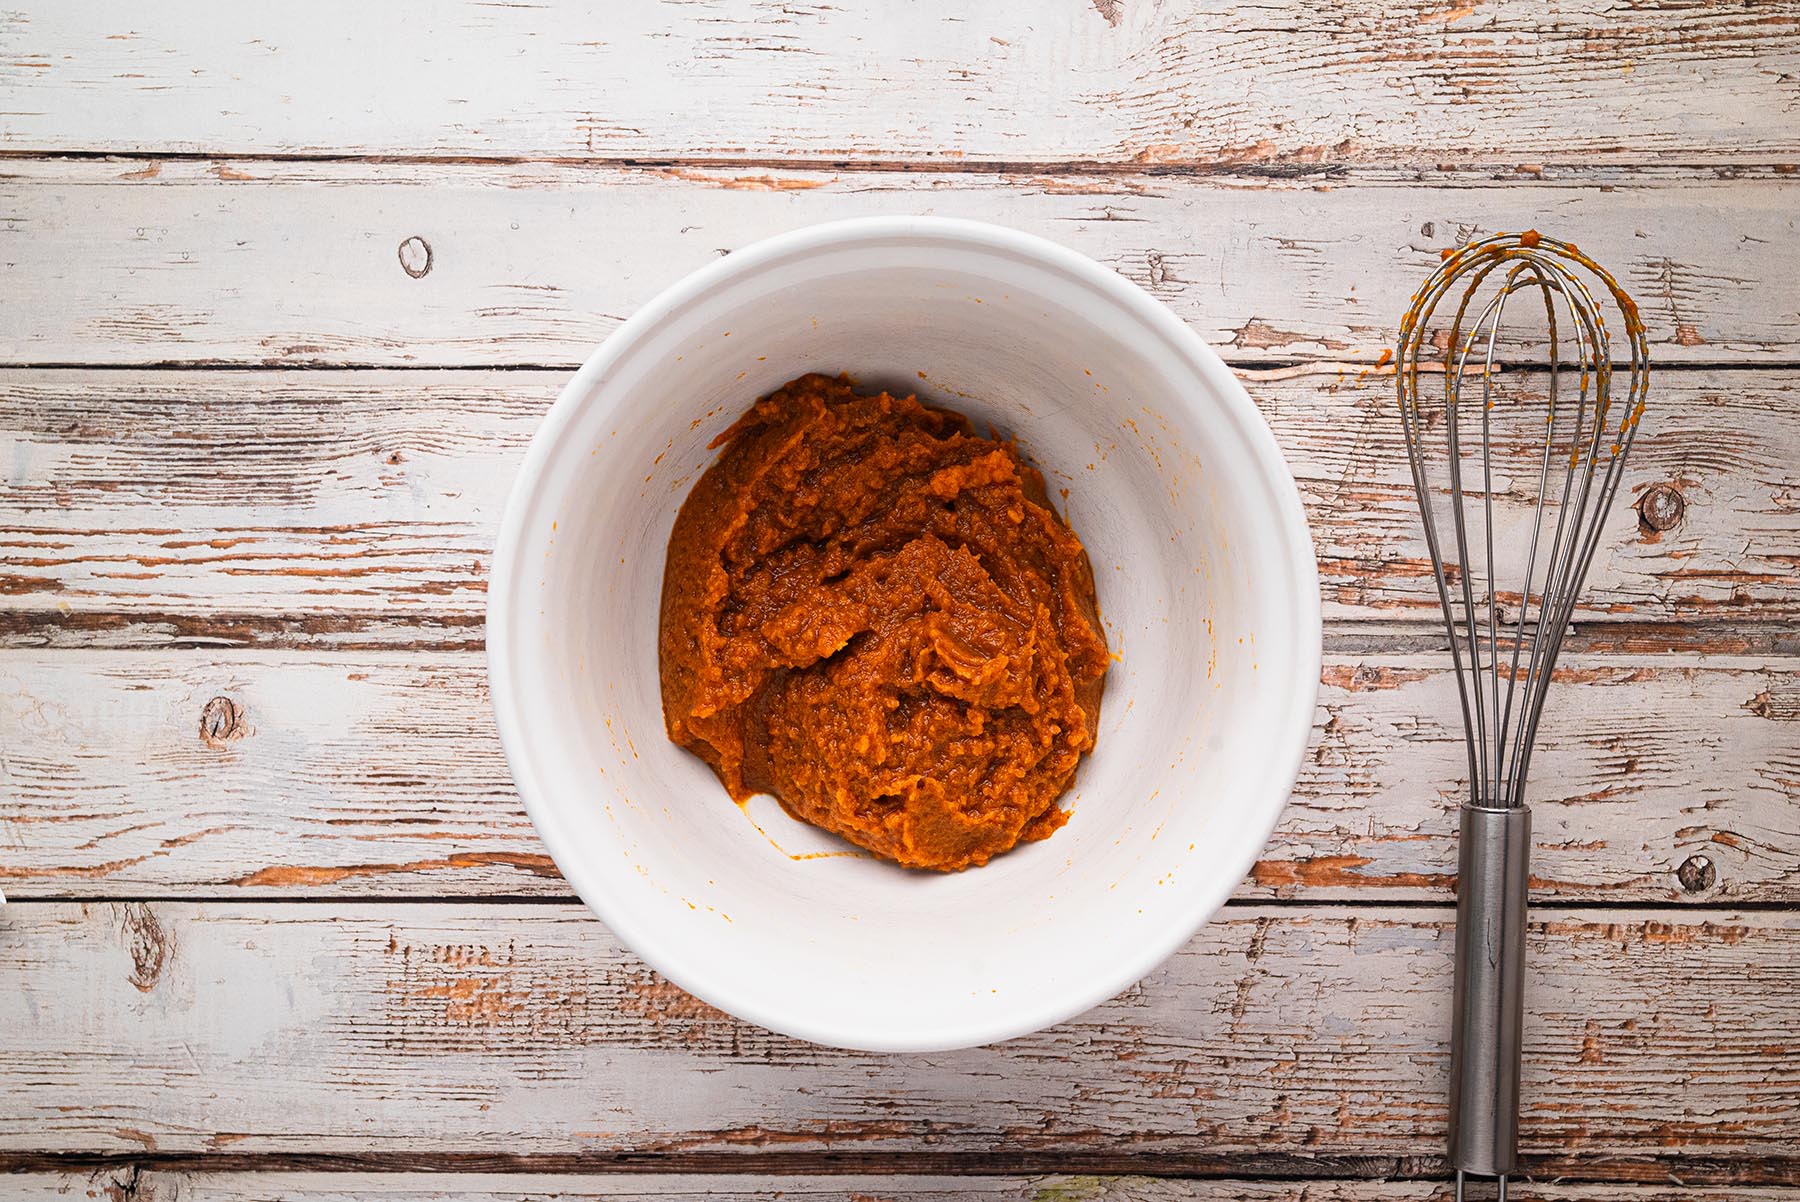
- In a medium bowl, whisk together ¾ cup canned pumpkin purée, ¼ cup light brown sugar, 1 tablespoon pure maple syrup, ½ teaspoon ground cinnamon, ¼ teaspoon ground ginger, ¼ teaspoon ground nutmeg, ⅛ teaspoon ground cloves, pinch of salt, and 1 tablespoon all-purpose flour until smooth. The filling should be thick enough to mound on a spoon (Note 11). Set aside.
- In a small bowl, whisk together the 1 egg (beaten) and 1 tablespoon milk or cream. Cover and refrigerate until needed.
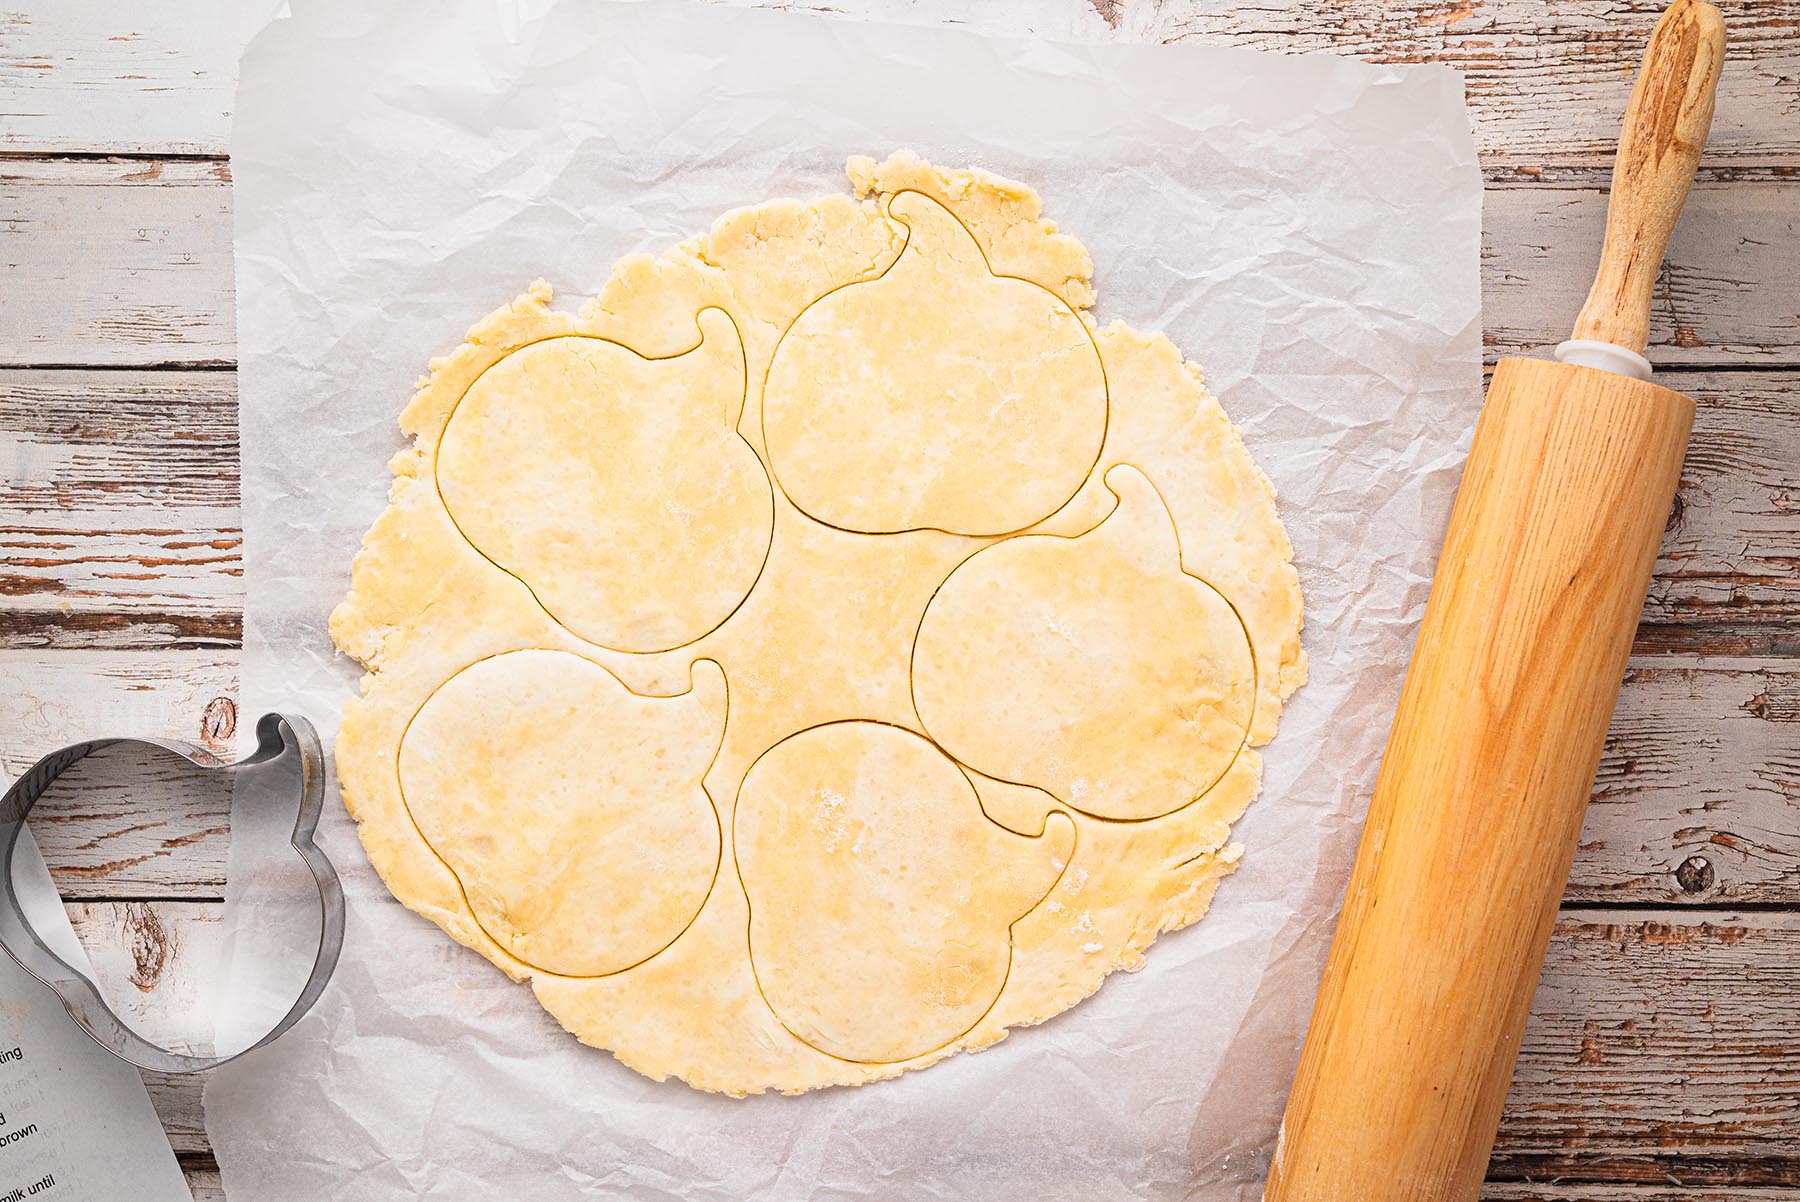
- Roll out 1 package pie dough on a lightly floured surface (Note 12). Cut into 3–4 inch rounds or use festive cutters (Note 1). Gather and reroll scraps as needed.
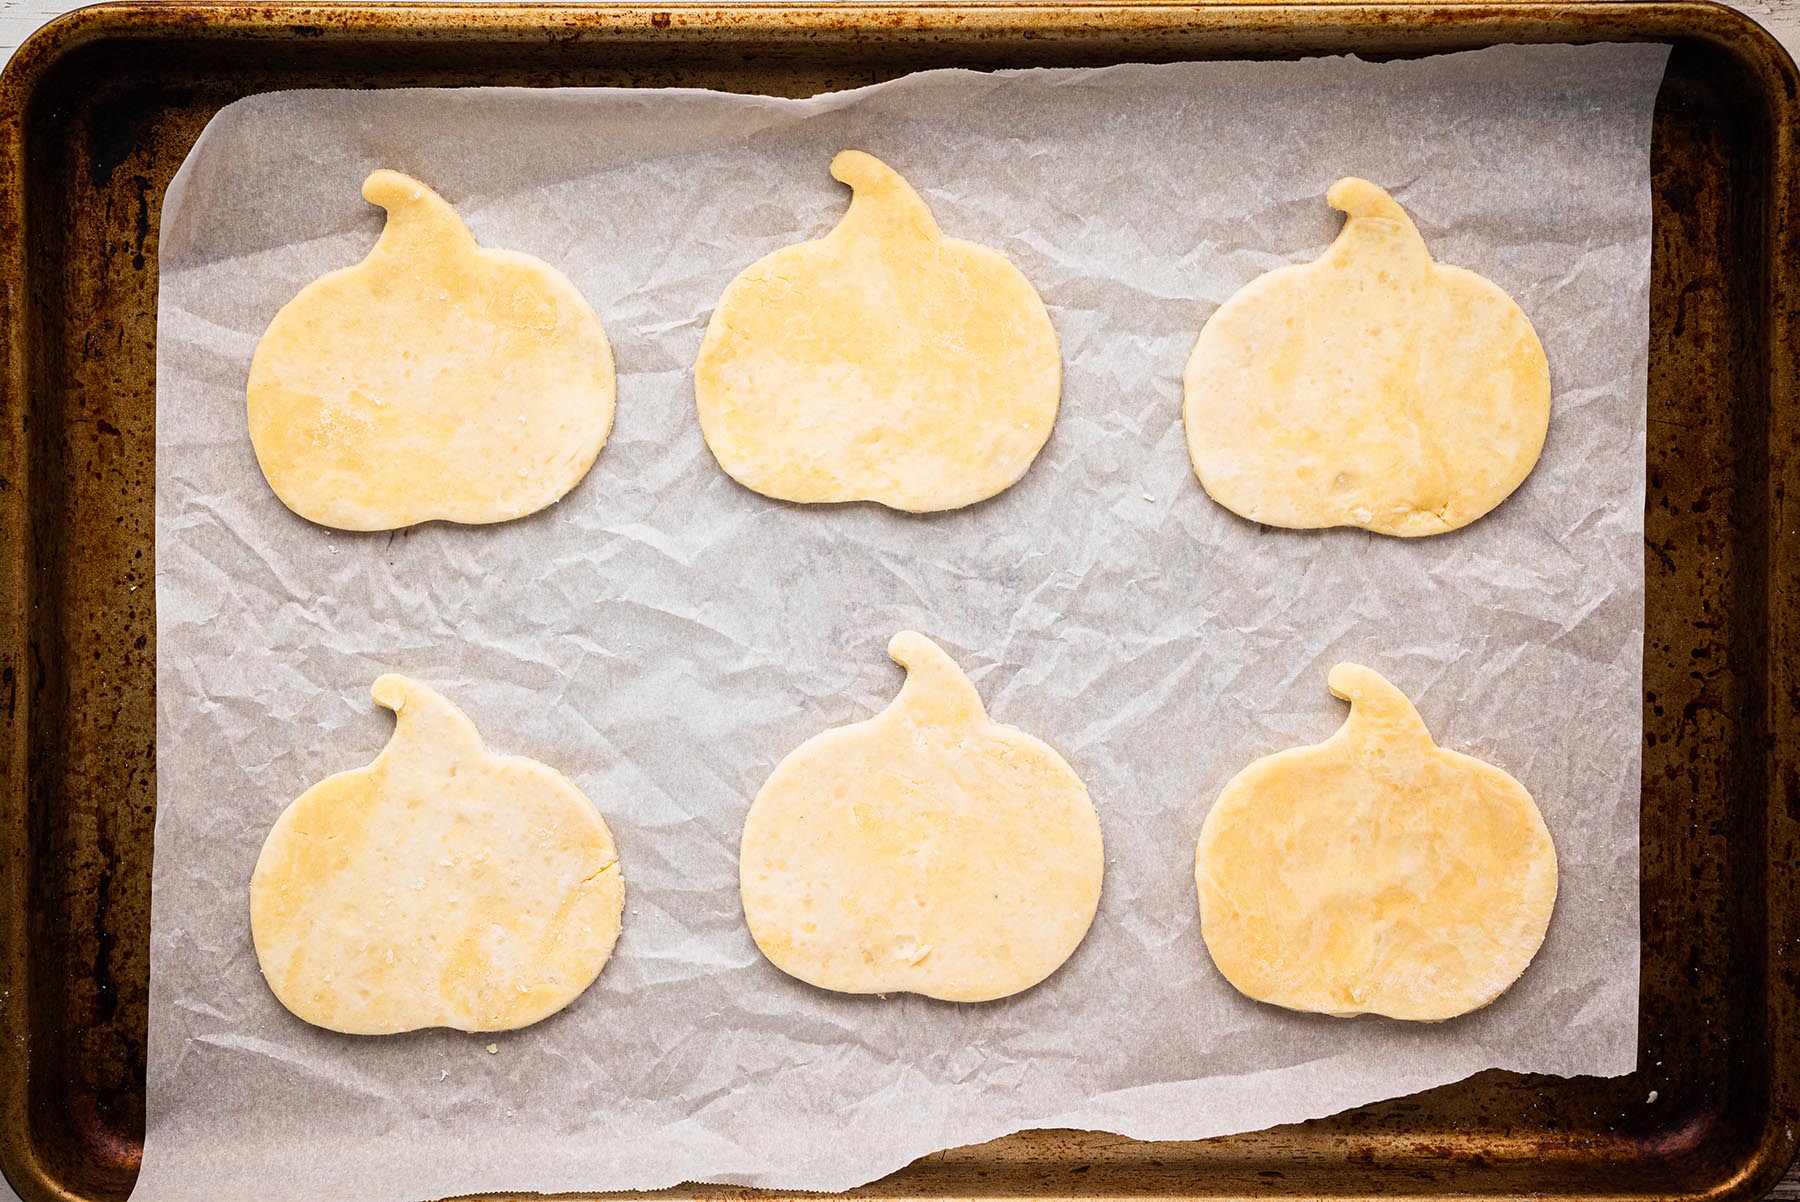
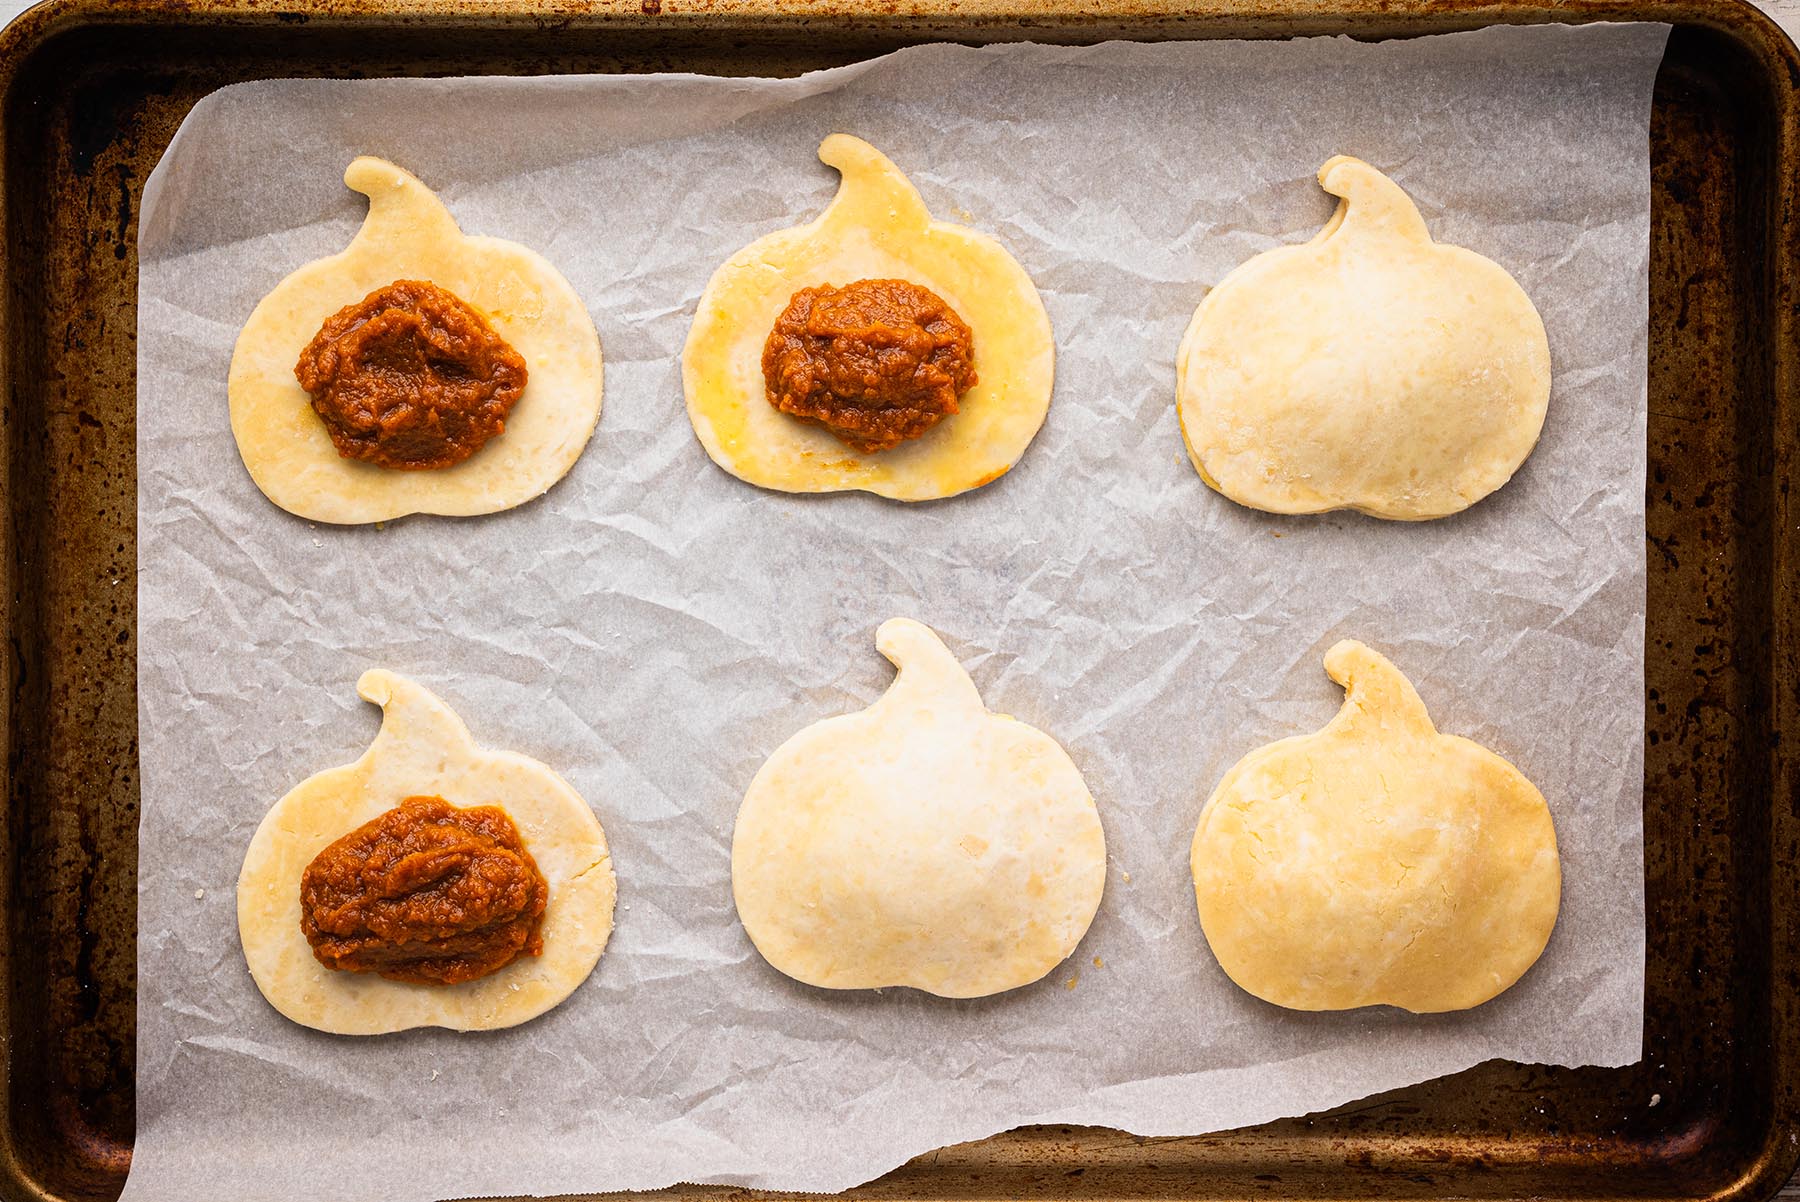
- Place half of the dough cutouts on a parchment-lined baking sheet.
- Spoon 1–2 teaspoons of filling into the center of each (Note 8).
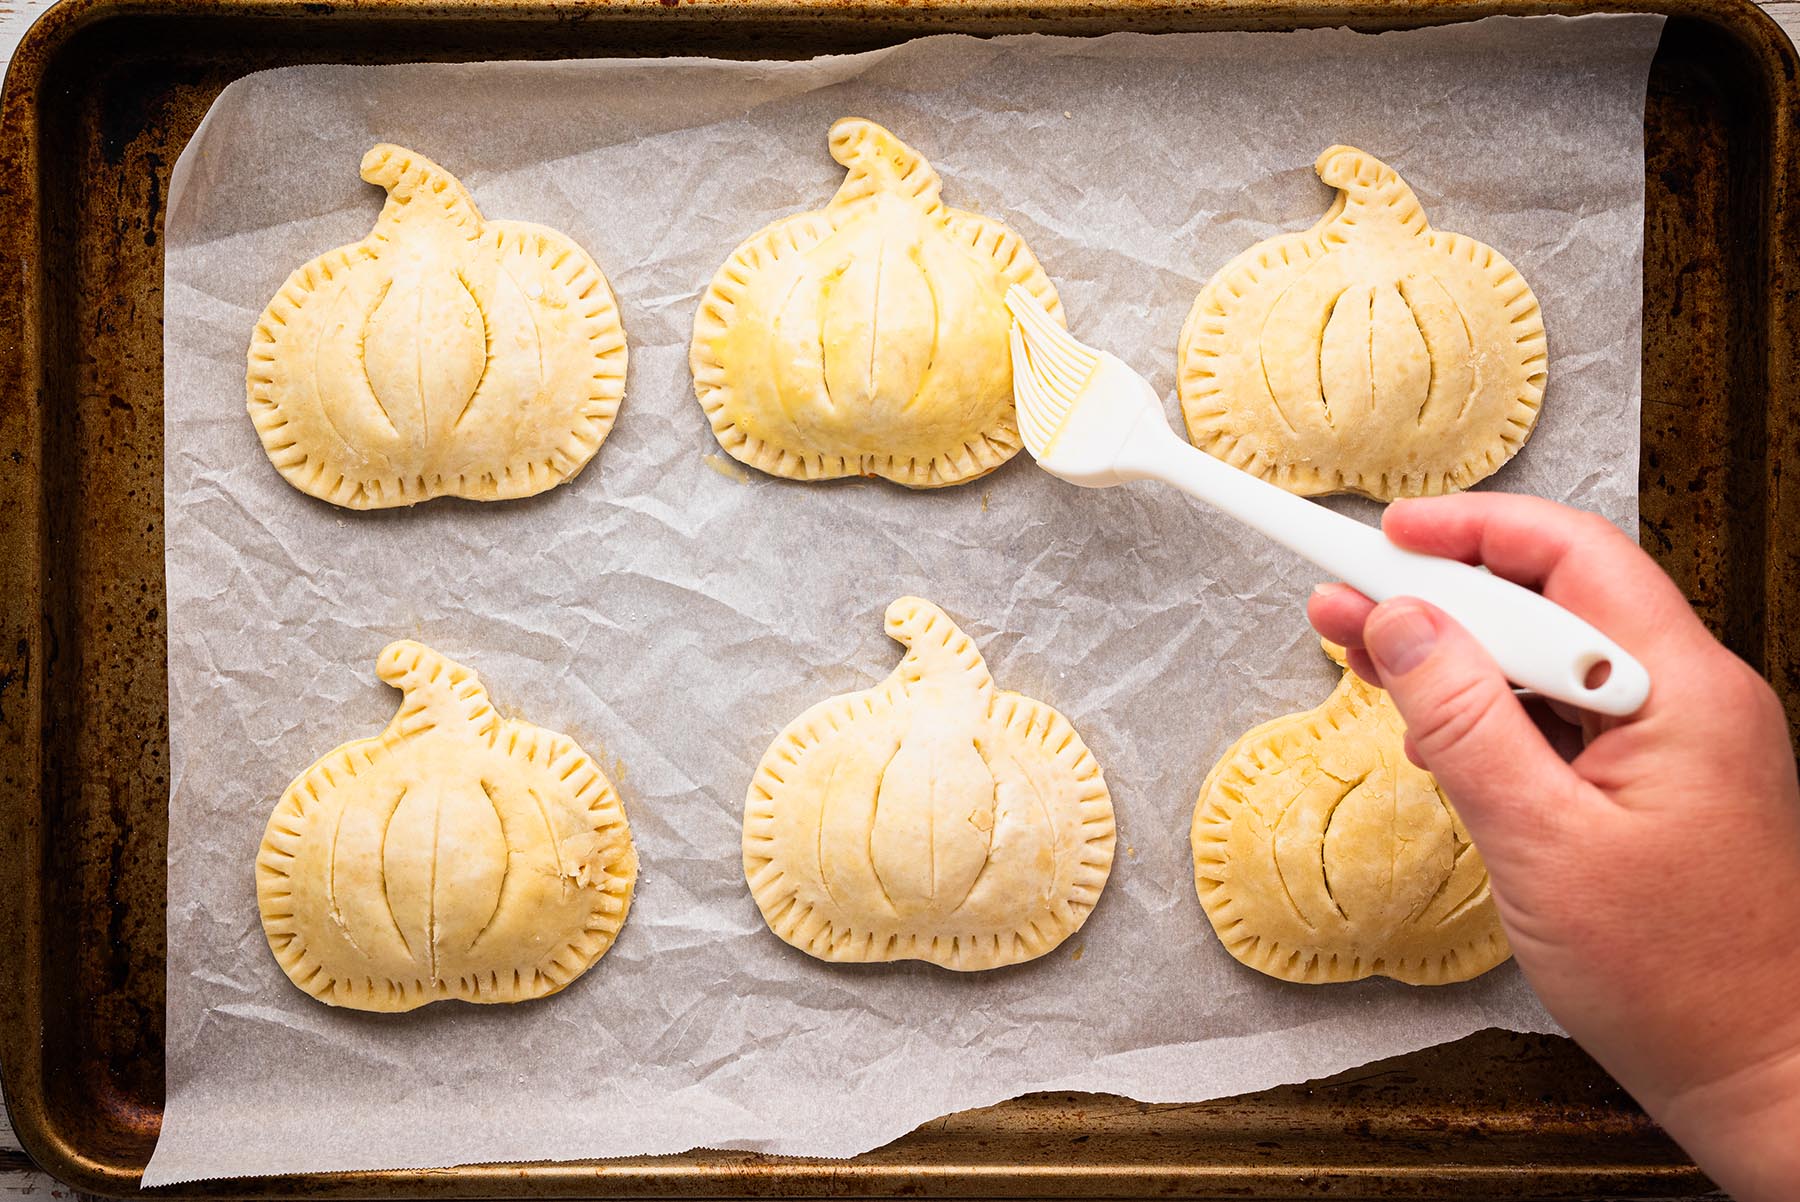
- Brush the edges with egg wash.
- Gently stretch the top cutouts slightly (to accommodate filling), then place over the bottoms.
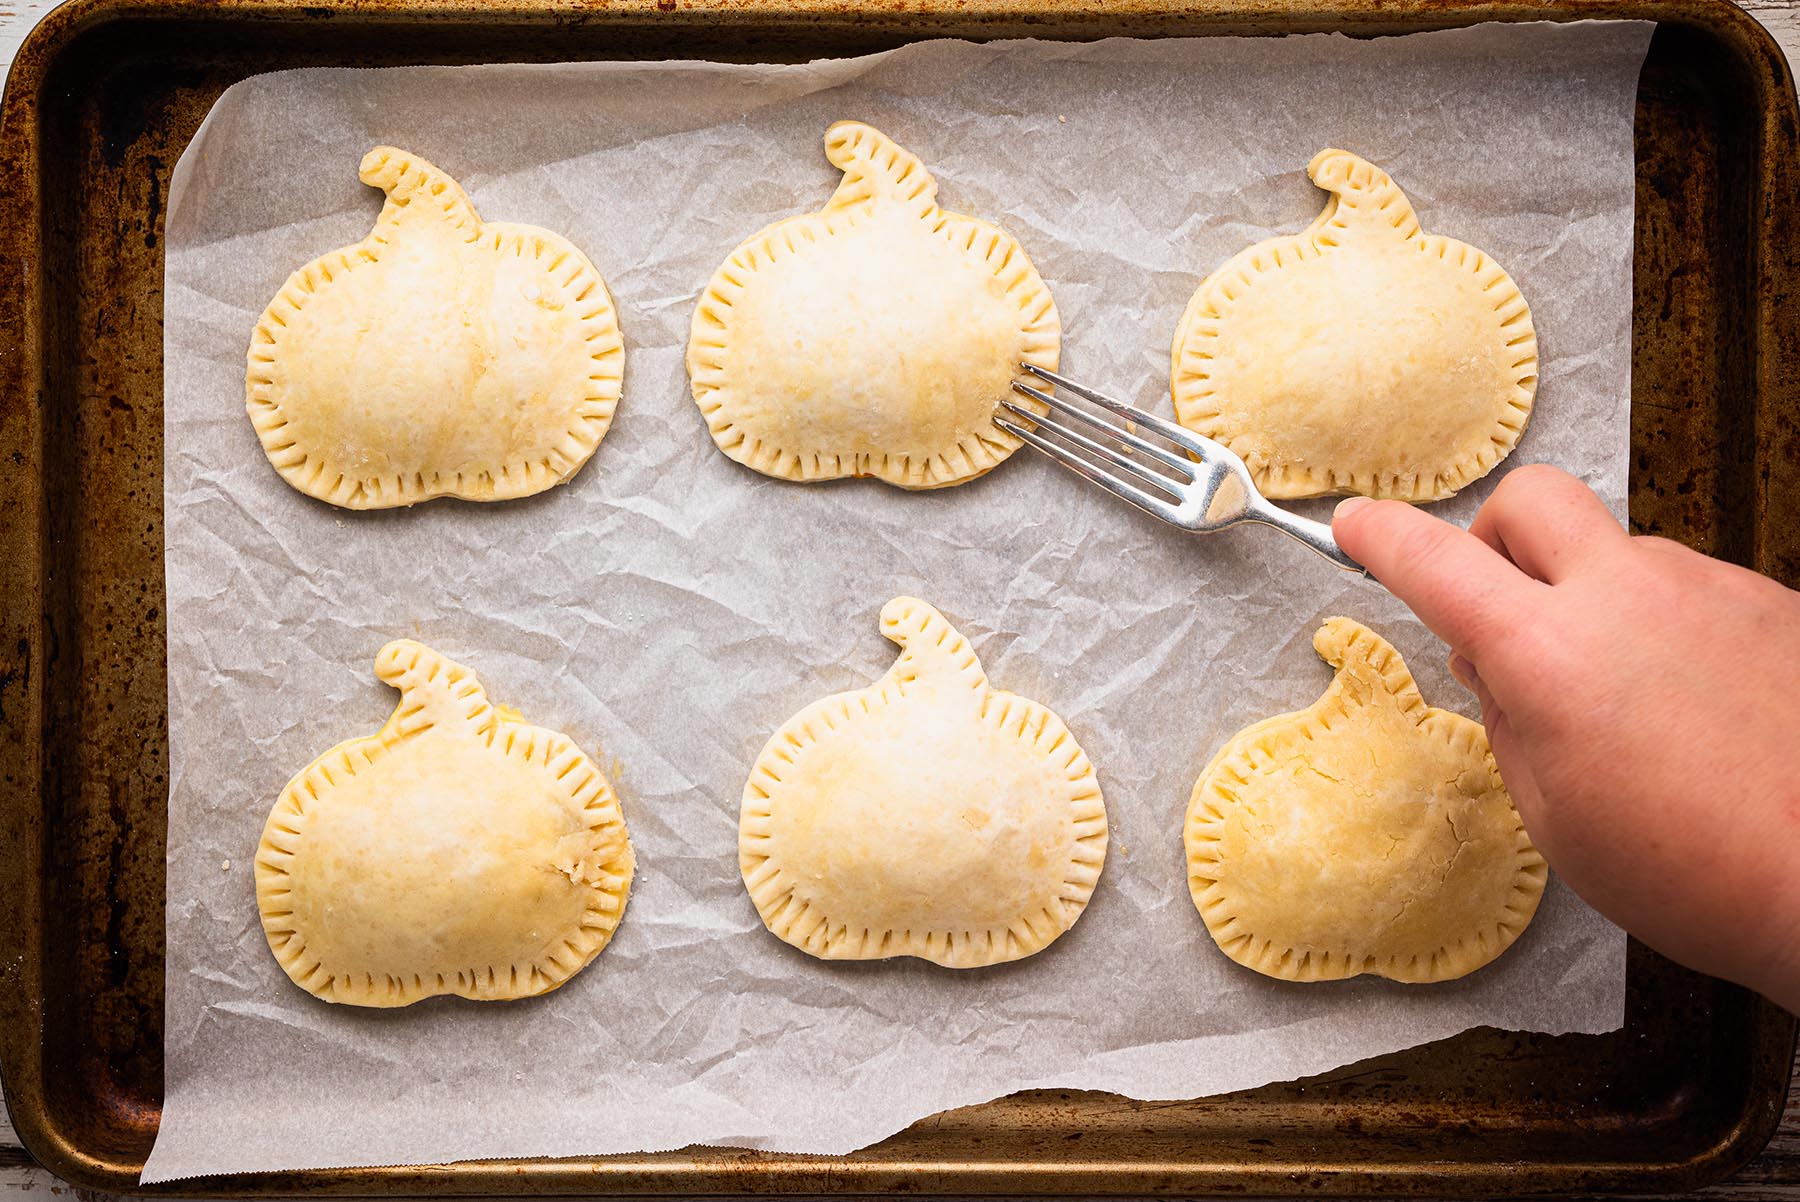
- Press edges with a fork to seal firmly, checking for gaps (Note 13).
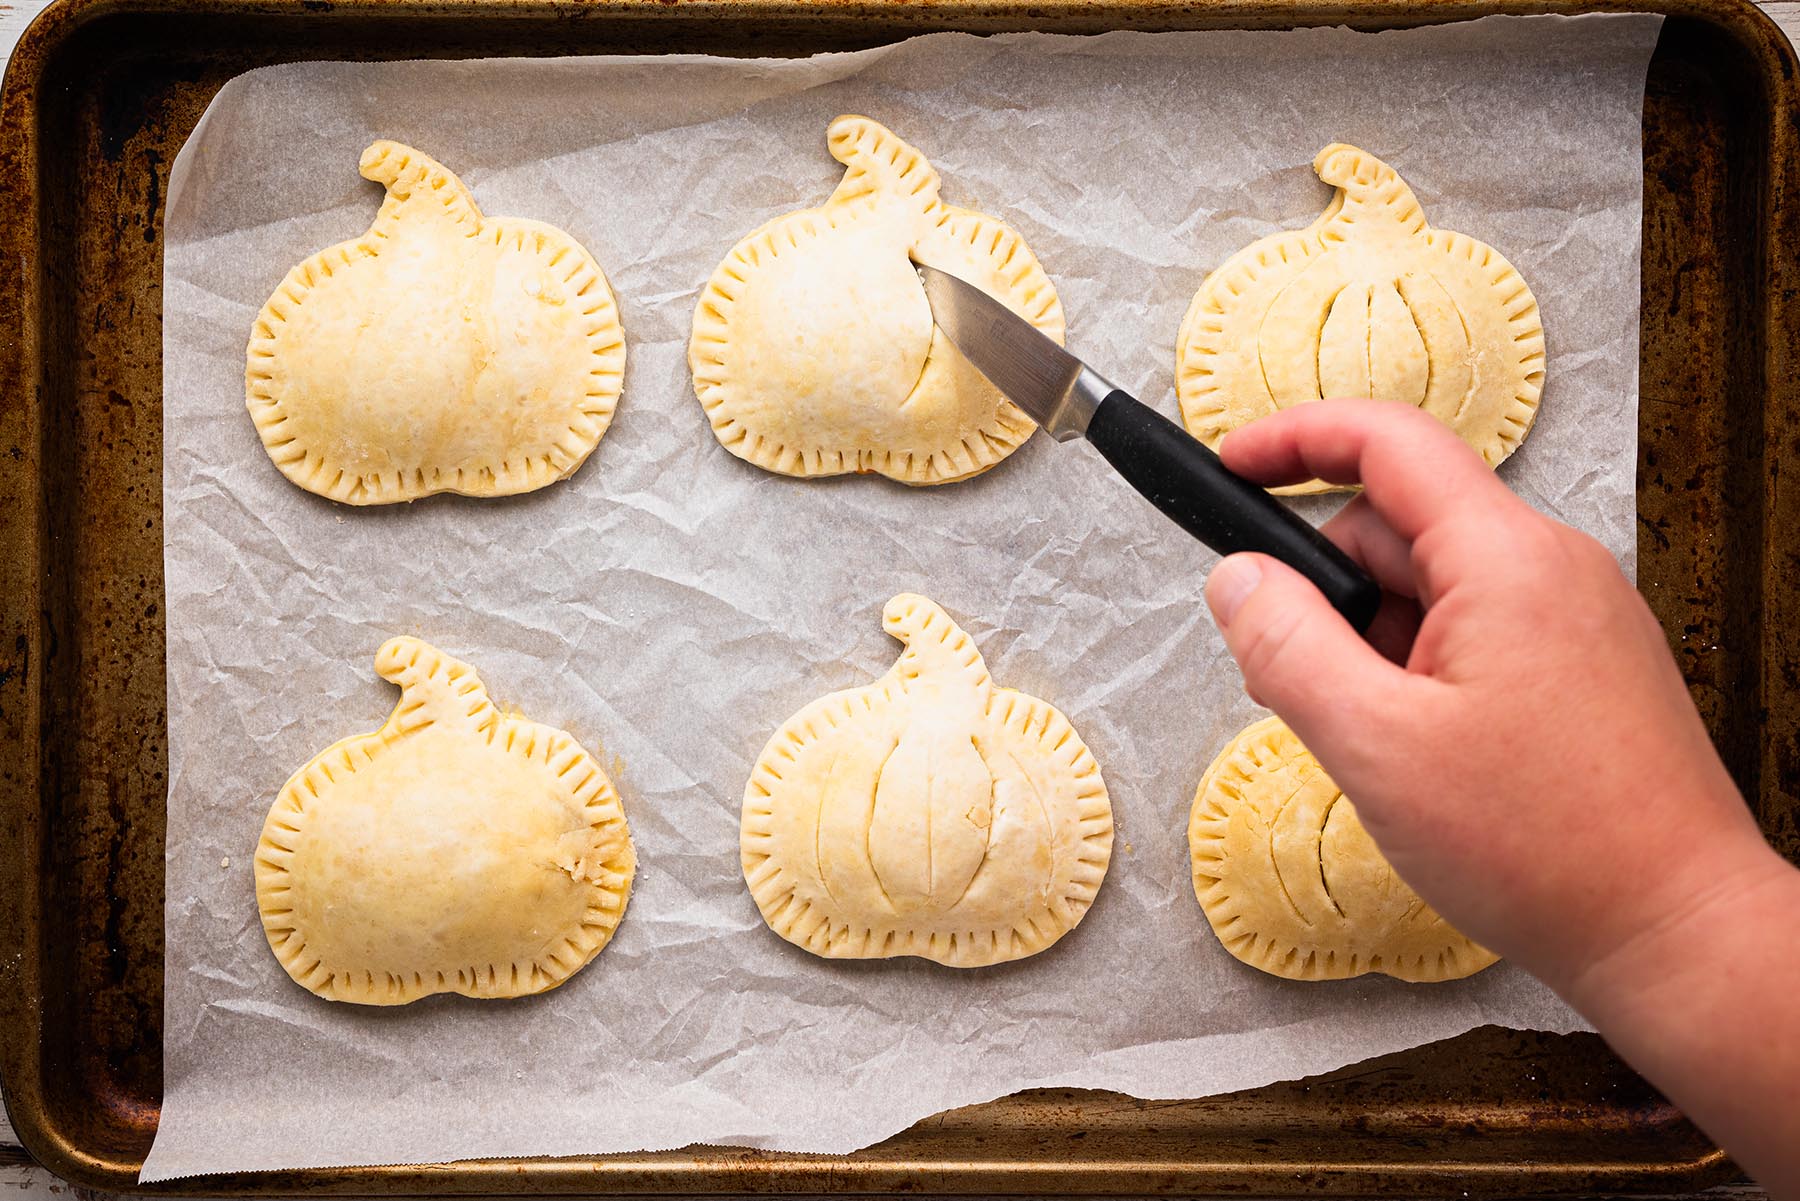
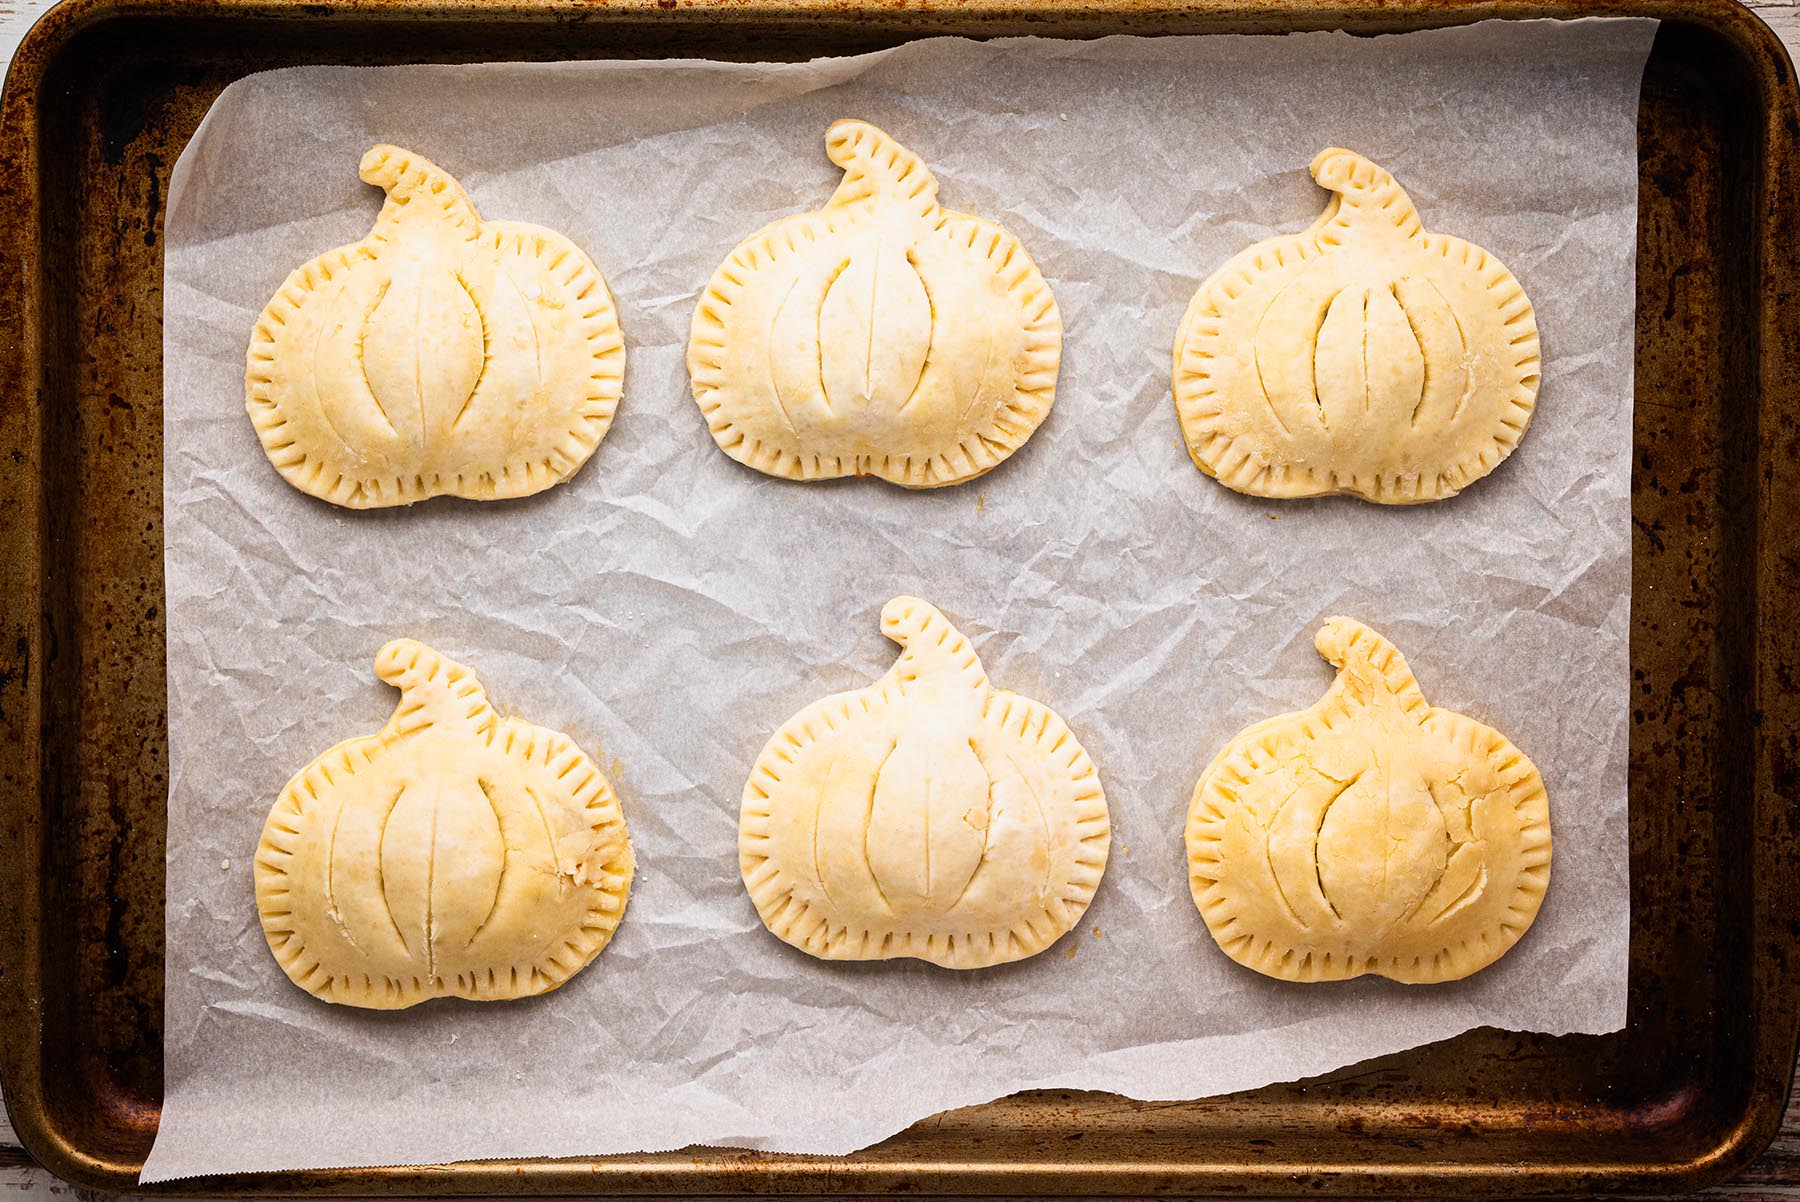
- Use a sharp knife to cut small steam vents in the tops (Note 9).
- Refrigerate assembled pies for 30 minutes (Note 10) while preheating the oven to 375°F (190°C).
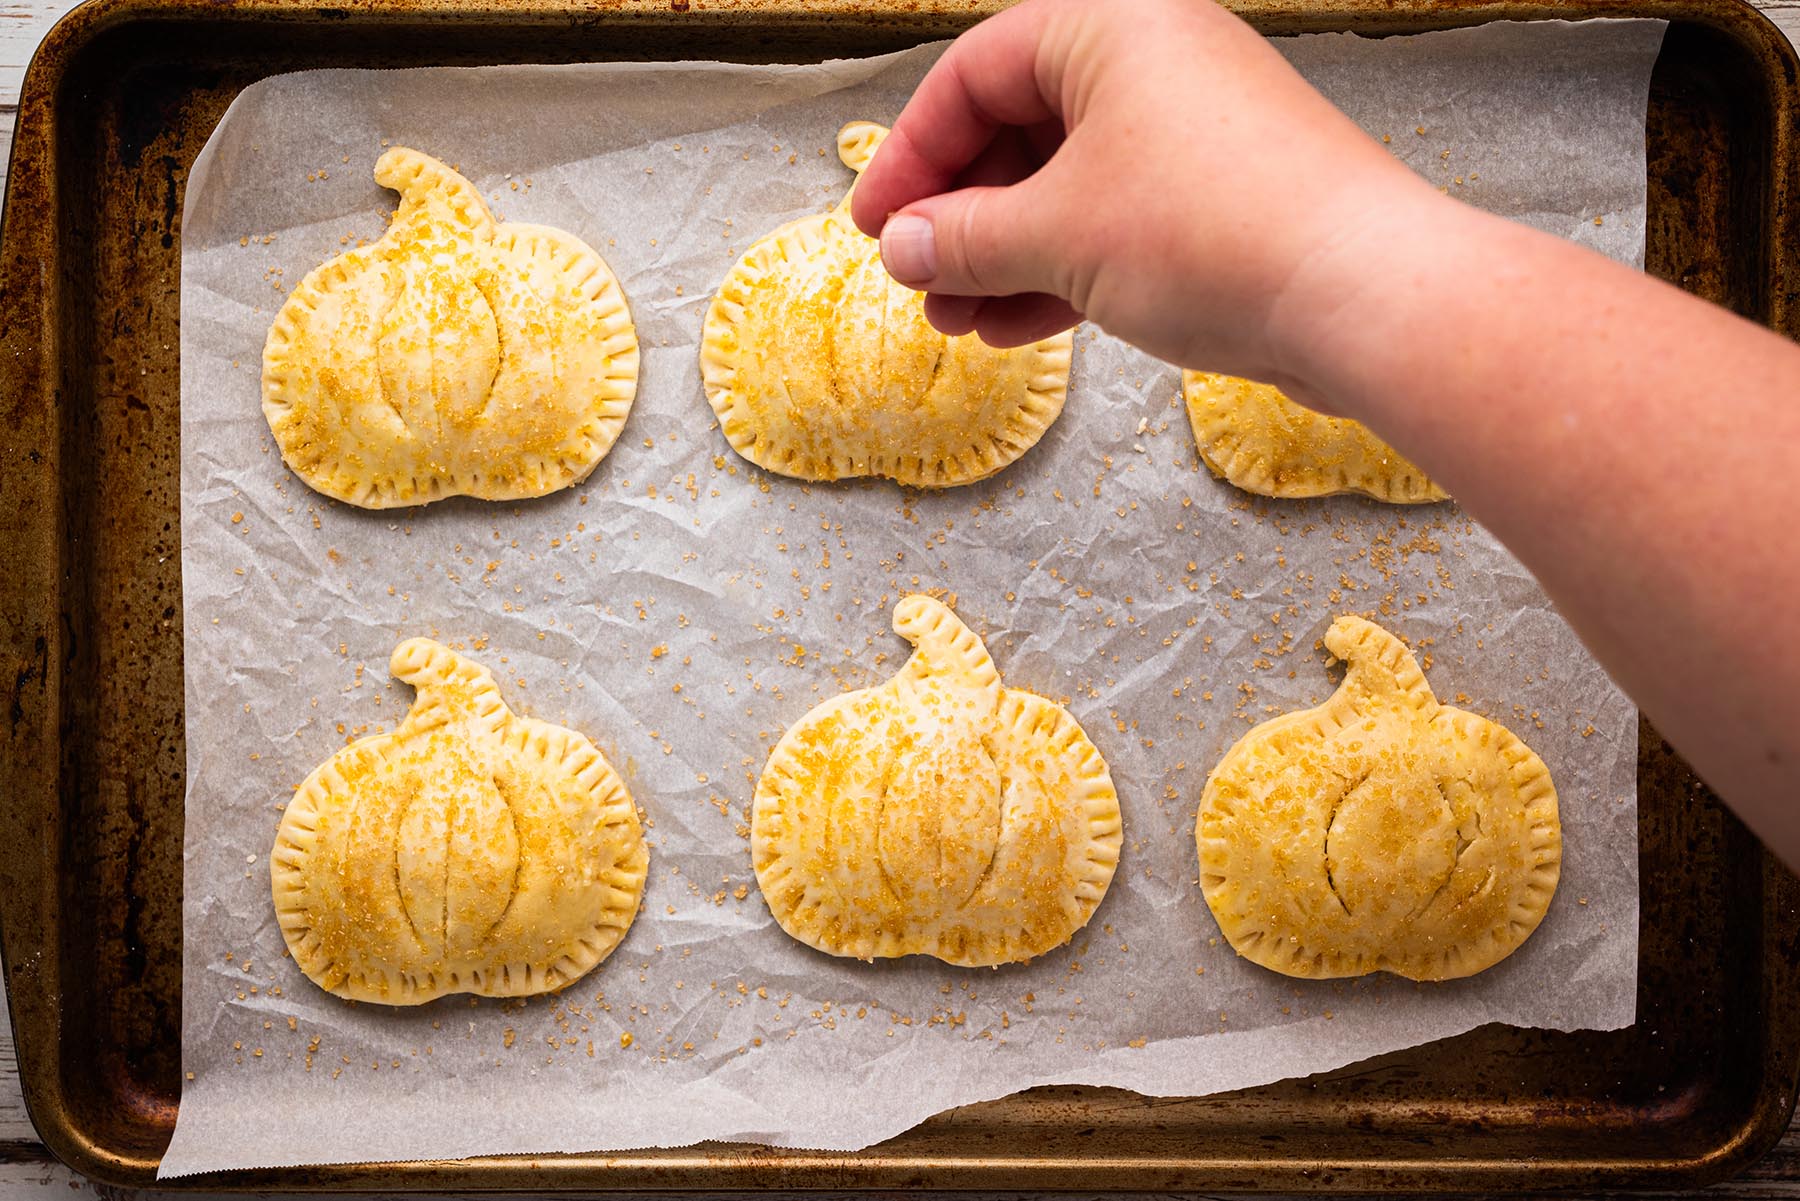
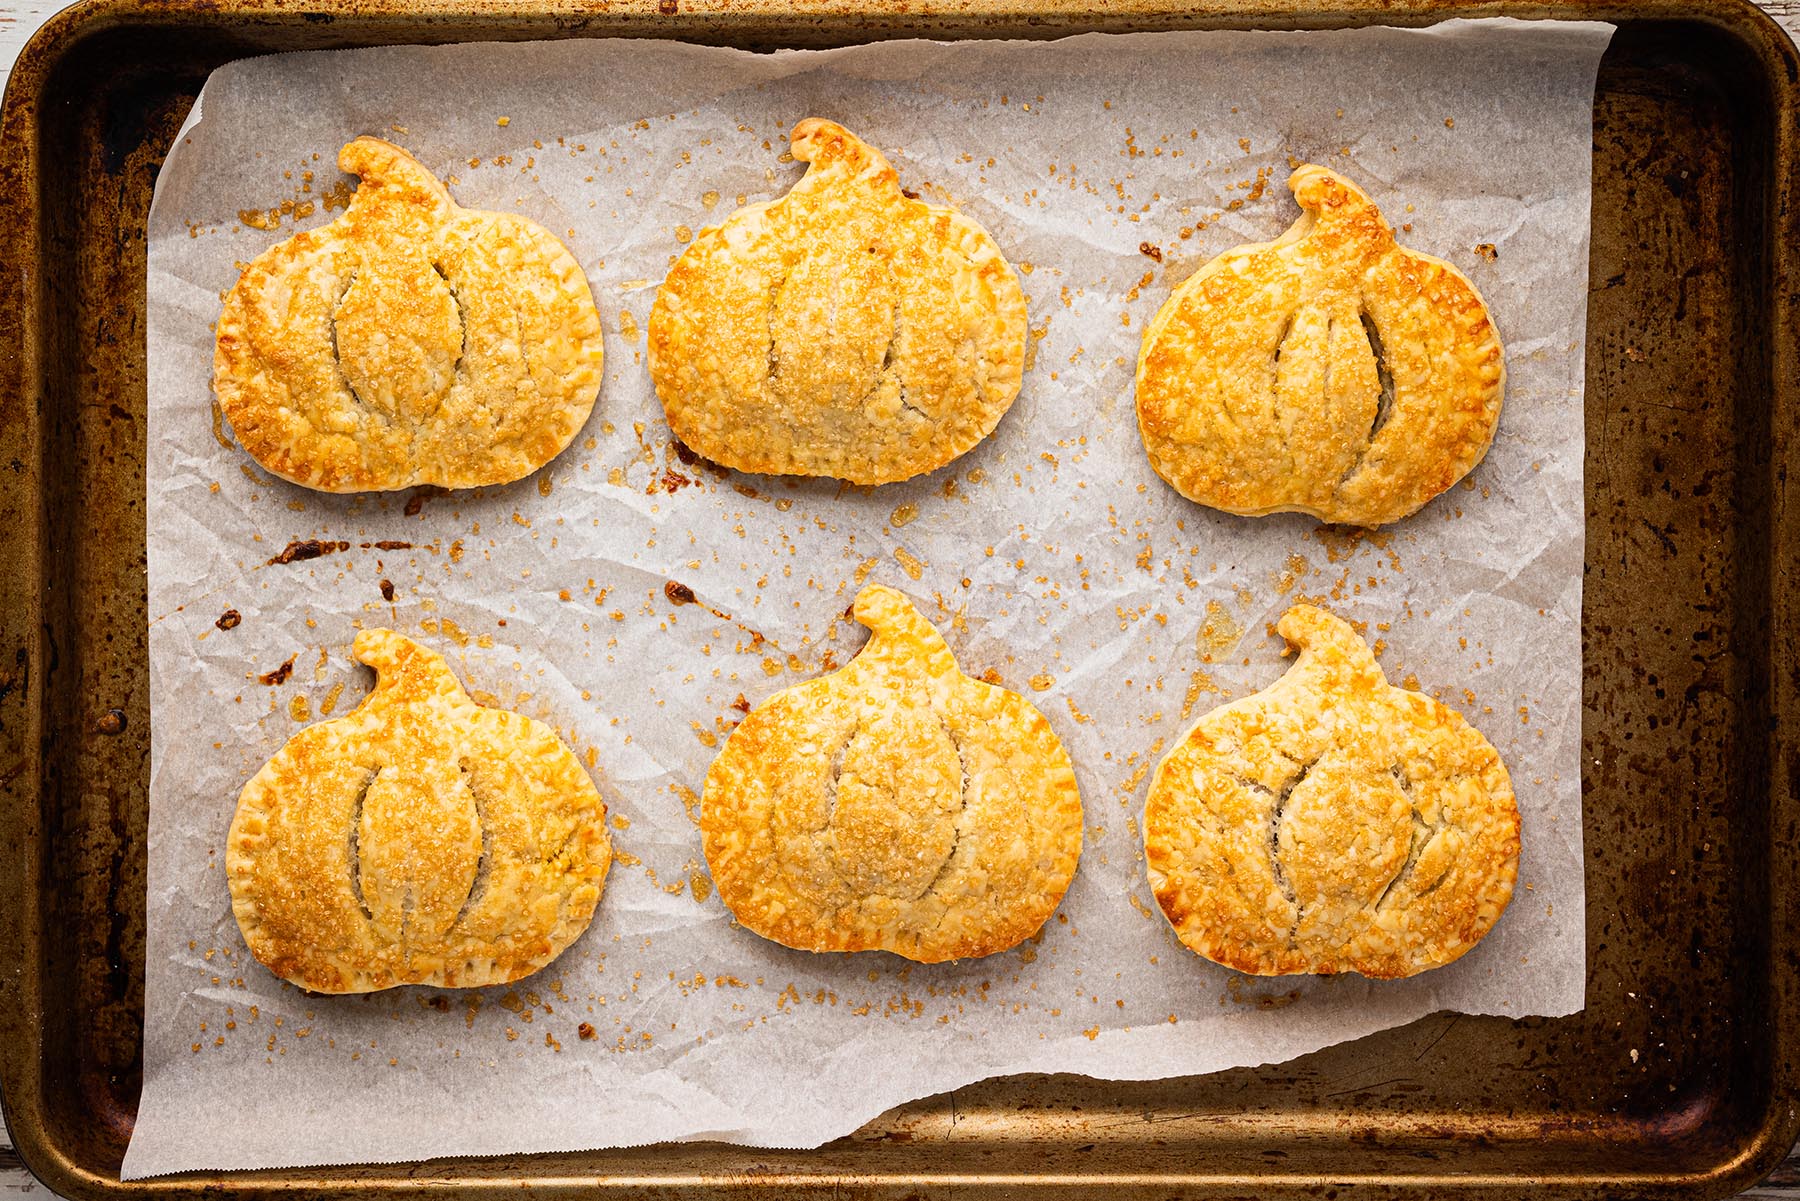
- Brush tops with egg wash and sprinkle generously with coarse sugar. Bake for 25–30 minutes, until golden brown, crisp at the edges, and with filling bubbling slightly through the vents (Note 11).
- Transfer to a wire rack and let cool slightly before serving.
Notes
- Festive cutters (like pumpkins or leaves) make these extra fun for fall, but round cutters work perfectly too
- Use pure canned pumpkin, not pumpkin pie mix, which already contains sugar and spices.
- Maple syrup adds flavor depth, but you can substitute honey or use dark brown sugar for a stronger caramel note.
- A little flour keeps the filling thick and prevents soggy bottoms. Swap with cornstarch for gluten-free.
- Homemade crust adds extra flakiness, but store-bought pie dough is quick and reliable.
- If avoiding eggs, brush dough with just milk or cream for browning (though it won’t be as glossy).
- Coarse sugar gives a bakery-style sparkle and crunch. Granulated sugar can also be used in a pinch.
- Don’t overfill the pies. One to two teaspoons is enough to avoid leakage.
- Cutting vents lets steam escape, helping the crust bake evenly.
- Chilling the pies before baking keeps the crust flaky and helps them hold their shape.
- Filling consistency: thick enough to mound on a spoon. If too loose, add an extra ½ teaspoon flour.
- Work quickly with dough so it stays cold; lightly flour the surface to prevent sticking.
- Seal edges firmly with a fork to prevent leaks. Check for gaps before baking.
- 2 cups all-purpose flour
- 1 teaspoon salt
- 1 cup unsalted butter, cold and cubed
- ¼ cup cold sour cream or Greek yogurt
- ¼ cup cold water
- Whisk flour and salt in a large bowl.
- Cut in butter until mixture resembles coarse crumbs with some pea-sized bits.
- Stir in sour cream and cold water just until dough comes together. Do not overmix.
- Divide into two disks, wrap in plastic, and chill at least 1 hour before using.