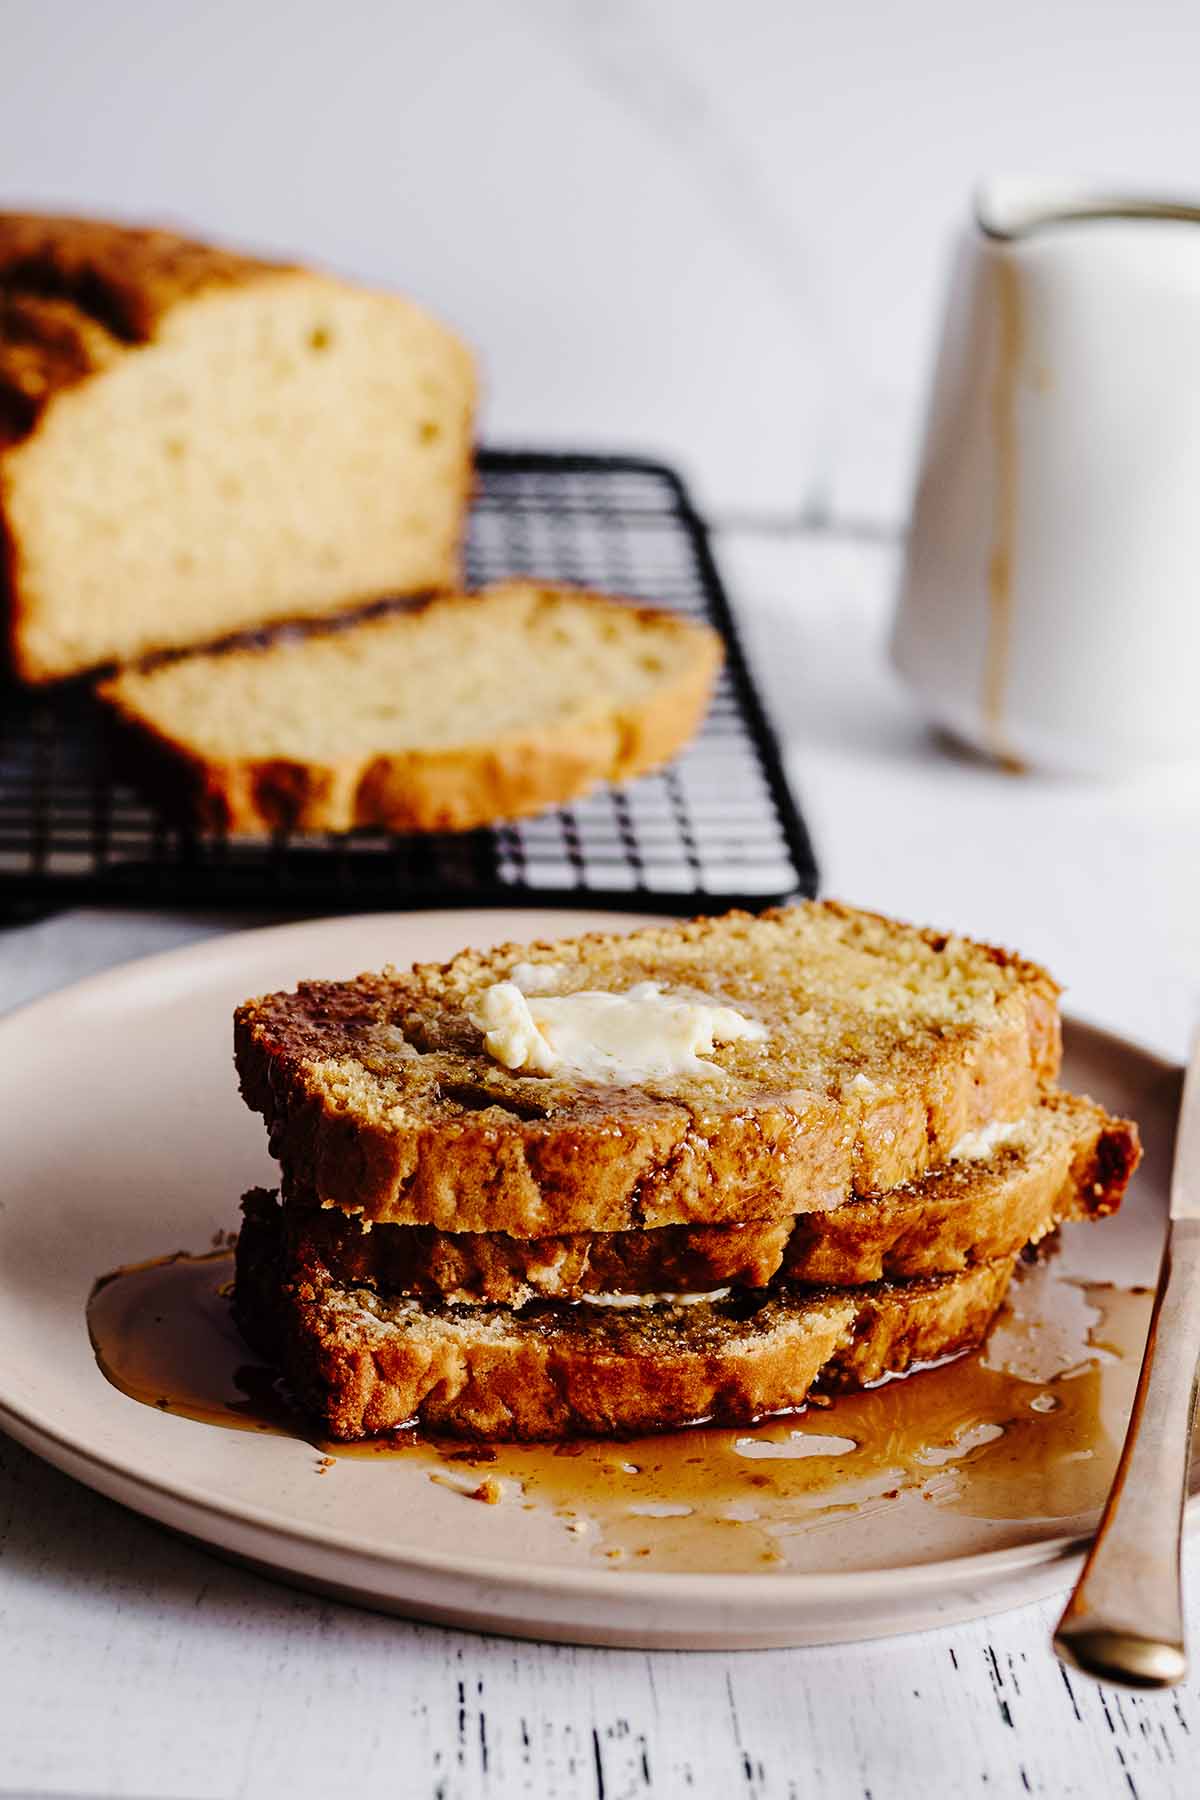
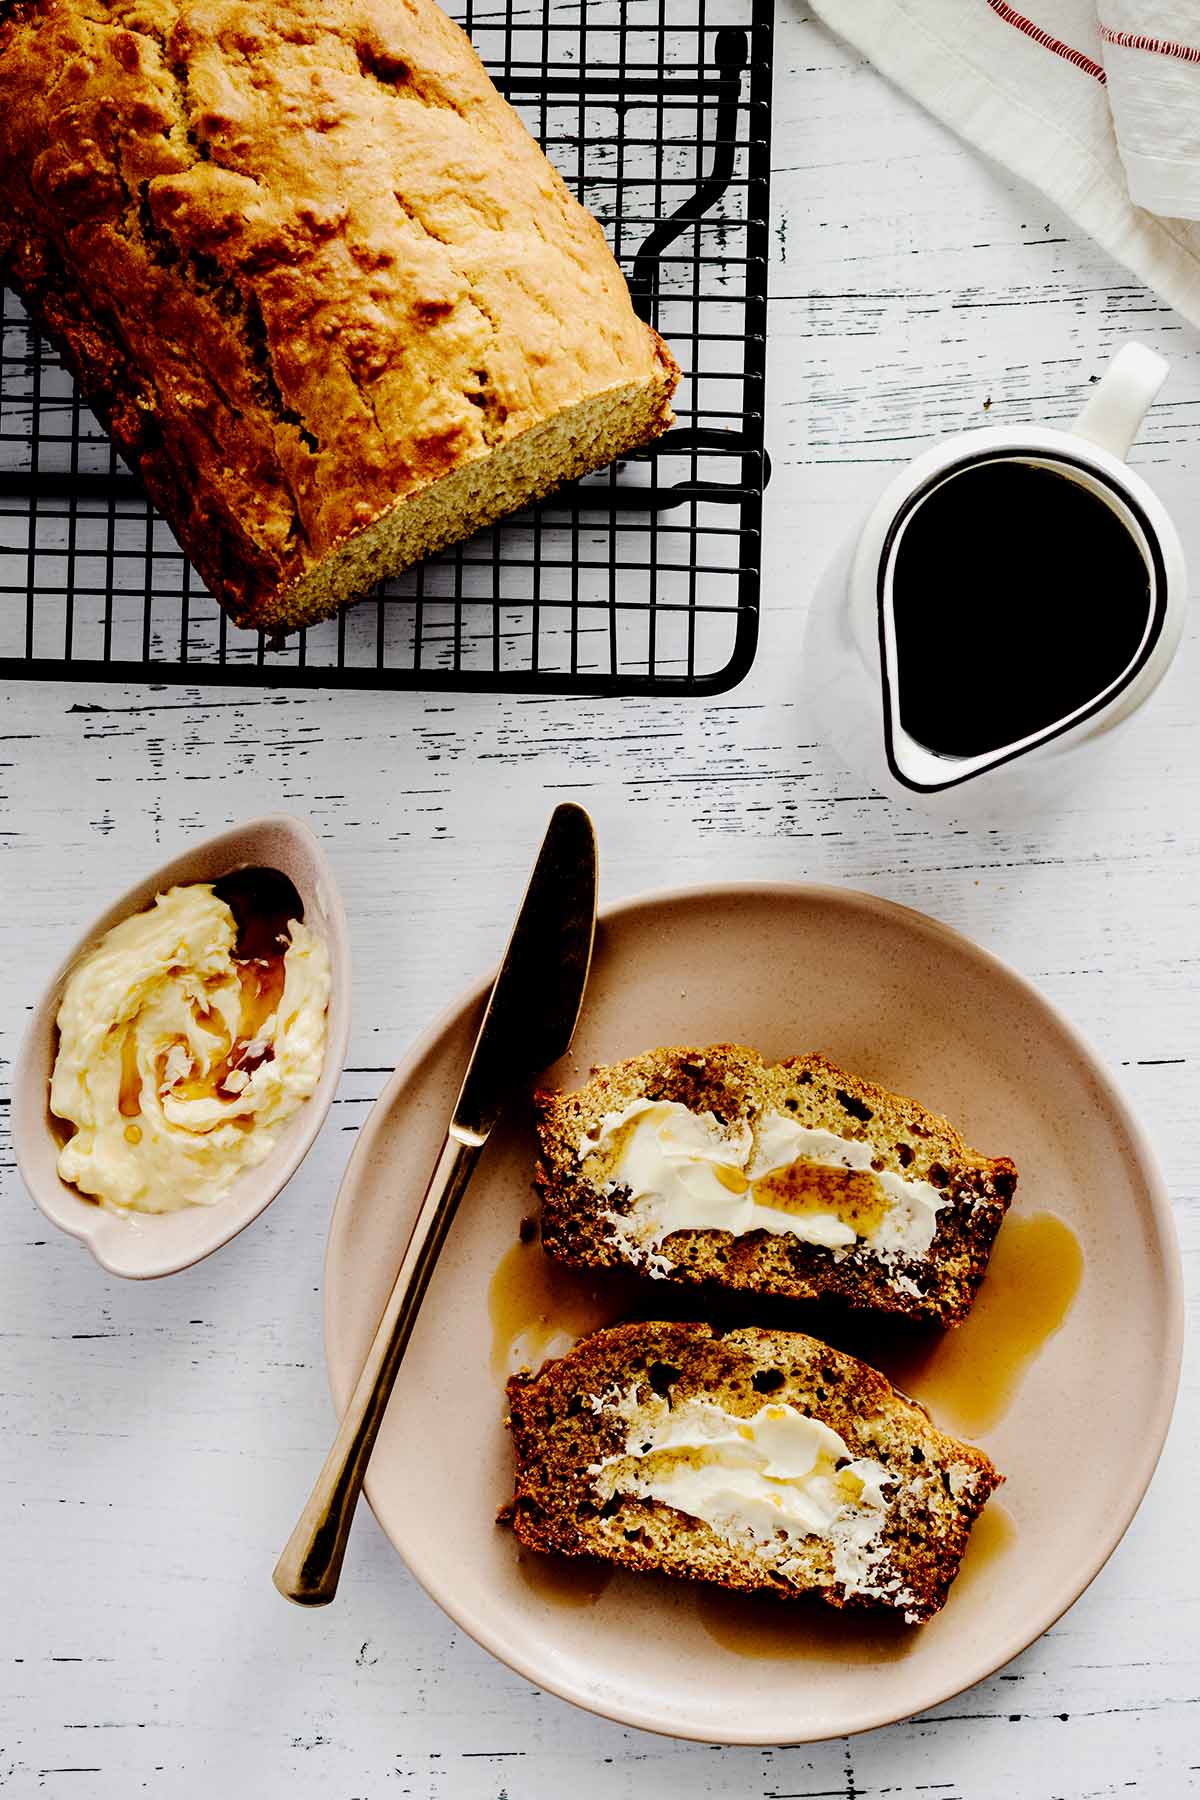
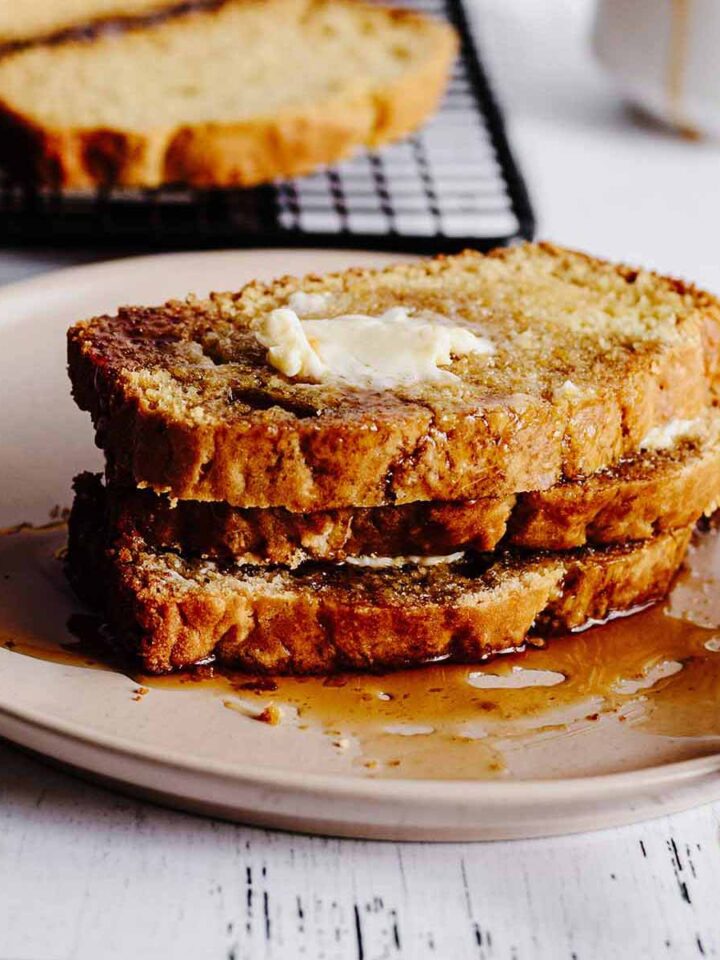
Our moist and delicious maple syrup bread is sweetened with pure maple syrup and comes together in a snap. It's a great make-ahead breakfast quick bread that is great served with butter and warm maple syrup like French toast. It is equally tasty on its own with just a pat of butter. I like to soften the butter and pour a little maple syrup in, stir and spread it on a slice of bread. SO good!
Ingredients
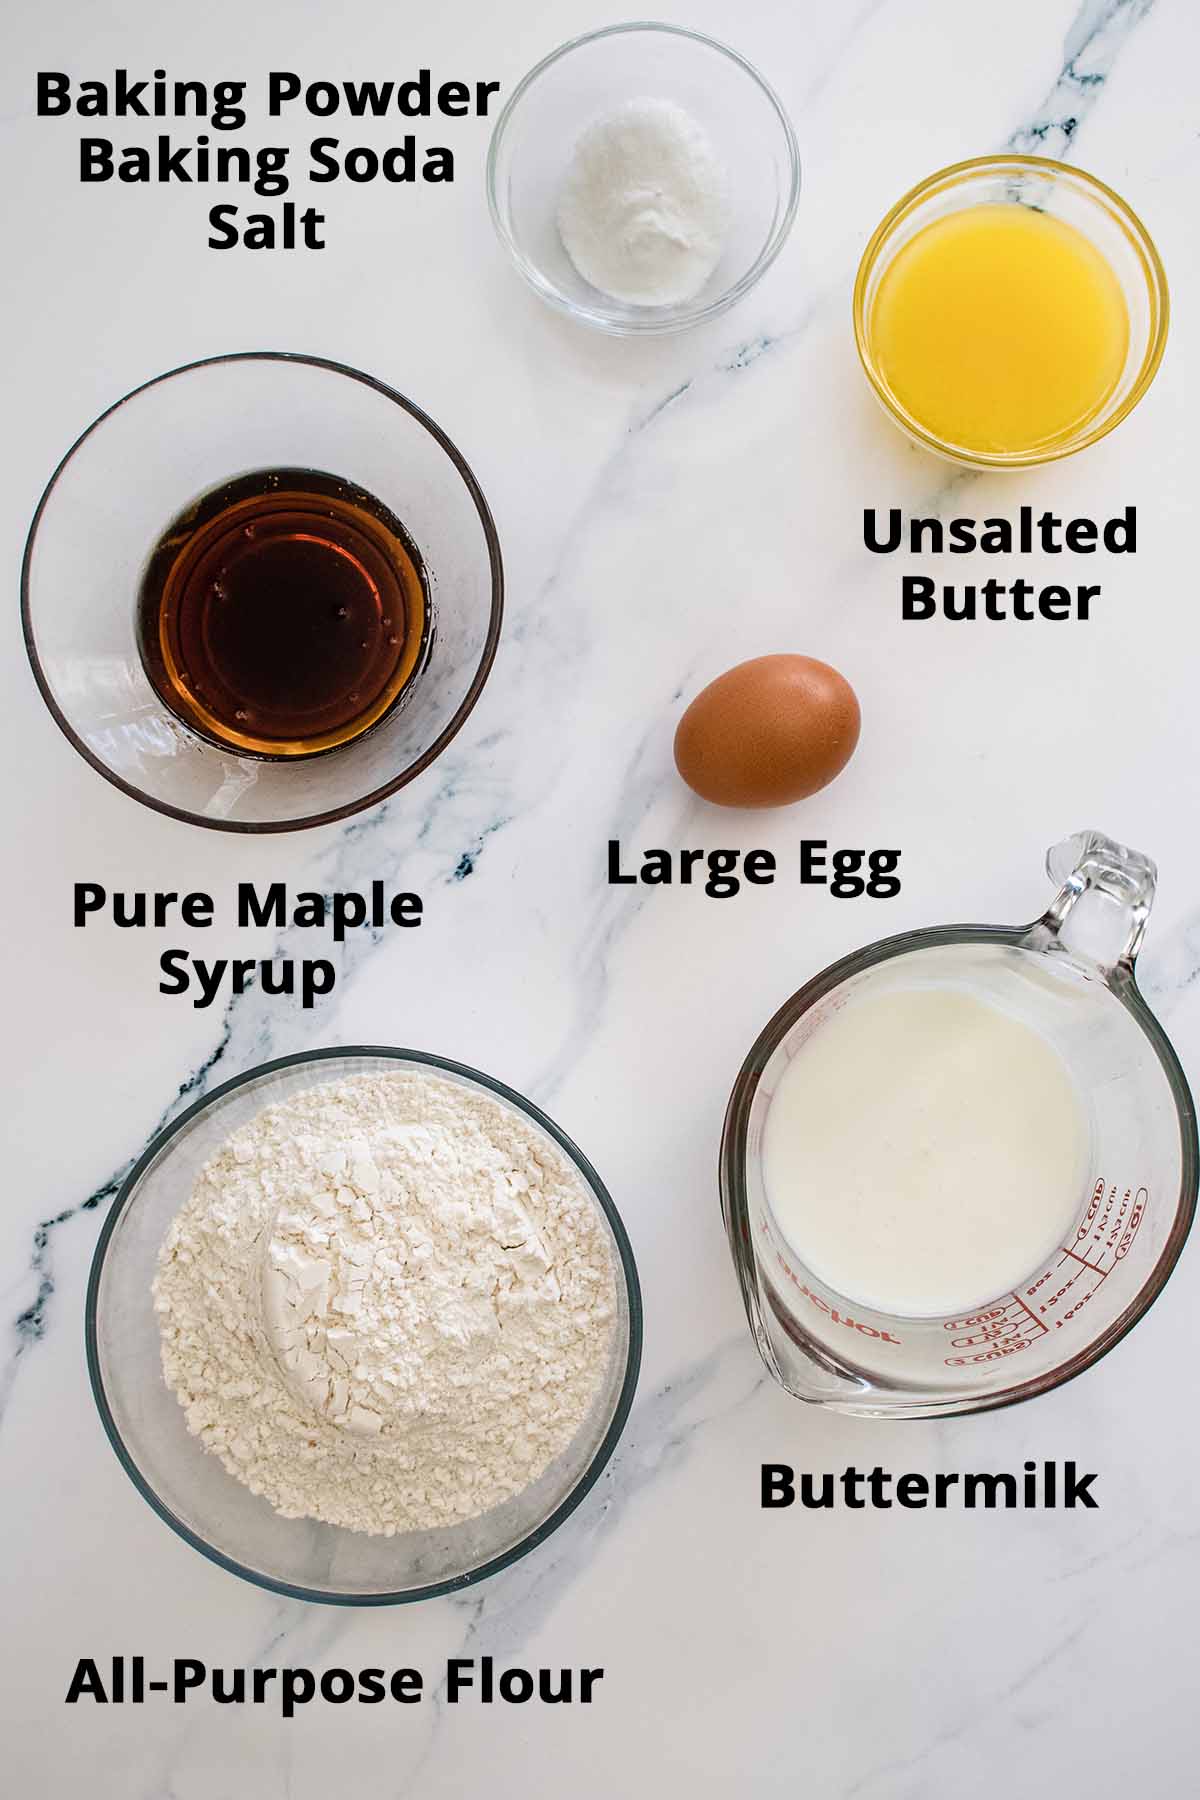
- 2 cups all-purpose flour.
- 1 teaspoon baking powder. Leavening agent (helps the bread to rise).
- 1 teaspoon baking soda. Added for rise. It reacts with the buttermilk.
- 1 teaspoon kosher salt. Helps to bring out the natural flavor of the bread. You can also use fleur de sel or any coarsely ground salt.
- 1 large egg, beaten.
- ⅓ cup pure maple syrup. This is your sweetener. It's all that you need.
- ¾ cup buttermilk. The buttermilk reacts with the baking soda to give the bread the rise that it needs to make a nice airy loaf. If you don't have buttermilk, you can improvise with regular milk and a tablespoon of white vinegar or lemon juice. Regular milk alone is not a good substitute as you need something acidic to react with the baking soda.
- 3 tablespoons unsalted butter. Melted and cooled. Because you are adding salt, you want to be sure to use unsalted butter in this bread. If you don't have unsalted butter and want to substitute salted butter, reduce the kosher salt to ½ teaspoon.
Instructions
Step 1. Preheat oven to 350°F (176°C). Grease and flour a 9 x 5 inch loaf pan or spray with baking spray. Set aside.
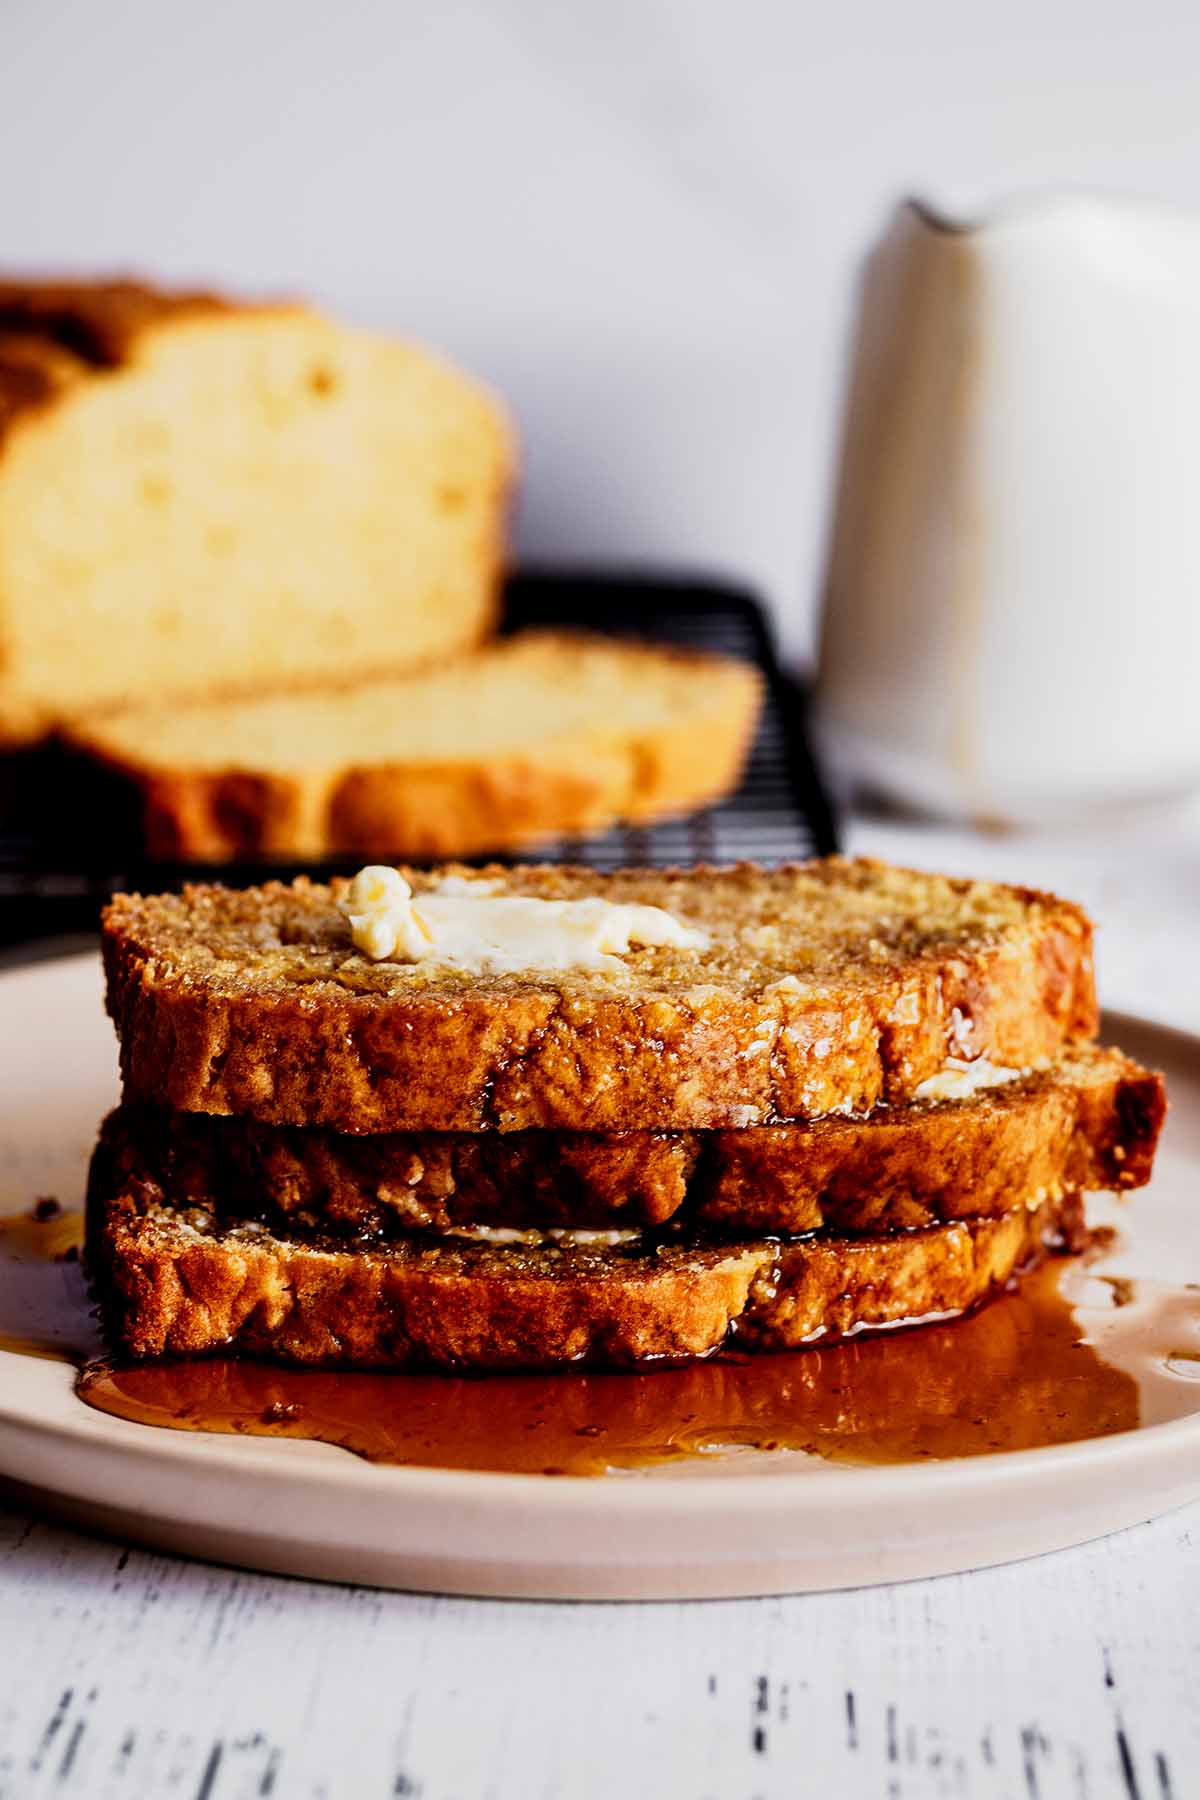
Serve with butter and warm maple syrup.
Equipment
Variations
- Maple Pecan Bread. Stir one cup of chopped pecans into the dry ingredients before adding wet ingredients.
- Maple Cinnamon Swirl Bread. In a small bowl, combine ⅓ cup granulated sugar and 2 teaspoons of cinnamon. Follow the recipe as instructed but pour one half of the batter into the loaf pan. Sprinkle the top with the cinnamon sugar mixture and cover with remaining batter. Drag a butter knife through the batter to swirl the cinnamon mixture throughout. Bake as instructed.
Frequently Asked Questions
Your bread will keep in the pantry for 1-2 days after baking. Wrap the loaf tightly with plastic wrap, then wrap in aluminum foil. If you won't be eating it right away, you can also store the wrapped loaf in the refrigerator for up to a week.
However, the best way to store baked bread is to slice it up into individual portions and freeze it. This loaf makes nine 1-inch slices. Tightly wrap the slices in plastic wrap and aluminum foil, then place in a heavy duty freezer bag. It will keep in your freezer for up to 3 months. You can reheat the individual slices in your microwave or allow them to thaw on your counter for about 30 minutes.
While it does save time to double a recipe in one go, to make things easier on yourself, I recommend that you simply make a double batch rather than try to double the recipe. It can be tricky to get the baking soda and baking powder ratios right when trying to double a quick bread recipe like this one.
If you do want to try your hand at doubling this recipe, the kitchn has a guide for making double batches of muffins, cookies and breads that you may find helpful.
Related Recipes
More quick bread recipes to make for breakfast or brunch.
Made this recipe? We would love it if you could leave a rating. Either tap or click the stars in the recipe card or leave a comment below. Don't forget to subscribe to our newsletter to receive a free e-cookbook of quick and easy breakfast recipes. Thanks!
Recipe
Maple Syrup Bread
Ingredients
- 2 cups all-purpose flour
- 1 teaspoon baking powder
- 1 teaspoon baking soda
- 1 teaspoon kosher salt
- 1 large egg beaten
- ⅓ cup pure maple syrup
- ¾ cup buttermilk
- 3 tablespoons unsalted butter melted and cooled
Instructions
- Preheat oven to 350°F (176°C). Grease and flour a 9 x 5 inch loaf pan or spray with baking spray. Set aside.
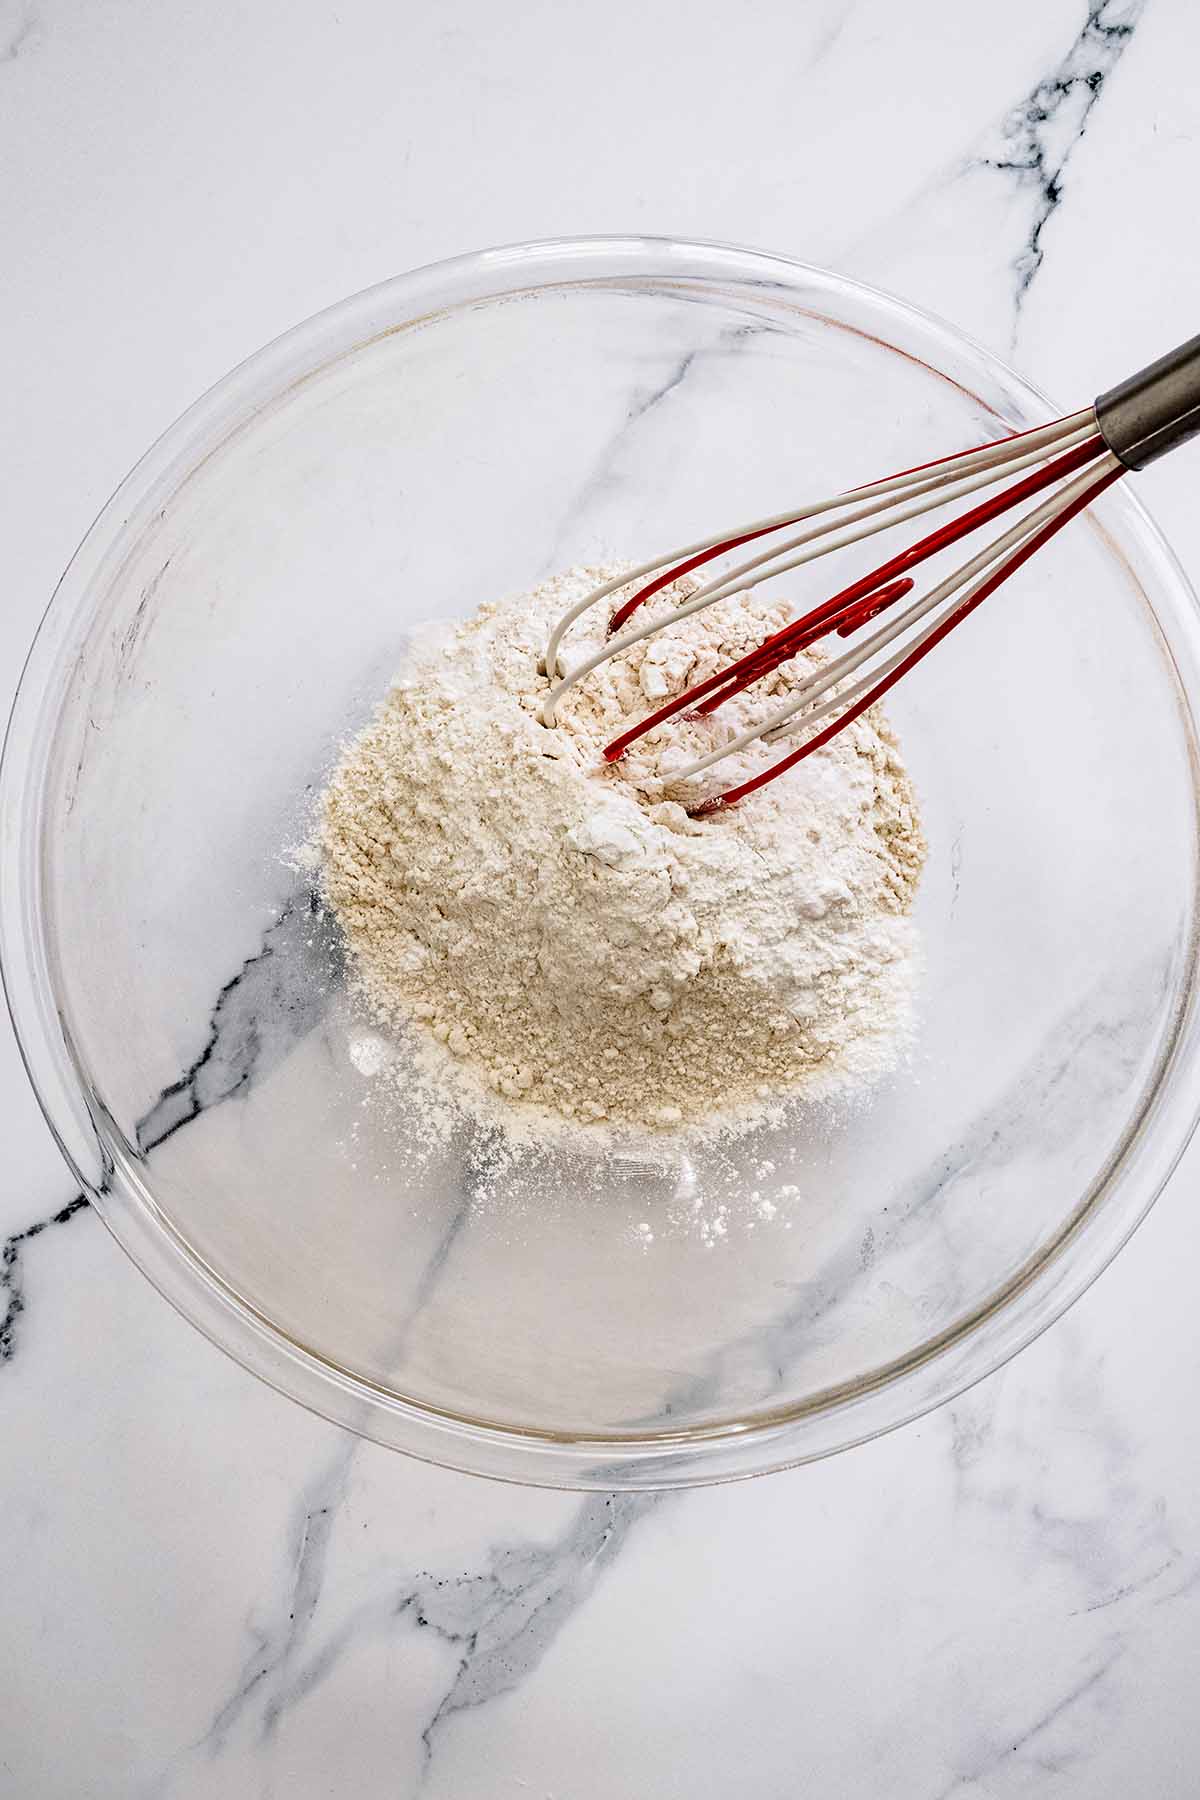
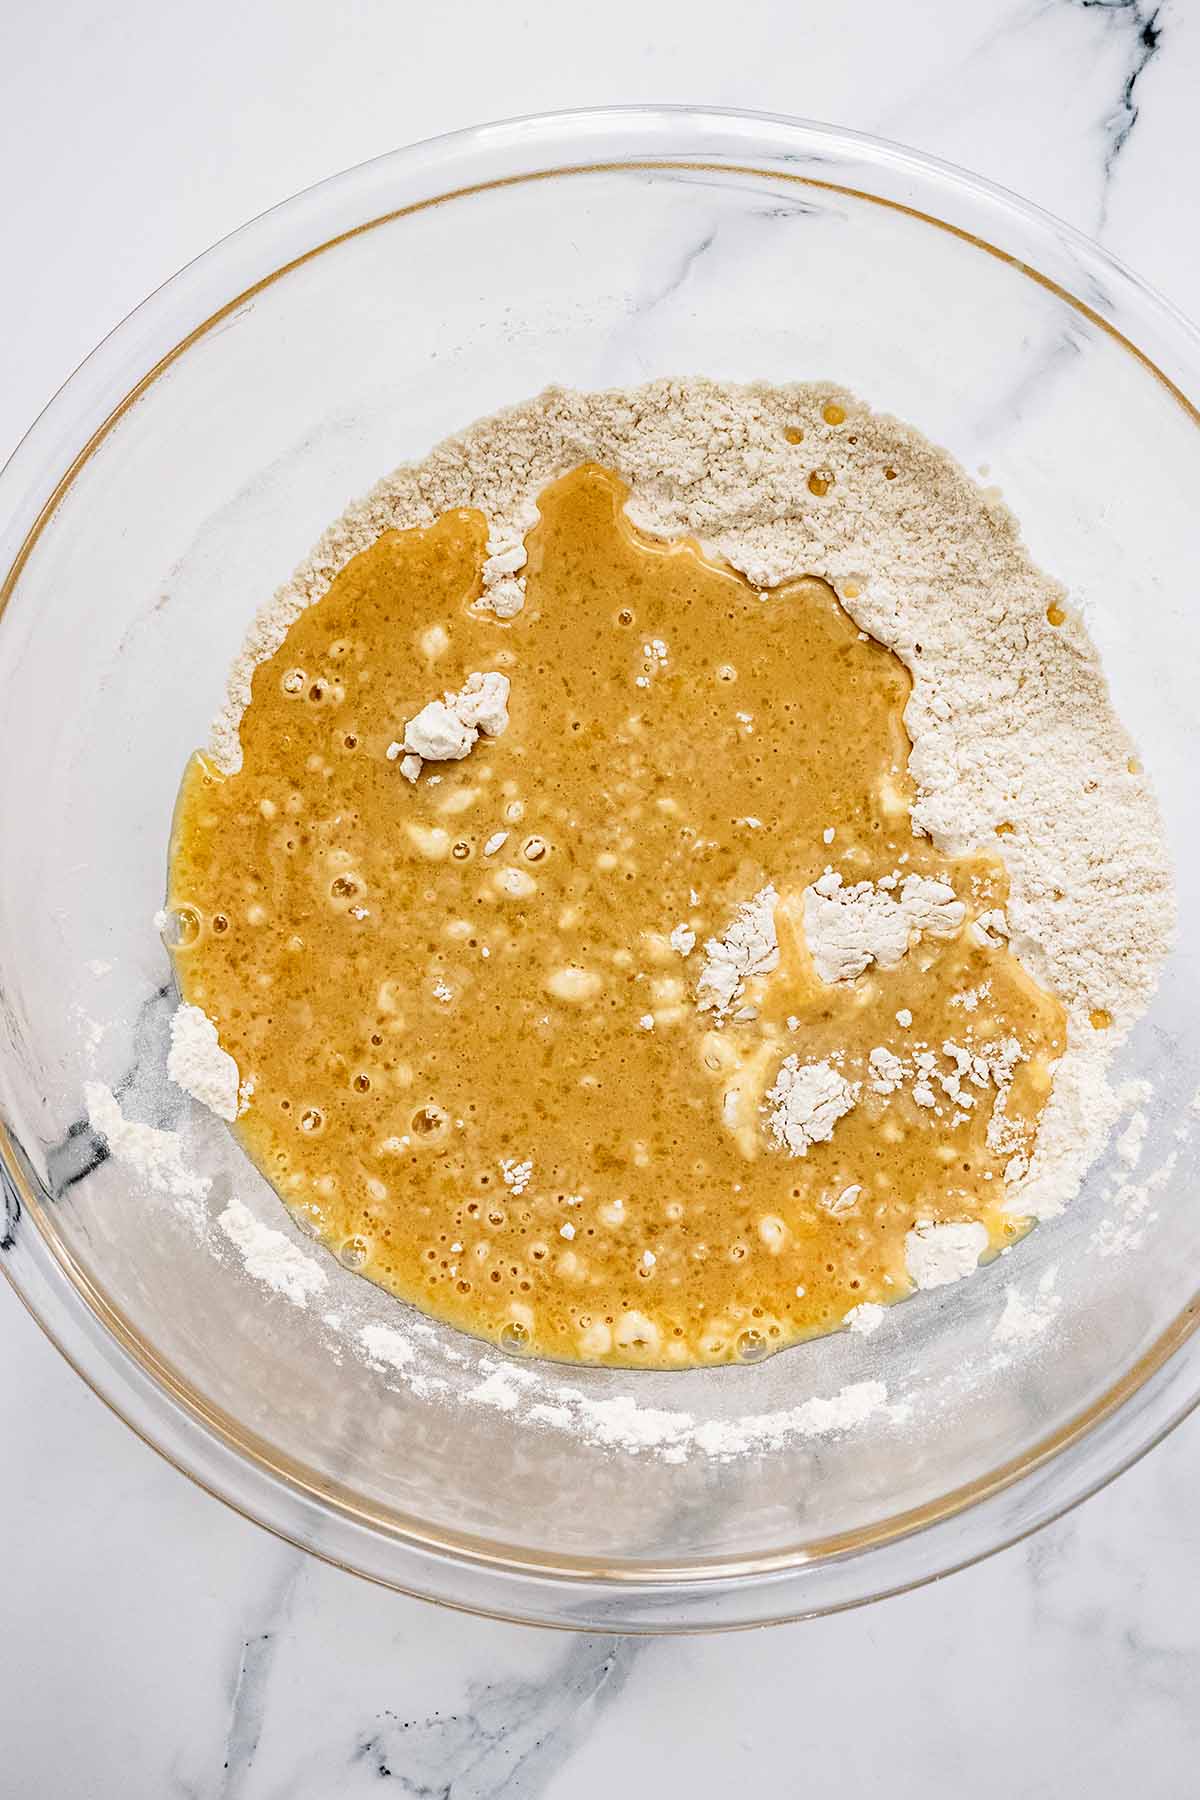
- Add the flour, baking powder, baking soda and salt to a large bowl and stir with a wire whisk to combine. Set aside.
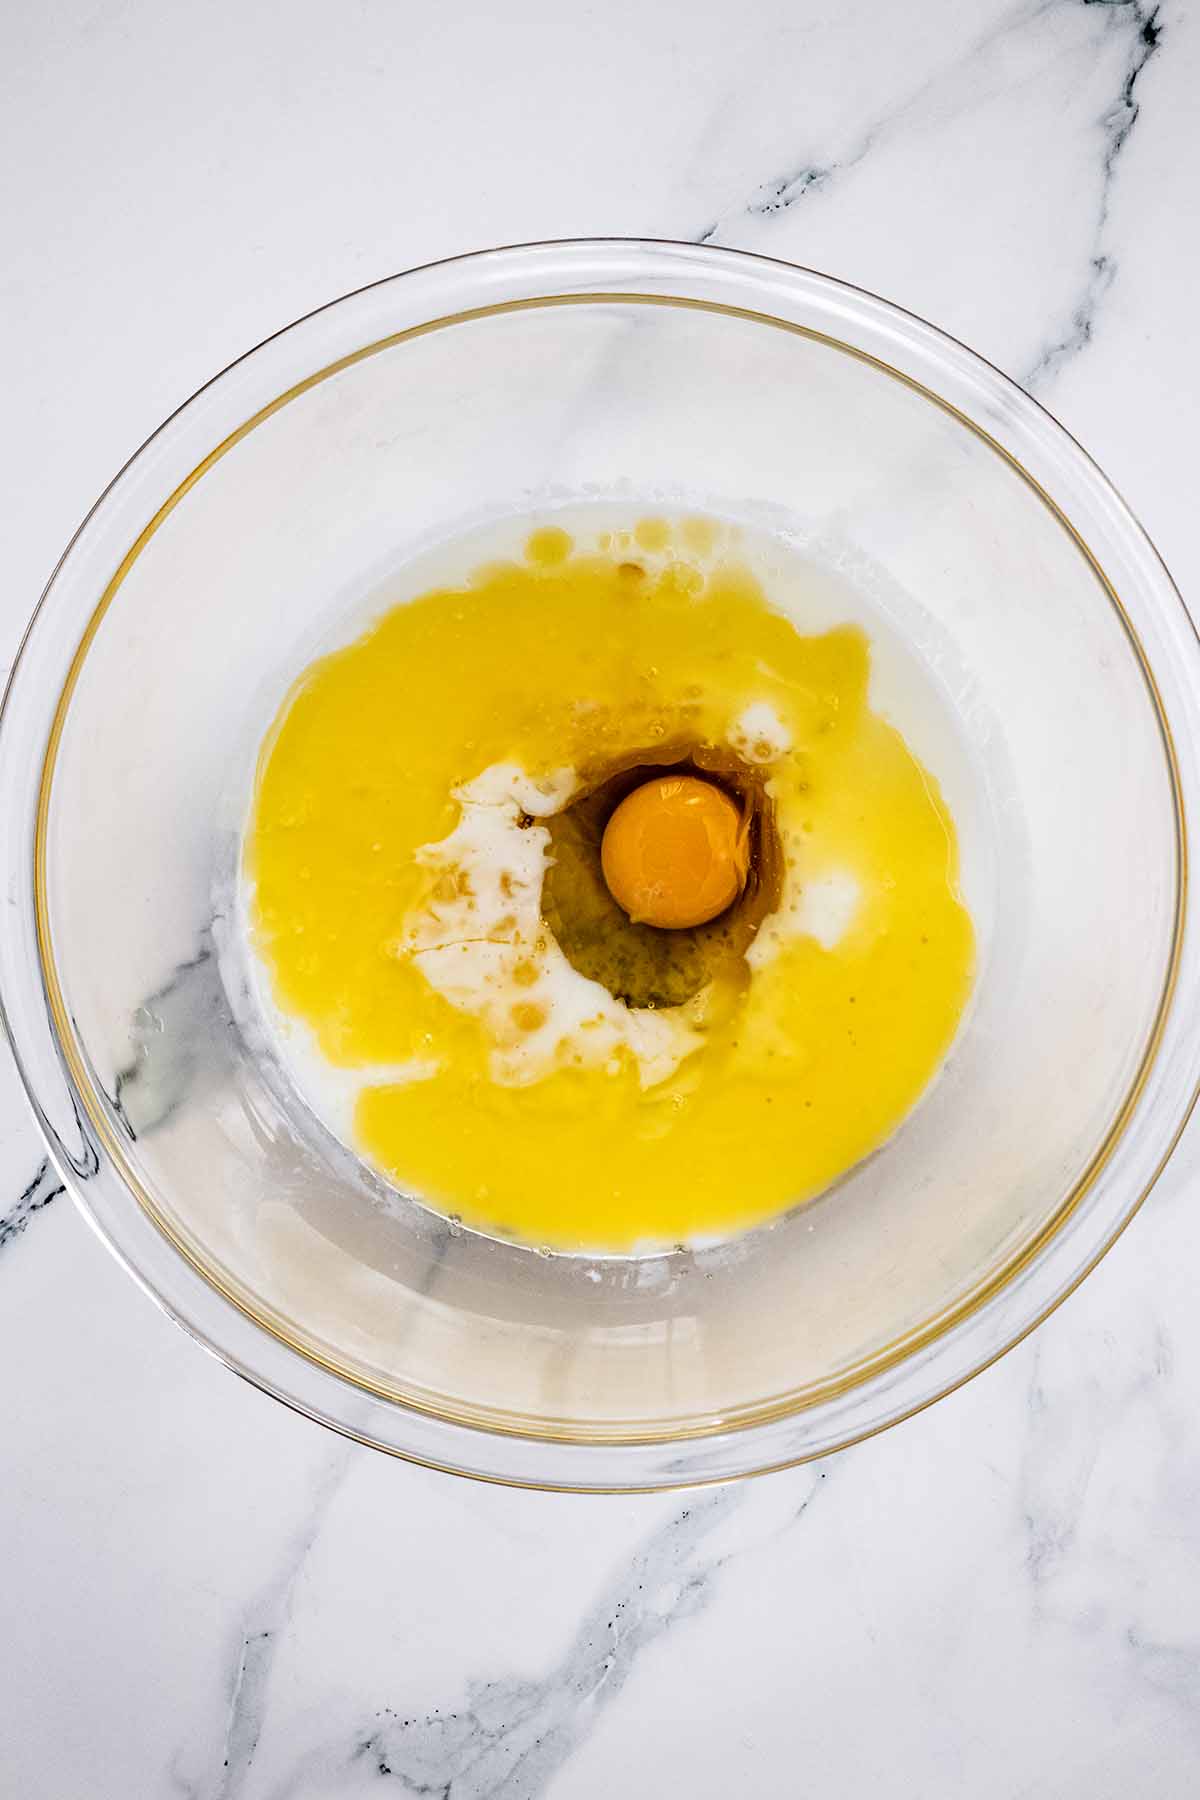
- Add egg, maple syrup, buttermilk and butter to a medium bowl and whisk thoroughly to combine.
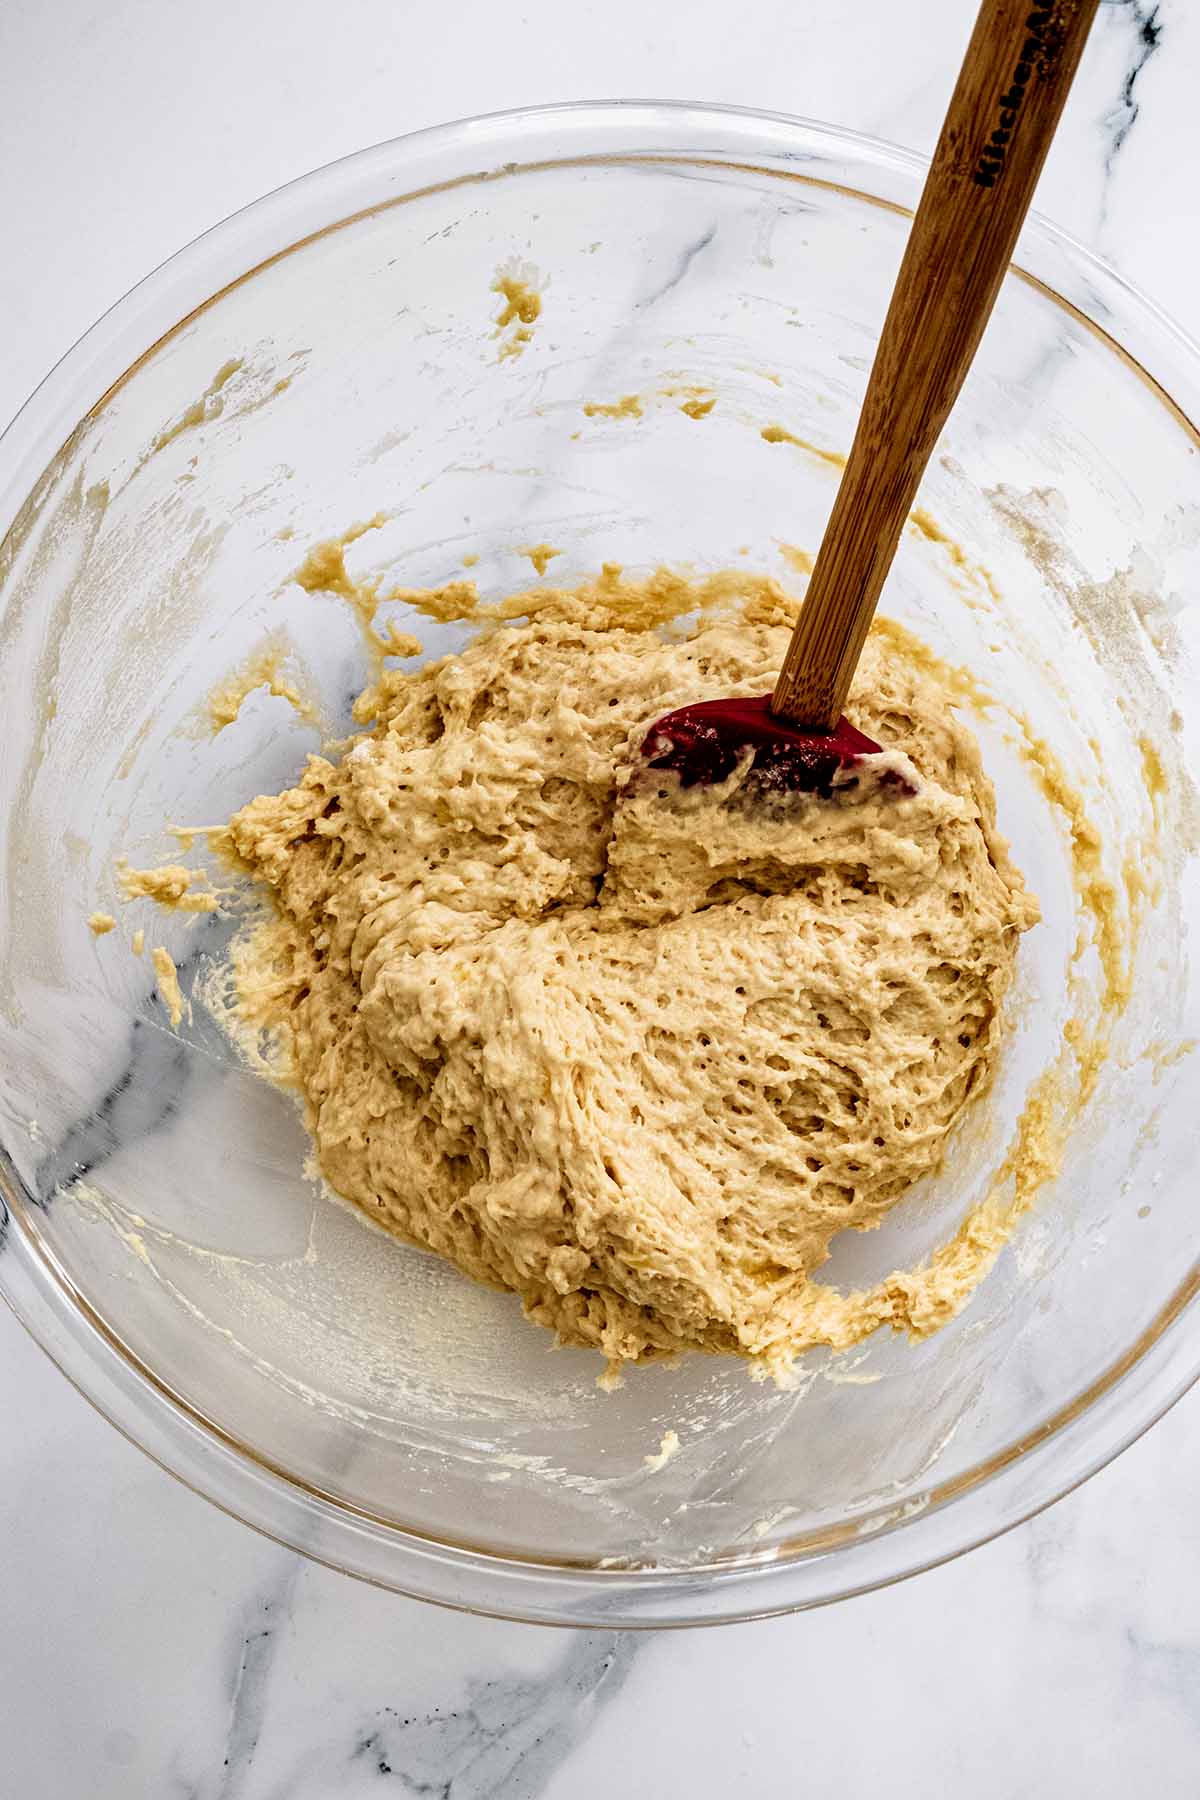
- Pour wet ingredients into dry ingredients and stir until just combined. Do not overmix.
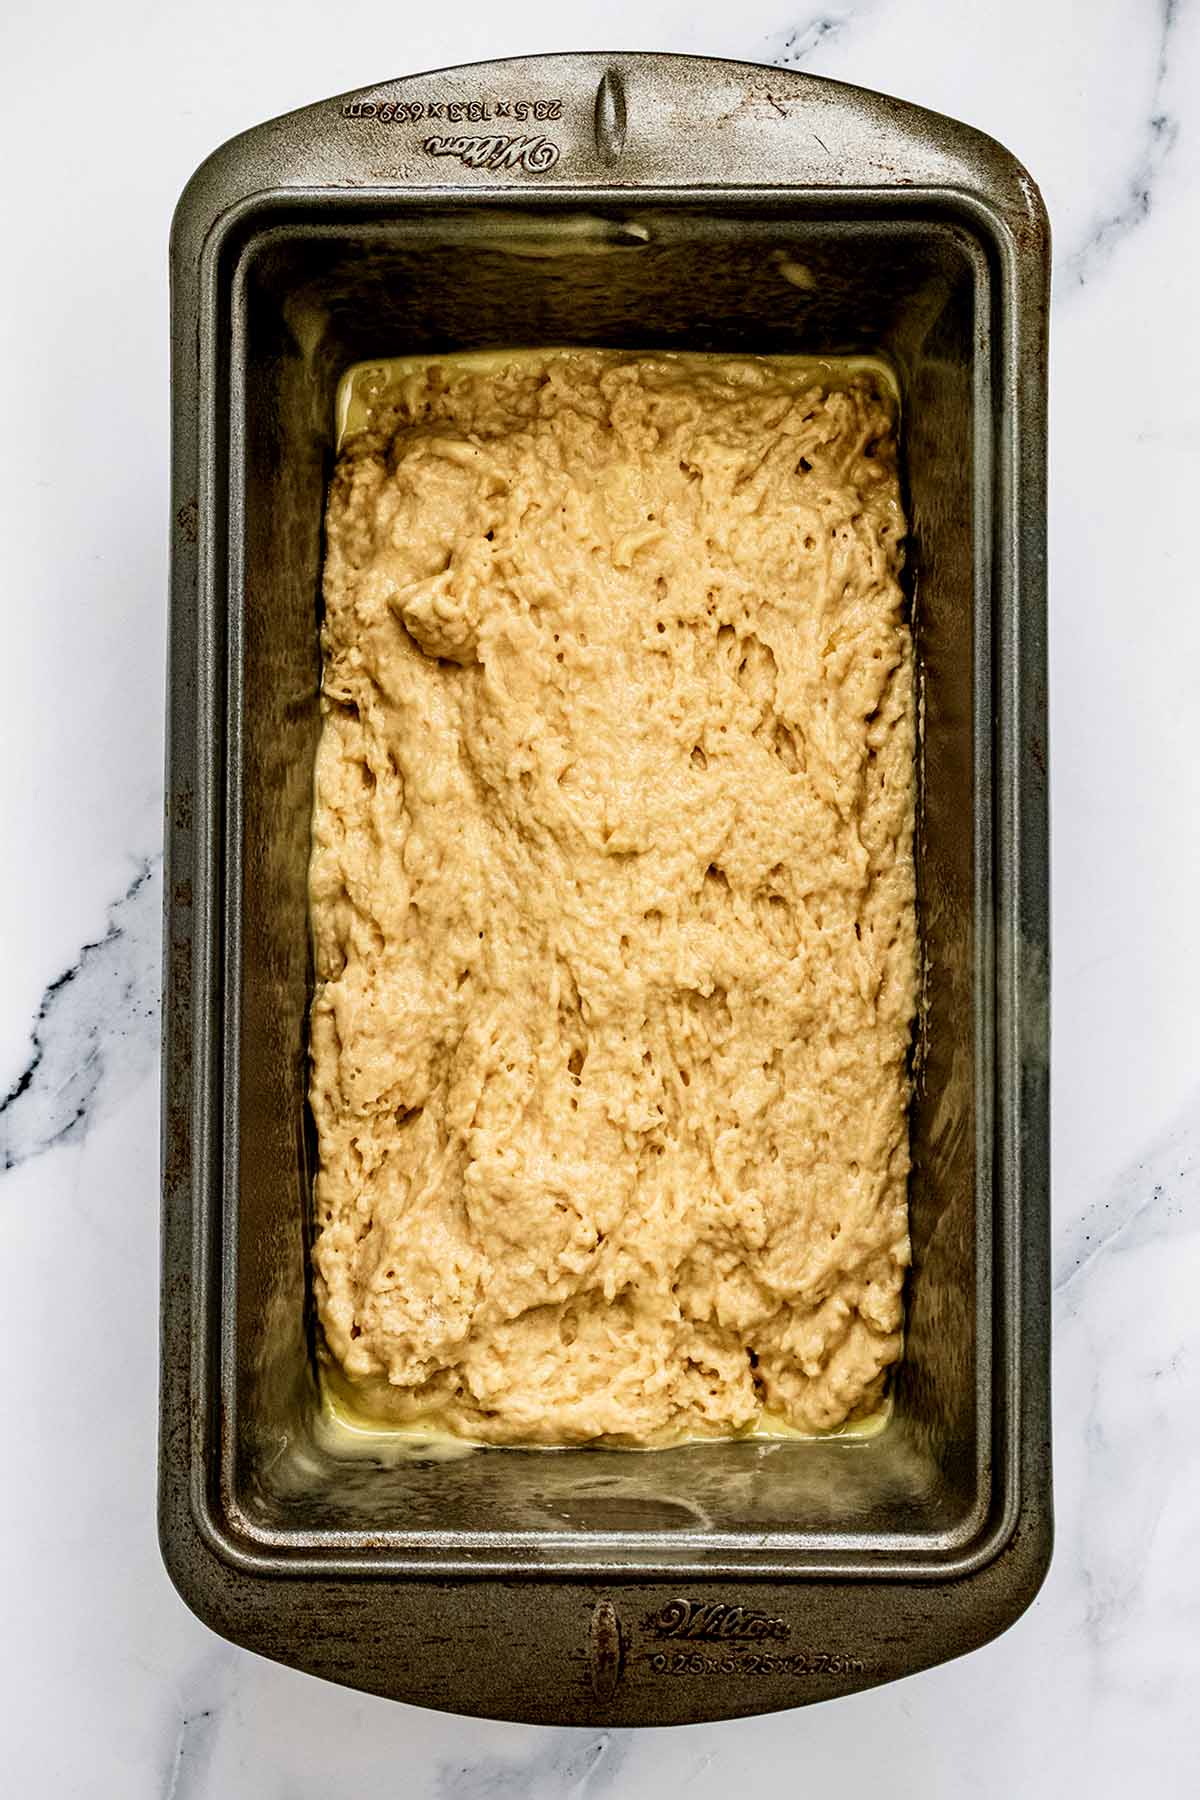
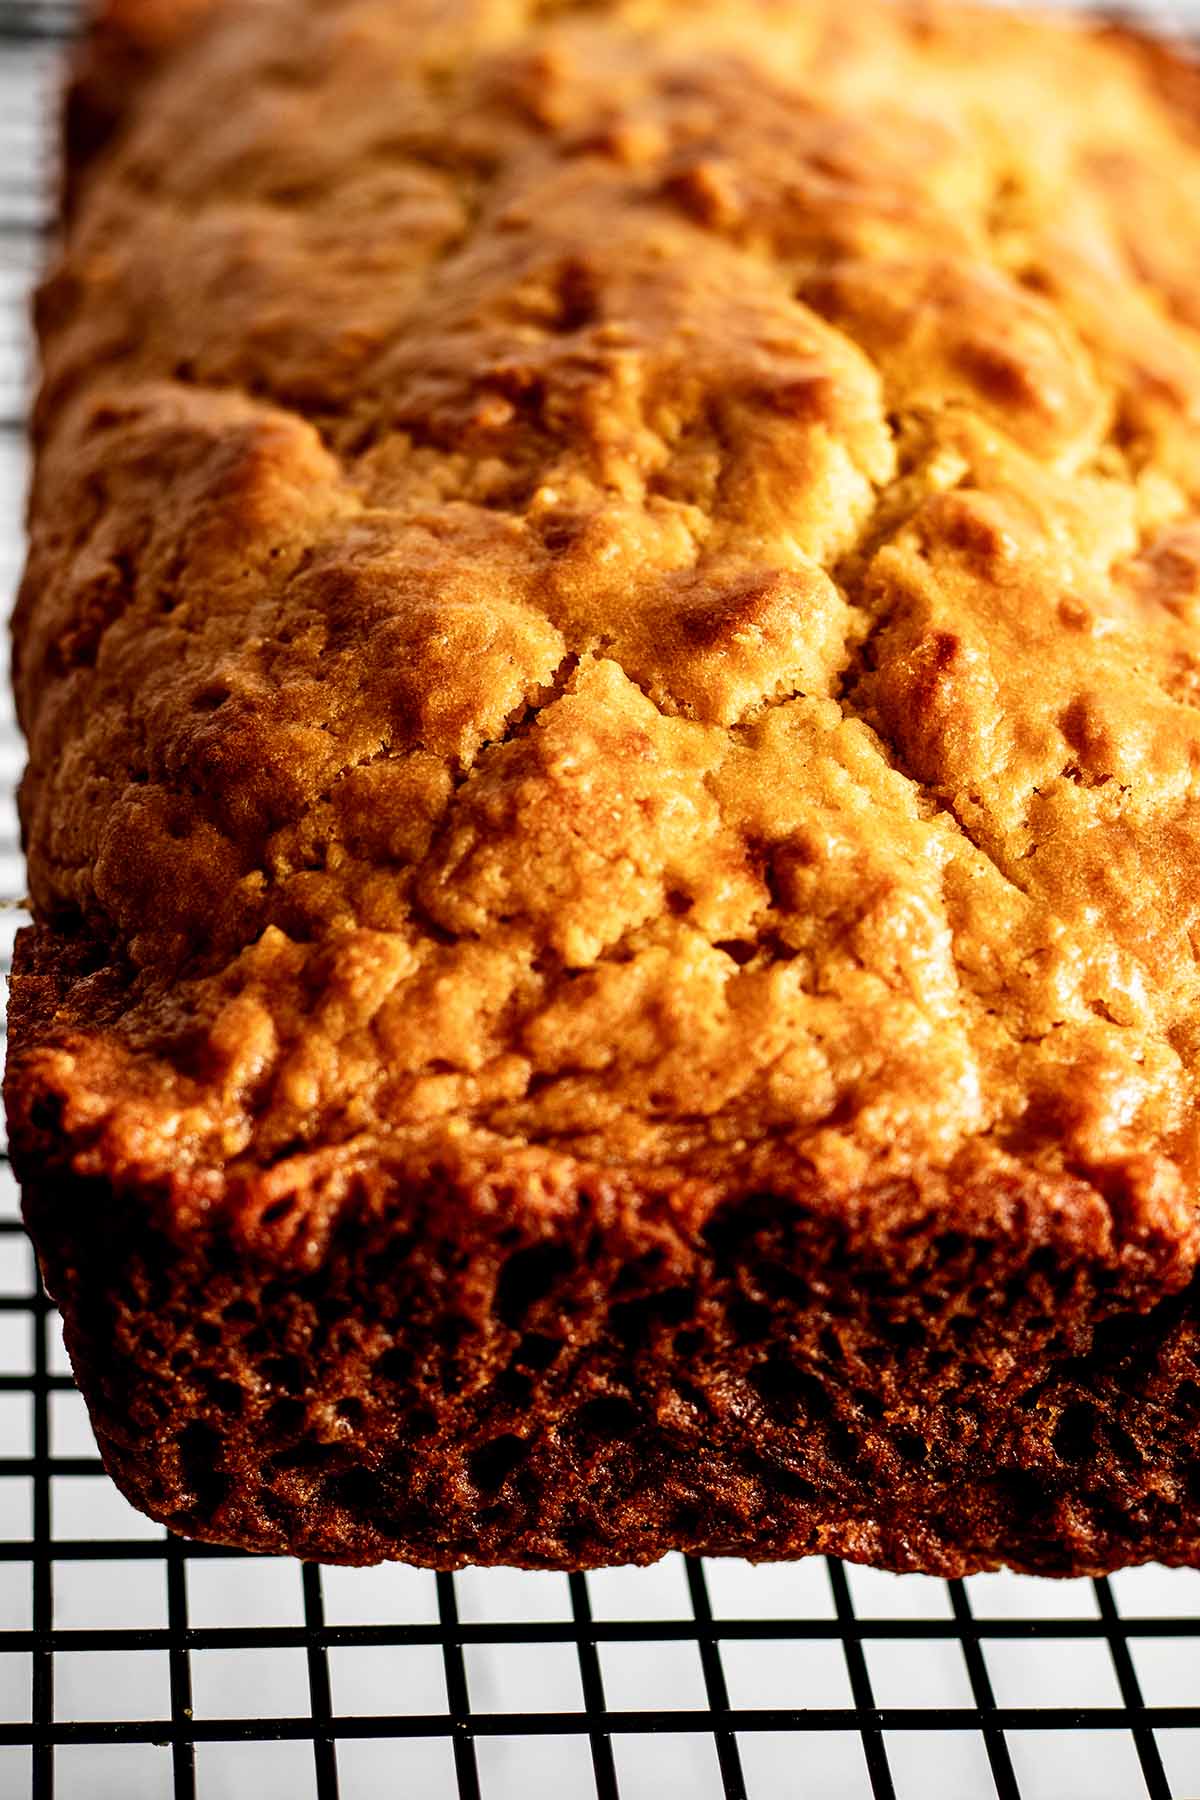
- Pour batter into prepared pan and bake for 45 - 50 minutes. Bread is done when a toothpick inserted in the center comes out clean.Allow to cool on a cooling rack for 15 minutes. Then remove bread from the loaf pan and allow to cool for several hours before slicing.Serve with butter and warm maple syrup.
Notes
However, the best way to store baked bread is to slice it up into individual portions and freeze it. This loaf makes nine 1-inch slices. Tightly wrap the slices in plastic wrap and aluminum foil, then place in a heavy duty freezer bag. It will keep in your freezer for up to 3 months. You can reheat the individual slices in your microwave or allow them to thaw on your counter for about 30 minutes.
If you do want to try your hand at doubling this recipe, the kitchn has a guide for making double batches of muffins, cookies and breads that you may find helpful.
Nutrition
📚 References and Further Reading
- "How long can you keep quick breads - freshly baked?" by Still Tasty.
- "Make It Double! Tips for Making Double Batches of Muffins, Cookies & Breads" by the Kitchn.



Amanda says
This came out well and was super easy to make, one of the easiest recipes I've ever used. Thanks!
Sandra says
I'm so glad you liked it, Amanda! Thank you for taking the time to leave a comment. 🙂
Kathryn Cullen ‘KC’ Rainbird says
Can this recipe be used in a bread maker? Thanks!
Sandra says
Hi Kathryn,
I wish I knew the answer to that, but I've never tried it in a bread maker. If your bread maker has instructions for making quick bread, then this recipe should work in a bread maker. Just follow manufacturer's instructions for baking quick bread.
You may find this blog post helpful.
Good luck!