
Would you like to save this recipe?
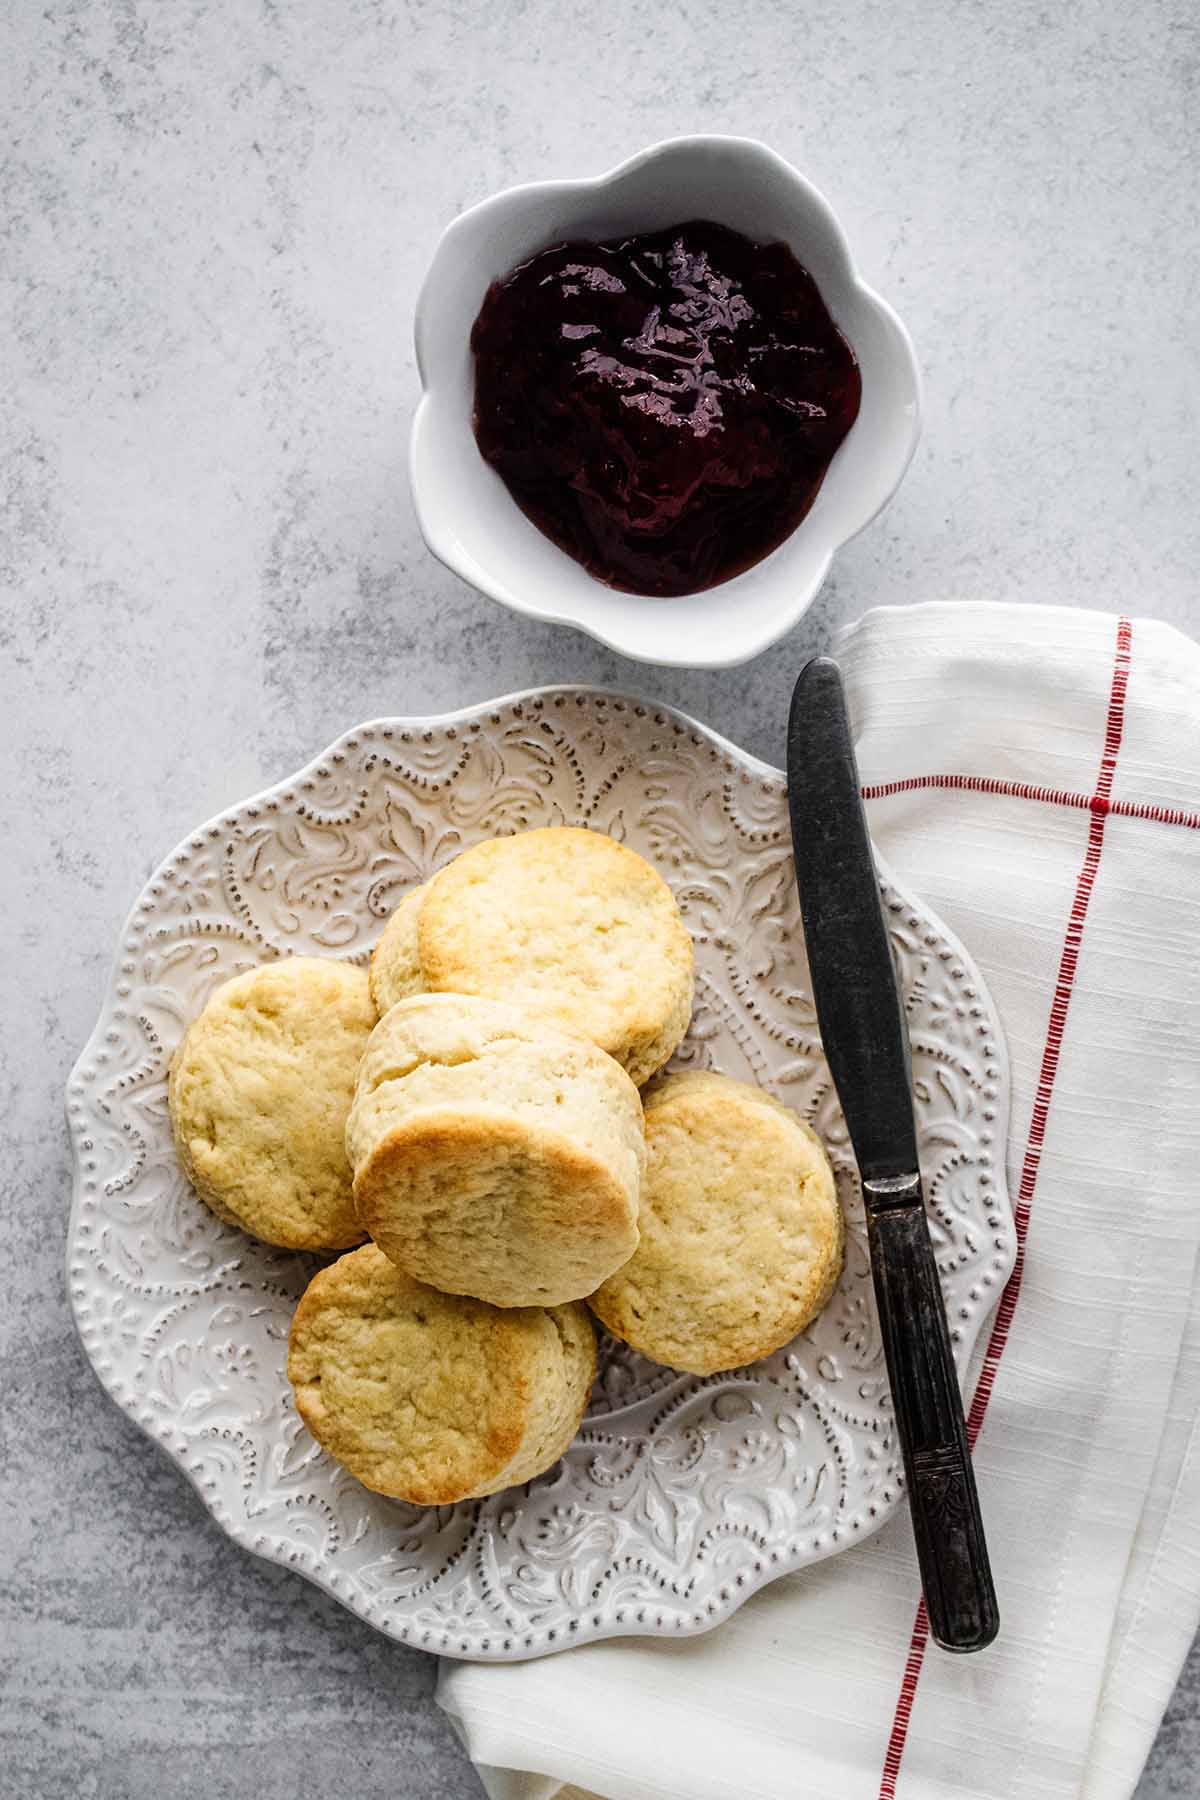
We love the simplicity of these 3 ingredient scones. As the name states, they take only 3 ingredients! However, they certainly don’t skimp on flavor. We love to serve these with fruit jam or curd. My husband really enjoys using them to make sausage and cheese breakfast sandwiches. However you serve them, they’re well worth the minimal time and effort they take to make. You just can’t beat homemade scones!
What You’ll Love About This Recipe
Ingredients
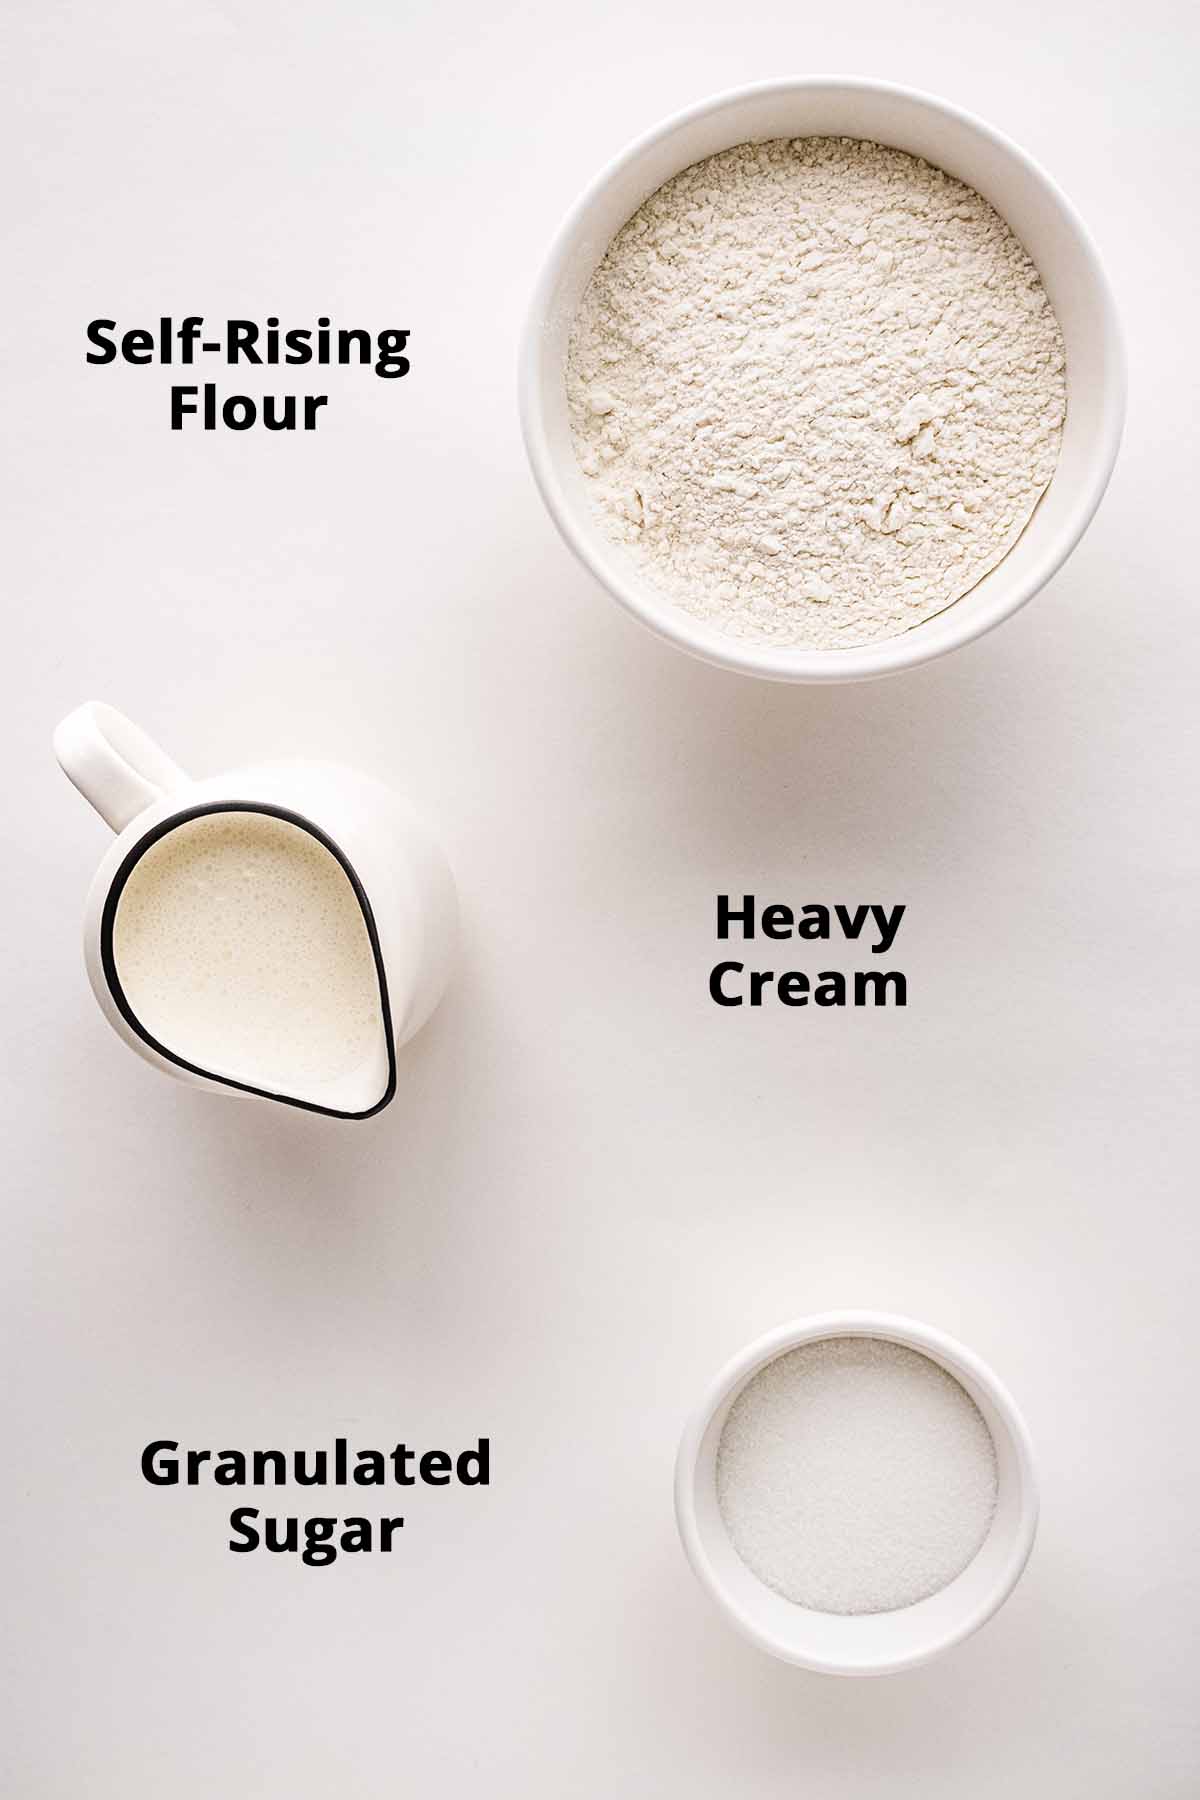
- 3 cups self-rising flour. Self-rising flour already contains the baking powder and salt so you don’t have to add them to this recipe. If you don’t have self-rising flour, you can substitute all purpose flour but you will need to add 1 tablespoon of baking powder and 1 teaspoon of salt to it. Then stir to combine.
- ⅓ cup granulated sugar. You can reduce this amount to 1/4 cup if you don’t want your scones to be very sweet.
- 1½ cup heavy cream. Heavy cream is the key to light, moist, and tender scones.
Instructions
Preheat oven to 425 F (218 C). Line a baking sheet with parchment paper.
Bake until lightly browned, about 8-10 minutes.

Click here to learn how to make these 3 ingredient scones in a visual story.

Substitutions
- Gluten Free – Substitute Bob’s Red Mill Gluten Free 1-to-Balking flour for the self-rising flour in this recipe. In this case, you will have to add 3 teaspoons baking powder and ½ teaspoon of salt.
- Sugar Free – Substitute Swerve products for the sugar used in this recipe: Swerve granulated sugar. (affiliate links)
- All Purpose Flour – As mentioned above, you can substitute all-purpose flour for the self-rising flour. Use 2 cups of all-purpose flour plus 3 teaspoons of baking powder and ½ teaspoon of salt.

Get our free breakfast ebook
When you join our newsletter
Storage
To store your freshly baked biscuits:
- Cool Completely. Allow the biscuits to cool completely at room temperature. This prevents condensation, which can make them soggy.
- Store in an Airtight Container. Transfer the cooled biscuits to an airtight container. Make sure the container is clean and dry.
- Room Temperature or Refrigeration. You have two options here:
- Room Temperature. If you plan to consume the biscuits within 1-2 days, it’s fine to store them at room temperature. However, ensure they’re in a cool, dry place away from direct sunlight or heat sources.
- Refrigeration. If you want to keep them for longer, store them in the refrigerator. This helps to maintain their freshness for up to 4-5 days.
- Reheating. If you find the biscuits have become a bit stale, you can refresh them by briefly heating them in the oven. Preheat the oven to 350°F (175°C) and warm the biscuits for about 5-7 minutes.
- Freezing (Optional): If you want to keep them for an extended period, you can freeze the biscuits. Here’s how:
- After they’ve cooled completely, place the biscuits in a single layer on a baking sheet lined with parchment paper.
- Freeze them for about an hour until they’re solid.
- Then transfer the frozen biscuits to a freezer bag or an airtight container. Label with the date.
- Frozen biscuits can last for about 2-3 months.
- When you’re ready to eat, you can reheat them straight from the freezer. Place them on a baking sheet and bake in a preheated oven at 350°F (175°C) for about 10-12 minutes, or until heated through.
FAQs
Variations
- Blueberry and White Chocolate Scones – Carefully stir in 1 cup of fresh or frozen blueberries and 1/2 cup of white chocolate chips into the dough.
- Blue Cheese Scones – Reduce sugar to 1 tablespoon and stir 5 ounces of crumbled blue cheese into flour mixture before adding heavy cream.
- Mango Scones – Stir 1 cup of peeled and chopped mangos into the dough.
Tips
- Use Cold Ingredients. Just like with pie crusts or scones, cold ingredients (especially the heavy cream) help create a flakier texture. So, make sure your heavy cream is cold from the fridge.
- Handle the Dough Gently. Overworking the dough can result in tough biscuits. Mix the dough just until it comes together, and when rolling it out, handle it as little as possible.
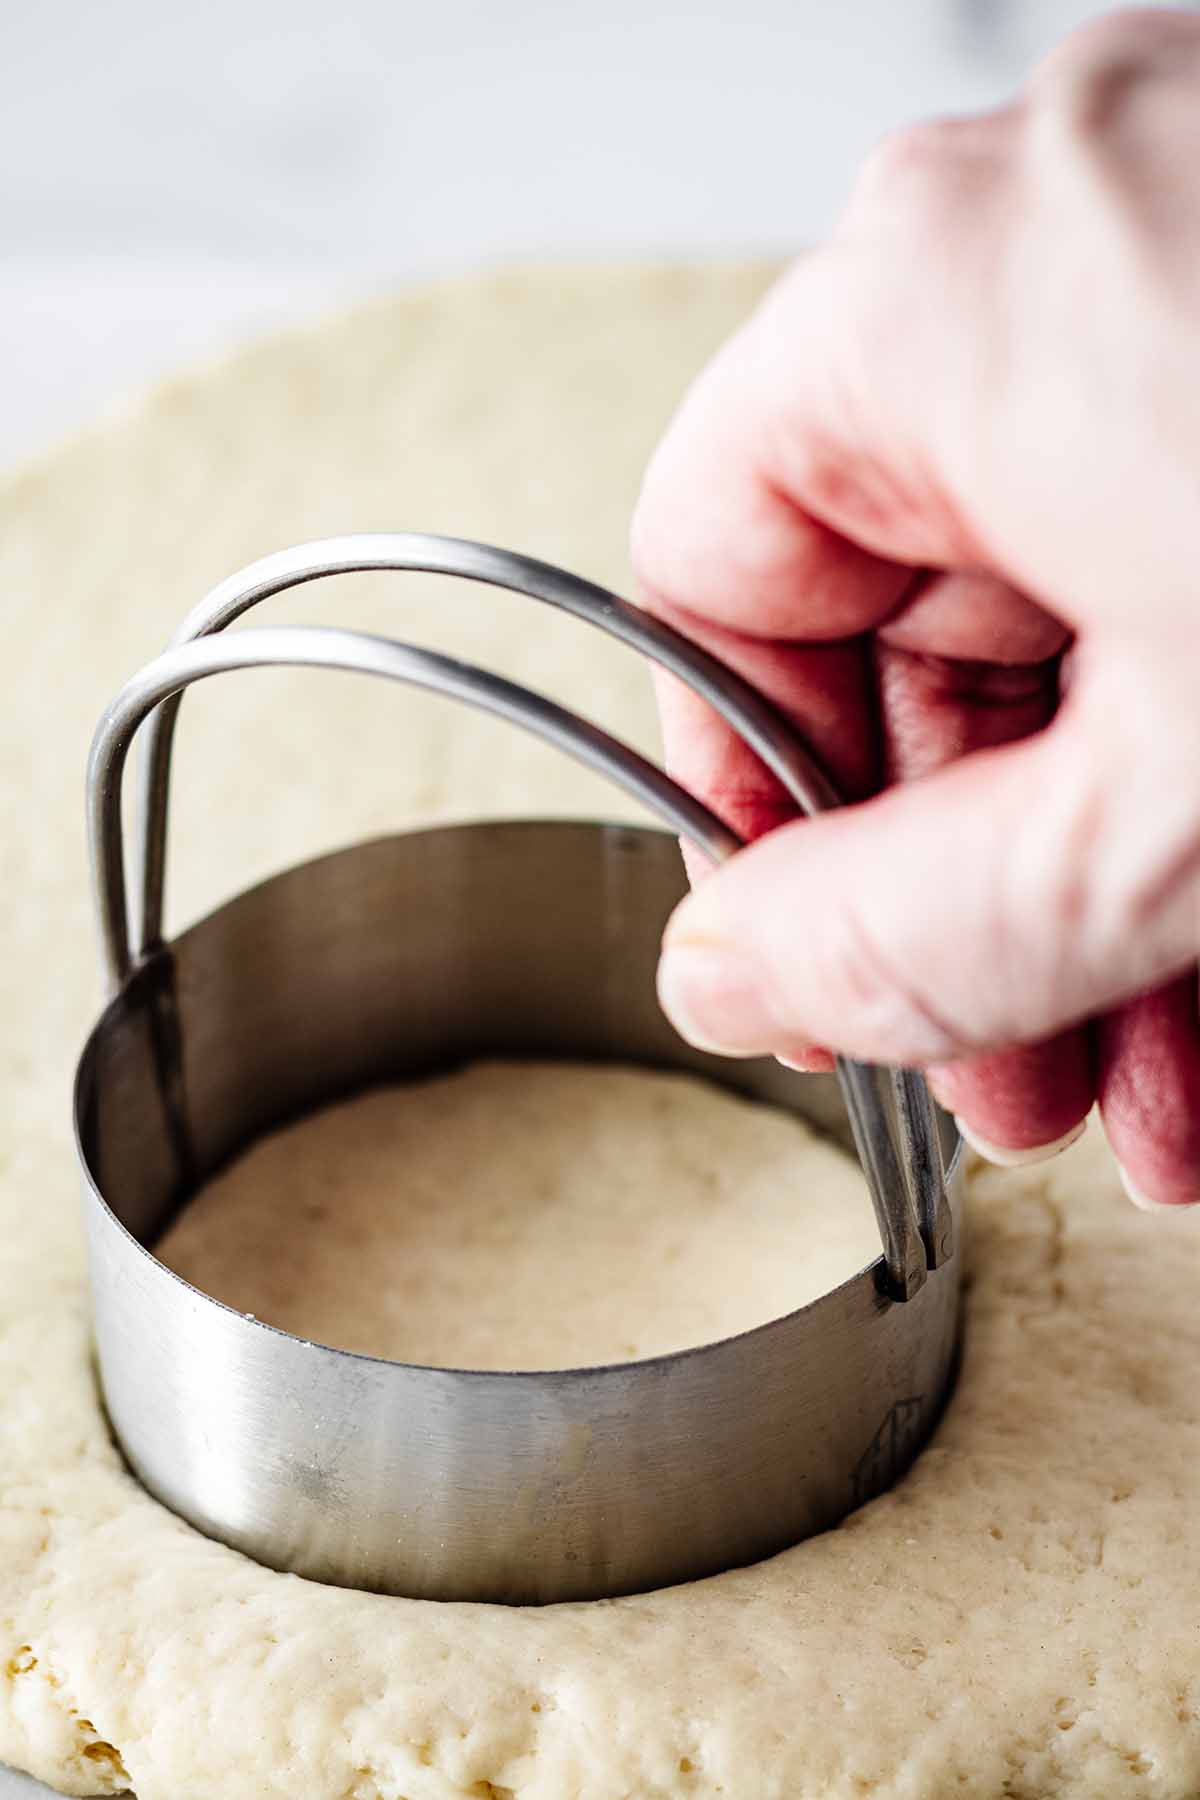
- Flour the Cutter. When cutting out the biscuits, dip the biscuit cutter into flour between each cut. This prevents sticking and ensures clean edges.
- Don’t Twist. When cutting the dough with the biscuit cutter, press straight down without twisting. Twisting can seal the edges of the dough, preventing the biscuits from rising properly.
- Use Self-Rising Flour. Self-rising flour already contains baking powder and salt, which helps with the leavening and flavor. If you don’t have self-rising flour, you can make your own by mixing 1 cup of all-purpose flour with 1 1/2 teaspoons of baking powder and 1/2 teaspoon of salt.
- Keep a Uniform Size. Try to roll the dough out to a consistent thickness and cut the biscuits into uniform sizes. This ensures even baking.
- Preheat the Oven. Make sure your oven is fully preheated before baking the biscuits. This helps them rise properly and ensures even cooking.
- Don’t Overbake. Keep an eye on the biscuits towards the end of the baking time. They should be lightly golden brown. Overbaking can result in dry biscuits.
- Serve Warm. Biscuits are best served warm, so enjoy them fresh from the oven if possible. If serving later, warm them up slightly before serving.
- Experiment with Add-Ins. Once you’ve mastered the basic recipe, feel free to experiment with add-ins like grated cheese, herbs, or spices to customize the flavor of your biscuits.
Related Recipes
- Chocolate Chip Scones
- Sour Cream Biscuits
- Rosemary Biscuits
- Orange Cranberry Scones
- Apple Scones
- Lime Scones
See more baked goods recipes →
Made this recipe? We would love it if you could leave a rating. Tap the rate button in the recipe card or leave a comment below. Don’t forget to subscribe to our newsletter to receive a free e-cookbook of quick and easy breakfast recipes. Thanks!
3 Ingredient Scones

Instructions
- Preheat oven to 425 F (218 C). Line a baking sheet with parchment paper.
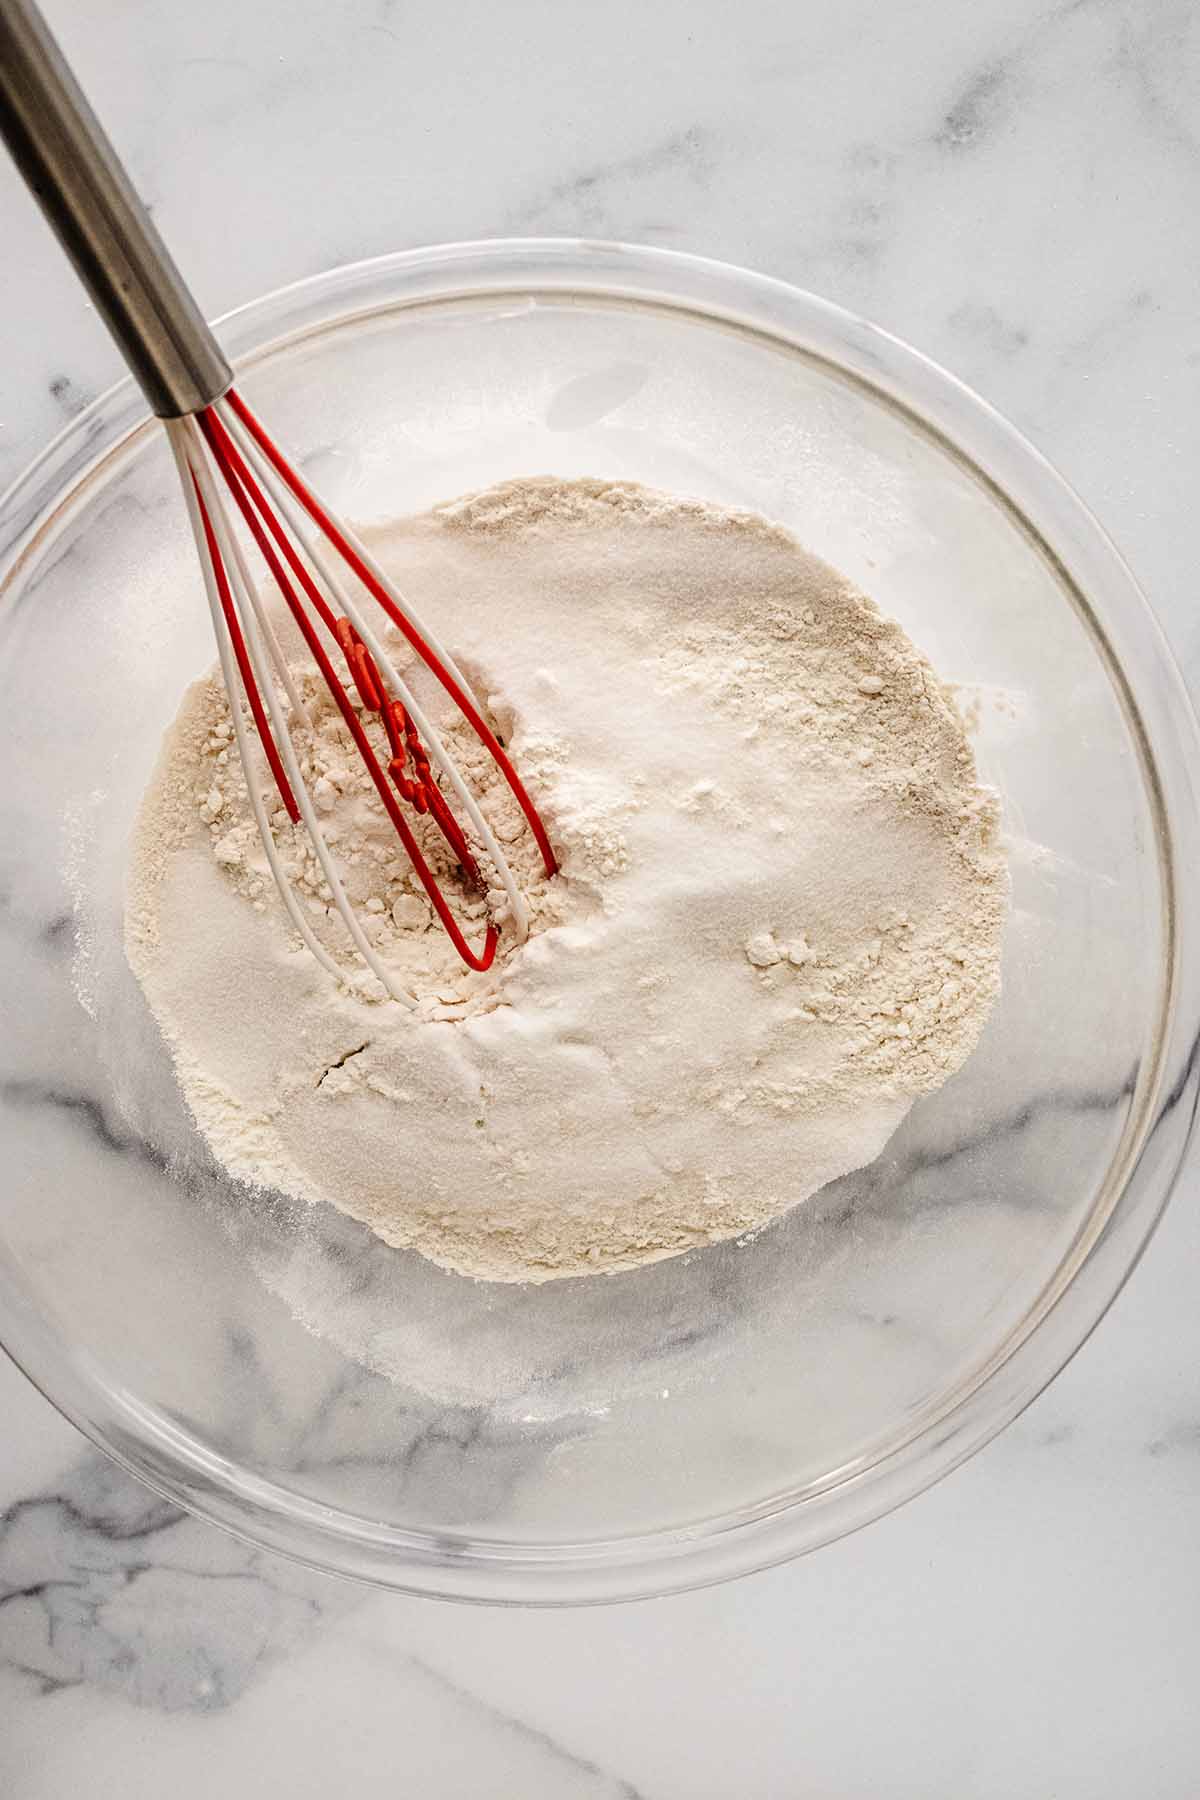
- Add flour and sugar to a large mixing bowl and whisk to combine.3 cups self-rising flour, ⅓ cup granulated sugar
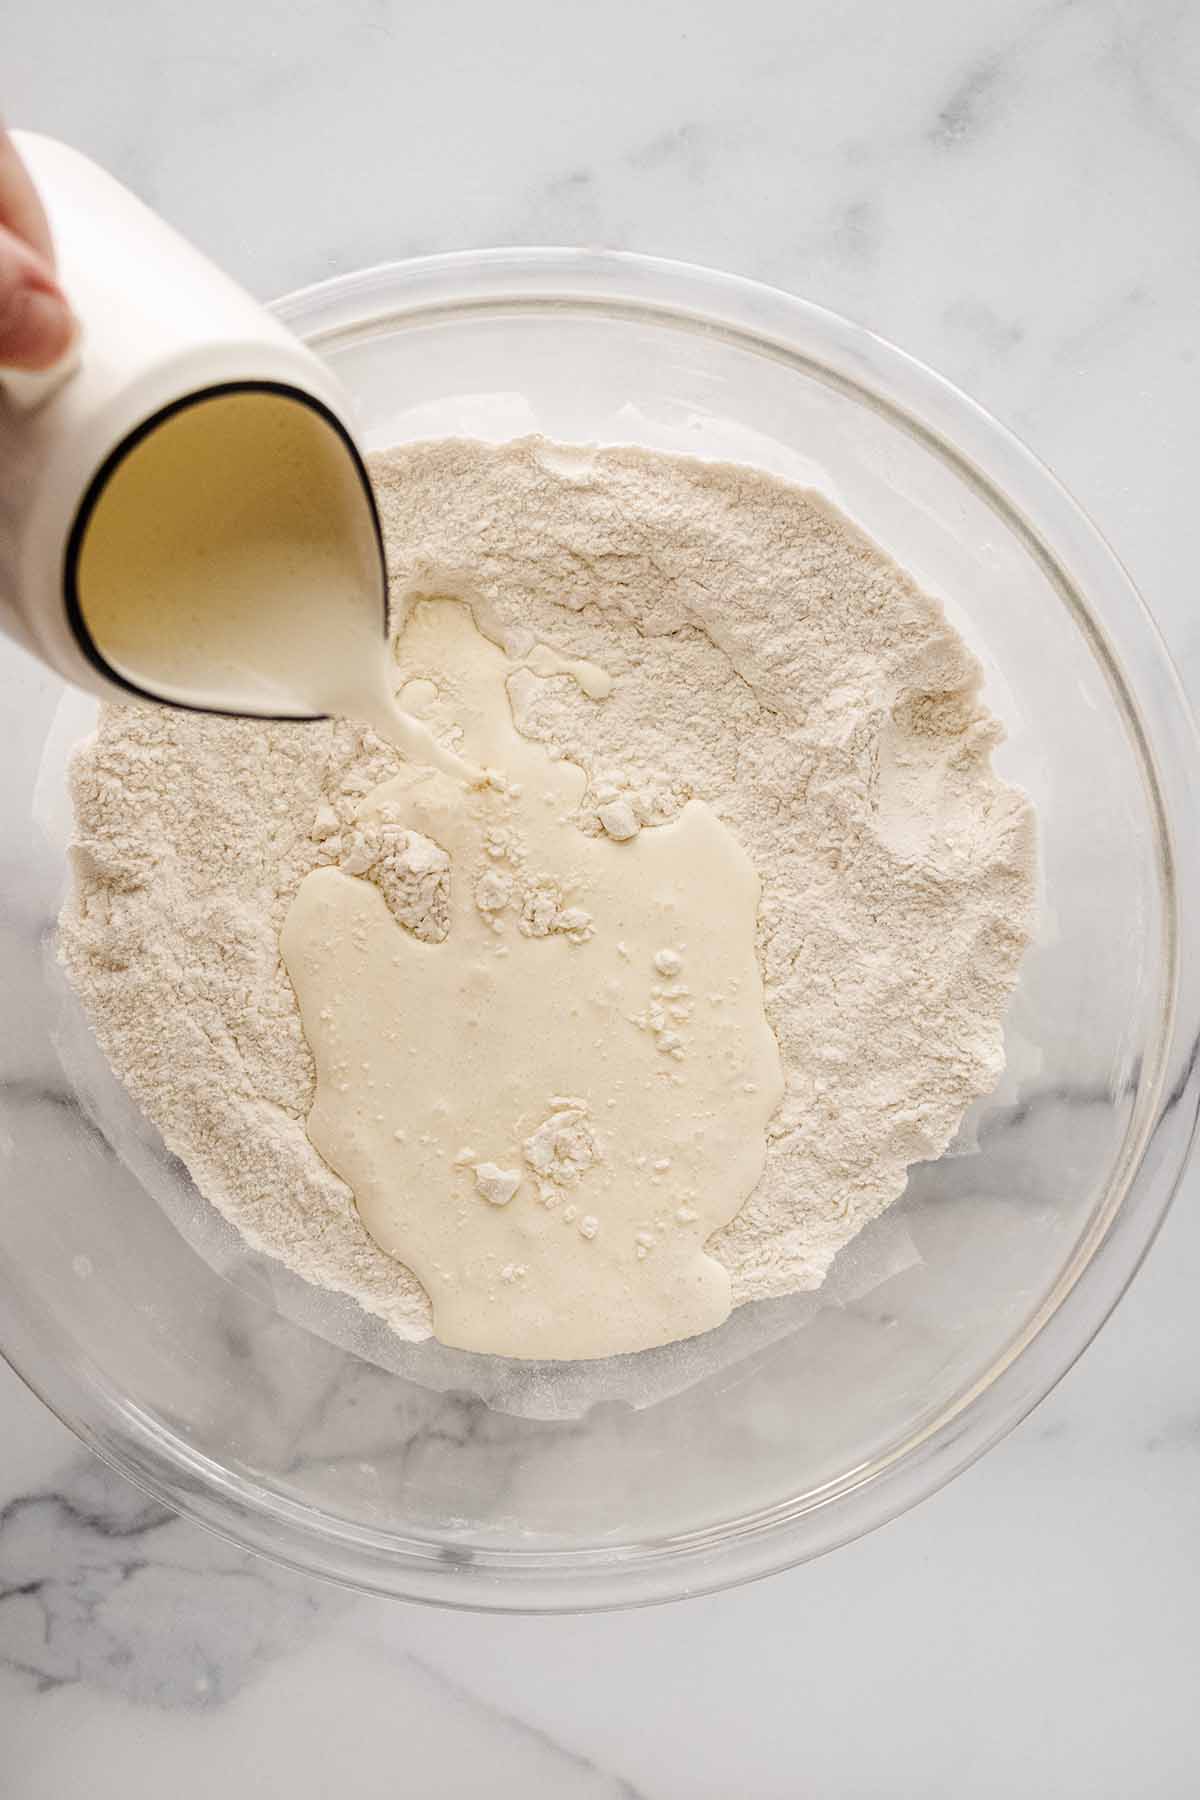
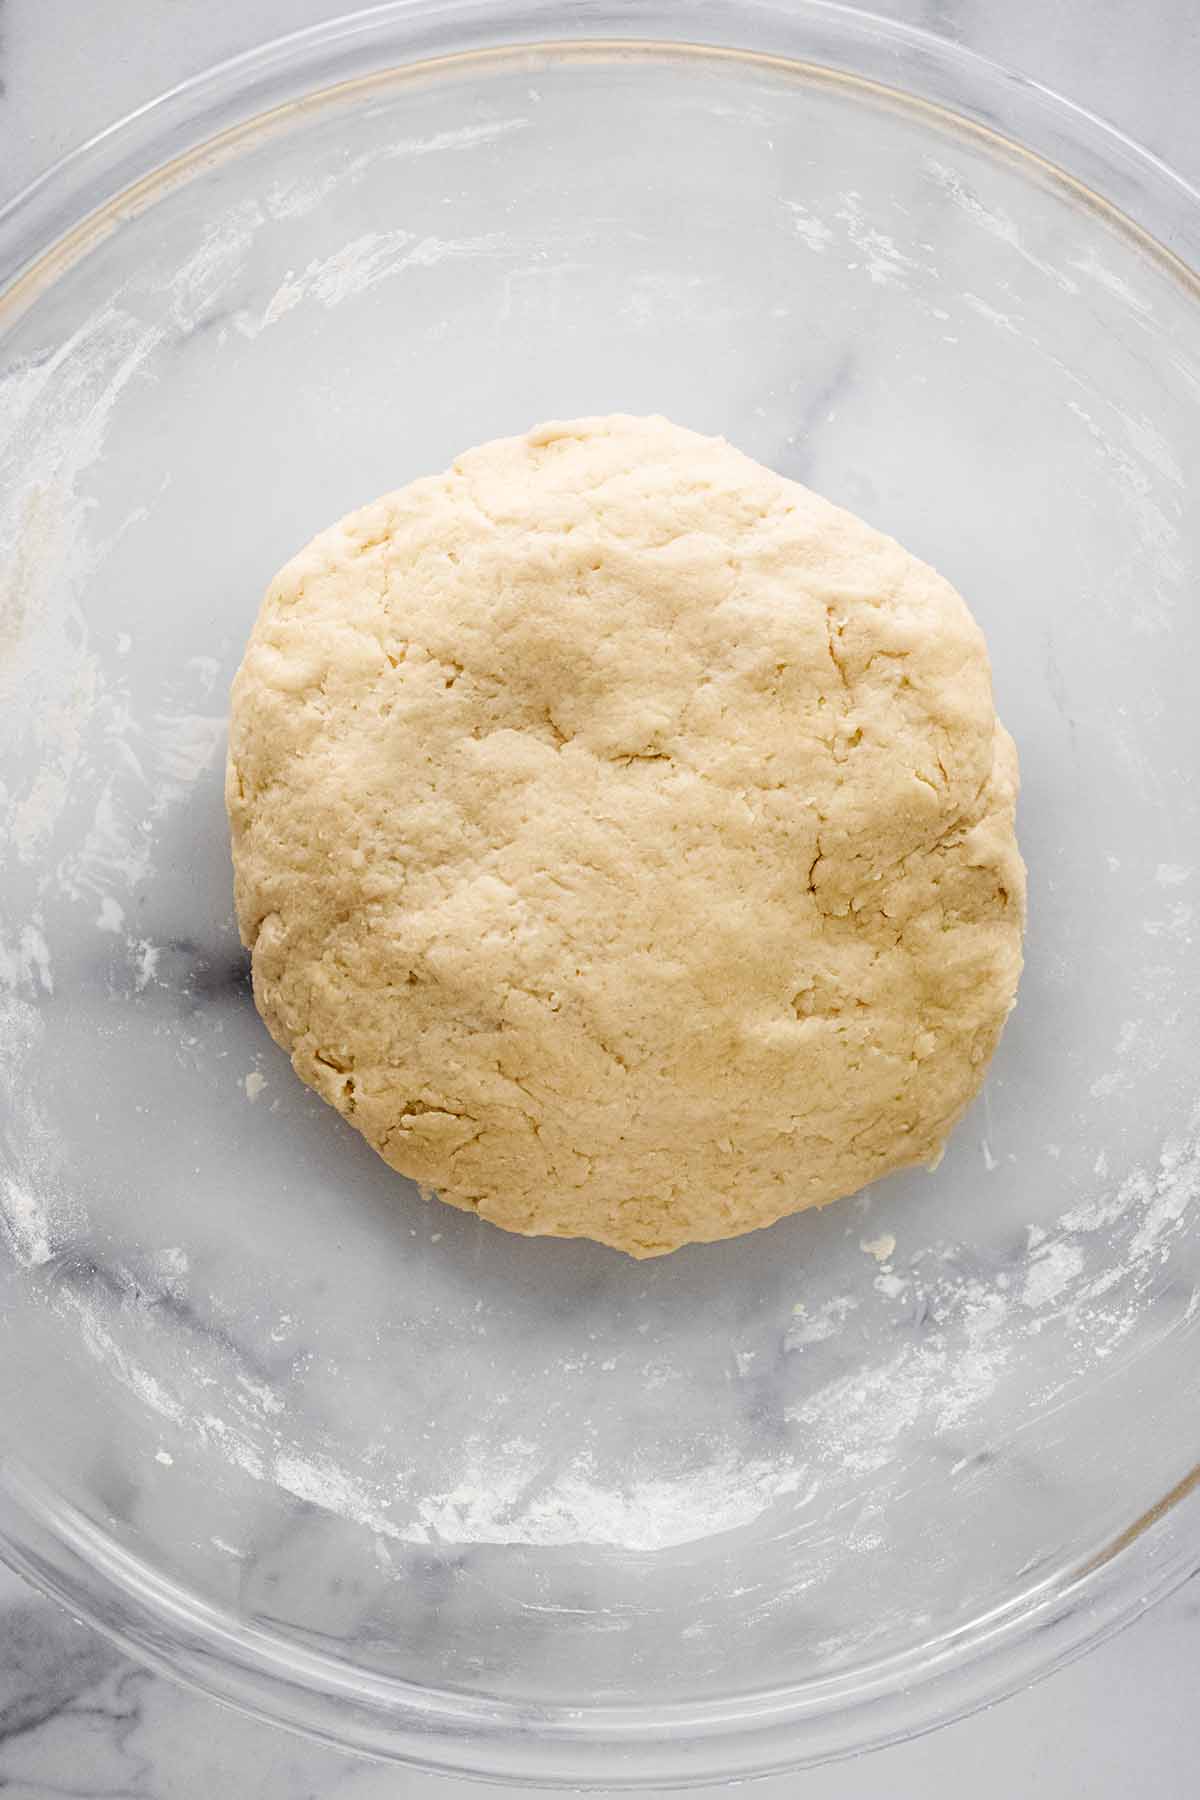
- Add heavy cream and stir until a stiff dough forms. You may need to knead the dough a bit with your hands to incorporate the dry ingredients. If necessary, add a splash more heavy cream.1½ cup heavy cream
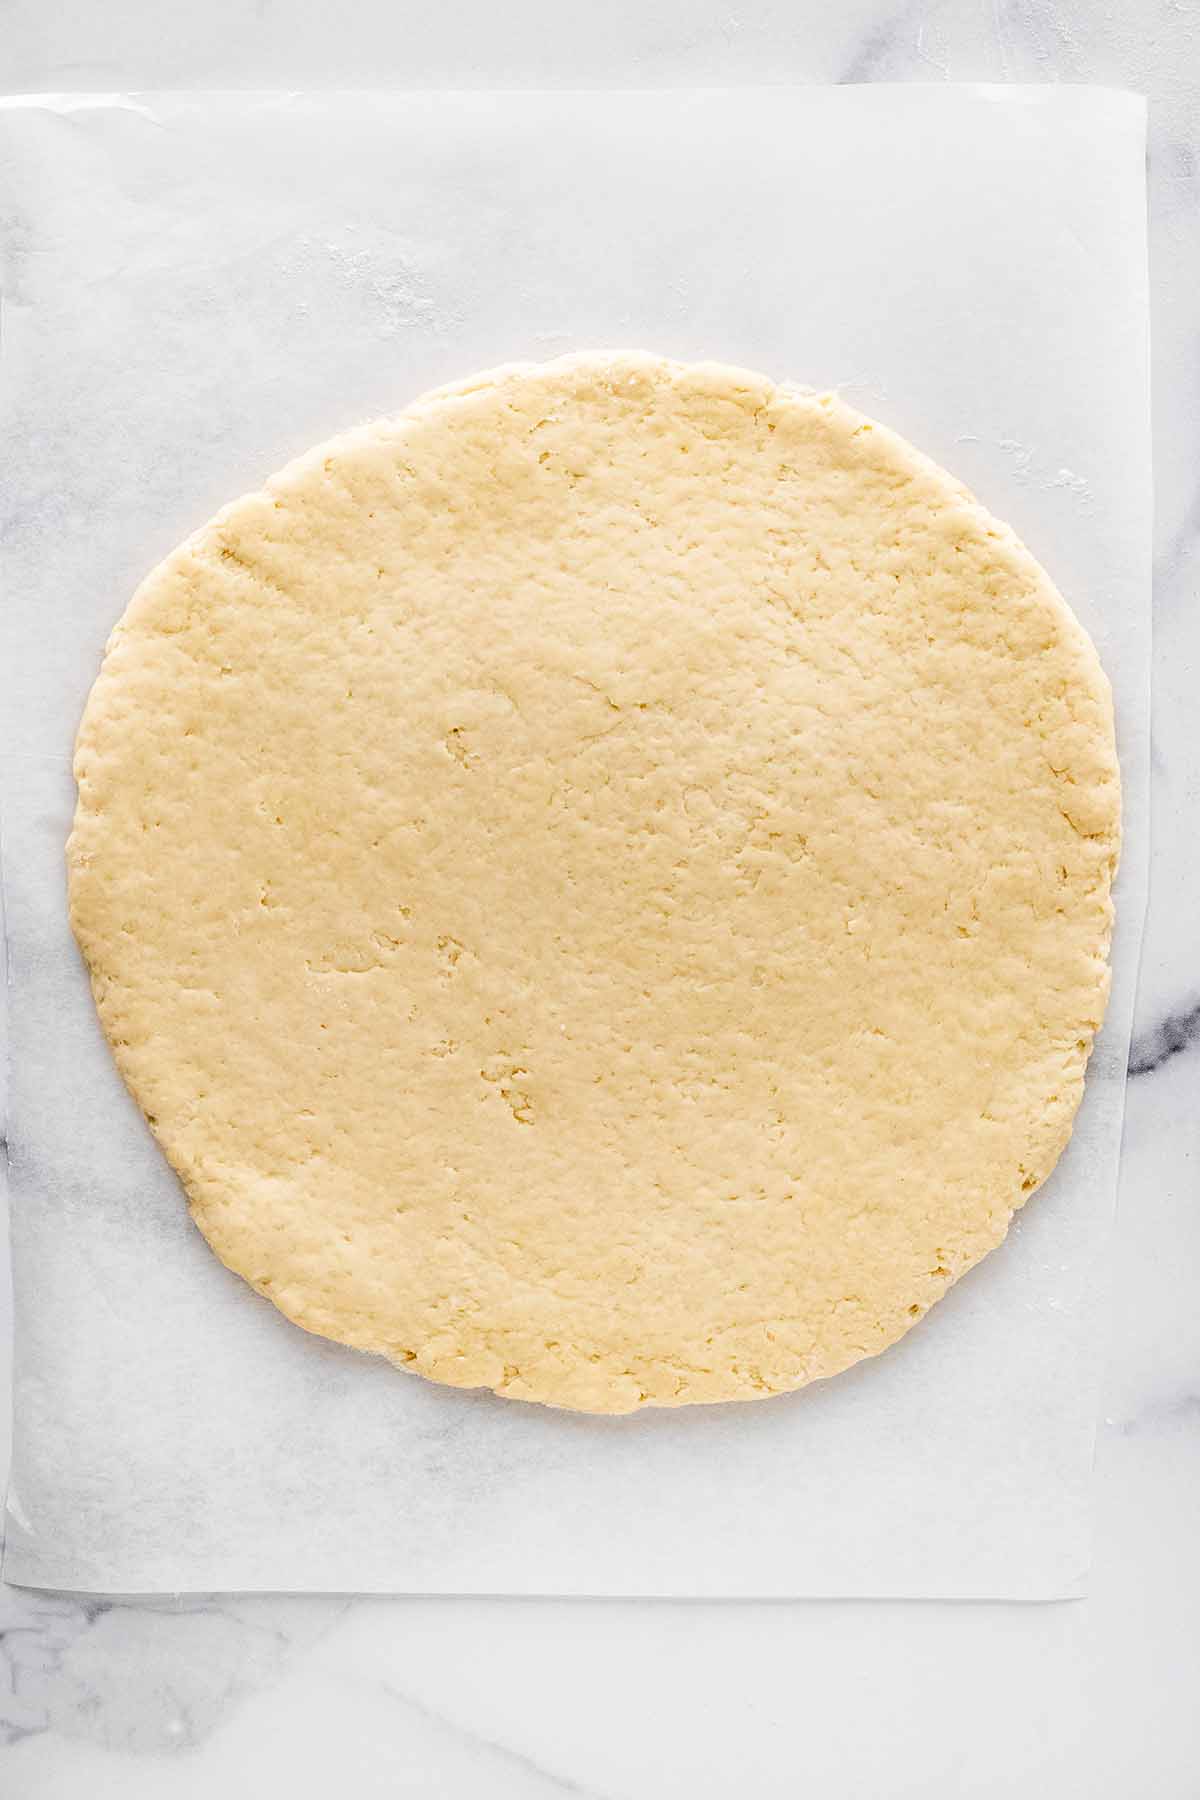
- Turn dough onto a clean and lightly floured working surface and roll out to ½ inch thickness. Use a 3 inch diameter biscuit cutter to cut dough into rounds. Repeat as needed to use up all of the dough.
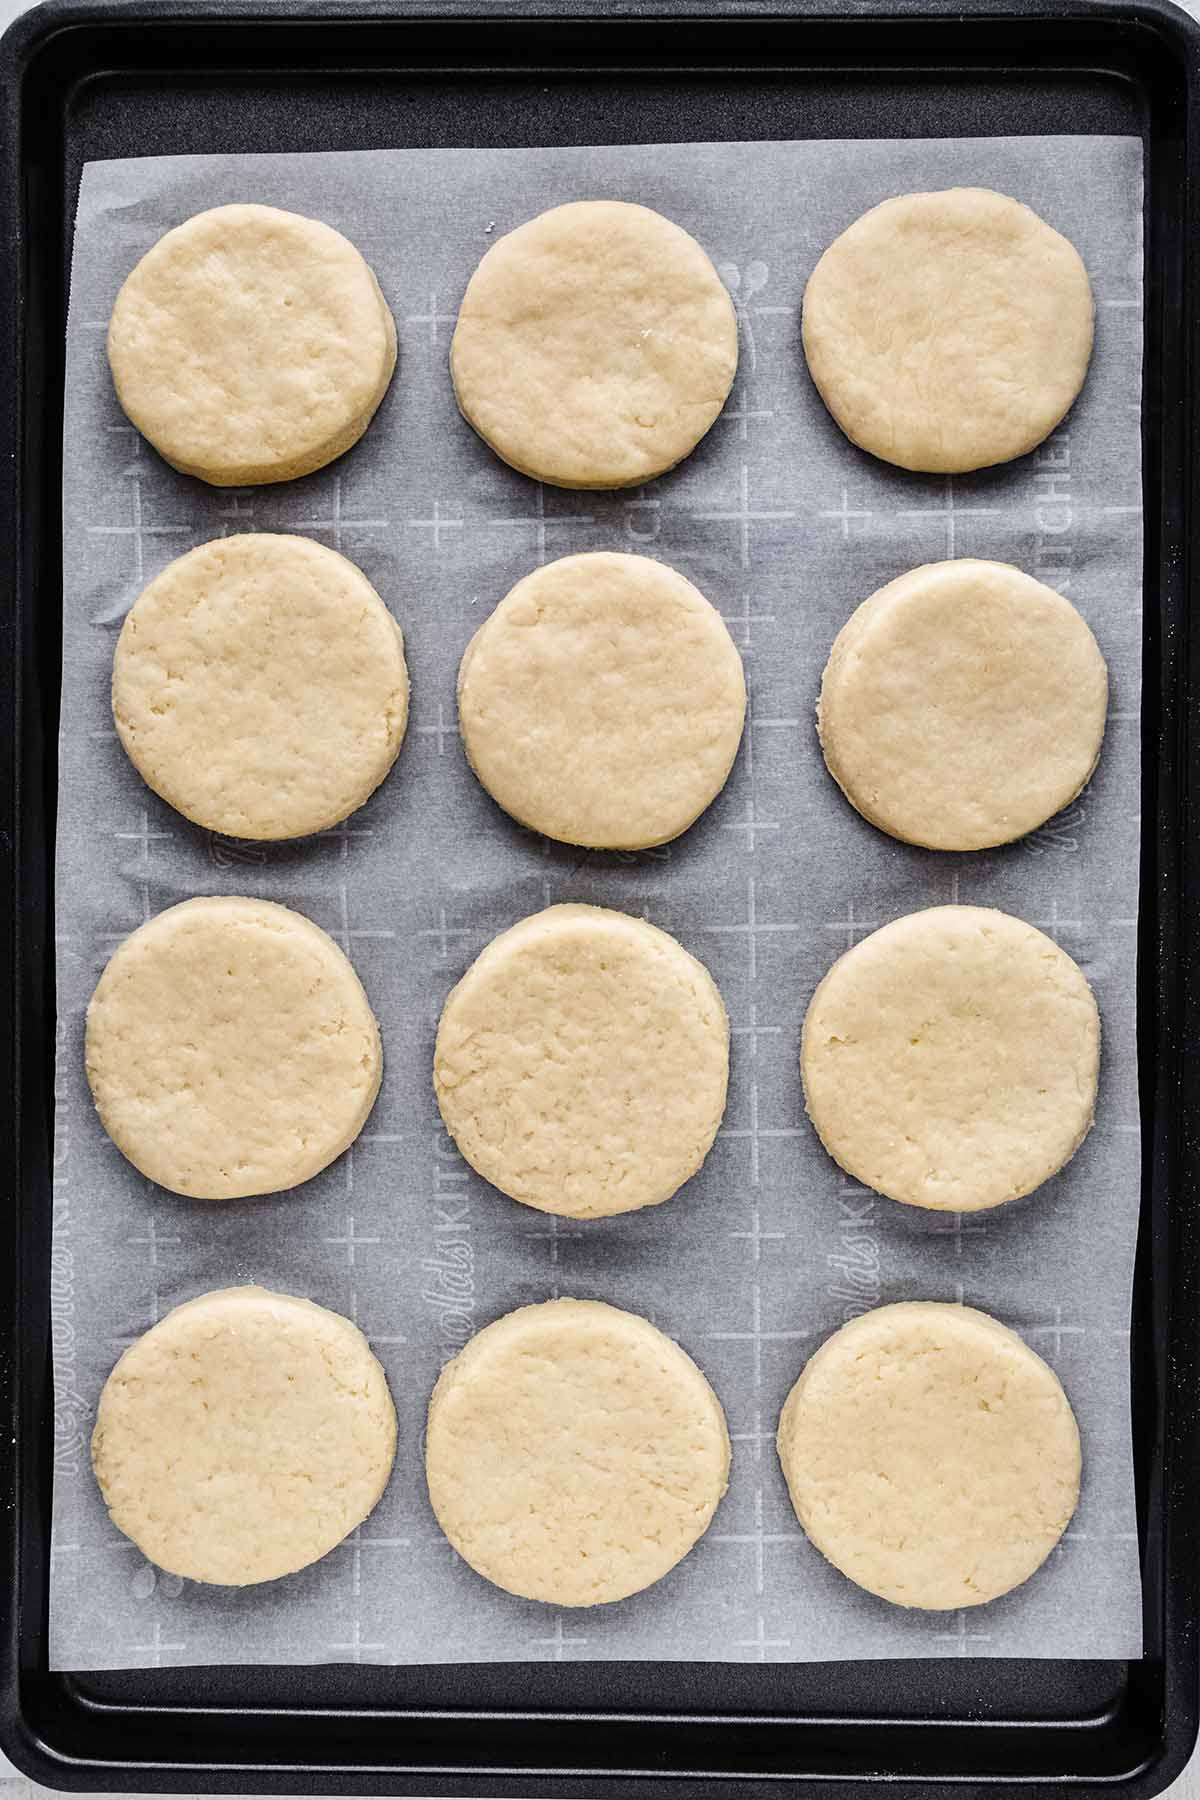
- Place unbaked rounds on prepared baking sheet.
- Bake until lightly browned, about 8-10 minutes.
- Remove from oven and allow to cool for a few minutes. Serve warm with butter and jam as desired.
Nutrition
Food safety
- Don’t leave heavy cream sitting out at room temperature for an extended period.
- Never leave cooking food unattended.
- Freeze within 1 week to avoid mold.
hi there I am so excited to try this recipe, it sounds so good. however, my oven does not work. I was wondering if these could be made in an air fryer? if so, should I adjust the time and temperature? thanks for the recipe…I made your air fryer drop biscuits 3 times over the past month and I love them!!
Hello Norma,
I’m so glad you’re excited to try this recipe! And I love hearing how much you’ve enjoyed the air fryer drop biscuits – thank you for sharing that with me!
You can absolutely make these scones in your air fryer. Here’s how:
1. Preheat your air fryer to 375 F (190 C).
2. Air fry the scones for about 6–8 minutes, depending on their size and your air fryer model. Check them a minute or two early to make sure they don’t overbake. You’re looking for a light golden color.
I hope this helps! Let me know how they turn out. I’d love to hear about your results.
This was such an easy recipe for scones! I didn’t have any self rising flour, so I made it with baking powder, flour and salt. They were a bit hard to knead, and the result was a bit harder than expected. Other than that, they were great!
I’m glad you enjoyed the scones, Jennie!