
Would you like to save this recipe?
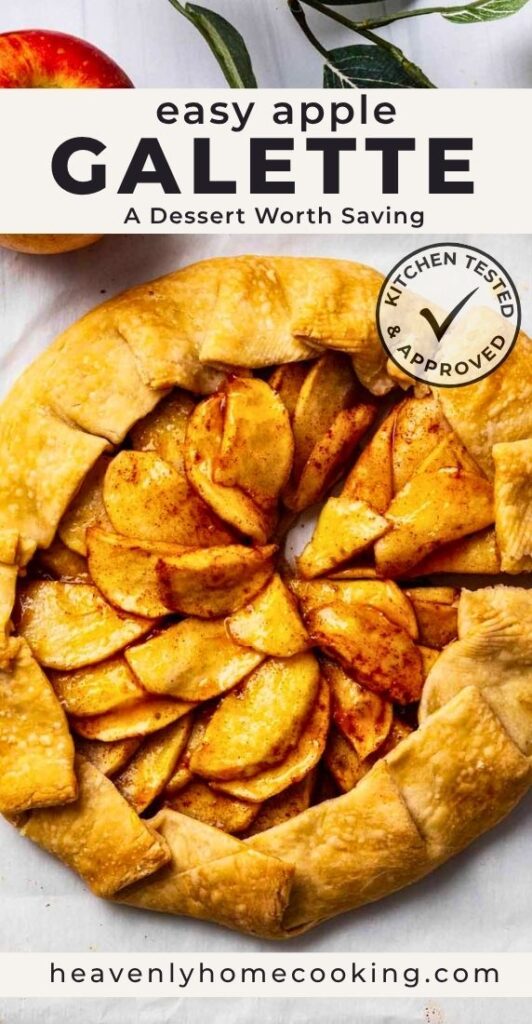
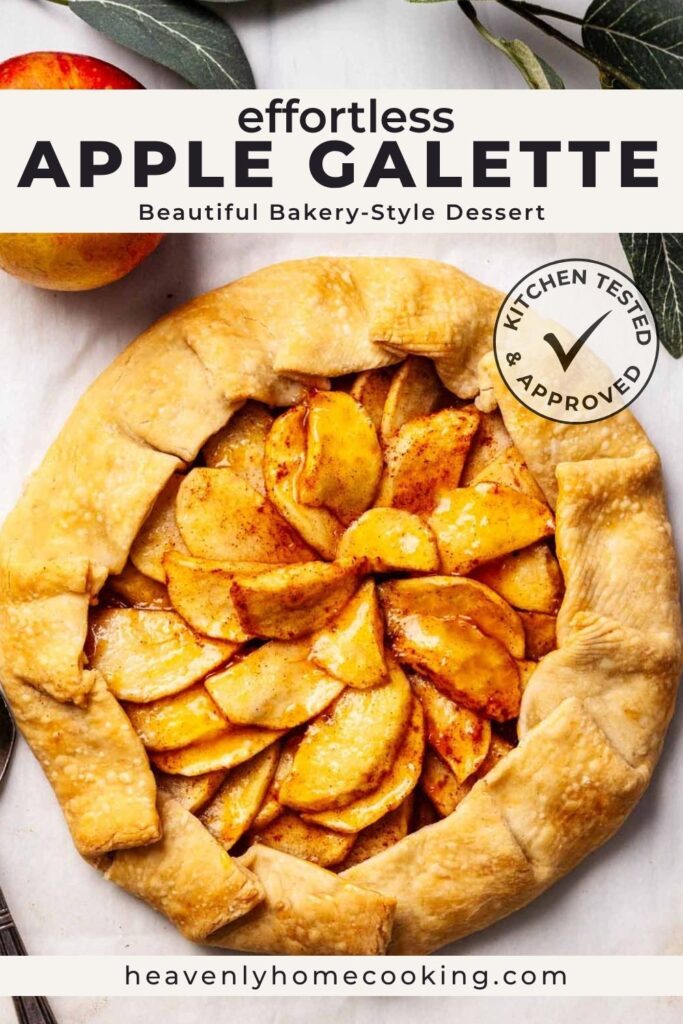
This apple galette is one of my favorite desserts to make when I’m craving apple pie but don’t want the extra work. Using refrigerated pie crust keeps things simple, making it a great option for weeknights or last-minute entertaining.
The combination of fresh apples, cinnamon, sugar, and flaky pastry is hard to beat. It’s the kind of dessert that feels special even though it comes together with just a handful of ingredients.
My husband has told me more than once that this is his favorite dessert, and I can see why. Served warm, it’s especially delicious with a scoop of vanilla ice cream.
If you enjoy simple fruit desserts, be sure to try our blueberry peach crisp too. It’s another easy dessert that’s perfect for sharing with family and friends.
What You’ll Love About This Recipe
Detailed Ingredient Notes
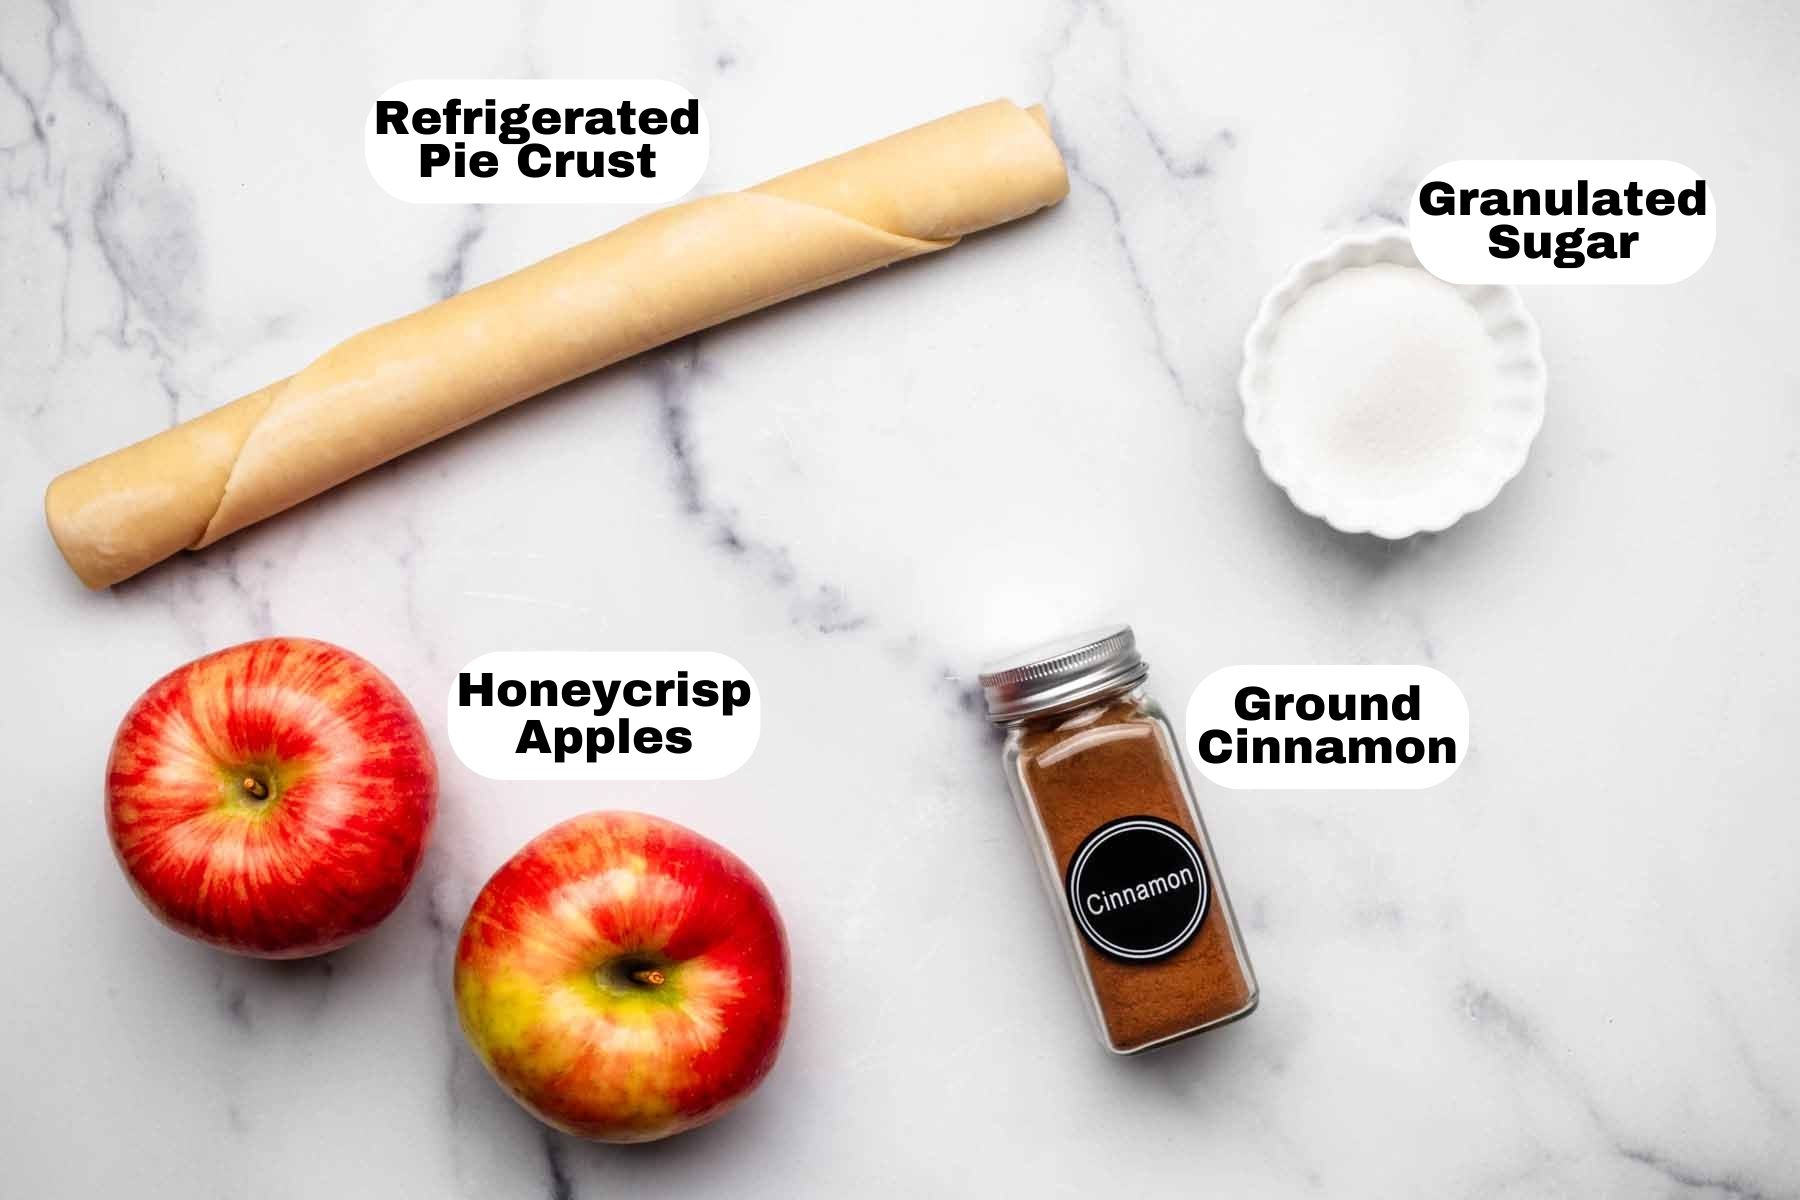
- Store-bought pie crust. Using a store-bought pie crust provides convenience and saves time. You can find pre-made pie crusts in the refrigerated or frozen section of most grocery stores. If you prefer to make your own pie crust, you can follow the recipe and directions in our leek and mushroom quiche recipe. While that is a savory recipe, the crust will still work for a sweet recipe like this one.
- Apples. Choose firm apples that are both sweet and slightly tart. Varieties like Granny Smith, or Honeycrisp work well. These apples hold their shape during baking and provide a nice balance of flavors. You can also mix different types of apples for a more complex flavor profile.
- Granulated sugar. Granulated sugar adds sweetness to the filling and helps to draw out the natural juices from the apples, creating a caramelized effect. I have tried this recipe with brown sugar, and while brown sugar is great for a traditional apple pie, I found that the granulated white sugar works better for this recipe.
- Ground cinnamon. Cinnamon adds warmth and depth to the filling, complementing the natural flavors of the apples. You can adjust the amount to suit your taste. Feel free to experiment with other spices like nutmeg or cloves for added complexity.
Step-By-Step Instructions With Photos
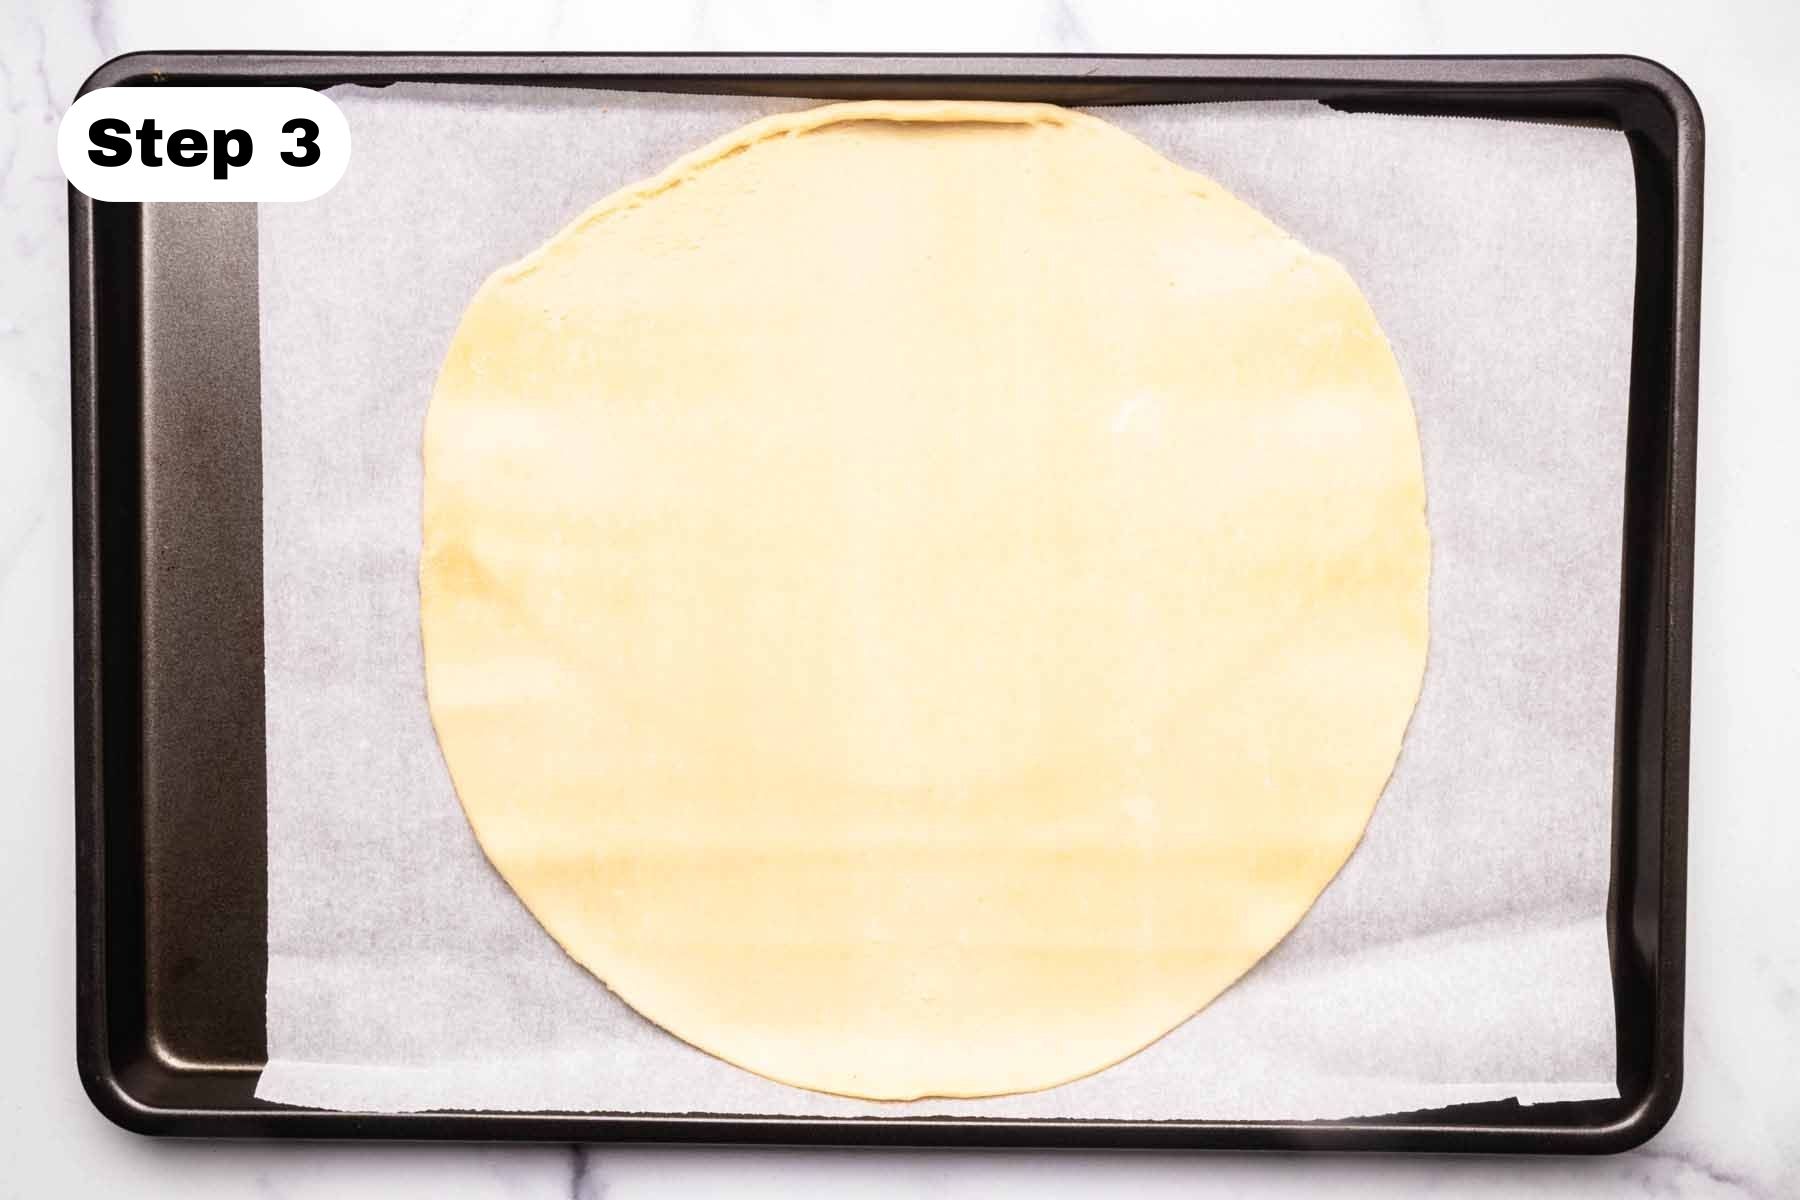
Step 1. Preheat your oven to 375 F (190 C) and line a baking sheet with parchment paper. Remove the store-bought pie crust from the refrigerator and allow it to come to room temperature.
Step 6. Bake in the preheated oven for 30-35 minutes or until the pastry is golden brown, and the apples are tender.
Storage
To store leftover galette, allow it to cool to room temperature, then cover it tightly with plastic wrap or place it in an airtight container. Refrigerate the galette to keep it fresh. Eat it within 2-3 days for the best quality.
Reheat slices in a preheated oven at 325°F (163°C) for about 10-15 minutes or until warmed through. Keep in mind that the crust may not be as crispy as when freshly baked, but the flavors will still be delicious. My husband likes to eat it cold straight from the refrigerator. 🙂
Tips for Success
- Choose the right apples. Choose firm, tart-sweet apples like Granny Smith, or Honeycrisp. These varieties hold their shape and provide a nice contrast to the sweetness of the galette.
- Slice the apples uniformly. Use a mandoline slicer or a sharp knife to slice the apples evenly. This ensures even cooking and a visually appealing galette.
- Keep an eye on baking. Oven temperatures may vary, so keep an eye on the galette as it bakes. It’s ready when the crust is golden and the apples are tender. You can cover the galette with foil if the crust browns too quickly.
- Let it cool slightly. Allow the galette to cool for a few minutes before serving. This helps set the filling and makes it easier to slice.

FAQs
Related Recipes
Try one of these next:
Apple Galette Recipe

Equipment
Ingredients
- 1 refrigerated pie crust pre-made for convenience
- 2 medium apples Peeled and thinly sliced.
- 2 tablespoons granulated sugar
- ½ teaspoon ground cinnamon
- ½ cup apricot preserves Optional.
Instructions
- Preheat your oven to 375 F (190 C) and line a baking sheet with parchment paper. Remove the pie crust from the refrigerator and allow it to come to room temperature.1 refrigerated pie crust
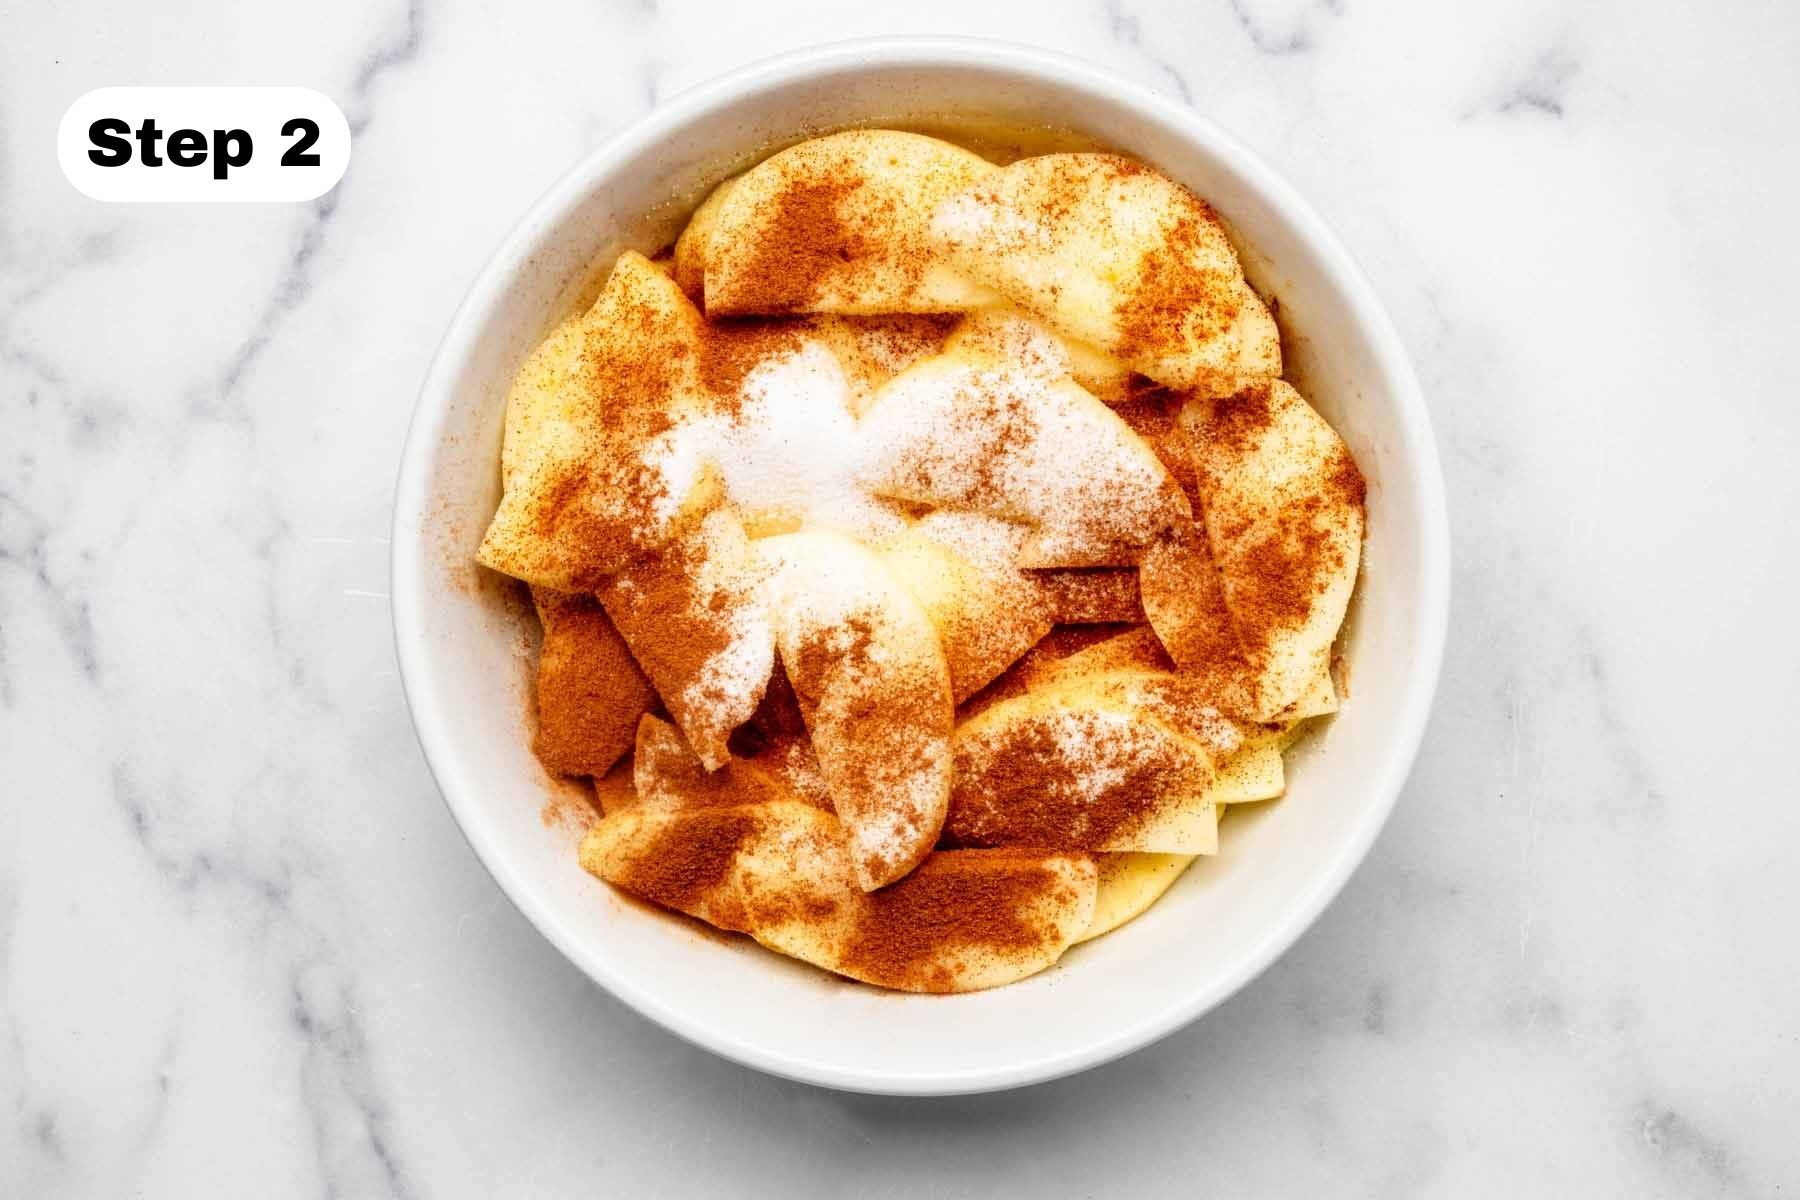
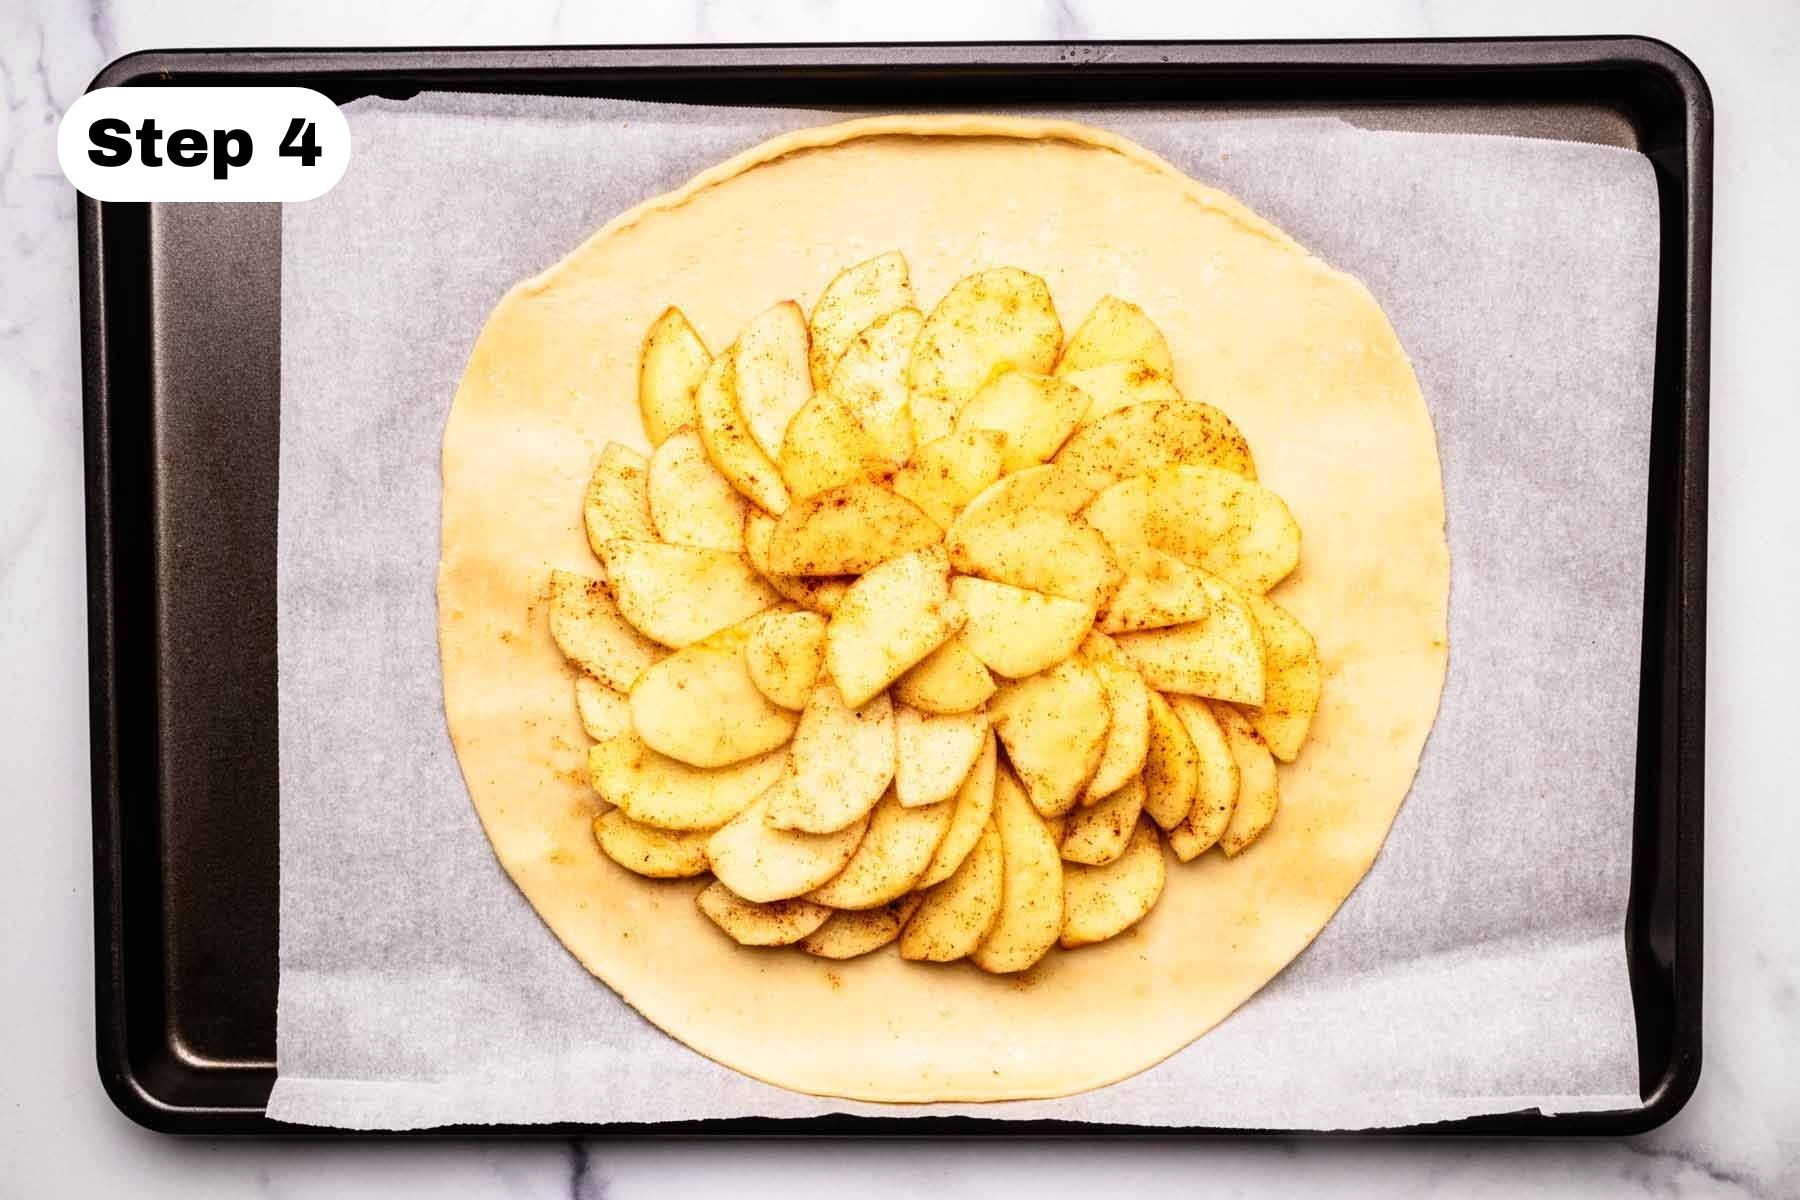
- Place the apple slices in a medium bowl and sprinkle the sugar and cinnamon over the top. Stir to combine.2 medium apples, 2 tablespoons granulated sugar, ½ teaspoon ground cinnamon
- Spread out the pie crust on the parchment paper, creating a rustic circle.
- Arrange the apples in the center of the pastry, leaving about a 1-2 inch (2.5-5 cm) border around the edges.
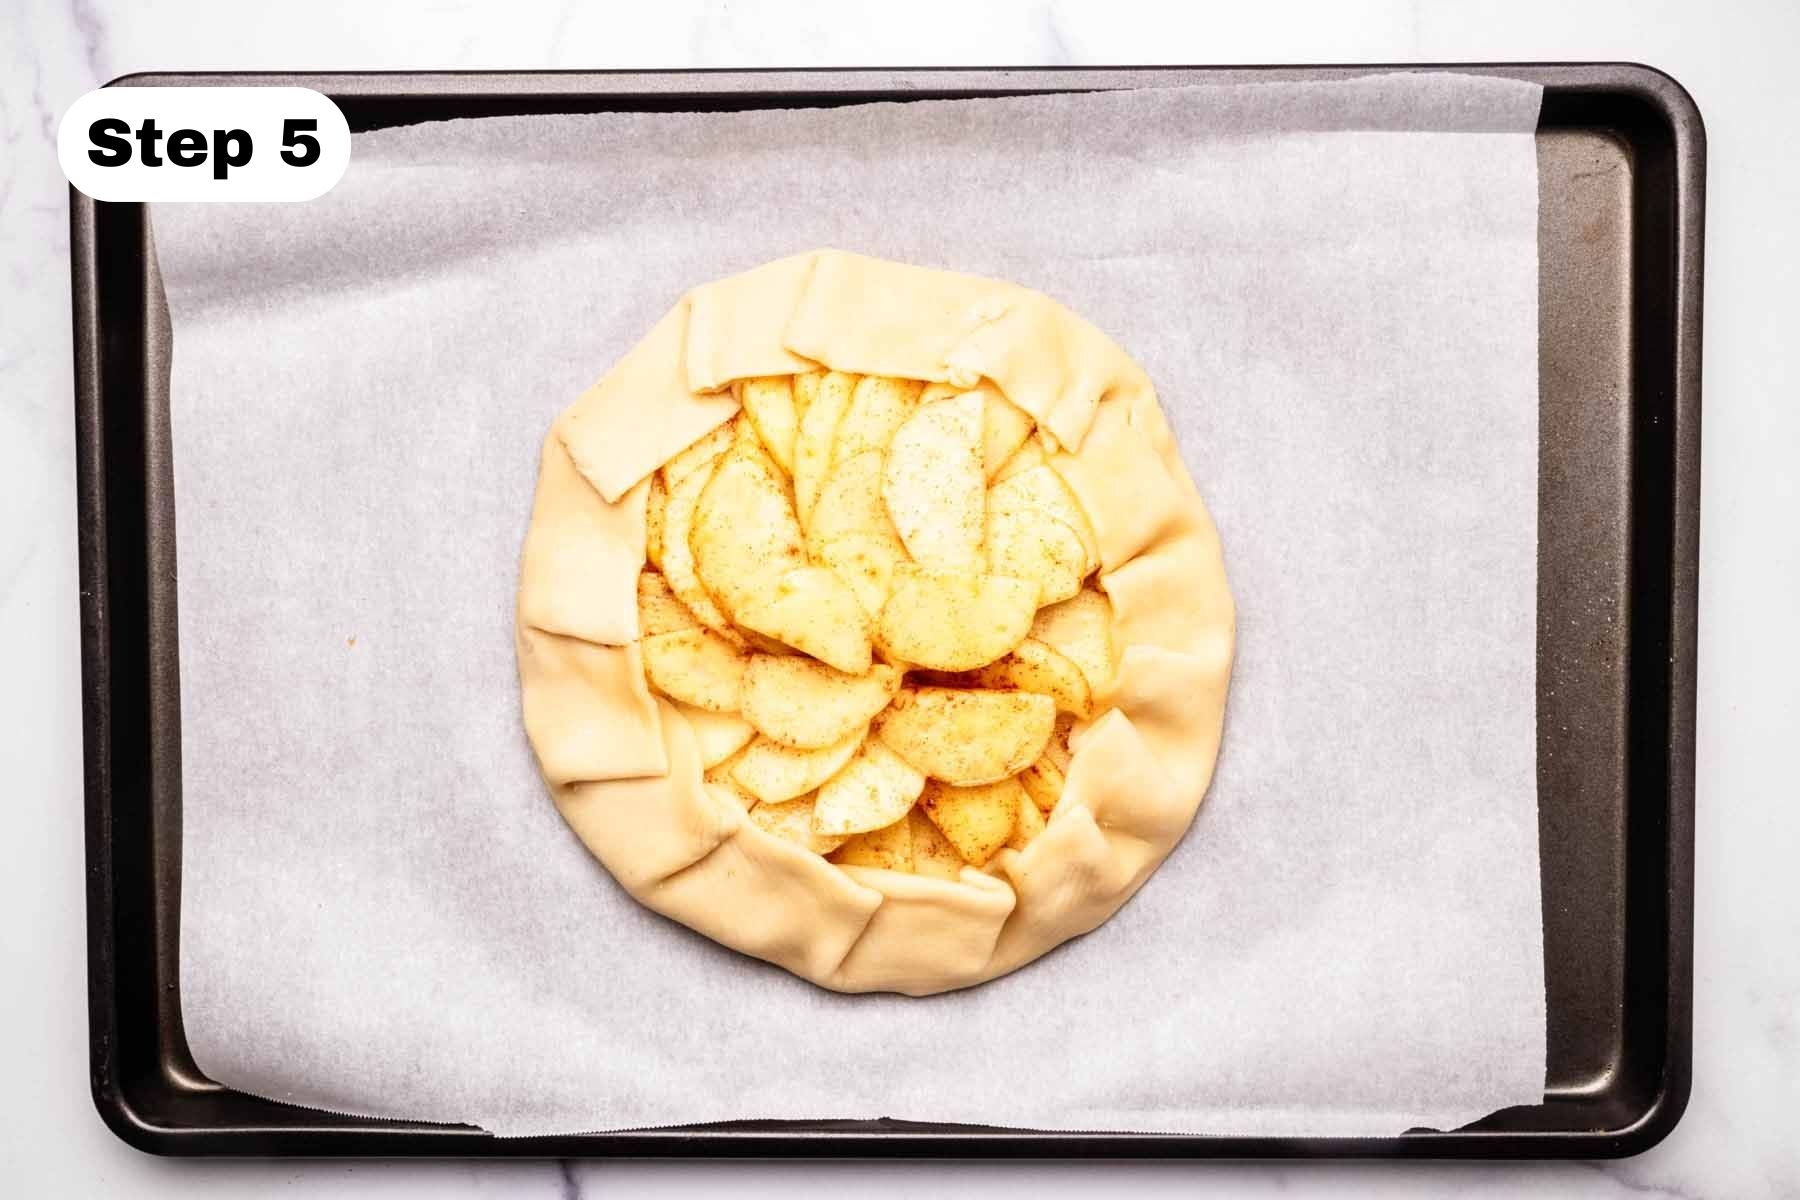
- Fold the edges of the pastry over the apples, creating a rough border.
- Bake in the preheated oven for 30-35 minutes or until the pastry is golden brown, and the apples are tender.
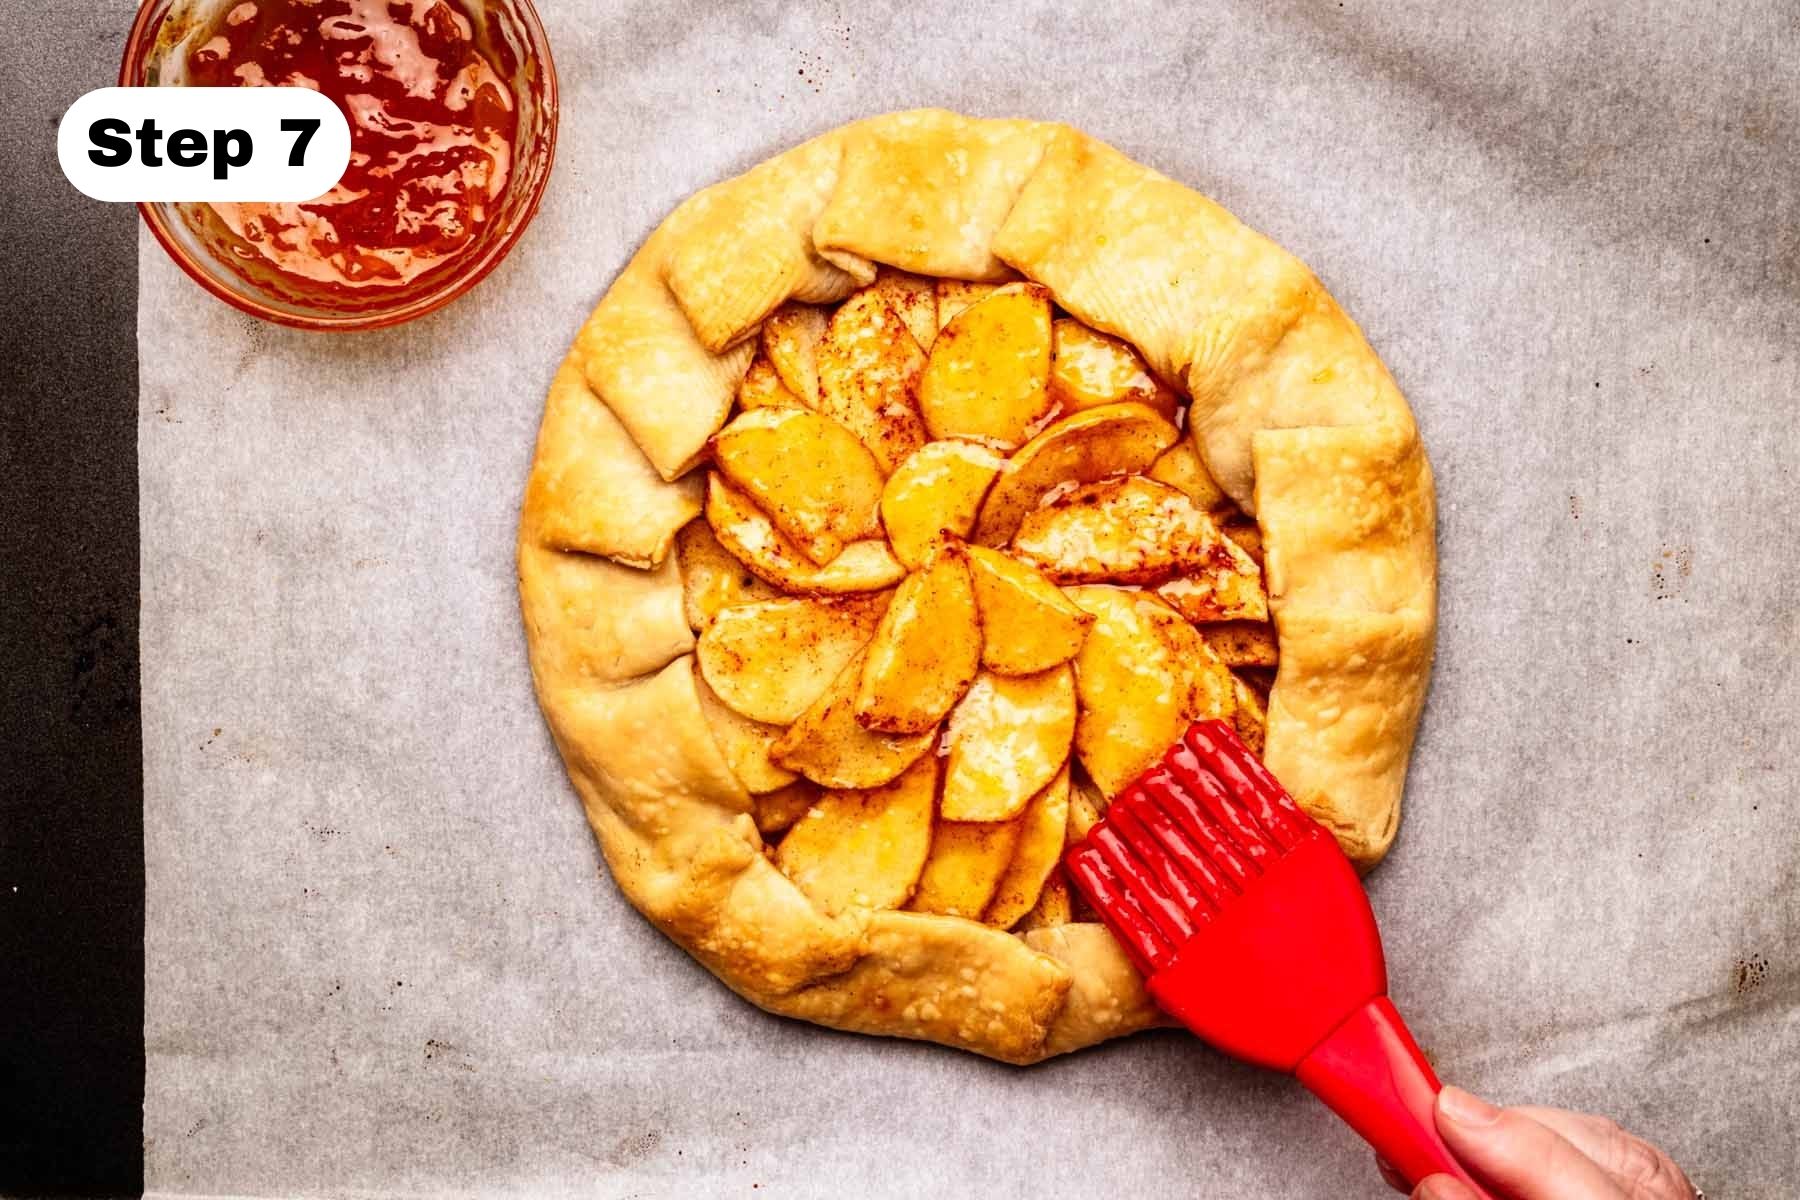
- Allow the galette to cool slightly, then brush the apple filling with warmed apricot preserves. This is an optional step, but it gives the galette a beautiful sheen and added flavor.½ cup apricot preserves
Notes
- Choose the right apples. Choose firm, tart-sweet apples like Granny Smith, or Honeycrisp. These varieties hold their shape and provide a nice contrast to the sweetness of the galette.
- Slice the apples uniformly. Use a mandoline slicer or a sharp knife to slice the apples evenly. This ensures even cooking and a visually appealing galette.
- Keep an eye on baking. Oven temperatures may vary, so keep an eye on the galette as it bakes. It’s ready when the crust is golden and the apples are tender. You can cover the galette with foil if the crust browns too quickly.
- Let it cool slightly before serving. Allow the galette to cool for a few minutes before serving. This helps set the filling and makes it easier to slice.
Really enjoyed how easy and delicious this recipe was. I struggle with baking but Sandra and her recipes have given me confidence! Thanks!
I’m so glad you enjoyed the galette, Caroline! Thanks for the kind words and positive feedback!
This recipe is quite good. Fun & easy to create. This recipe has lots of flavor with a very unique look.
Oh boy this apple gallette is awesome. Totally agree… this is super easy to make, & reminds me of superb French recipes!
Thanks so much! I’m glad you enjoyed this recipe.
Hands down one of the best tasting apple recipes, Really is easy to make, and it tastes amazing!!! Never thought a simple recipe like this could be that good but it is 😊
Thanks for trying the recipe. I’m glad you loved it!
This recipe is amazing! Easy to make. It has great apple flavor, & old world charm. I make this all the time now thanks to your recipe.
Thanks so much! You’ve gotta love its simplicity and flavor!