Would you like to save this recipe?
I have been making a lot of hand pies lately. Not that I’m complaining. Pie is a comfort food, after all. Cakes are nice, but there is just something about pie that speaks comfort and makes you feel that it’s all going to be okay. If you’re having a bad day, eat some pie. Feeling a little down? Eat some pie. While it may not solve your problem, it will make you feel that it’s not so bad after all.
What is a hand pie?
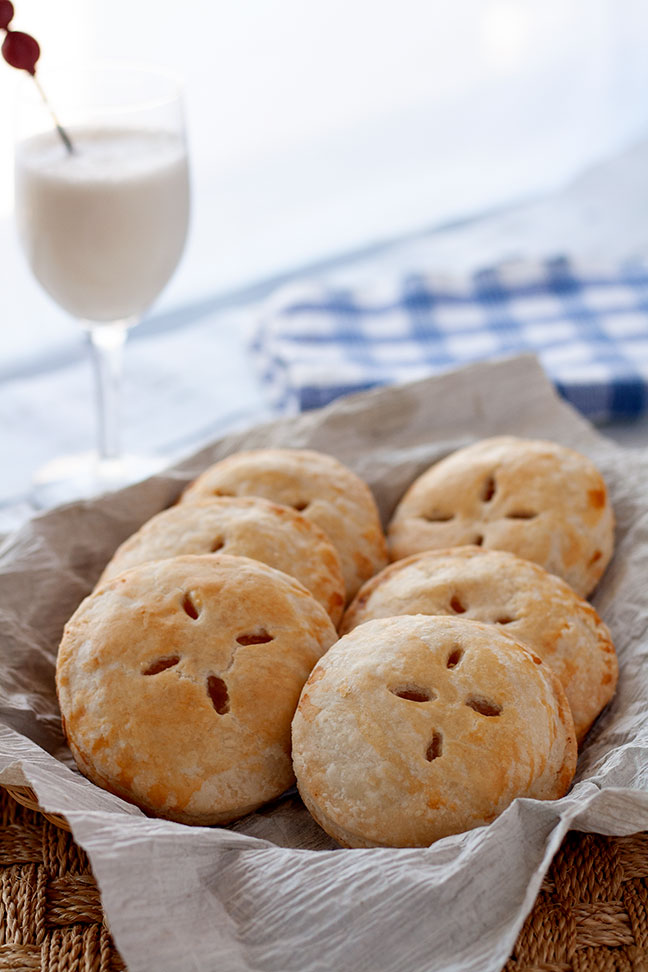
Quite simply, it is a pie that you can carry around and eat – no plate and fork required. They’re great to grab and go. Hand pies are also the perfect picnic dessert. They’re easy to pack, and because they are fully encased in their own little pastry container, they’re no mess, no fuss. A unique little picnic dessert.
I have been wanting to make a Piña Colada inspired hand pie for a while now. It’s a bit of a departure from the usual apple, berry, peach or cherry pies that are so popular. Just something a little different. Then on Saturday, I decided to just jump in and do it. I’m glad I did because these babies turned out great. I’m happy to share them with you today.

How are these hand pies cooked?
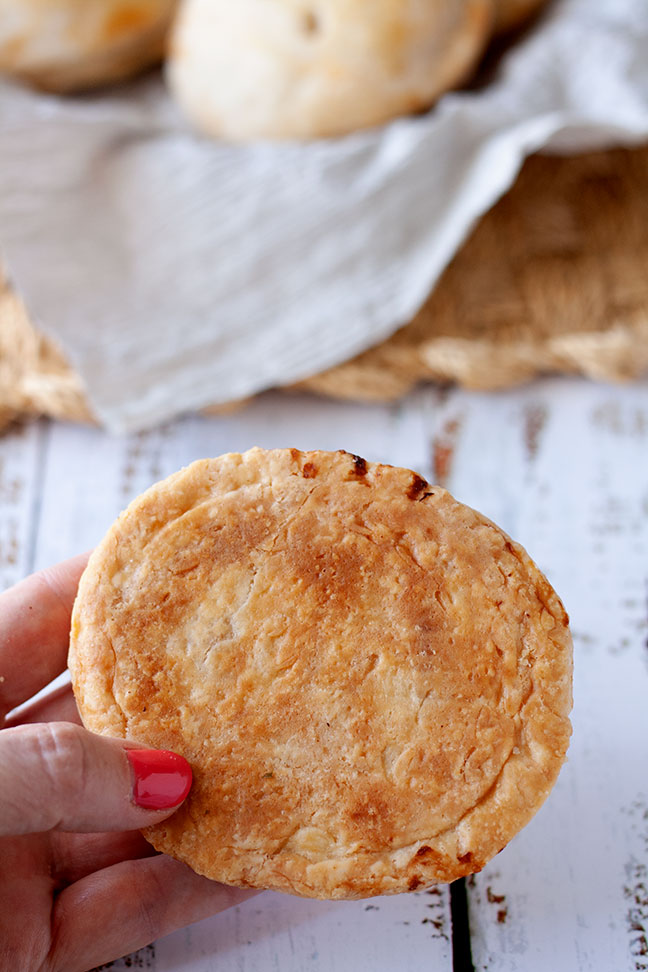
While a lot of hand pies are deep-fried, these guys are baked. (You can always deep fry them instead if you choose. If so, then your oil temp should be about 350° and you will fry for about three minutes per side.) Depending on your oven, you will bake these for about 25 to 35 minutes, turning baking sheet around once during baking to promote an even bake. Watch for a golden color to develop. The photo above shows what to look for on the bottom of the pie. That color tells you that the pastry is fully baked and not soggy on the bottom.

Can you freeze hand pies?
Absolutely. You can freeze them for up to four months. To reheat, simply place them in the microwave for a couple of minutes on high. The time may vary depending on the strength of your microwave. I do not recommend reheating them in a conventional oven. This option is great because you’ll have a tasty treat ready to go after a long day.
Piña Colada Hand Pies

Ingredients
Crust
- 2 cups all purpose flour
- 1 tsp salt
- 3/4 cup coconut oil (solid, not liquid) virgin, unrefined so that it retains the coconut flavor, room temperature
- 4-8 tbsp ice cold water
Filling
- 4-1/2 cups pineapple fresh or frozen
- 1/2 cup sugar
- 1 tbsp lime juice
- 2 tbsp corn starch
- 1/2 tsp coconut extract
- 1/2 tsp rum extract
Instructions
Crust
- Sift flour and salt together in medium bowl.
- Add coconut oil and blend with a pastry cutter or fork until coarse crumbs form. Stir in just enough water until dough holds together. Do not overwork.
- Shape dough into a disk, wrap in plastic wrap and chill for 20-30 minutes. Do not overchill as the coconut oil will harden making the dough difficult to roll out.
Filling
- While the dough is chilling, add pineapple, lime juice and sugar to a medium saucepan and bring to a boil over medium heat.
- Turn heat down to low-medium and simmer until warm and juicy, about 5-10 minutes, stirring occasionally.
- Spoon out about 1/2 cup of the juice from the pan into a bowl. Stir cornstarch into the juice until smooth.
- Bring pot of pineapple back to a simmer and slowly pour in the cornstarch mixture. Stir mixture until thickened, about 2-5 minutes.
- Remove from heat, stir in coconut and rum extract and set aside.
Assemble the pies
- Preheat oven to 350°. Lay chilled pie dough on a floured surface and roll out to 1/4 inch thickness. Cut 4-inch diameter circles. Fill the center of one circle with filling and moisten edges with water. Cover with a second circle of dough, and pinch to seal.
- Transfer pie to a parchment-lined cookie sheet and brush with milk or egg to create a shiny and golden finish. Cut slits in the top to allow steam to escape while baking. Repeat with remaining dough and filling.
- Bake at 350° for 25-35 minutes, turning baking sheet around once during baking. Pie bottoms should be a golden brown.
- Remove to a wire cooling rack and allow to cool for about 30 minutes. Enjoy!
Nutrition

Could you use canned pineapple?
Hi Irma,
I haven’t tested the recipe with canned pineapple, but I don’t see why not. I would drain it first and reserve the juice, in case you need some of it to make the filling. Good luck!