


Would you like to save this recipe?
There’s something undeniably elegant about madeleines, those delicate, shell-shaped French sponge cakes with their golden edges and soft, buttery centers. I still remember the summer I spent in France and how I couldn’t get enough of them. At the time, they weren’t nearly as easy to find in the States, so each one felt special. Simple, beautiful, and perfectly French.
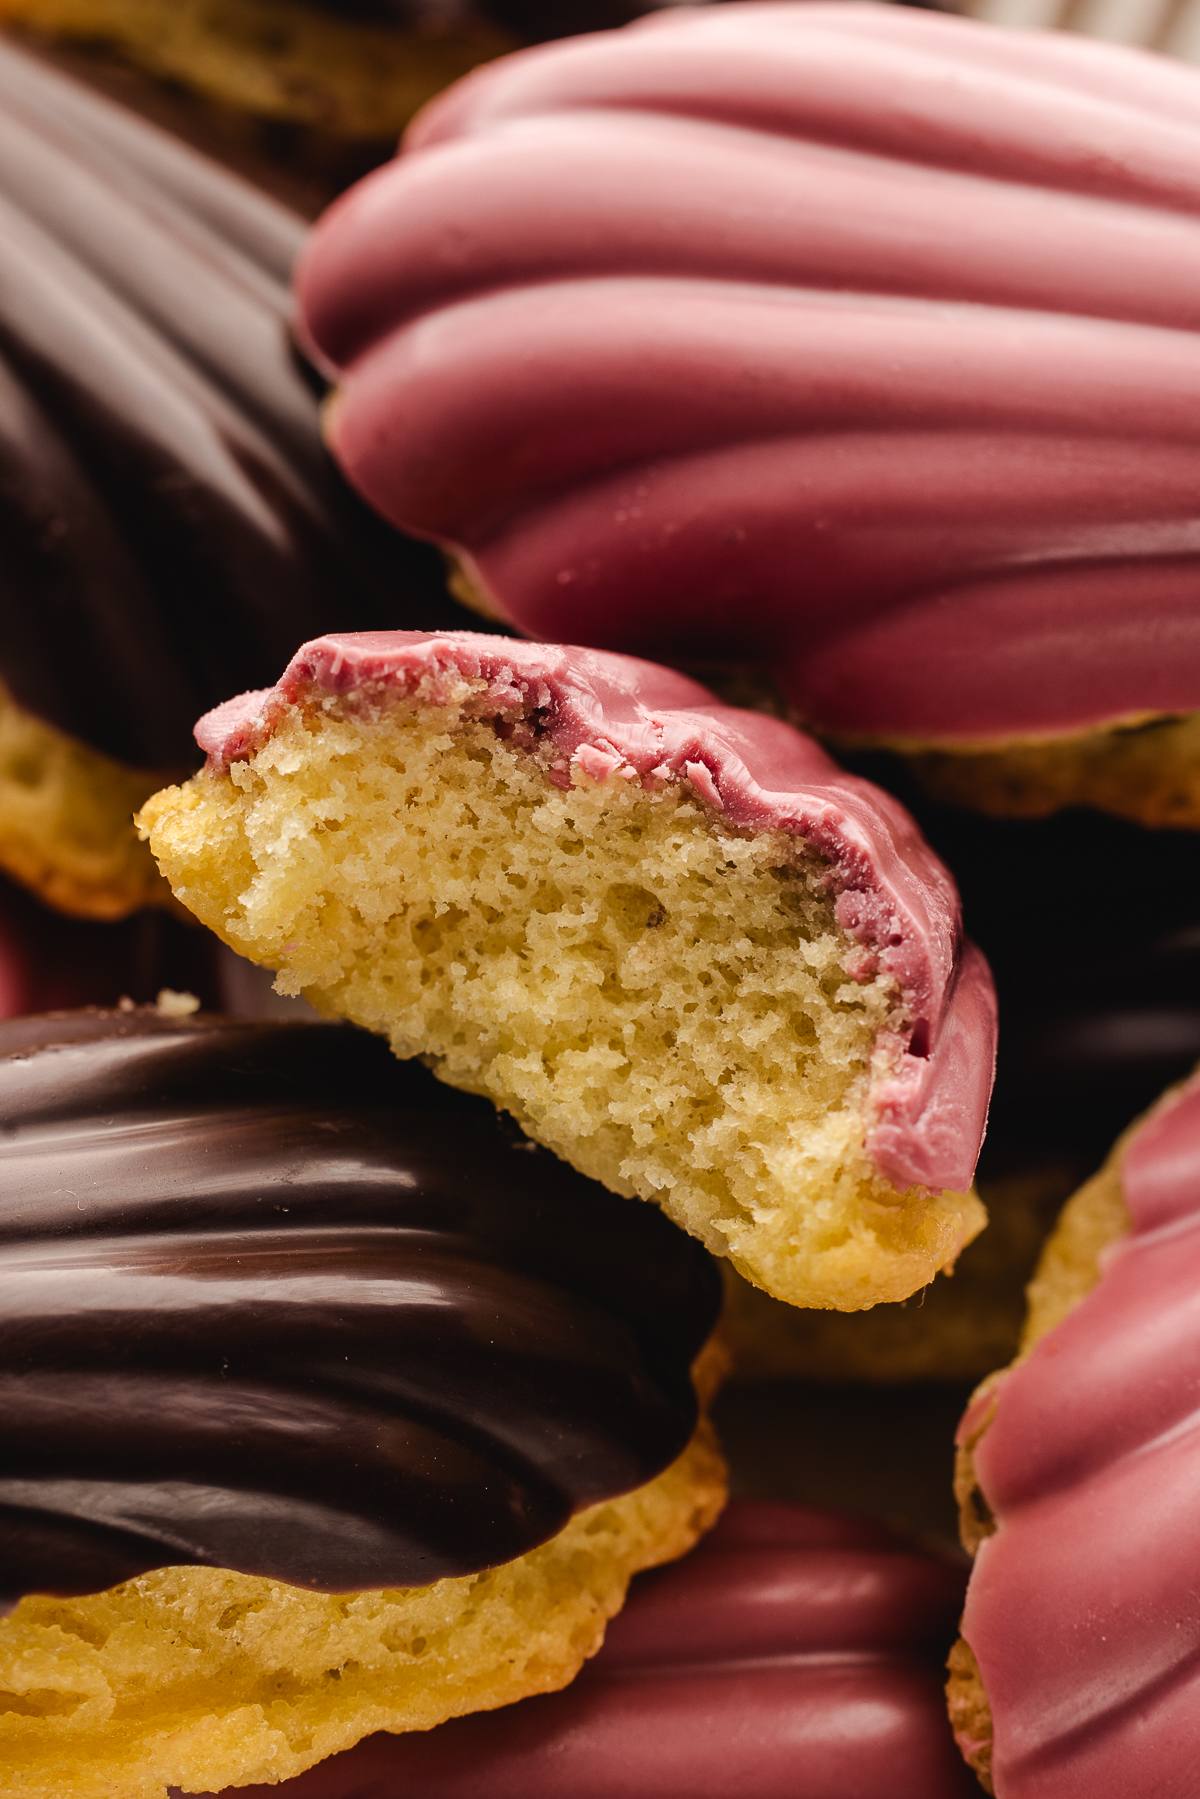
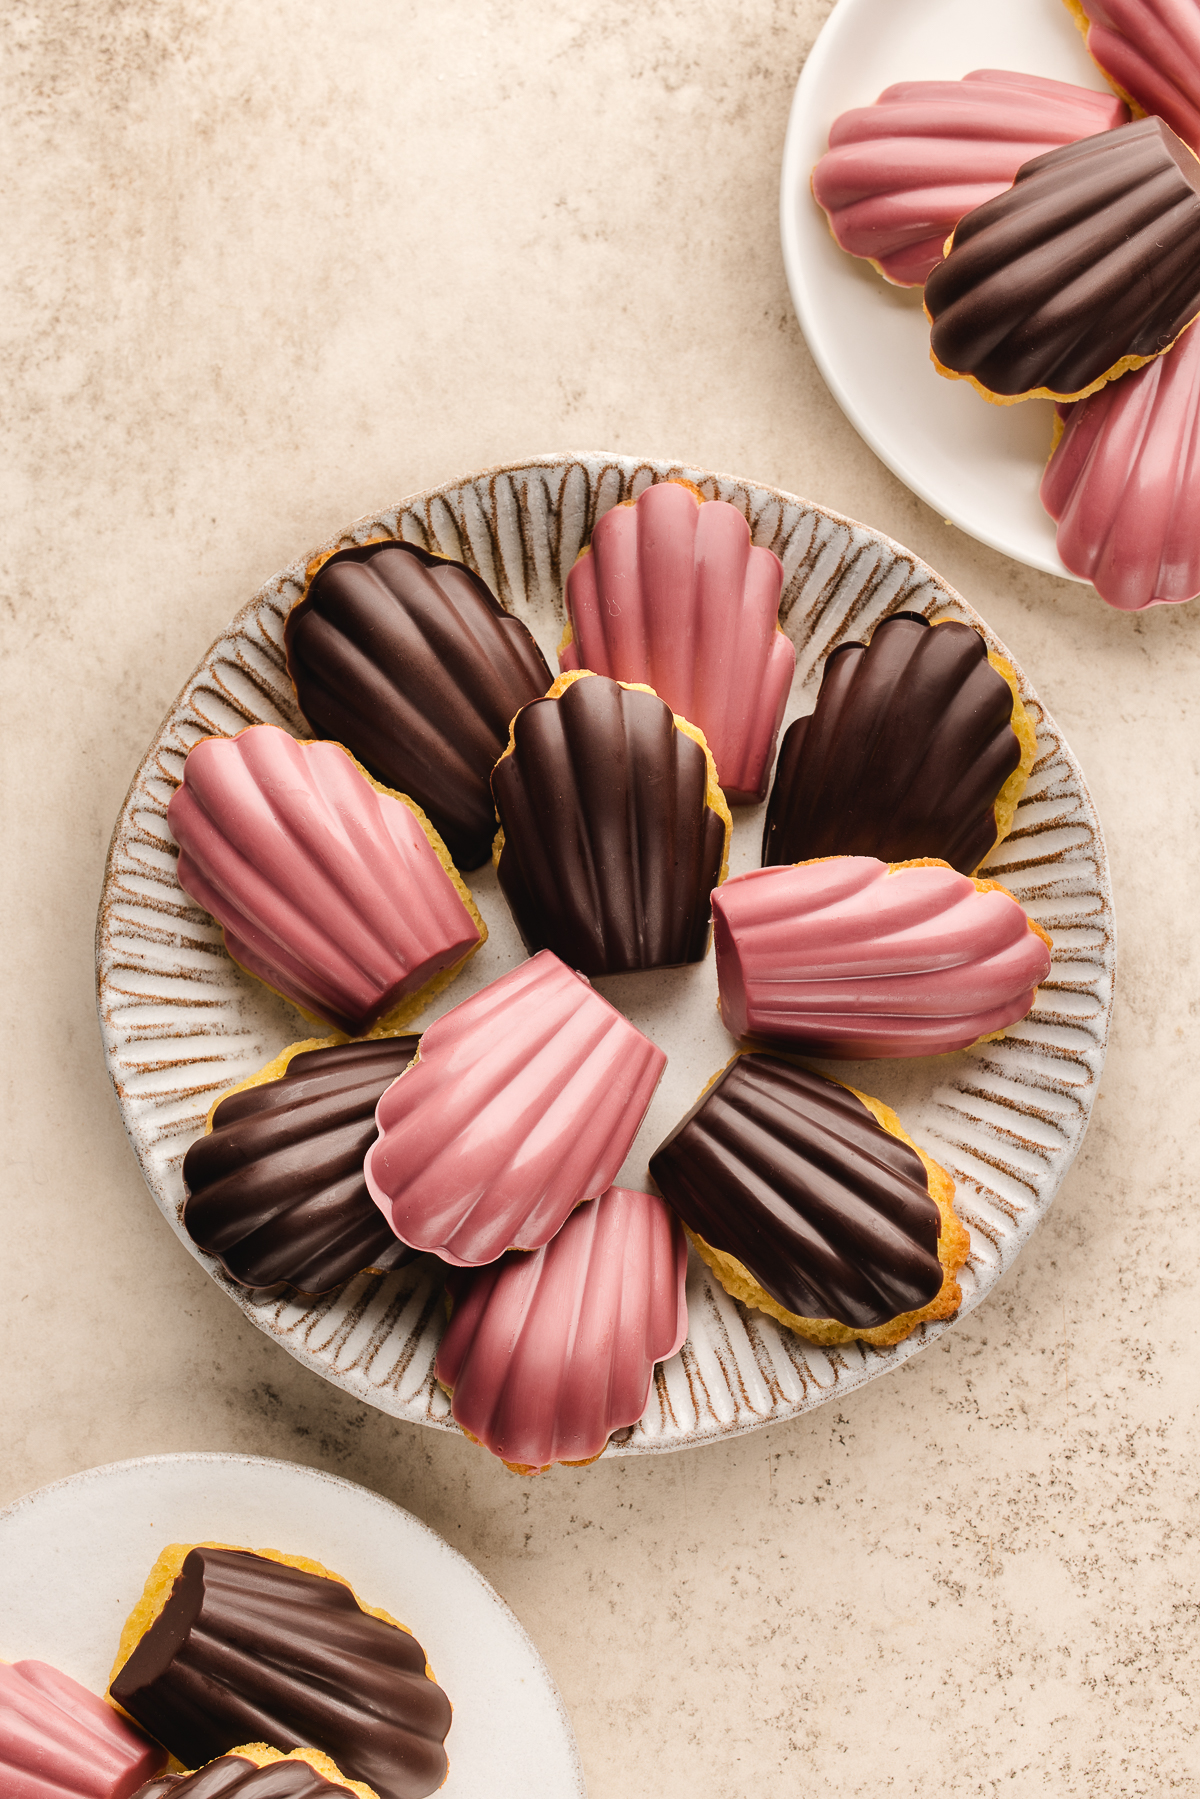
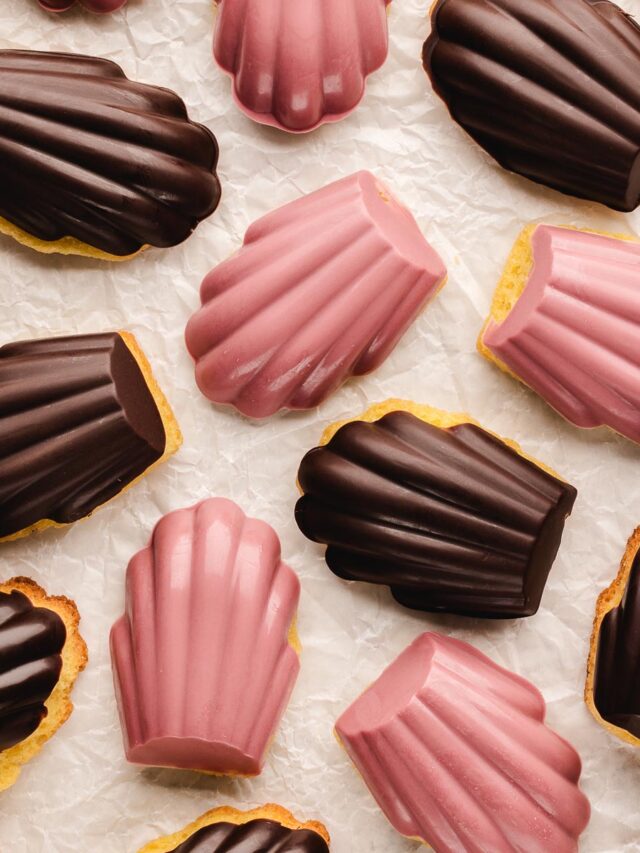
These Chocolate Dipped Madeleines take that same classic charm up a notch with a glossy layer of melted chocolate that adds both flavor and flair. The version we are sharing today uses deep, rich bittersweet chocolate and pretty pink ruby chocolate, the result is a treat that looks as good as it tastes. If you love elegant, chocolate-forward desserts, you might also enjoy my chocolate peppermint cake or German chocolate brownies.
This recipe was developed for Heavenly Home Cooking by a talented pastry creator whose technique ensures bakery-quality results at home. Each madeleine bakes up perfectly light and tender, with that signature little hump that makes them unmistakably French. Once cooled, they’re finished with a smooth chocolate shell that makes every bite satisfying. It’s the kind of treat that pairs beautifully with a chai tea latte, an afternoon espresso, or a tall glass of homemade walnut milk.
What Makes These Madeleines So Special
Ingredients at a Glance
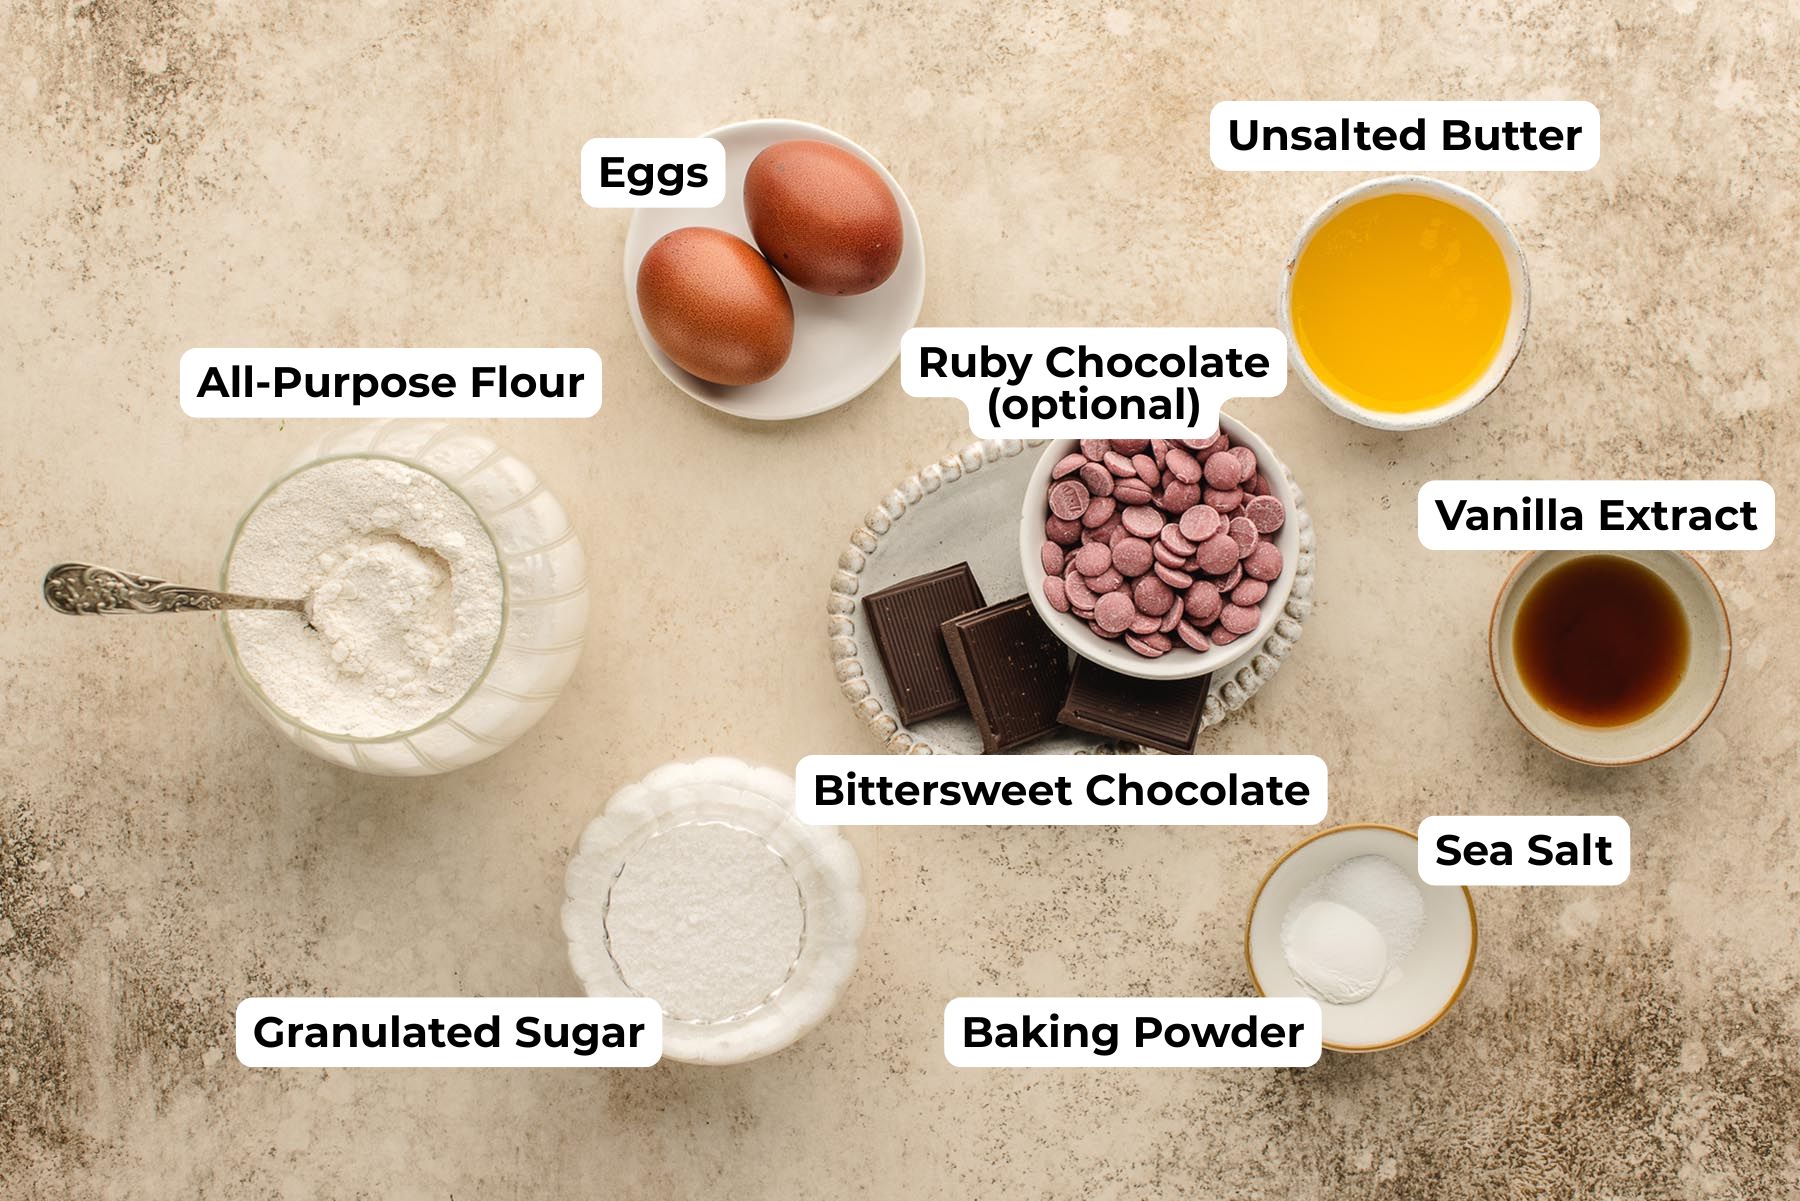
- Unsalted Butter. Adds richness and that signature crisp edge. Use unsalted butter for better control of flavor. If you only have salted butter, skip the added salt. Be sure the butter is melted and cooled before mixing so it doesn’t deflate the batter.
- Granulated Sugar. Creates a light, tender crumb and helps the madeleines brown beautifully. Superfine sugar can be used for a slightly lighter texture, but it isn’t essential.
- Eggs. Eggs provide structure and lift when whipped with sugar. Use large eggs at room temperature for the best results.
- Vanilla Extract. Adds warmth and depth. You can swap in almond extract (use half the amount) for a more distinct flavor or add a touch of citrus zest for variety.
- All-Purpose Flour. All-purpose flour works best and gives the madeleines their delicate structure. A 1:1 gluten-free baking blend works as a substitute but may yield a slightly denser cake.
- Baking Powder. Ensures a gentle rise. Make sure it’s fresh. Older baking powder won’t work as well.
- Fine Sea Salt. Sea salt balances the sweetness and brings out the buttery flavor. If using table salt, reduce the amount slightly.
- Bittersweet Chocolate. Offers a rich, deep flavor that contrasts beautifully with the buttery cake. You can use semisweet or milk chocolate for a milder taste.
- Ruby Chocolate (optional). Ruby chocolate has a uniquely fruity flavor with a gentle tartness, almost like a hint of raspberry. Its texture is similar to white chocolate, while the sweetness falls somewhere between white and milk chocolate. The beautiful pink hue comes naturally from ruby cocoa beans, giving it both charm and character. White chocolate can be used instead, though it’s sweeter and less tart. For a more budget-friendly option, Wilton Candy Melts or another brand of compound coating chocolate work beautifully for the shell. They’re easy to melt and set smoothly, though the flavor is milder and sweeter than real chocolate.
How to Make Them (Photo Tutorial)
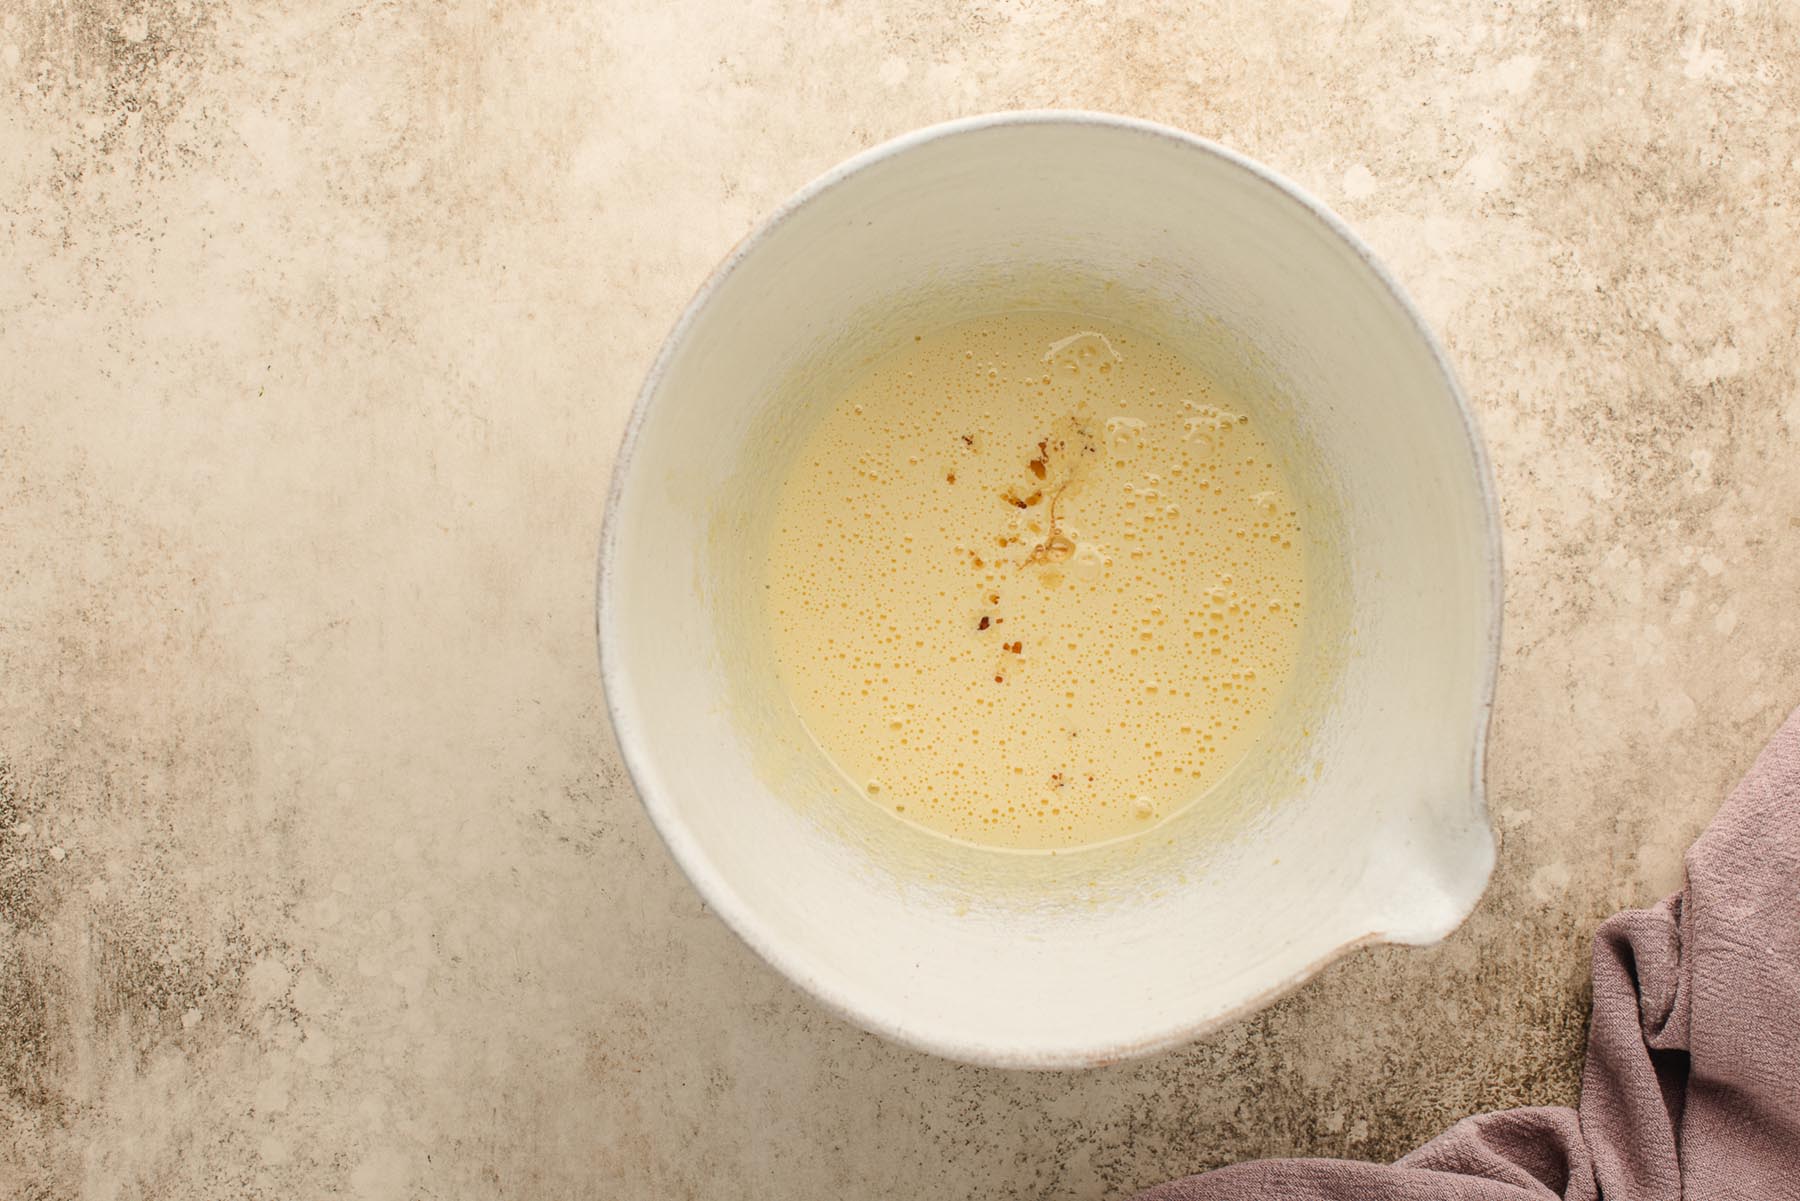
Step 1: Cool the melted butter slightly.
Step 7: Cool madeleines in the pan for a few minutes, then transfer to a wire rack to cool completely.
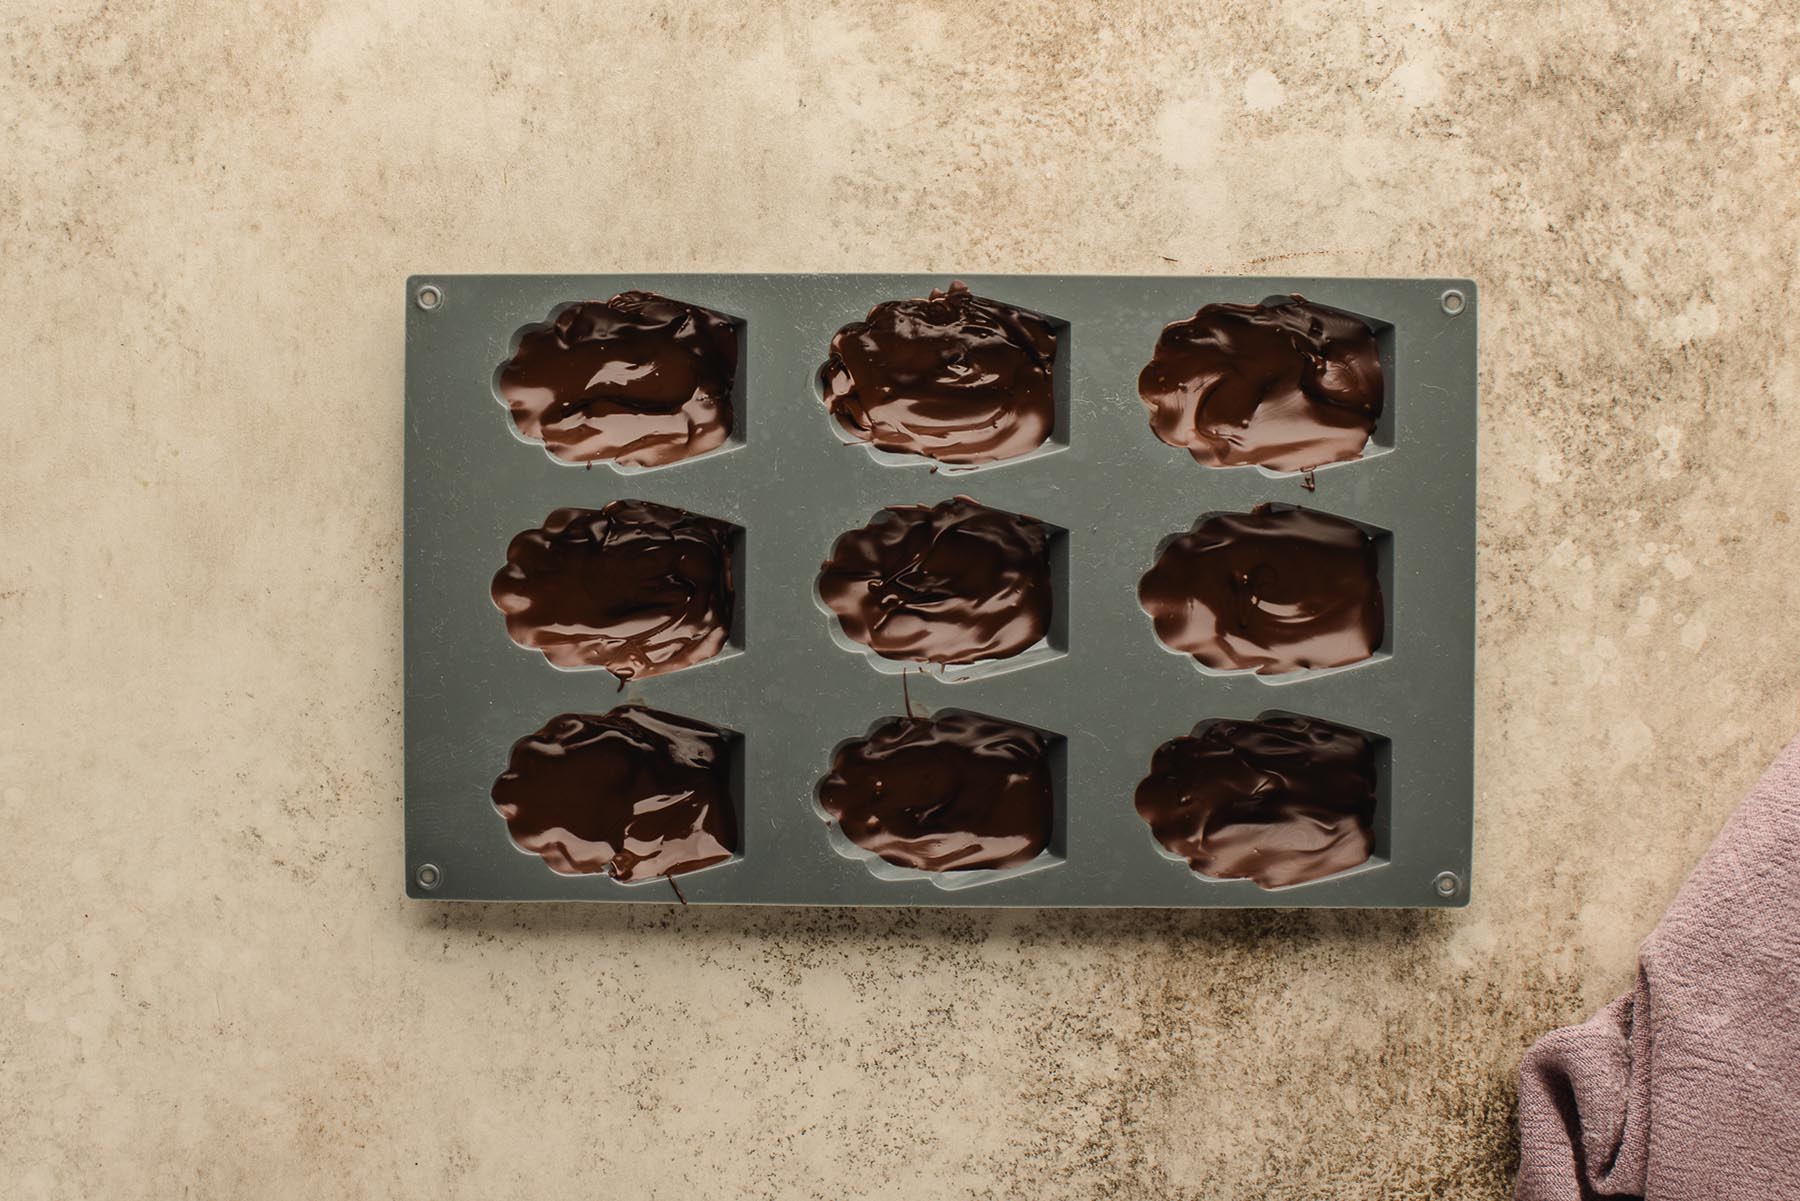
Step 8: Wash and dry the pan, then melt bittersweet and ruby chocolate separately in short microwave intervals, stirring until smooth.
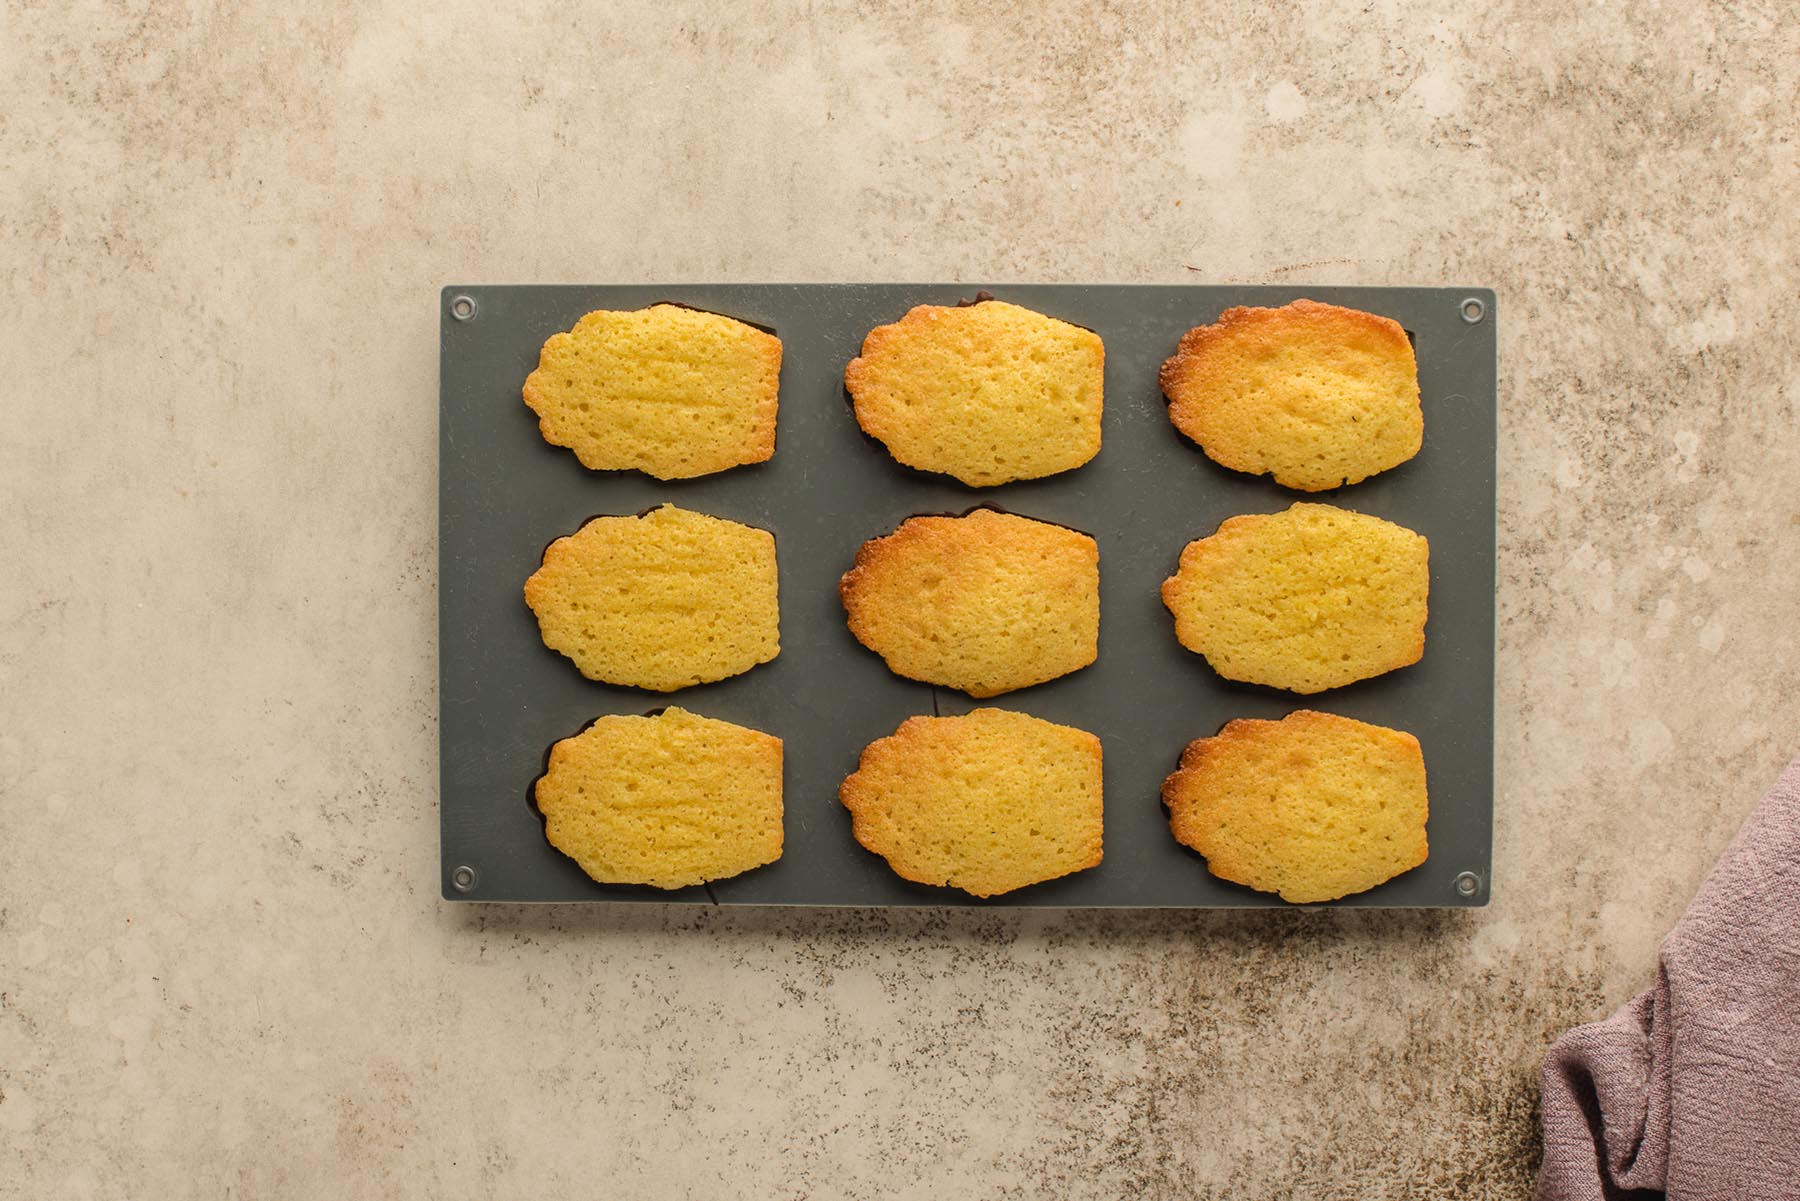
Step 10: Freeze for 15 minutes to set the chocolate, then remove the madeleines from the pan. Repeat if needed and serve or store as directed.
Tips for Success
- Cool the butter before adding it. Warm butter can deflate the whipped eggs and sugar, resulting in flat madeleines. Let it cool until just slightly warm to the touch before folding it into the batter.
- Don’t overmix. Once you add the dry ingredients and butter, fold gently just until the batter looks smooth. Overmixing can lead to a dense texture instead of that signature light crumb.
- Chill the batter and the pan. The chilled batter helps to achieve the classic madeleine “hump.” Cold batter hitting a hot oven creates that beautiful rise. You can chill the batter for at least one hour or overnight.
- Choose the right pan for your goal. Metal pans conduct heat better and produce that iconic hump and crisp edge. Silicone pans (the ones used for this recipe) are ideal if you plan to coat the madeleines with chocolate, because the flexible mold makes it easy to pop the chocolate-dipped madeleines out cleanly.
- Grease the pan lightly. Use a pastry brush and melted butter to coat each well. A light coating helps with even browning and easy release after baking.
- Don’t let them cool too long in the pan. Once they’re firm enough to handle, transfer the madeleines to a wire rack. Leaving them in the pan can cause sticking as they cool.
- Use quality chocolate. Choose high-quality chocolate (like Callebaut ruby or a good bittersweet bar) for the smoothest coating and best shine.
- Melt chocolate in short bursts. Microwave in 20–30 second intervals, stirring after each round. Stop heating when small pieces remain, then stir until completely melted. This gentle method prevents the chocolate from seizing.
- Press madeleines gently into the chocolate. A light touch ensures even coverage without cracking the shell or overfilling the pan wells.
- Set in the freezer briefly. Fifteen minutes is all it takes for the chocolate to firm up, making it easy to release each madeleine with a glossy finish.
- Serve fresh. Madeleines taste best the day they’re made, but they’ll still be lovely for a couple of days if stored in an airtight container.
Variations to Try
While these flavor ideas haven’t been tested in my kitchen, they’re safe to try and won’t affect the structure or texture of the madeleines. Each one adds a subtle twist to the classic vanilla base.
- Citrus Zest. Add 1 teaspoon finely grated lemon or orange zest at Step 2 along with the vanilla extract.
- Almond Extract. Use ½ teaspoon almond extract and ½ teaspoon vanilla during Step 2.
- Vanilla Bean. Scrape the seeds from ½ vanilla bean and add them during Step 2, along with (or in place of) the vanilla extract. This version has a deeper, more aromatic flavor and adds tiny vanilla flecks throughout.
- Coffee (Espresso). Stir 1 teaspoon instant espresso powder into the melted, cooled butter during Step 4 before adding it to the batter. It deepens the flavor without changing the texture.
- Cardamom. Add ¼ teaspoon freshly ground cardamom for a gentle, spiced undertone.
- Orange Blossom Water. Add ¼ teaspoon freshly ground cardamom during Step 3, when sifting the dry ingredients.
- Brown Butter: Cook the butter until golden and fragrant, then cool completely before adding. It adds a rich, nutty depth to the classic flavor.
Ways to Serve It
- With Coffee or Espresso. These buttery little cakes are a natural match for a rich cup of coffee or a creamy latte. Try them with my Almond Roca Mocha for a cozy pairing.
- Alongside Tea. Madeleines are wonderful with our Chai Tea Latte or any light herbal tea for an elegant afternoon treat.
- As Part of a Dessert Tray. Pair them with other small sweets like Chocolate-Dipped Maple Shortbread Cookies, Hawaiian Shortbread Cookies, or Raspberry White Chocolate Cookies.
- For Brunch Gatherings. Their petite size makes them perfect for brunch alongside Ham and Cheese Frittata or Raspberry White Chocolate Muffins.
- As Edible Gifts. Wrap a few madeleines in a cellophane bag or gift box with ribbon. They’re lovely for holidays, showers, or as a hostess gift. Include them in a gift basket a jar of Homemade Peanut Butter Cups.
Storage Instructions
- At Room Temperature. Store the madeleines in an airtight container for up to 2 days. Keep them in a cool, dry place away from sunlight to preserve their delicate texture and the shine of the chocolate coating.
- In the Refrigerator. Store in a covered container for up to 5 days. The texture may dry slightly, and the chocolate can show a light condensation, but the flavor remains delicious.
- Freezing. Not recommended. Freezing tends to alter the texture and can cause the chocolate to lose its glossy finish.
You May Also Like


There’s a quiet joy in baking something simple and beautiful. These chocolate dipped madeleines always feel like a little celebration. If you try a flavor variation or serve them for a special occasion, I’d love to hear about it in the comments.
Chocolate Dipped Madeleines Recipe
Equipment
Ingredients
For the Madeleines
- ½ cup unsalted butter melted, plus 1 tablespoon extra for greasing
- 1 ¼ cups granulated sugar
- 2 large eggs at room temperature
- 1 teaspoon vanilla extract
- 1 cup all-purpose flour
- 1 teaspoon baking powder
- ¼ teaspoon fine sea salt
For the Chocolate Coating
- 4 ounces bittersweet chocolate finely chopped
- 4 ounces ruby chocolate callets recommended: Callebaut
Instructions
- Melt the butter, then set it aside to cool slightly (Note 1).
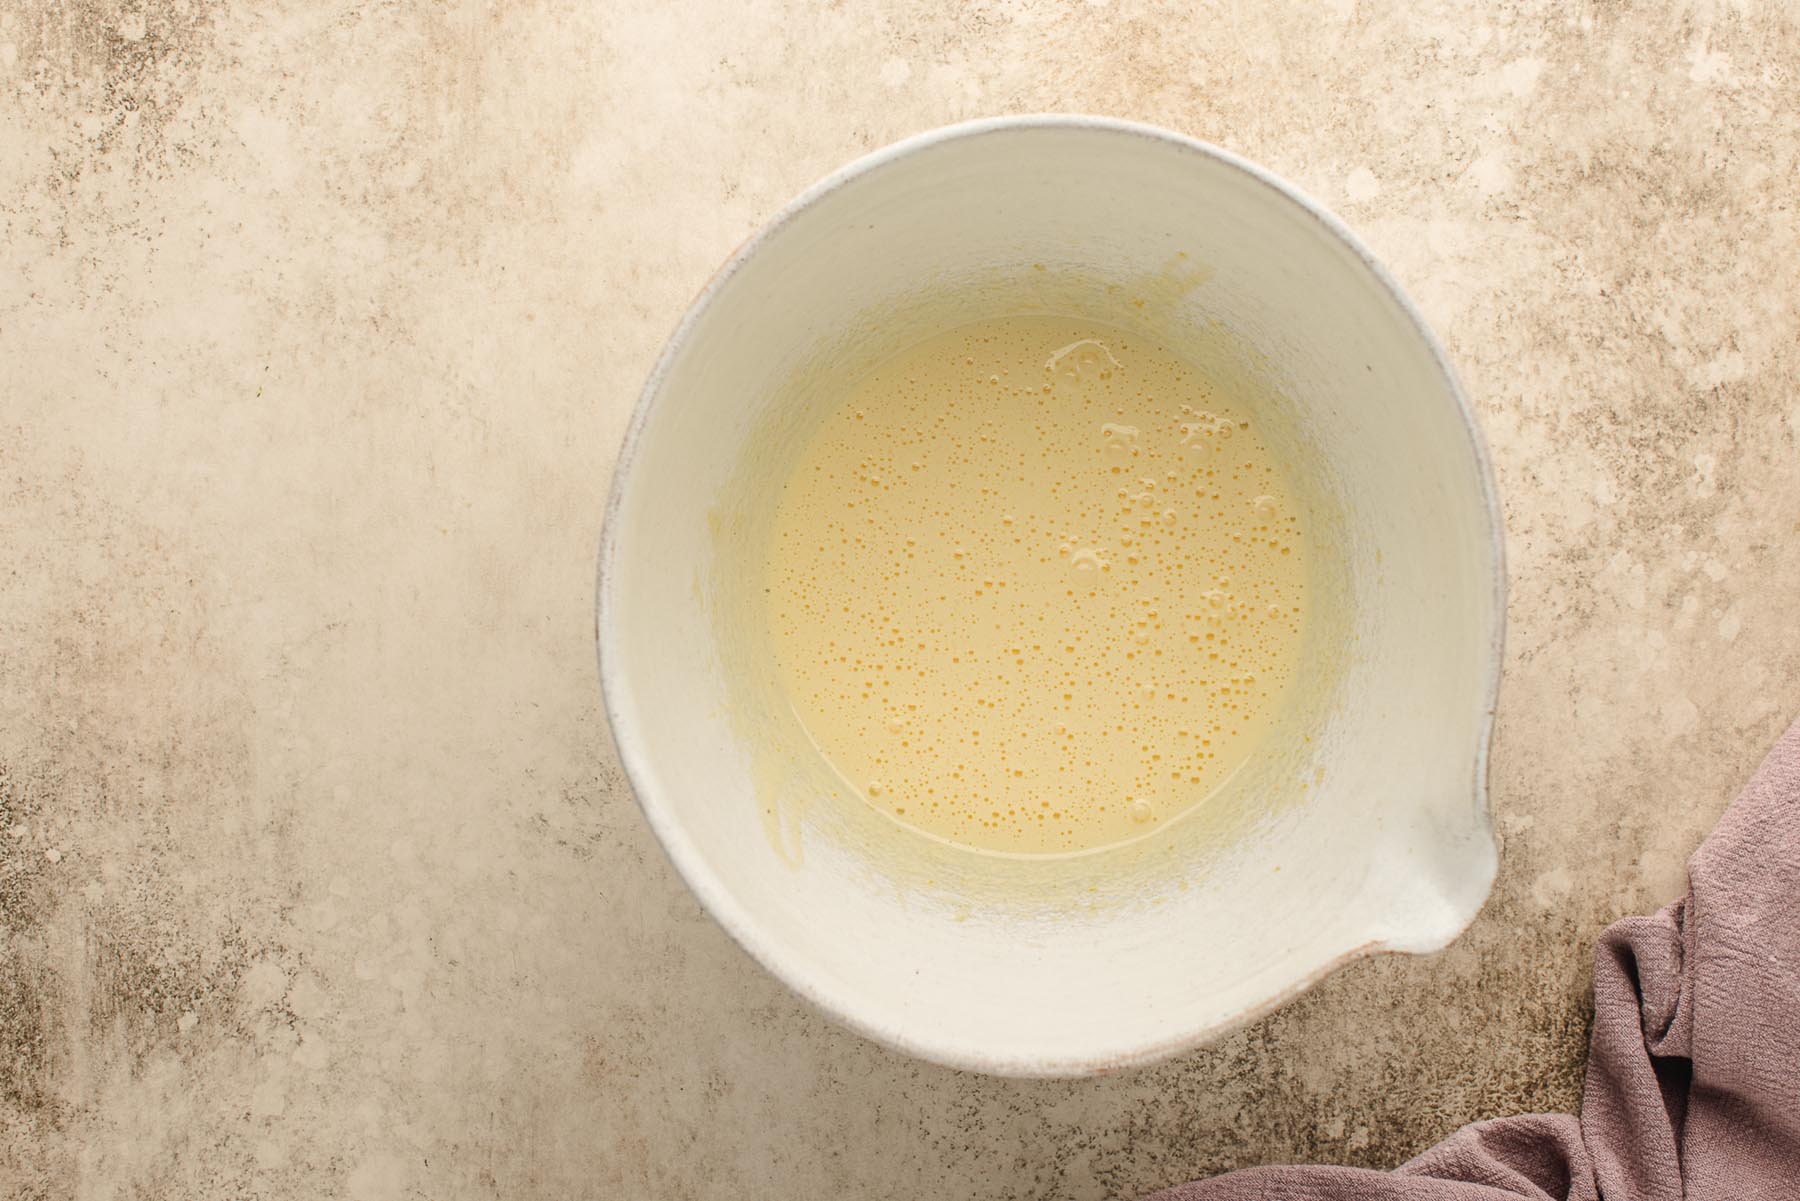
- In the bowl of a stand mixer fitted with a whisk attachment, beat the sugar and eggs on medium-high speed for 4–5 minutes, until the mixture is very pale yellow and thick. Add vanilla and mix briefly to combine.
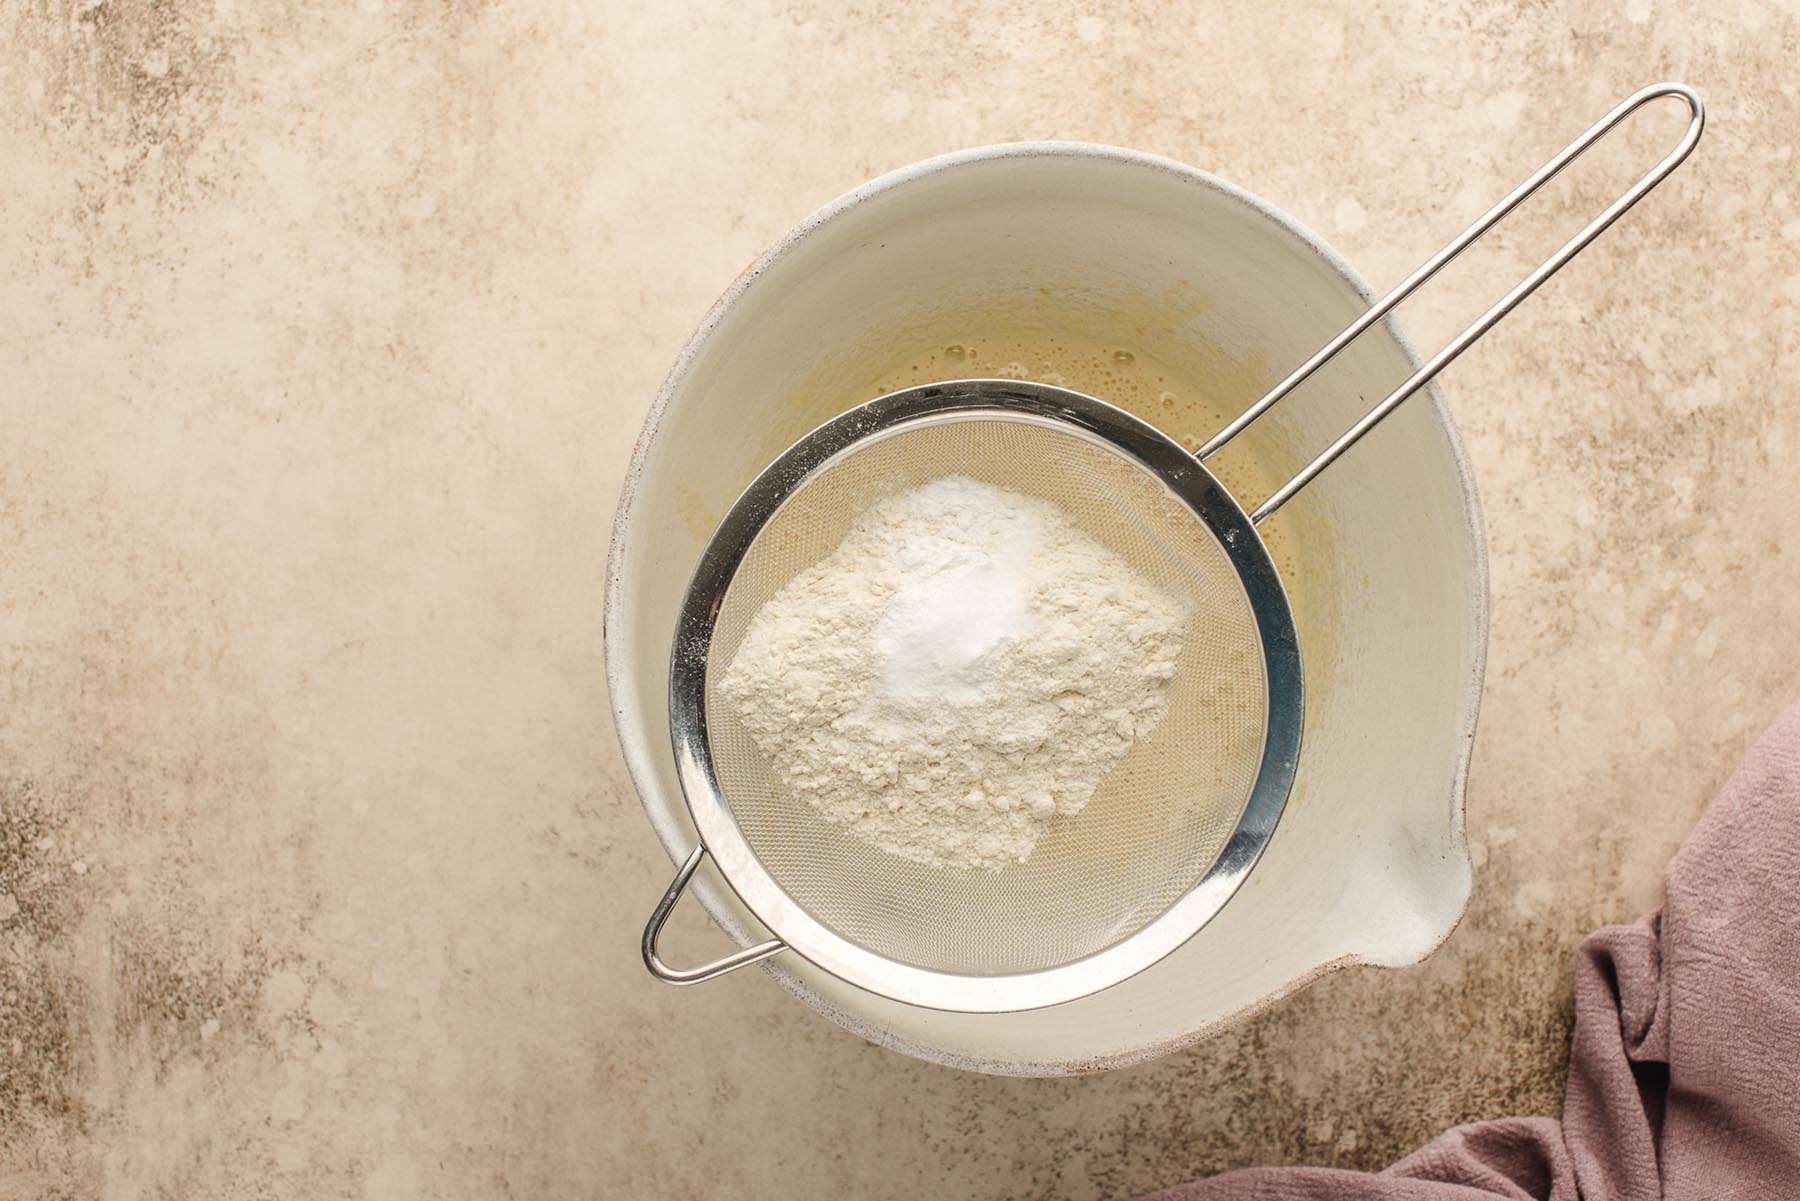
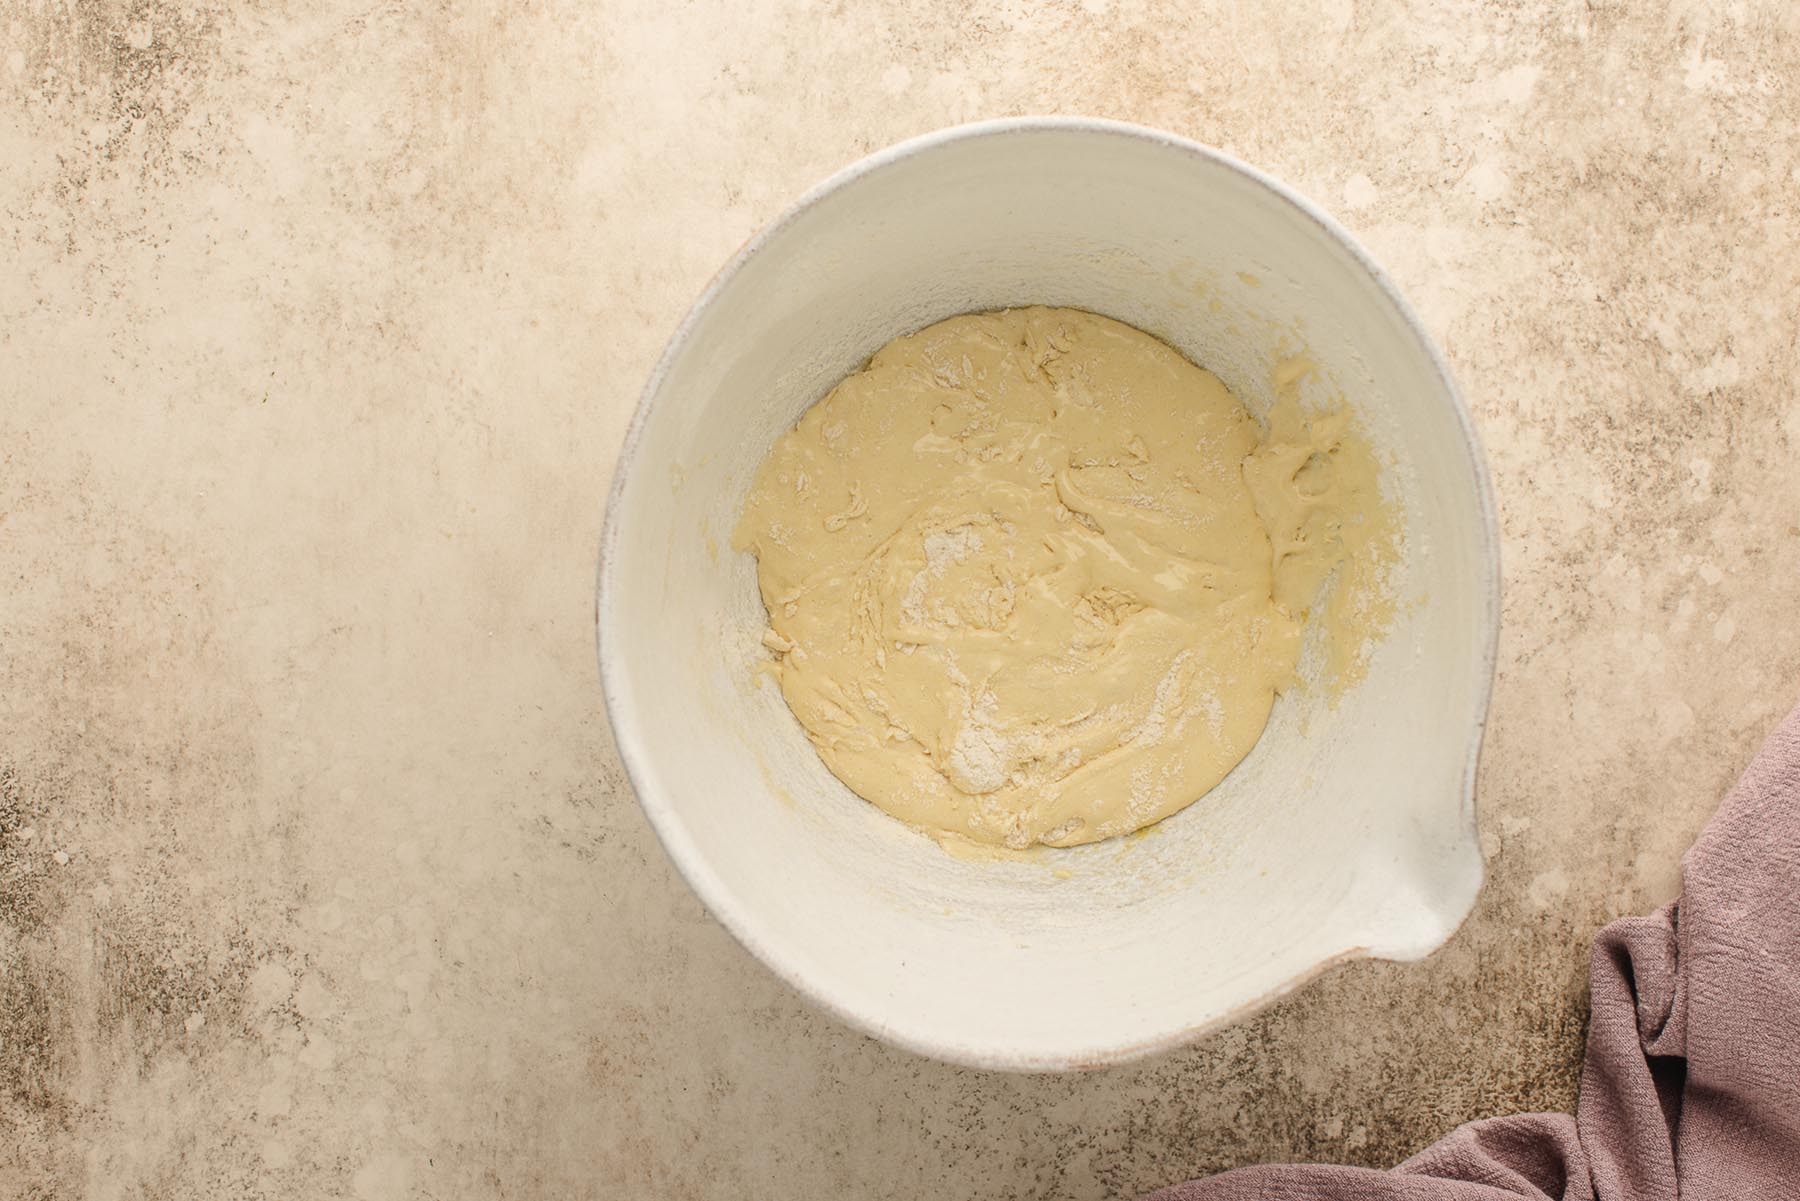
- Sift the flour, baking powder, and salt over the egg mixture. Using a rubber spatula, gently fold until almost combined (Note 2).
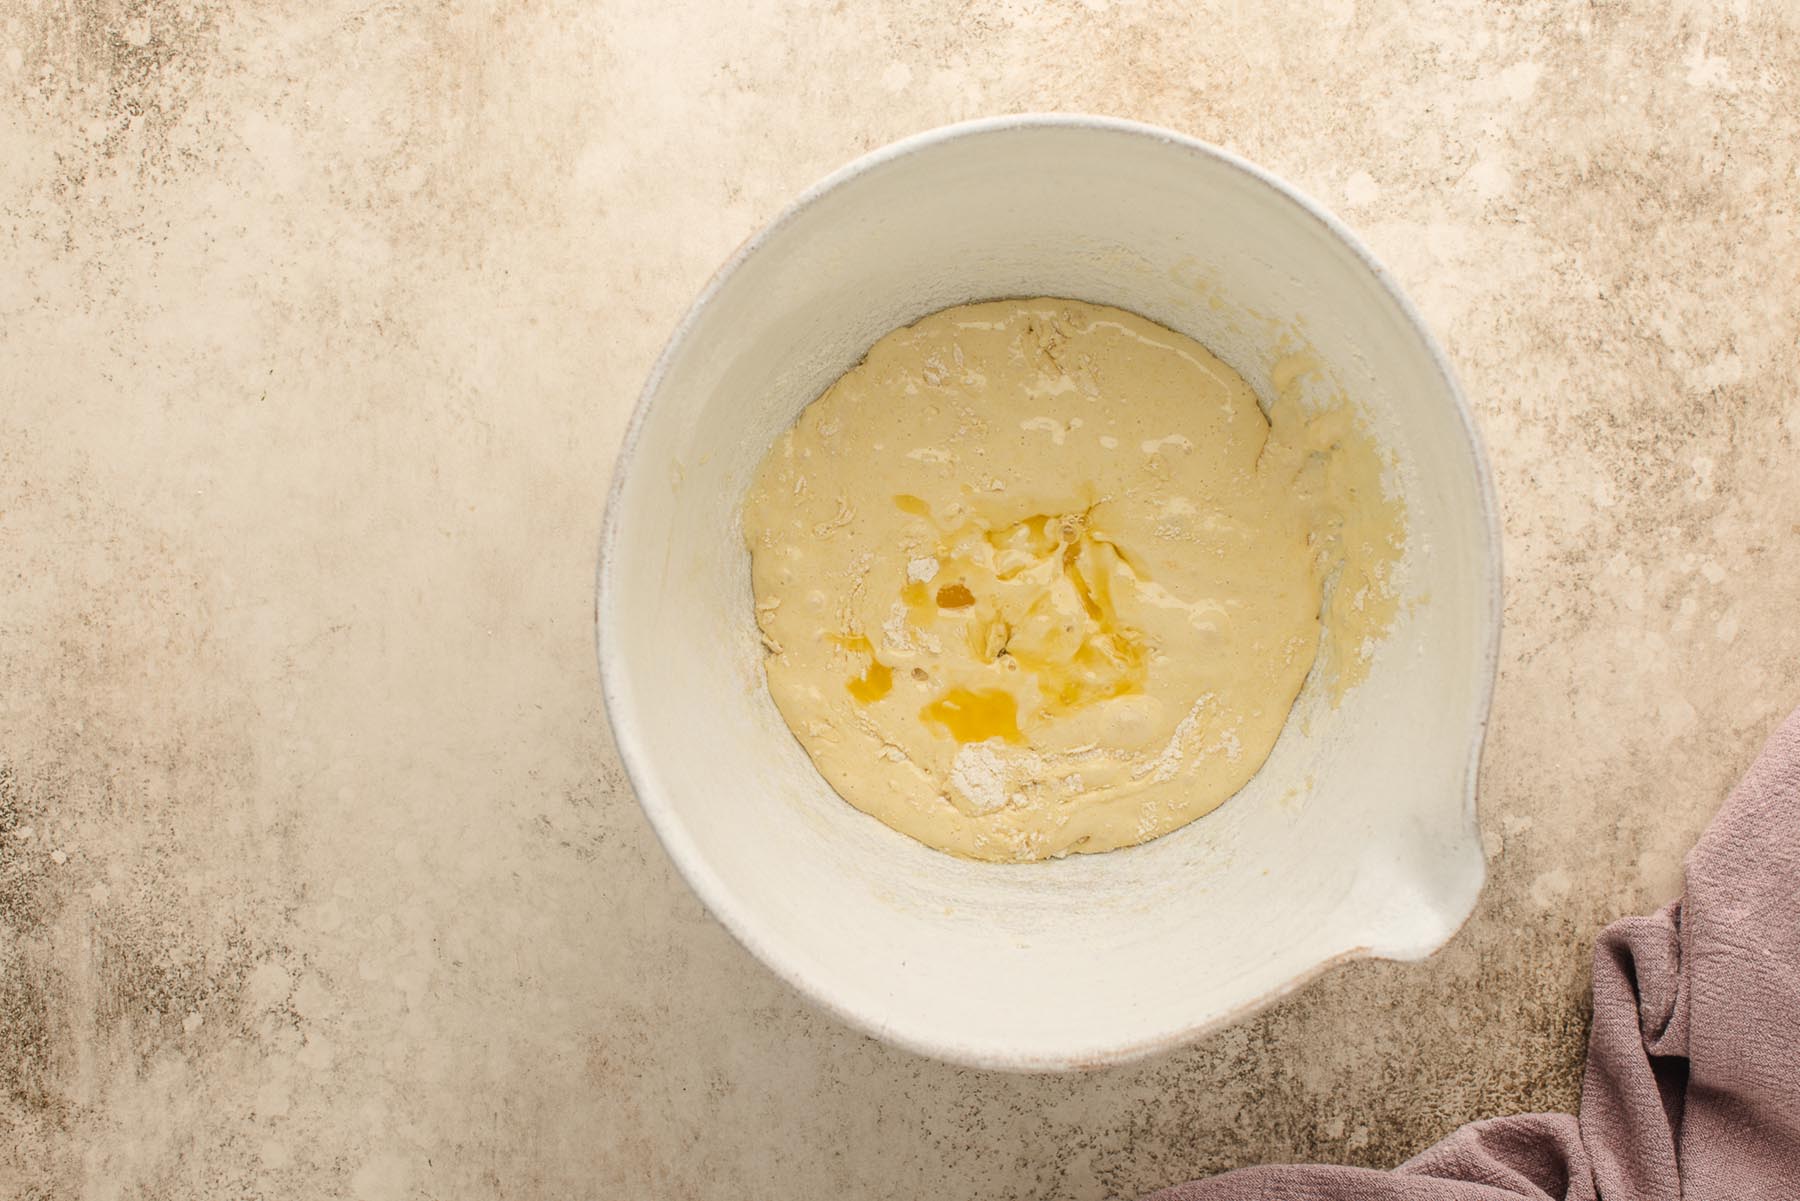
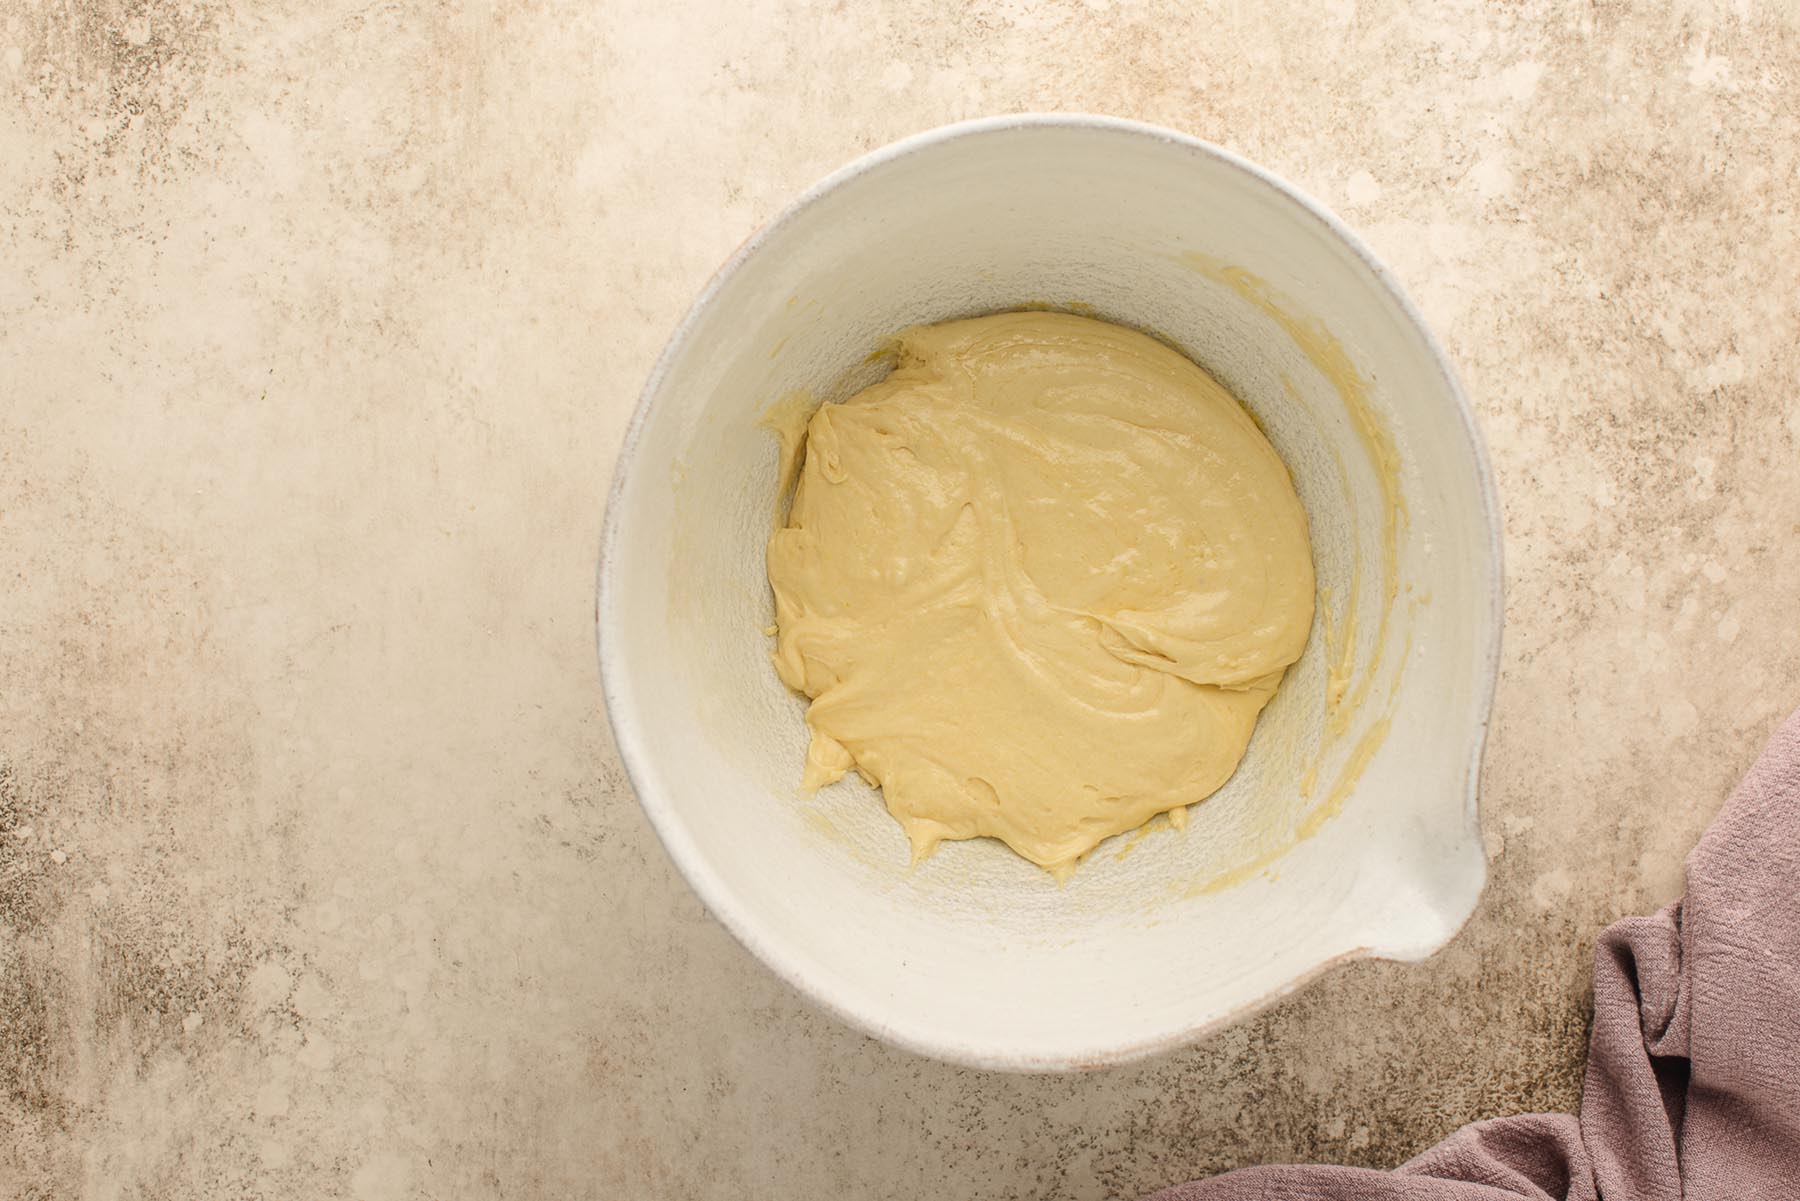
- Pour in the melted, cooled butter. Fold gently until you have a smooth, uniform batter. Avoid overmixing (Note 3).
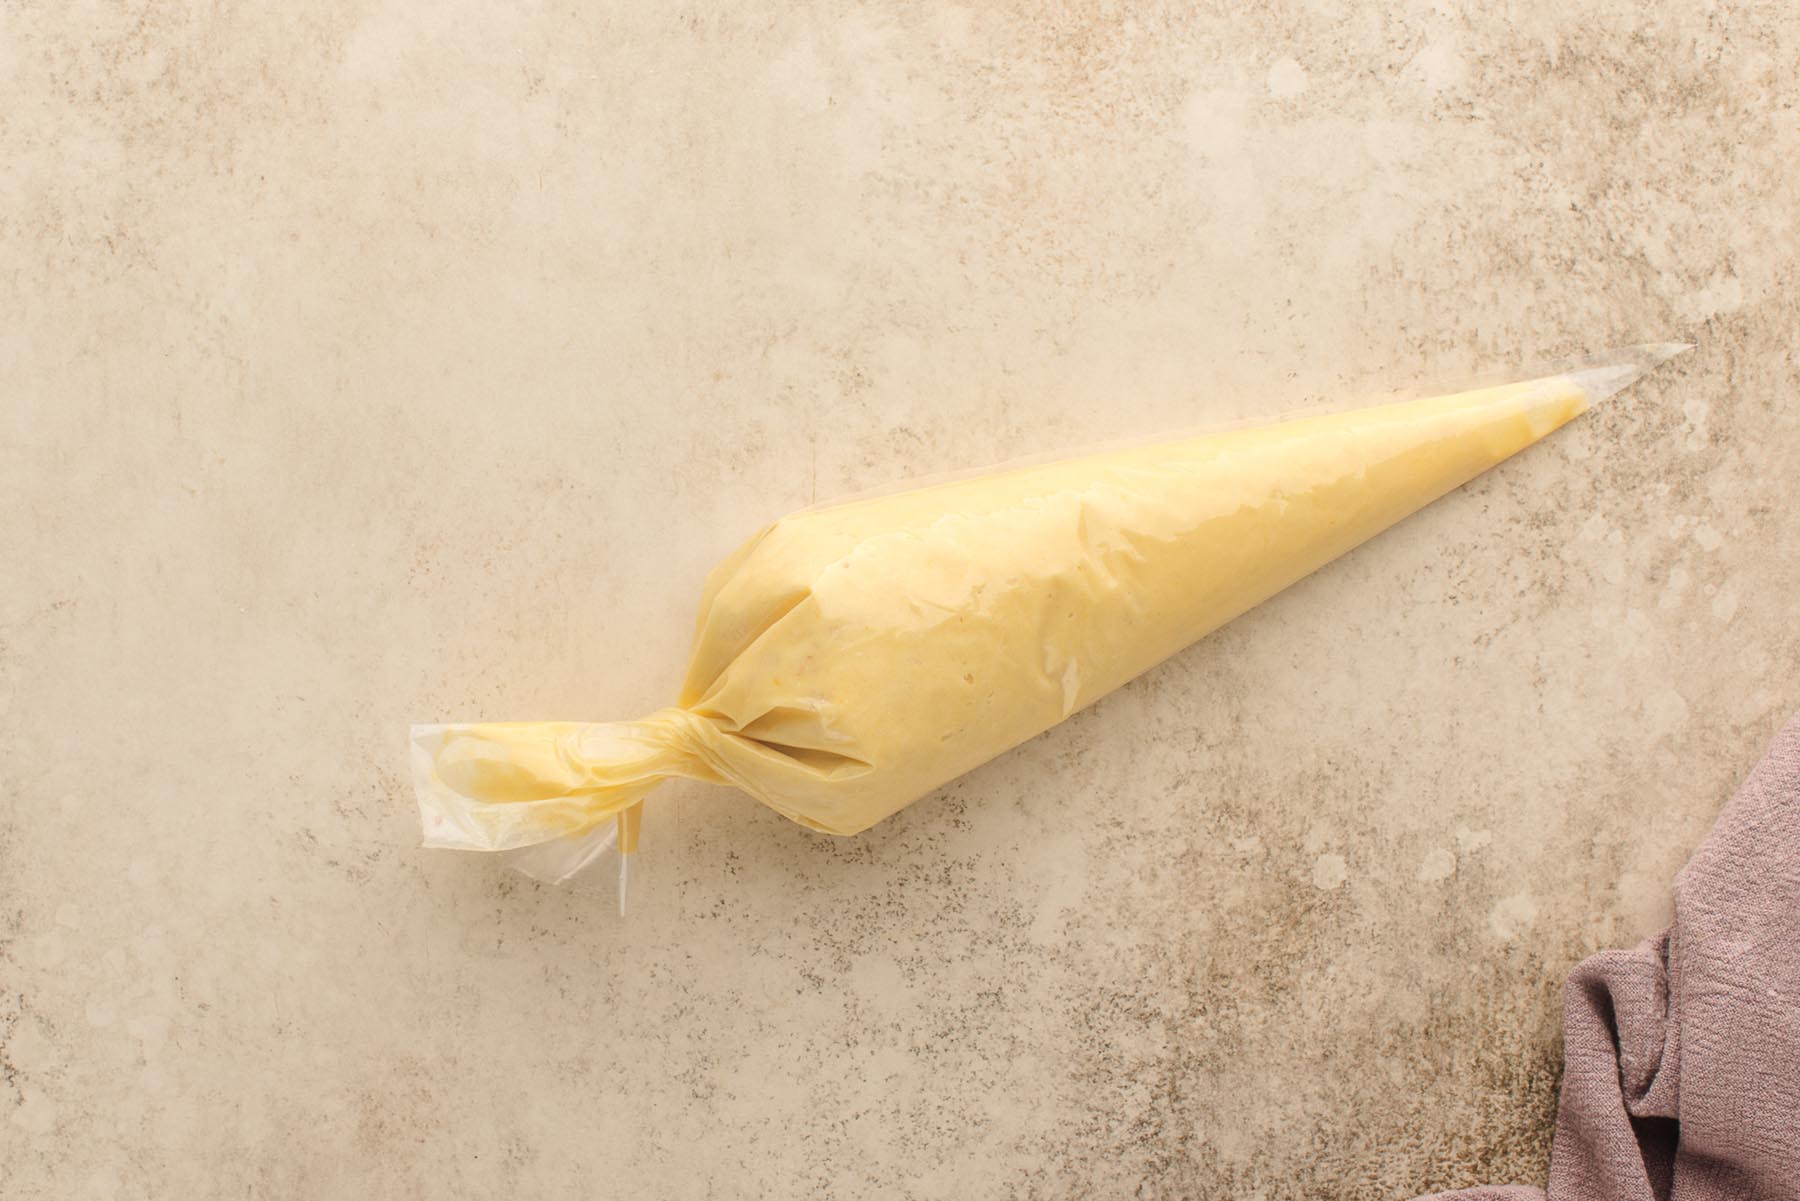
- Transfer the batter to a piping bag, secure the end, and refrigerate for at least 1 hour (or overnight for best results).
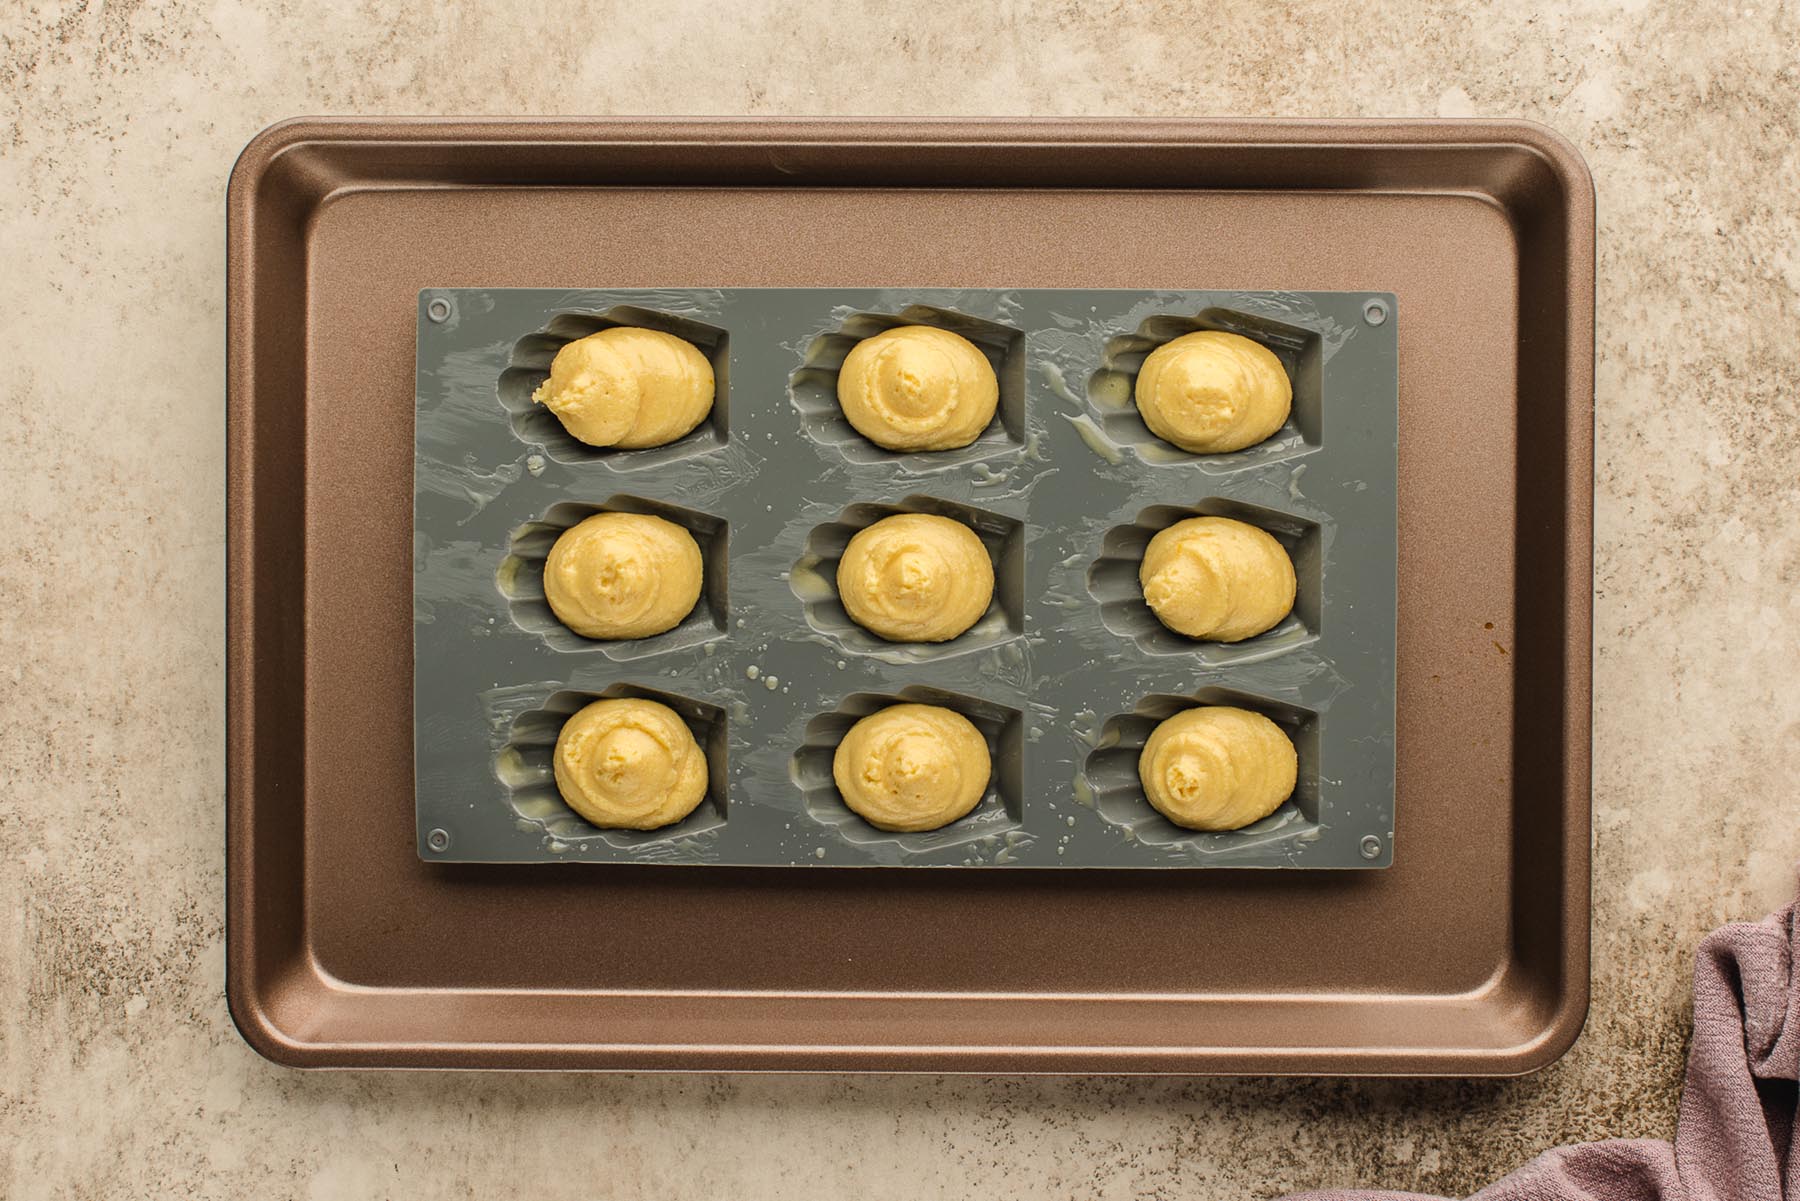
- When ready to bake, preheat the oven to 350°F (177°C). Lightly brush the wells of your madeleine pan with melted butter (Note 4).Snip off the end of the piping bag and pipe about 1½ tablespoons of batter into the center of each well. Do not spread—it will naturally fill the mold as it bakes. Bake for 12 minutes or until lightly golden and springy to the touch.
- Let the madeleines cool in the pan for a few minutes before turning them out onto a wire rack to cool completely (Note 5).
- Wash and dry the pan completely. In separate microwave-safe bowls, melt the bittersweet and ruby chocolate in 20–30 second intervals, stirring each time, until smooth (Note 6).
- Add a heaped teaspoon of melted chocolate into each well, spreading it evenly. Gently press a cooled madeleine on top of the chocolate.
- Freeze the pan for 15 minutes to set the chocolate. Once firm, peel the madeleines from the pan. Repeat with remaining chocolate and cookies if using one pan.Serve immediately or store as directed below.
Notes
- Cooling the butter prevents the warm liquid from deflating the airy egg mixture.
- Folding gently helps preserve the batter’s volume for light, fluffy madeleines.
- Overmixing can lead to dense cakes. Stop folding as soon as the streaks disappear.
- A metal pan with chilled batter encourages the classic “hump” on top. Silicone pans work beautifully for molding the chocolate coating.
- Do not leave madeleines in the pan too long. They can stick as they cool.
- Ruby chocolate has a naturally fruity flavor, similar to raspberries, and its color comes from ruby cocoa beans. Handle gently to preserve its shine and hue.